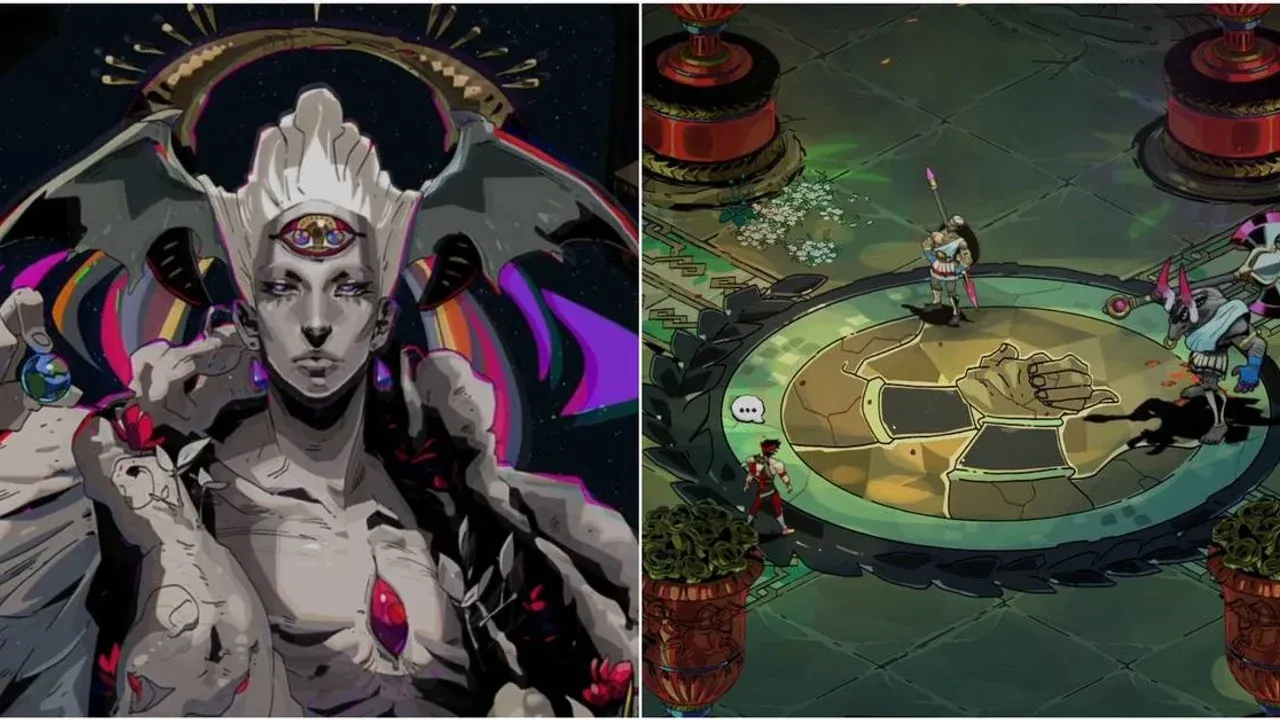
How to Prepare for Theseus and Asterius in Hades
This is it—the final chamber of Elysium, and the most infamous duo in all of Hades awaits. Theseus and Asterius aren't just a skill check; they're a test of your entire run's preparation. If you've struggled here, you're not alone—this fight demands the right tools. Let's make sure you walk into the Elysium Coliseum with every possible advantage.
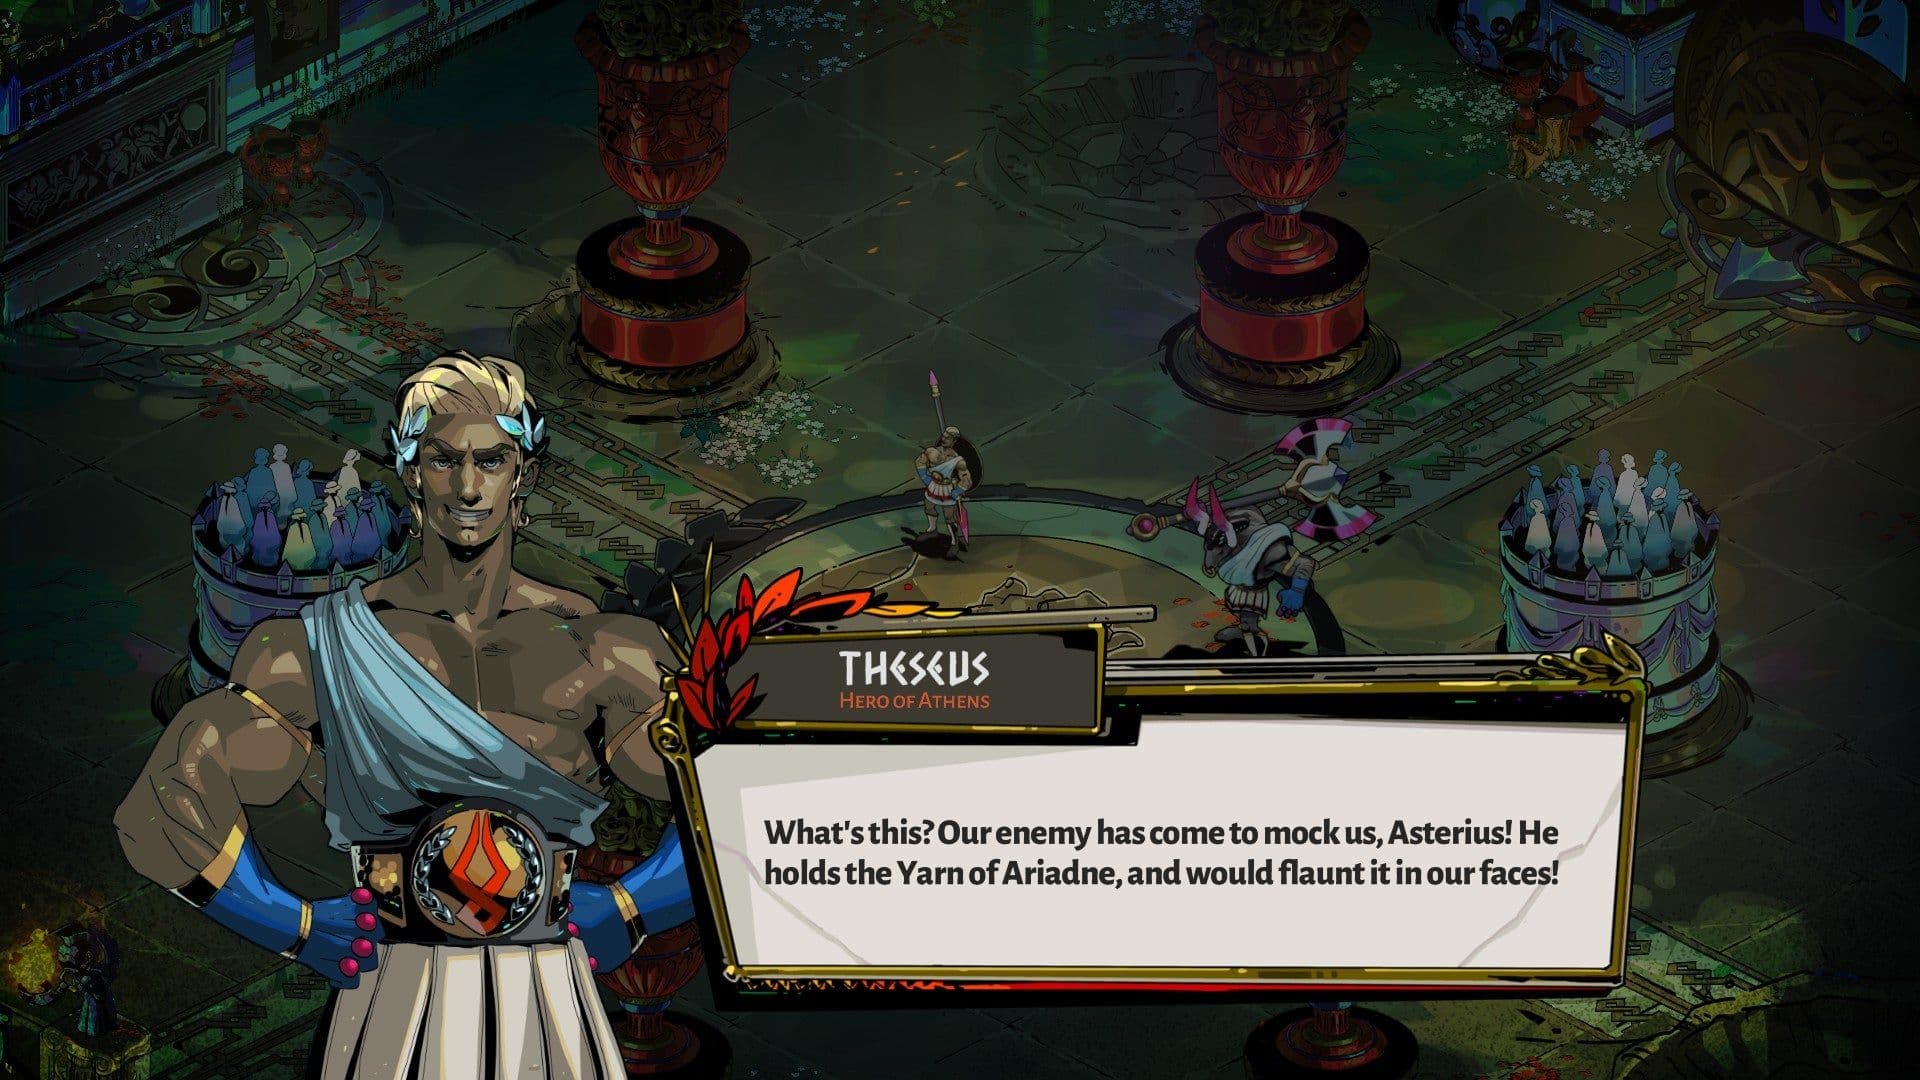
Theseus and Asterius reacting to the Yarn of Ariadne.
Your first major opportunity comes before you even reach the boss room. Look for a chamber marked by a skull icon in Elysium. This is a Miniboss Advantage: defeating Asterius here means he’ll have 20% less HP when you face the duo later. Trust me, taking this fight early is always worth it—it makes the main event significantly more manageable.
Choosing Your Arsenal
Your weapon choice sets the tone for the entire encounter. For a controlled, defensive approach, the Shield of Chaos is a top-tier pick. Press [X] to attack and, crucially, hold [B] to block incoming damage, letting you safely learn attack patterns. The Heart-Seeking Bow is another excellent choice for keeping your distance; hold [X] to charge and release to fire punishing shots from behind cover. If you prefer relentless aggression, the Twin Fists of Malphon deliver rapid strikes with [X], perfect for stacking damage-boosting effects quickly in the short windows you get.
Spend a few runs just learning to block with the Shield or kite with the Bow. Surviving longer is more valuable than dealing max damage while you're learning the fight.
Equipping the Right Keepsakes
Your keepsake is your secret weapon. For raw survivability, head to the House of Hades and gift a Nectar to Cerberus to get the Old Spiked Collar, which grants a solid +50 Max Life for the entire escape attempt. If you find yourself burning through your Death Defiance charges, Skelly's Lucky Tooth (also from the House of Hades) provides a crucial one-time heal upon death.
For boss-specific defense, seek out Eurydice in Asphodel. Her gift, the Perennial Acorn, is a game-changer for this fight—when fully upgraded, it completely negates damage from the first 5 boss hits you take in the chamber. If your playstyle is clean and evasive, the Pierced Butterfly (from Thanatos) rewards you with a stacking damage bonus for every room you clear without taking damage, perfect for building immense power by the time you reach Elysium.
With the right weapon in hand and a keepsake that covers your weak points, you’ve turned a brutal duel into a calculated challenge. You're not just walking into the arena; you're walking in prepared. Now, let's talk about how to use that preparation to dismantle them.
Best Build and Boon Setup for the Elysium Duo
You’ve made it to the Elysium Coliseum, and now the real test begins. In Hades, this duo fight isn’t just about raw power—it’s about bringing the right divine tools to counter two very different threats. Your build here needs to do two things: keep you safe from a relentless Minotaur and punish a shielded king from a distance. Here’s how to assemble your godly arsenal.
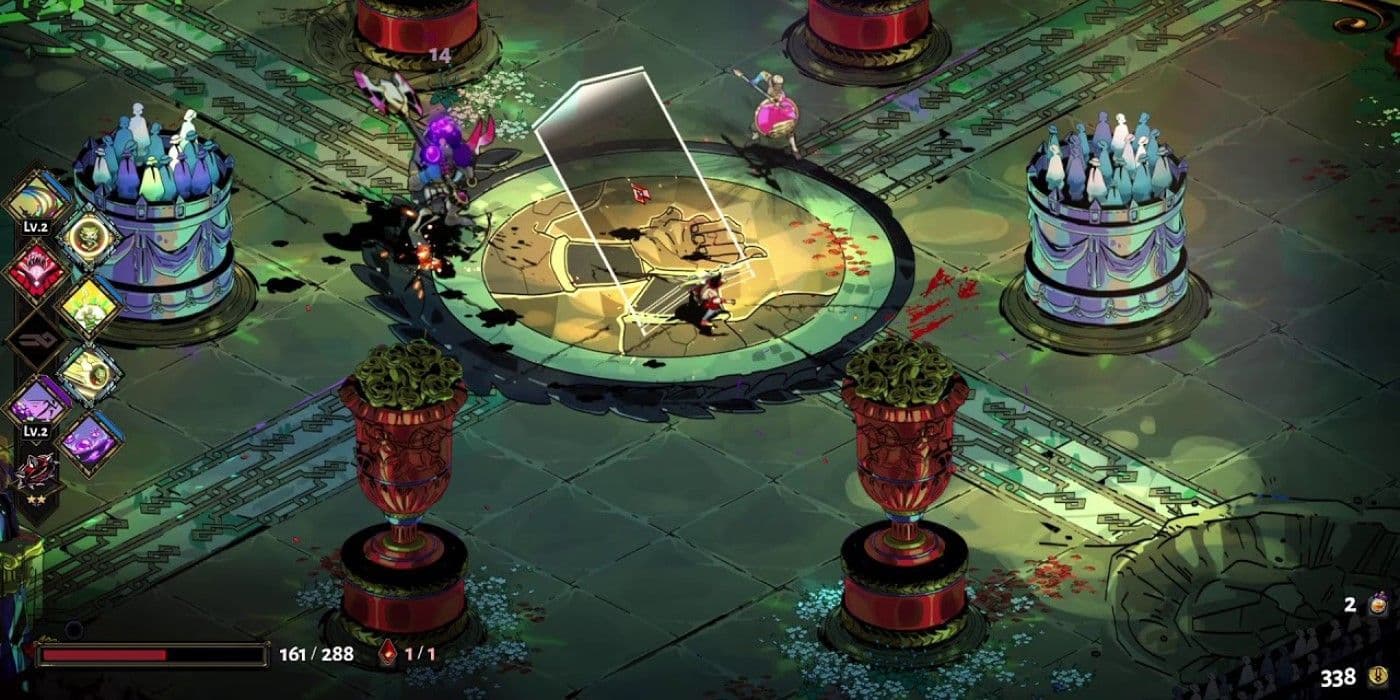
Strategic ability usage during the Elysium duo boss fight.
Prioritize Defense and Reliable Damage
Your first priority is survival, especially while both bosses are active. For this, nothing beats Athena's Dash (Divine Dash). Press [B] to dash, and you’ll deflect incoming projectiles during your invulnerability frames—this turns Theseus’s spear throws from a major threat into a potential non-issue. Pair this with Aphrodite's Weakness (from Heartbreak Strike or Flourish), which reduces an enemy's damage output by 30%. Applying Weak to Asterius makes his heavy hits far more manageable.
For weapons, builds that let you deal damage while staying mobile are king. If you’re using the Shield, the Zeus Shield Synergy is exceptionally strong. With the Zeus Aspect and Zeus boons, pressing [X] to throw your shield creates a rotating lightning aura that deals passive damage, letting you focus on evasion while still whittling down Asterius. Another fantastic mobility tool is Poseidon's Tidal Dash. A press of [B] knocks back enemies and damages them, which is perfect for creating space when Asterius gets too close or for pushing Theseus back when he tries to spin.
Athena’s Dash is your best friend against Theseus. Dash into his spear throw as the pink reticle flashes to send it right back at him—it’s a free chunk of damage and a moment of safety.
Amplify Your Offensive Pressure
Once you’ve secured your defense, it’s time to stack damage that works in short, safe windows. Artemis Criticals (Pressure Points) is a top-tier pick, as it gives any instance of your damage a chance to be a critical hit. This is perfect for hit-and-run tactics against Asterius. Similarly, Demeter Chill (Frost Strike) is incredibly valuable; slowing the Minotaur’s movement and attack speed gives you more breathing room to position and dodge.
For consistent, passive damage, consider Dionysus Hangover (Drunken Strike). Applying damage-over-time stacks to Asterius means you can dash away to safety while he still takes tick damage. This is especially effective with fast-hitting weapons like the Fists or the Rail.
With a kit built around Athena's Dash for safety, Aphrodite's Weakness for damage reduction, and a mix of Zeus Shield Synergy, Artemis Criticals, or Dionysus Hangover for reliable damage, you transform this chaotic duel into a controlled engagement. You’re not just surviving the onslaught—you’re dictating its pace. Now, let’s break down how to use this build against each boss.
Asterius Phase 1: Mastering the Minotaur's Patterns
Alright, time to separate the bull from the king. In Hades, the Elysium Coliseum is a two-on-one cage match, and trying to fight both bosses at once is a quick way back to the House of Hades. Your first and most critical decision is target priority. Trust me, you want to isolate and take down Asterius, the Minotaur, first. If you defeat Theseus before him, Asterius enters a furious enrage phase, becoming blindingly fast and aggressive. By focusing on the bull, you turn a chaotic duo fight into a (mostly) manageable solo brawl.
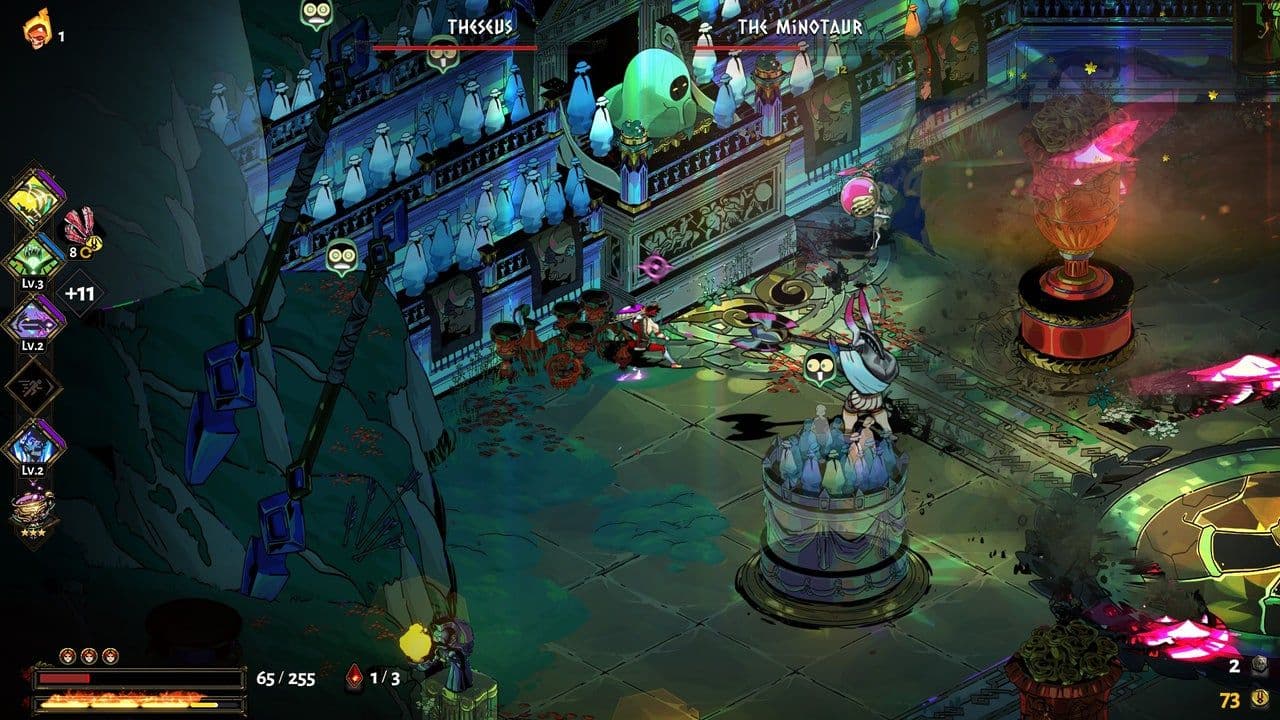
Navigating the chaotic arena during the Elysium boss encounter.
Your primary goal is to make Asterius your only problem. Here’s how you dismantle him while keeping the spear-throwing king at bay.
Isolating the Minotaur
The key is using the arena itself. The Coliseum Pillars are your best friends—they’re not just scenery, they’re essential line-of-sight cover. Keep a pillar between you and Theseus to block his Accurate Javelin throws. This forces you to kite Asterius around the perimeter, but that’s exactly where you want him. Pull him to the outer edge of the arena, away from Theseus’s central position. If you’ve done your homework and defeated Asterius in a miniboss room earlier, he’ll start this fight with 20% less health, making this phase significantly shorter.
Your camera discipline is crucial here. Even while you’re locked in with Asterius, constantly flick your right stick or mouse to keep Theseus in your peripheral vision. An off-screen spear to the back is the most common run-ender in this phase.
Reading and Punishing Asterius’s Moves
Asterius has a limited, predictable moveset. Learn these three attacks, and you’ll own this phase.
- Axe Sweep: His basic combo is one or two wide, horizontal swings. The safe zone is directly behind him. Time your dash and press [B] to dash through the arc of his axe to get to his back for free counter-attacks.
- Bull Charge: He’ll roar and lower his head for a relentless pursuit attack. Don’t try to outrun him in a straight line. Instead, lead him on a tight circle around a Coliseum Pillar. He’ll eventually crash into it, stunning himself and giving you a huge window to unload damage.
- Jumping Slam: He leaps high into the air and slams down, creating a small shockwave. The moment he jumps, press [B] to dash directly underneath him. You’ll avoid the impact and land damage as he recovers.
While you’re executing this dance, never stop listening for Theseus. The moment you hear his taunt or see the bright pink targeting reticle on the floor, break away from Asterius and get behind cover. One spear hit can ruin your rhythm.
⚠️ Watch out: It’s tempting to greed for extra hits when Asterius is stunned, but always prioritize repositioning to check on Theseus. A greedy second combo often ends with a spear in your back.
Stick to this script: use the pillars for cover, keep Asterius between you and Theseus, and punish his recovery windows. Master his patterns, and you’ll enter the next phase with a major threat eliminated and your Death Defiances intact. With the Minotaur down, the real king of the arena is next.
Theseus Phase 1: Dodging the Spear and Shield
Alright, the king is in play. While you’re locked in with Asterius, King Theseus will hang back, applying constant ranged pressure. This phase in Hades is all about managing that threat while you handle the Minotaur.
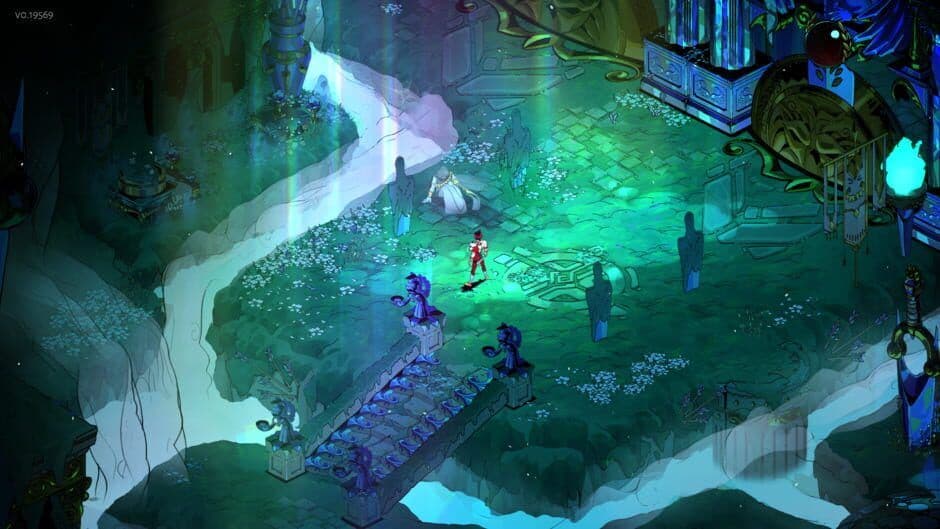
Hades gameplay overview.
Your primary goal here is simple: keep Theseus on the opposite side of a pillar while you fight Asterius. This strategy, often called Pillar Kiting, turns the arena into a series of safe zones. If you’ve struggled here, you’re not alone—juggling two bosses at once is the core challenge of this fight.
Reading Theseus's Attacks
Theseus has two main attacks in his first phase, and they’re both heavily telegraphed.
First is his Spear Throw. He’ll target you with a distinct pink targeting reticle that follows you for a few seconds before he launches the spear. The throw itself covers a huge distance. Your best dodge is to [B] dash behind a pillar as the reticle flashes—the pillar will block the projectile entirely. If you’re caught in the open, a well-timed dash perpendicular to the spear’s path can also work.
Listen for the audio cue. Theseus will often shout a line like “Have at you!” right before he throws. Combine the sound with the visual reticle for perfect timing.
His second move is a Spin Attack. If you get too close, he’ll perform a 360-degree sweep with his spear. The hitbox lingers, so the safe response is to [B] dash away to create distance, not through him. The good news? After both the Spear Throw and the Spin Attack, he turns his back and walks away, creating your only safe window to hit him.
Exploiting His Weakness
This brings us to his core mechanic: the Shield Block. Theseus’s massive shield blocks all damage from the front. You cannot hurt him by attacking head-on. You must attack from behind. The safest, most reliable method is to punish him right after he throws his spear. He’ll be facing away from you for a few moments, shield down. Get in, land a few hits, then immediately re-engage with Asterius or reposition. Don’t get greedy—trying to chase him down usually means walking into his Spin Attack.
The key to mastering this phase is discipline. Your focus should be 80% on Asterius and 20% on tracking Theseus’s pink reticle out of the corner of your eye. Use the pillars religiously to break his line of sight and reset his targeting. If the camera gets chaotic and you lose track of him, stop attacking, dash to safety, and widen your view.
Stick to this plan—kite with pillars, dodge the spear, punish his back—and you’ll systematically remove Asterius from the equation while taking minimal damage from the king. With Asterius down, you can turn your full attention to Theseus and the real test that awaits.
Asterius Phase 2: Handling the Taurine Fury
This is it—the moment the Minotaur hits his stride. In Hades, when Asterius reaches 50% health, his frustration boils over into Taurine Fury. This isn't just a simple health gate; it's a fundamental shift in the rhythm of the fight. If you've struggled to keep up with his new aggression, you're not alone—this phase is where many runs end. But once you learn the new patterns, you can turn his rage against him.
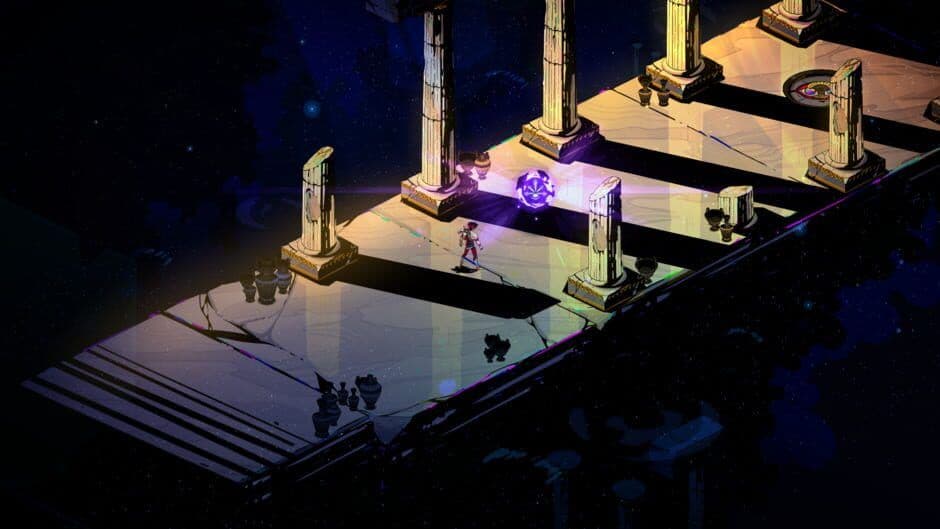
Dashing is essential for dodging Asterius's bull rush.
Decoding the Enhanced Arsenal
Your primary goal remains the same: keep Asterius isolated from Theseus and finish him off. His new moves are designed to punish players who stay greedy or panic-dash.
The signature move of this phase is Air Blade +. When Asterius leaps into the air for his downward slam, he now creates three shockwaves upon impact that radiate outward. The safe play is to [B] dash diagonally to clear the waves entirely, as trying to thread the needle between them is risky. This move can be repeated up to three times in quick succession, so stay mobile and ready to dodge again.
His basic combo, Taurine Fury, also demands more respect. He'll execute two wide axe swings, but the third hit is now a powerful slam. The safest punish window is to [B] dash behind him on the third hit, as the slam's hitbox is focused in front of him. This is your cue to land a few solid attacks before resetting.
The audio and visual tell for his leap is very clear. Use that moment to stop attacking, locate a safe lane, and prepare your dash. Trying to squeeze in one more hit is the fastest way to eat a shockwave.
Handling Extreme Measures and Joint Attacks
If you're playing with the Pact of Punishment, beware of Spin-to-Win. This Extreme Measures 3 exclusive has Asterius spin his axe in wide, tracking circles. Each hit deals around 30 damage, so you must [B] dash away repeatedly to create distance—the lingering hitbox makes dodging through him dangerous.
You also can't afford to ignore Theseus completely. Watch for their coordinated Joint Attack: Delta Strike. If you hear Theseus shout for Asterius and call out "Delta Strike," a large expanding circle will erupt around them. You must [B] dash out of the large hitbox immediately; the deceptively large area deals 20 damage.
Similarly, be ready for Joint Attack: Camaraderie, where Asterius picks up Theseus and hurls him like a javelin. To avoid this, watch Asterius's wind-up and [B] dash perpendicularly to the throw line. Dodging directly toward or away from the line of fire often results in a hit.
Trust me, this phase is about controlled aggression. Punish his recovery frames after the slam, dodge everything else, and keep a pillar between you and Theseus's spear. Once you've weathered his Taurine Fury, the hardest part of the Elysium duo fight is behind you.
Theseus Phase 2: Surviving the Olympian Call
This is it—the final phase of the Elysium Coliseum showdown in Hades. Once King Theseus hits 50% HP, he discards all pretense of a fair fight, calling down Olympian fire. The arena becomes a chaotic mess of divine hazards, and your goal shifts instantly from offense to pure survival.

When Theseus begins his Olympian Call, he becomes stationary for a few seconds, kneeling to 'Pray to the Gods'. This is your prime window for a Back-Stab Punish. Dash behind him and unleash your highest-damage combo or Call. Trust me, you’ll want to get this damage in now, because what comes next is a frantic Survival Check.
The audio cue is your best friend. Listen for Theseus shouting “Aid me!”—that’s your signal to stop attacking and start scanning the floor.
After his prayer, the arena will be littered with God-Call Zones. These are damaging floor circles or patterns summoned by various Olympians (excluding Hermes). Your sole focus must be reading the floor warnings and using [B] dash to reach clean ground. Trying to squeeze in extra hits during this chaos is the fastest way to burn through your Death Defiance. This phase isn't a damage race; it's about outlasting the onslaught until the divine effects clear, giving you a safe window to attack again.
If you’re playing with the Extreme Measures 3 Pact of Punishment active, the chaos is dialed up to eleven. Theseus mounts a golden chariot with two new devastating attacks. During his Chariot Bombing Run, he’ll drop bombs marked by red circles. The key is to [B] keep moving—don’t stop dashing. Standing still is a death sentence. His other new move, the Gatling Gun, sees him firing twin guns while riding through the arena’s center. The safe response is to [B] dash to the side, getting completely out of the firing lane.
⚠️ Watch out: In Extreme Measures 3, his chariot explodes when he reaches about 3/4 of his health, reverting him to his standard, god-calling second phase. Don’t get greedy trying to finish him during the chariot phase—survive first.
Remember, if you’ve struggled here, you’re not alone. This phase trips up everyone the first few times. Stick to the pillars for cover from his spear, keep your dashes reserved for escaping the God-Call Zones, and only commit to attacks when the floor is clear. Master this dance of dodge-and-punish, and the pride of Elysium will finally fall.
Theseus and Asterius Rewards in Hades
You’ve done it. After a grueling fight in the Elysium Coliseum, you’ve finally put the legendary duo of Theseus and Asterius to rest. The victory screen fades in, and the sweet, sweet sound of rewards hitting your inventory is your cue to celebrate. In Hades, every boss you topple pays out, and this one is no exception.
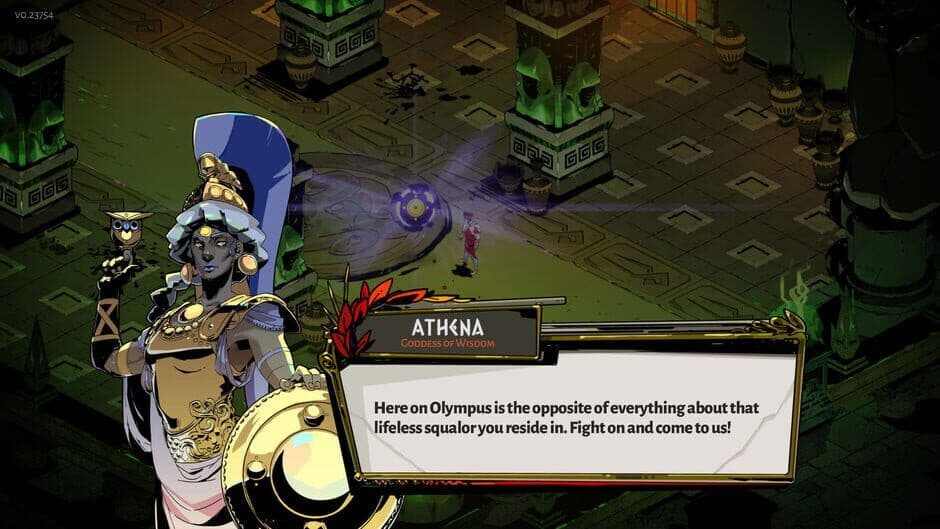
Every successful encounter brings Zagreus closer to rare items.
Your first-time clear bounty is the most coveted: Ambrosia. This divine nectar is a high-tier resource used for deepening bonds with the game’s most significant characters. You’ll gift it to NPCs like Achilles, Patroclus, and even some of the Olympians themselves to unlock their final companion keepsakes and complete their storylines. It’s a trophy that says you’ve mastered one of the game’s toughest challenges.
For every subsequent victory over the pair, you’ll earn a generous helping of Darkness. This staple currency is funneled directly into the Mirror of Night back in the House of Hades for permanent upgrades that strengthen Zagreus across all future runs. Whether you’re boosting your max health, increasing your base damage, or unlocking new abilities, Darkness is the foundation of your long-term power.
If you’re pushing for higher difficulty, activating the Extreme Measures Pact of Punishment for this fight will replace your standard Darkness reward with Titan Blood. This rare material is essential for unlocking and upgrading the hidden aspects of your infernal arms, making it a key resource for endgame build-crafting.
Before you rush into the next fight, there’s a strategic pit stop you should know about. In the winding fields of Elysium, you can stumble upon an optional chamber where you’ll meet Patroclus. This mournful warrior, eternally separated from Achilles, offers a crucial boon called Touch of Styx. If you’re running low on revives, this item can fully restore one charge of your Death Defiance or significantly heal your companion Lucky Tooth. Finding his room before the boss can be the difference between a triumphant win and another trip back home.
With the spoils of victory secured, you’re ready to press forward. The path to the surface is now open, and the greatest challenges—and rewards—still lie ahead.