
How to Find the Nailsmith in Hollow Knight
Before you can forge a legendary weapon, you need to find the master smith. In Hollow Knight, the path to a mightier Nail begins deep in the city's sorrowful heart.

The Nailsmith is the key NPC for upgrading your weapon.
Your journey to the Nailsmith starts long before you reach his hut. To enter the City of Tears, the central, rain-drenched capital of Hallownest, you'll need to open its massive main gate. There are two primary ways to do this. The most direct route requires the City Crest, a key dropped by the False Knight in the Forgotten Crossroads. Alternatively, with the Mantis Claw wall-jump ability from Mantis Village in the Fungal Wastes, you can scale the city's outer walls for a more challenging backdoor entry.
Once inside the City of Tears, make your way to the area's lowest depths. On the far western side of the city, near the border with the Fungal Wastes, you'll find a small, infected-looking hut. Inside, you'll meet the Nailsmith. This reclusive craftsman is the only NPC in Hallownest who can perform all Nail upgrades, transforming your basic Old Nail into a weapon of immense power.
If you're struggling with the False Knight, you can bypass him entirely. Head to the Fungal Wastes, defeat the Mantis Lords to earn the respect of the village, and grab the Mantis Claw to climb your way into the city. It's a tougher platforming challenge, but it gets you to the Nailsmith without that early boss fight.
With the Nailsmith found, your quest for greater strength truly begins. He’ll be your constant companion on the road to the Pure Nail, ready to forge your future victories with every piece of rare Pale Ore you bring him.
Hollow Knight Nail Upgrade Costs and Damage Values
Think of your journey through Hollow Knight as a steady climb—each swing of your Nail becomes a more powerful echo of your progress. Every scrap of Geo and each rare chunk of Pale Ore you find is an investment that pays off in the satisfying crunch of a stronger hit. This is your roadmap to that power, detailing every upgrade’s cost and the damage spike you’ll get in return.
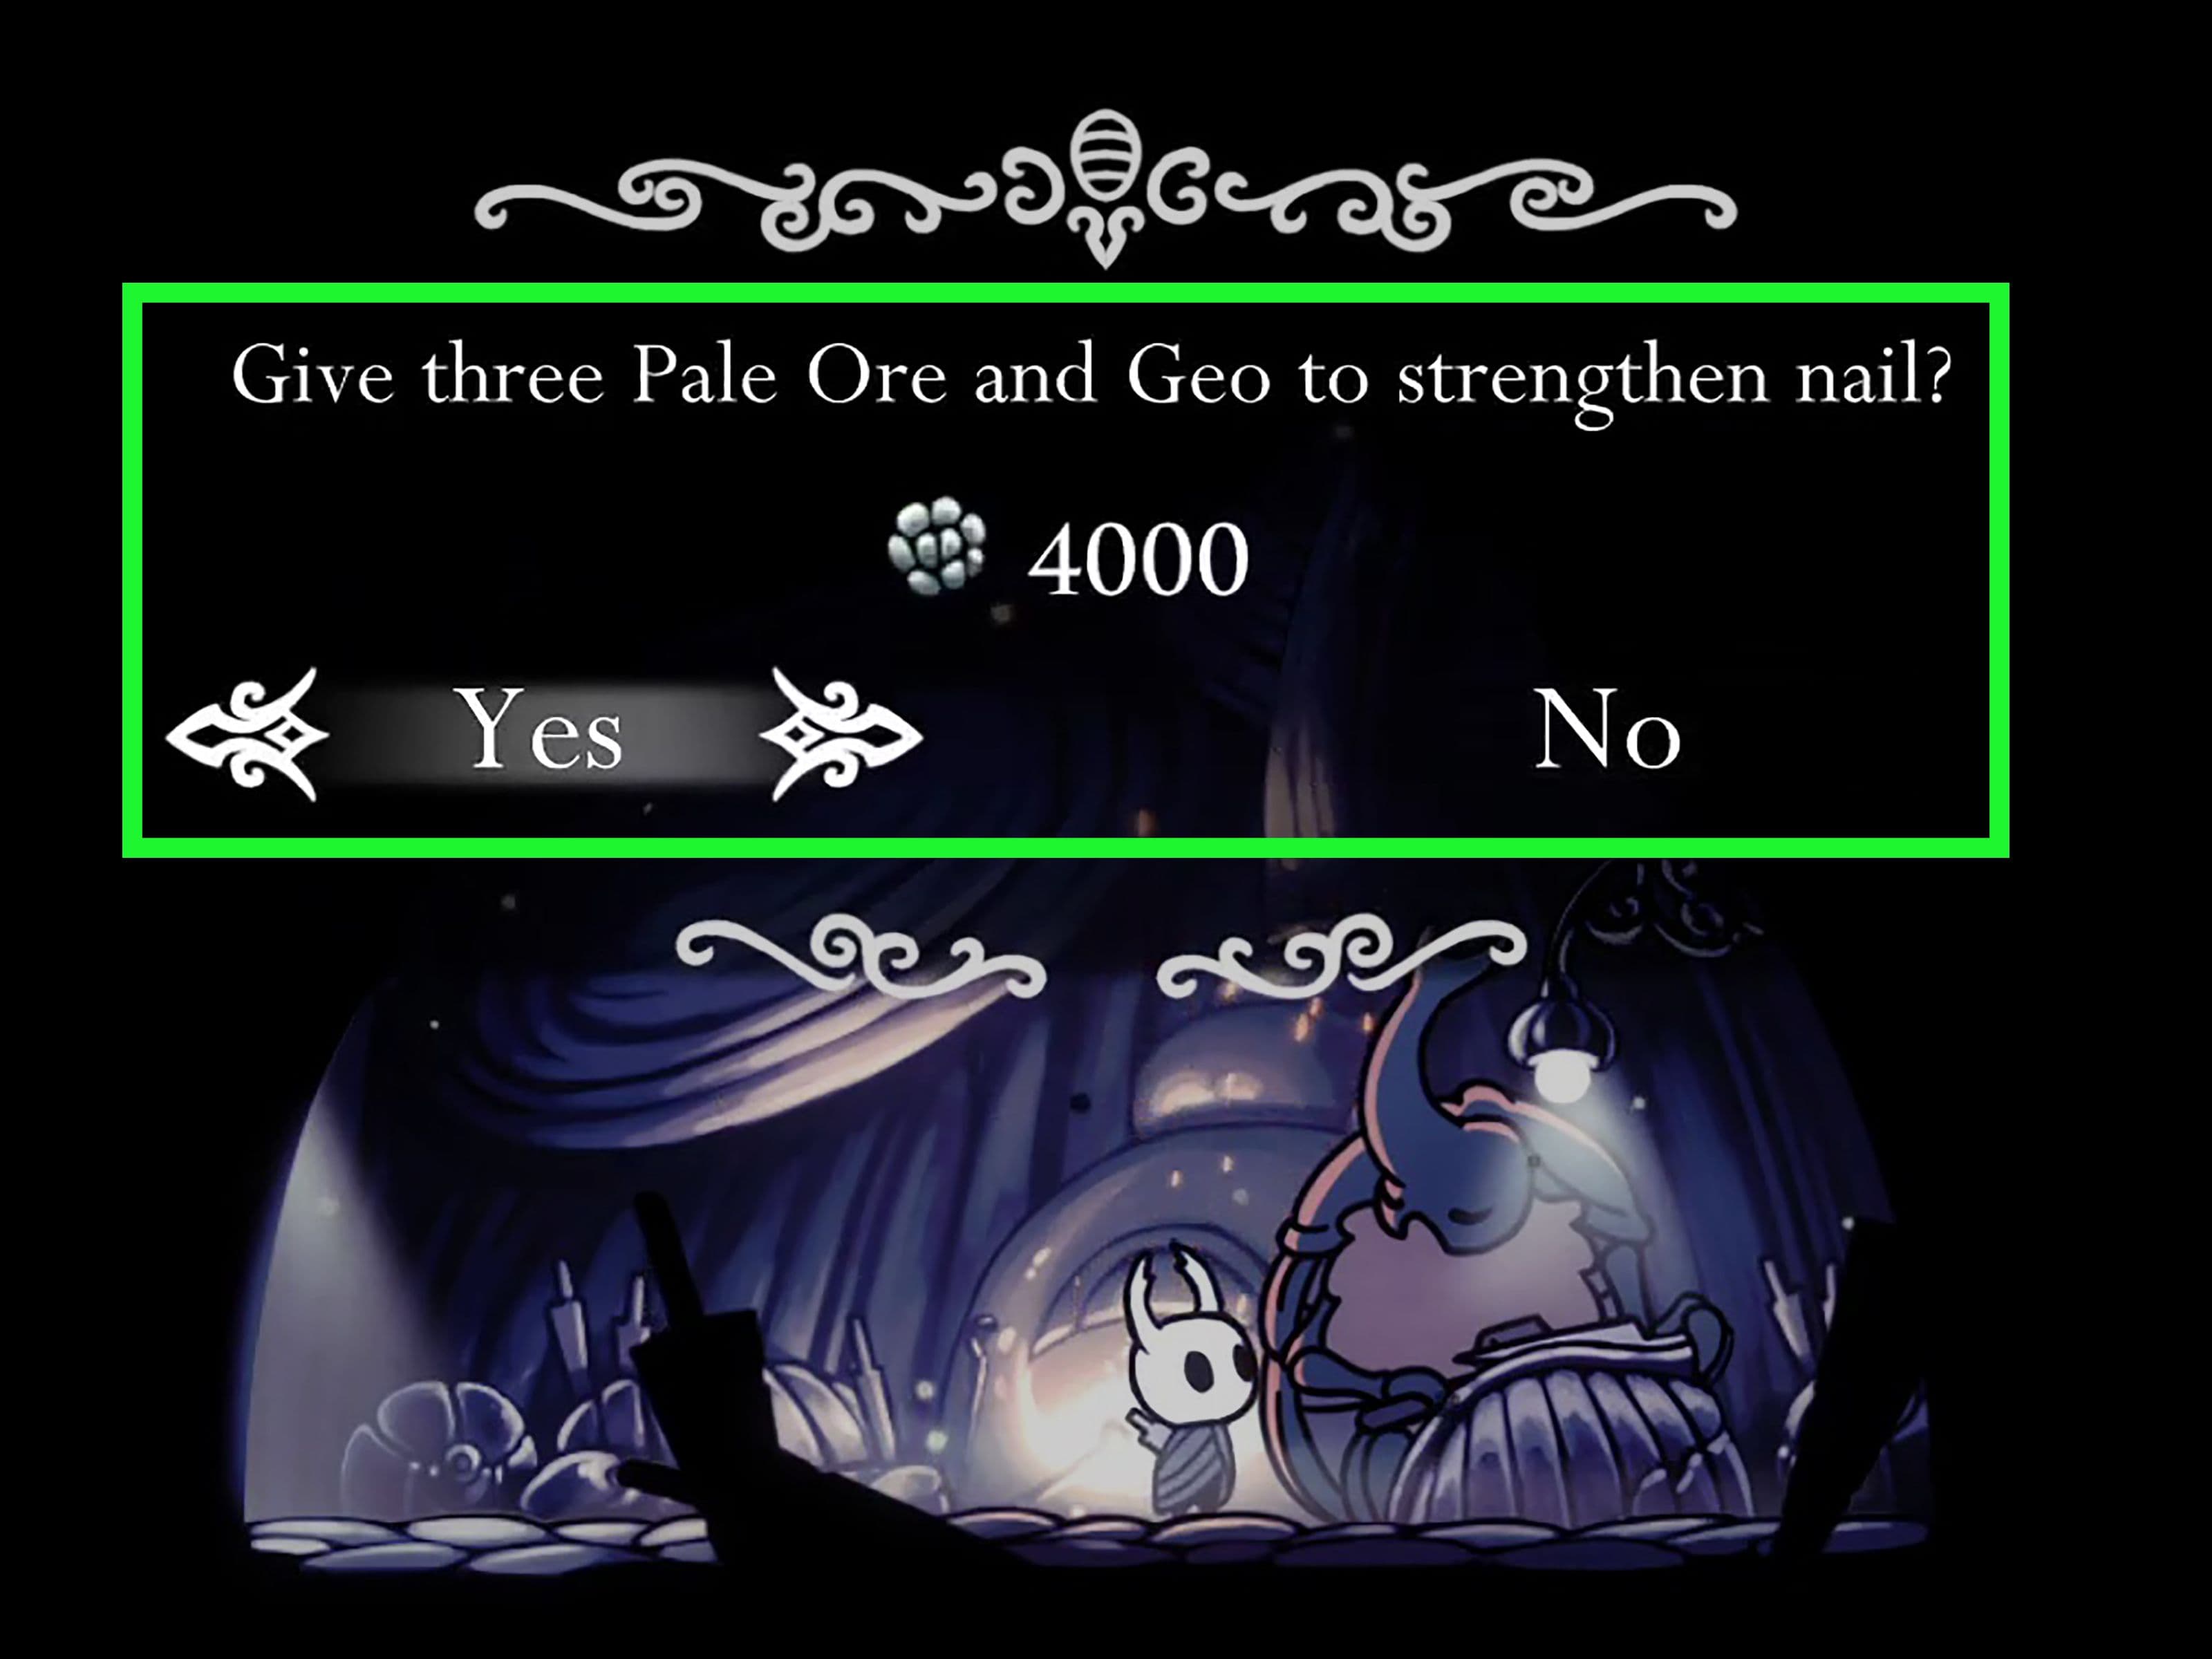
The Nailsmith's upgrade confirmation menu.
Your starting weapon, the Old Nail, deals 5 damage and costs nothing. Your first stop at the Nailsmith’s hut in the City of Tears transforms it into the Sharpened Nail for 250 Geo and 0 Pale Ore, boosting your damage to 9. This is a crucial early upgrade that makes exploring the next few areas much more manageable.
From here, every subsequent upgrade demands both Geo and the rare Pale Ore. The next tier is the Channelled Nail, requiring 800 Geo and 1 Pale Ore to forge, and it hits for 13 damage. After that, the Coiled Nail costs a steeper 2,000 Geo and 2 Pale Ore, but rewards you with 17 damage per swing.
The ultimate goal is the Pure Nail. This final masterpiece from the Nailsmith demands 4,000 Geo and 3 Pale Ore to create, and it unleashes a formidable 21 damage. In total, reaching this pinnacle of weaponry in Hollow Knight requires a cumulative investment of 6 Pale Ore and 7,050 Geo.
Don't hoard your Pale Ore! The Nailsmith will only use the exact number needed for your next upgrade. It’s perfectly fine to collect a few pieces before visiting him—just don’t sit on all six without upgrading, as you’ll still need to make multiple trips.
With these numbers in mind, you can plan your Geo farming and ore hunting efficiently. Each upgrade is a tangible step forward, turning daunting bosses into conquerable challenges. Let’s find that ore.
How to Find Pale Ore in Ancient Basin and Crystal Peak
The hunt is on—in Hollow Knight, the path to the mighty Pure Nail begins with two key pieces of Pale Ore hidden in the depths and heights of Hallownest. These first two are exploration-based, requiring you to unlock new areas and master your movement abilities.

The Ancient Basin area contains one of the first accessible Pale Ore pieces.
Ancient Basin: Your First Pale Ore
Your journey for the first Pale Ore leads to the Ancient Basin, a dark, forgotten region beneath the kingdom. You can get there by descending from the City of Tears or, more reliably, by using the Tram. This requires the Tram Pass, found in the Failed Tramway within Deepnest.
Once you arrive at the Tram Station in Ancient Basin, head left. You’ll need to descend a series of platforms until you reach a chamber guarded by two Lesser Mawleks. Defeat them to secure the area, then approach the large, inspectable black orb-like structure to claim your prize: Pale Ore 1.
This is often the easiest Pale Ore to get first. If you’re coming from Deepnest, the Tram provides a safe, direct route right to it.
Scaling Crystal Peak to Hallownest's Crown
The second piece demands a true platforming ascent to the very top of Crystal Peak, an area known as Hallownest's Crown. This isn't for the faint of heart—you’ll need three key movement abilities. First, the Mothwing Cloak to dash. Second, the Monarch Wings, obtained by defeating the Broken Vessel in Ancient Basin, which lets you press [A] in mid-air for a crucial double jump. Third, the Crystal Heart from Mining Ridge in Crystal Peak itself, which lets you hold [S] to charge and release for a super dash.
From the main areas of Crystal Peak, work your way to the right until you find a path leading up. You’ll need to chain dashes, double jumps, and finally use the Crystal Heart to soar through a final spike-filled corridor. At the summit, you’ll find a lone statue. Interact with the light at its base to collect Pale Ore 2.
⚠️ Watch out: The platforming here is intense. If you’re struggling without the Monarch Wings or Crystal Heart, it’s worth coming back later—this ore isn’t going anywhere.
With these two Pale Ores secured, you’re well on your way to forging the Channelled Nail and beyond. The heart of Hallownest holds its treasures for those willing to explore every dark corner and scale every glittering peak.
How to Find Pale Ore in Deepnest and Kingdom's Edge
Deepnest and Kingdom's Edge are where Hollow Knight stops holding your hand. This is the game's combat gauntlet, demanding sharp reflexes and smart builds for the next two Pale Ore pieces. You’ll face a shapeshifting horror in the dark and prove your worth in a gladiator's arena—here’s how to conquer both.
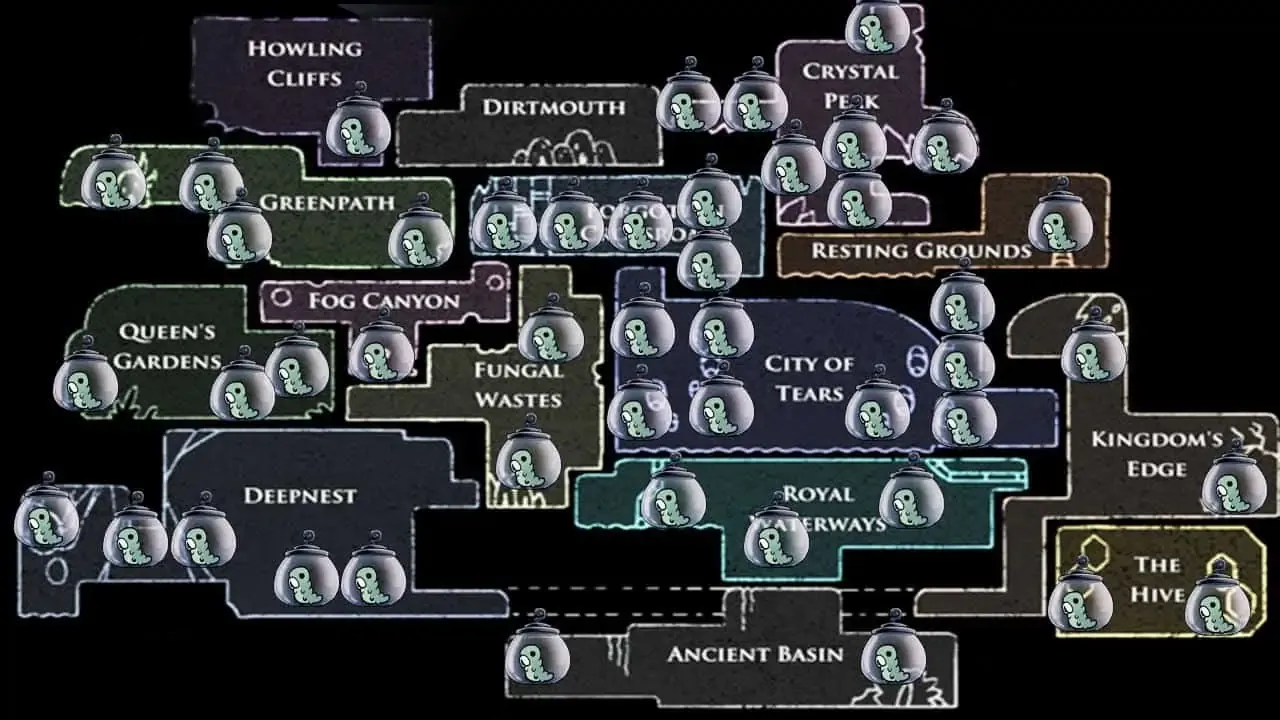
Strategic map for finding Pale Ore across Hallownest.
Defeating Nosk in Deepnest
Your first target is the optional boss Nosk, lurking in Deepnest. From the Hot Spring in Deepnest, head left. You’ll need to hop across platforms and, from the far-left one, perform a double-jump to a ledge on the upper-left wall. This wall is fake—slash it to reveal a hidden tunnel. Follow the eerie path (watch for a creature mimicking your own shape) until you drop into Nosk's Lair.
The Nosk boss fight begins with the creature scuttling along the ceiling, dropping acidic blobs. After taking enough damage, it transforms, dropping to the floor to charge back and forth. The trick is patience: stay grounded in the center, jump over its charges, and punish its backside. When it climbs the walls again, focus on dodging the falling goo.
Spells like Vengeful Spirit or Shade Soul are incredibly effective here, as you can hit Nosk safely while it’s on the ceiling. Equip Soul Catcher or Spell Twister to fuel your magic.
Once you defeat Nosk, head right from the arena. In the next chamber, you’ll find a glowing item—this is Pale Ore 3, your reward for conquering the mimic.
Conquering the Colosseum of Fools
Next, steel yourself for the Colosseum of Fools at the northernmost point of Kingdom's Edge. To enter, you must first speak to Little Fool at the entrance and pay 100 Geo to attempt the Trial of the Warrior. Consider this a warm-up; it’s a straightforward combat test.
Your real goal is the next challenge. After beating the Warrior trial, return to Little Fool and pay 450 Geo to enter the Trial of the Conqueror. This is a multi-wave survival gauntlet against a diverse roster of enemies, including flying threats and heavy hitters. A strong, upgraded Nail is highly recommended, and charms like Quick Slash and Mark of Pride will give you the edge.
⚠️ Watch out: The arena has no permanent floor in sections, turning platforming into part of the combat. Always be aware of your footing.
Victory in the Trial of the Conqueror is immensely rewarding. You’ll earn approximately 2,000 Geo and, most importantly, Pale Ore 4 from the chest that appears. If you’ve wiped here before, you’re not alone—this trial is a major skill check.
With these two hard-earned Pale Ores secured, you’ve tackled some of Hollow Knight’s toughest combat challenges. You’re now more than ready for the final stretch of your collection.
How to Find Pale Ore from the Seer and Grubfather
You’ve braved the depths of Deepnest and conquered the Colosseum. Now, in Hollow Knight, the final two Pale Ore pieces are earned not from combat, but from patience—by completing two of the game’s most significant collection milestones.

The Seer grants a Pale Ore after collecting 300 Essence.
Pale Ore from the Seer: The 300 Essence Milestone
Your journey for the fifth piece begins in the Resting Grounds. Here, in the Seer’s Hut, you’ll find the Seer, a moth-like being who bestows the Dream Nail. This tool is your key to Essence Farming. Hold [X] to strike Whispering Roots or the dream versions of certain bosses (Warrior Dreams) to collect Essence.
Don’t spend your Essence right away! The Seer’s rewards are sequential. You’ll get a Hallownest Seal at 200 Essence, and the Pale Ore is your guaranteed reward for reaching 300 Essence. Save for this first.
It sounds like a lot, but you’ll gather Essence naturally by exploring. Defeating a single Dream Boss or clearing a few Whispering Roots will get you there quickly. Once you have 300 Essence, return to the Seer in her hut, and she’ll happily hand over the Pale Ore.
Pale Ore from the Grubfather: The Rescue Mission
The sixth and final piece is a gift of gratitude, found in the Forgotten Crossroads. In the northwest corner, you’ll find Grubhome, where the Grubfather waits. His purpose is simple: reward you for rescuing his children. Return 31 Grubs to him, and he’ll eventually toss you a Pale Ore.
If finding all those Grubs feels daunting, here’s the trick most guides miss. Head to the Tower of Love in the City of Tears and defeat The Collector. He’ll drop the Collector’s Map, which immediately marks the location of every single unrescued Grub on your in-game map. This turns a tedious scavenger hunt into a straightforward checklist.
⚠️ Watch out: The Grubfather’s reward is passive. Once you hit 31 rescues, simply return to Grubhome and wait a moment. He’ll celebrate and then toss the Pale Ore your way—you don’t need to interact with him again.
With these two pieces secured, you’ve collected all six Pale Ore in Hollow Knight. You’re now ready to return to the Nailsmith in the City of Tears and forge the ultimate weapon.
Nailsmith Choice: Purity vs. Happy Couple Achievements
This is it—the moment of truth. After a long journey across Hallownest, you stand before the Nailsmith in his hut in the City of Tears, the legendary Pure Nail finally in hand. In Hollow Knight, this ultimate upgrade isn't just about reaching peak damage; it presents one of the game's most memorable and consequential choices. The Nailsmith, having achieved his life's work, will ask you to test the weapon's perfection on him. Your decision here is permanent and unlocks one of two mutually exclusive achievements.

The Nailsmith finds a new purpose with Sheo, unlocking the Happy Couple achievement.
The Final Choice: Purity or Partnership
When the Nailsmith asks, "Now... Do it. Strike me down. Let me feel the sublime power of a pure Nail," you have two paths:
Choice 1: Kill the Nailsmith
If you choose to grant his final wish, strike him down with the Pure Nail right there outside his hut in the City of Tears. This grants you the Purity achievement. His body will vanish from the smithy. If you later speak to the Godseeker in the Junk Pit (a sub-area within the Royal Waterways, near Flukemarm) after completing at least two Pantheons, you can find his corpse there.
Choice 2: Spare the Nailsmith
If you sheathe your weapon and leave the area without attacking, you spare him. Return to the now-empty smithy, and you'll find a diary entry where he reconsiders his purpose. Later, if you visit Nailmaster Sheo in his hut in Greenpath, you'll find the Nailsmith has moved in, happily painting alongside his new partner. This peaceful outcome grants you the Happy Couple achievement.
⚠️ Important: These achievements are tied to your save file. You cannot get both on the same playthrough. For completionists aiming for 112%, the Happy Couple achievement is the one that counts toward your completion percentage.
What Happens to Your Nail?
Here's the good news: your Pure Nail is unaffected. It remains at its full 21 damage power regardless of your choice. The decision is purely narrative and achievement-based. If you're playing for the first time, go with your gut—both outcomes offer poignant closure to the Nailsmith's arc. If you're achievement hunting on a single file, most recommend sparing him for the 112% route and pursuing Purity on a separate save.
With the fate of the Nailsmith decided, your weapon's journey is complete. You now wield the most powerful Nail in Hallownest, ready to face whatever challenges remain.
Best Build for Max Nail Damage in Hollow Knight
You’ve forged the Pure Nail—the ultimate weapon in Hollow Knight. Now, let's build around it. This is where your Knight transforms from a capable fighter into an unstoppable force, capable of shredding bosses and clearing arenas with raw, overwhelming power.

The Pure Nail is essential for a maximum damage build.
The cornerstone of any max-damage build is the Unbreakable Strength charm. You can purchase this powerful upgrade from Divine’s Tent in Dirtmouth after evolving the Fragile Strength charm you find in the Fungal Wastes. This charm provides a 1.5x multiplier to your Nail damage, pushing your Pure Nail from a formidable 21 damage to a staggering 33 damage per swing.
The Geo cost to make Fragile Strength unbreakable is steep, but trust me—it’s the single best investment for damage in Hollow Knight. Once it’s unbreakable, you never have to worry about losing it.
Funding these expensive upgrades requires serious Geo. Equip the Fragile Greed charm, also purchased from Leg Eater in the Fungal Wastes, to increase your Geo drops. For active farming, head to Kingdom’s Edge. The Hoppers here drop 16 Geo each and respawn quickly, making for a reliable loop. For a bigger payout, repeating the Colosseum of Fools trials, especially the Trial of the Conqueror, nets thousands of Geo per clear.
Remember, some rewards are sequential. When gathering Essence from the Seer in the Resting Grounds for a Pale Ore, you must hit 300 Essence before you can claim the next reward, a Vessel Fragment, at 400 Essence. Plan your Essence farming accordingly—defeating Warrior Dreams is often faster than hunting every Whispering Root.
Putting It All Together
With Unbreakable Strength equipped, your playstyle shifts. You can afford to be more aggressive, trading hits favorably because you’ll end fights much faster. Pair it with charms like Quick Slash to dramatically increase your attack speed, or Mark of Pride for safer spacing. For the Colosseum or boss rushes, Unbreakable Strength combined with your Pure Nail is often the difference between a tense battle and a dominant victory.
Your Nail journey, from the humble Old Nail to the legendary Pure Nail, is complete. With this build, you’re not just surviving Hallownest—you’re conquering it. Now go show those bosses what a truly empowered Knight can do.