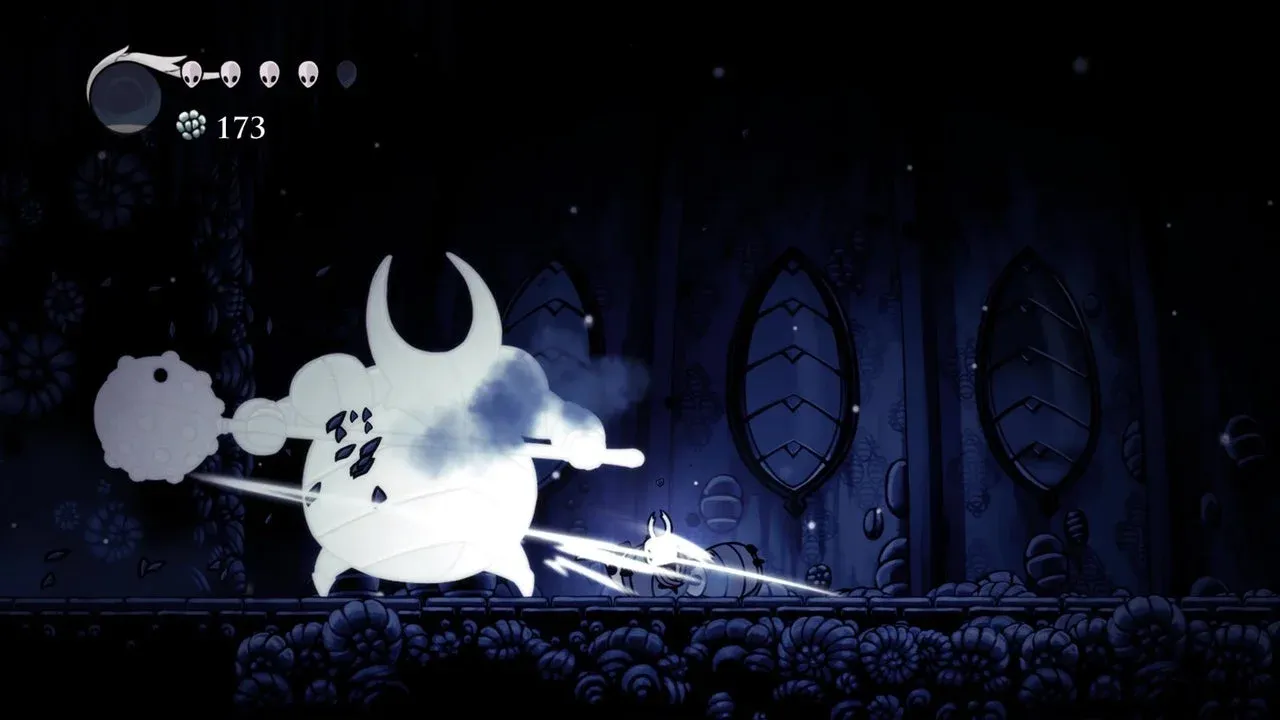
How to Find and Reach the False Knight in Hollow Knight
Your journey through Hallownest truly begins here. After descending from the serene town of Dirtmouth, you find yourself in the sprawling, ancient caverns of the Forgotten Crossroads. This is where you'll meet your first major challenge: the False Knight. This guide will get you to his arena and set the stage for the battle to come.
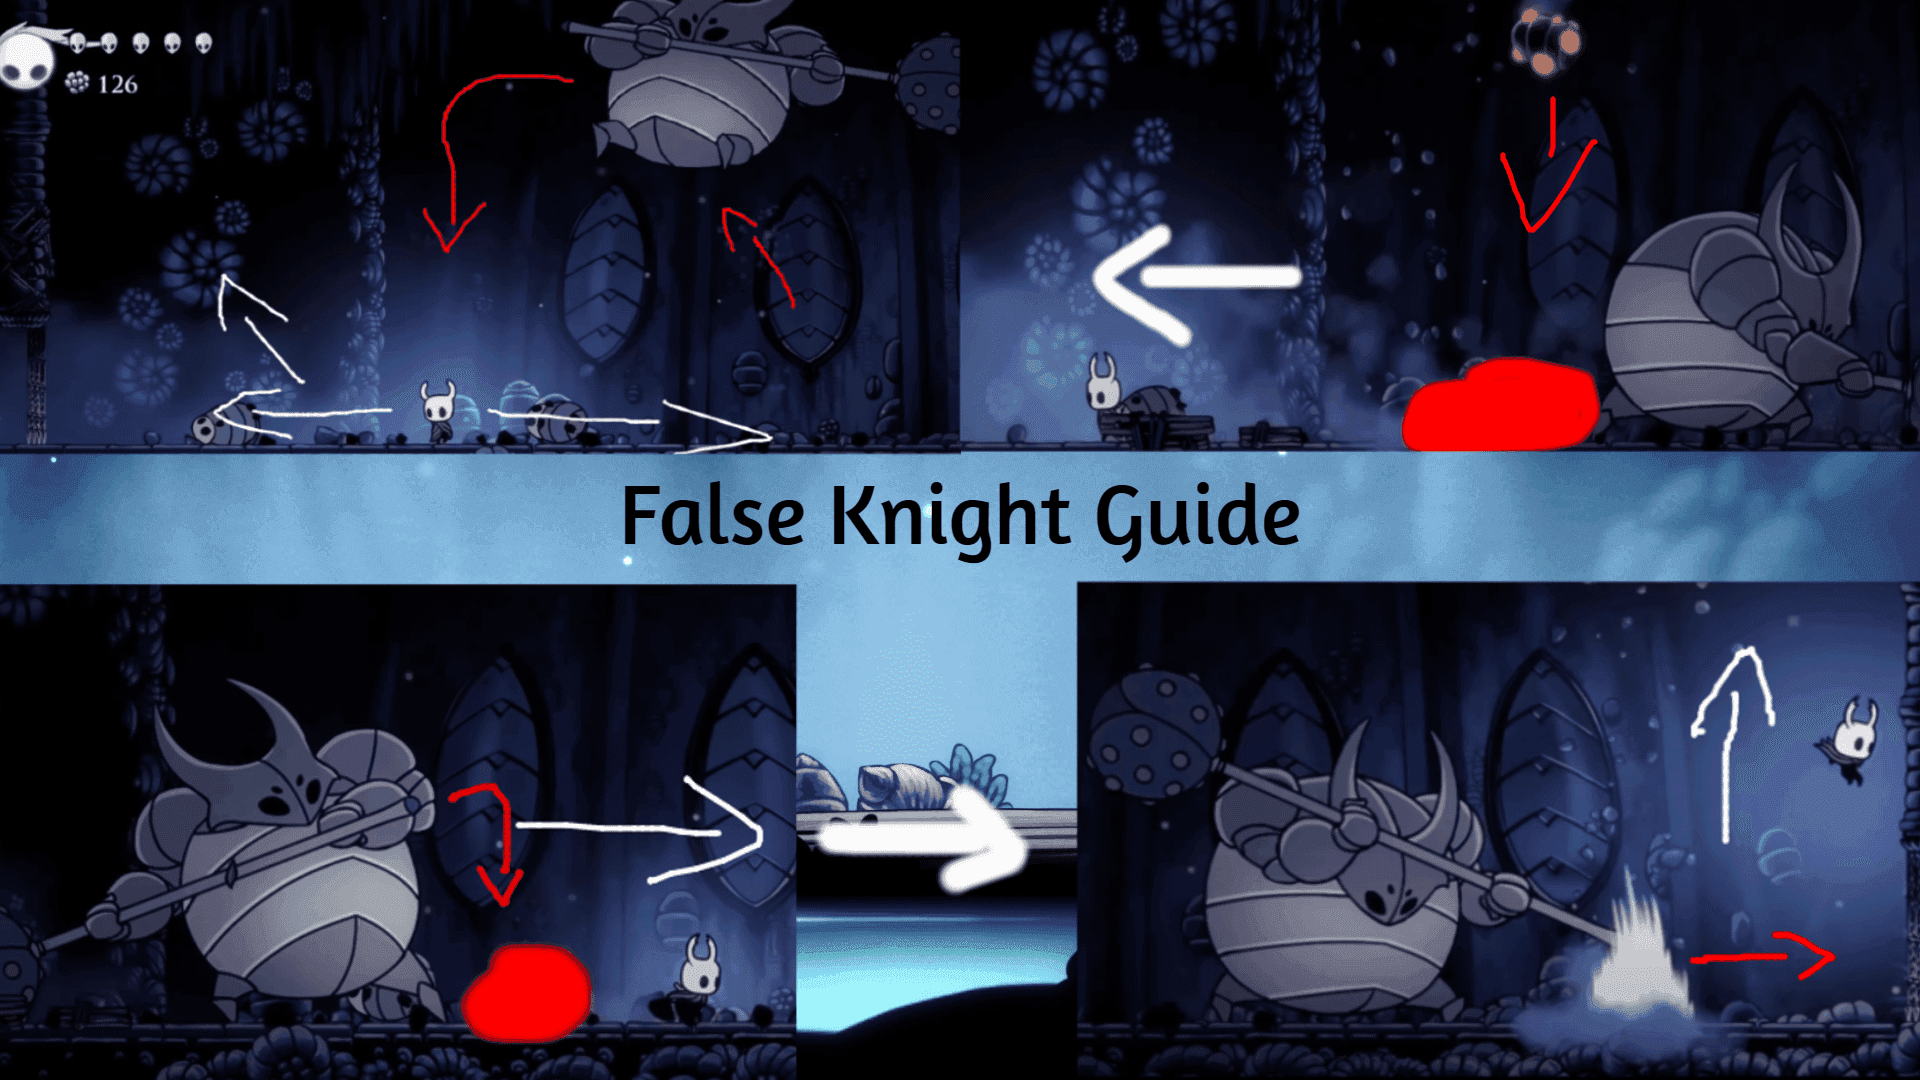
False Knight boss move breakdown and strategy guide.
To find the boss, you first need to navigate to the center of the Forgotten Crossroads. Start by heading left from the main vertical shaft. You'll eventually drop down into a larger chamber where you can meet Cornifer, the wandering cartographer, in the bottom-left area. He sells the map for this region—a worthy purchase, though your location won't appear on it until you buy the Wayward Compass charm from his wife, Iselda, back at her shop in Dirtmouth.
From Cornifer, continue moving right. You'll see an entrance above you leading to a room with two exits on the left. The first exit takes you to the Stag Station—a fast-travel hub—and a Bench where you can save and heal. The second left exit is your path forward. Go through it and into the next room.
Here, you'll find the pre-boss room populated by several aggressive "mad bug" soldiers. Trust me, you'll want to clear them out first. Once you do and proceed further left, heavy gates will slam shut on both sides, locking you in. This triggers the main event: the False Knight drops from the ceiling of the large arena below the Maggot storeroom, initiating the fight.
If you die during the attempt, your Shade will appear in this pre-boss room. Defeat it to regain your lost Geo and heal to full before re-engaging the boss.
With the arena locked and the boss looming, you're ready to face the first true test of your resolve in Hollow Knight. Let's prepare you for what comes next.
Best Build and Preparation for the False Knight Boss Fight
Alright, you've found the arena and you're staring down the first major gatekeeper of Hallownest. This is where Hollow Knight starts to test you, but a little smart preparation turns this brawler into a manageable lesson. Let's make sure you walk in ready.
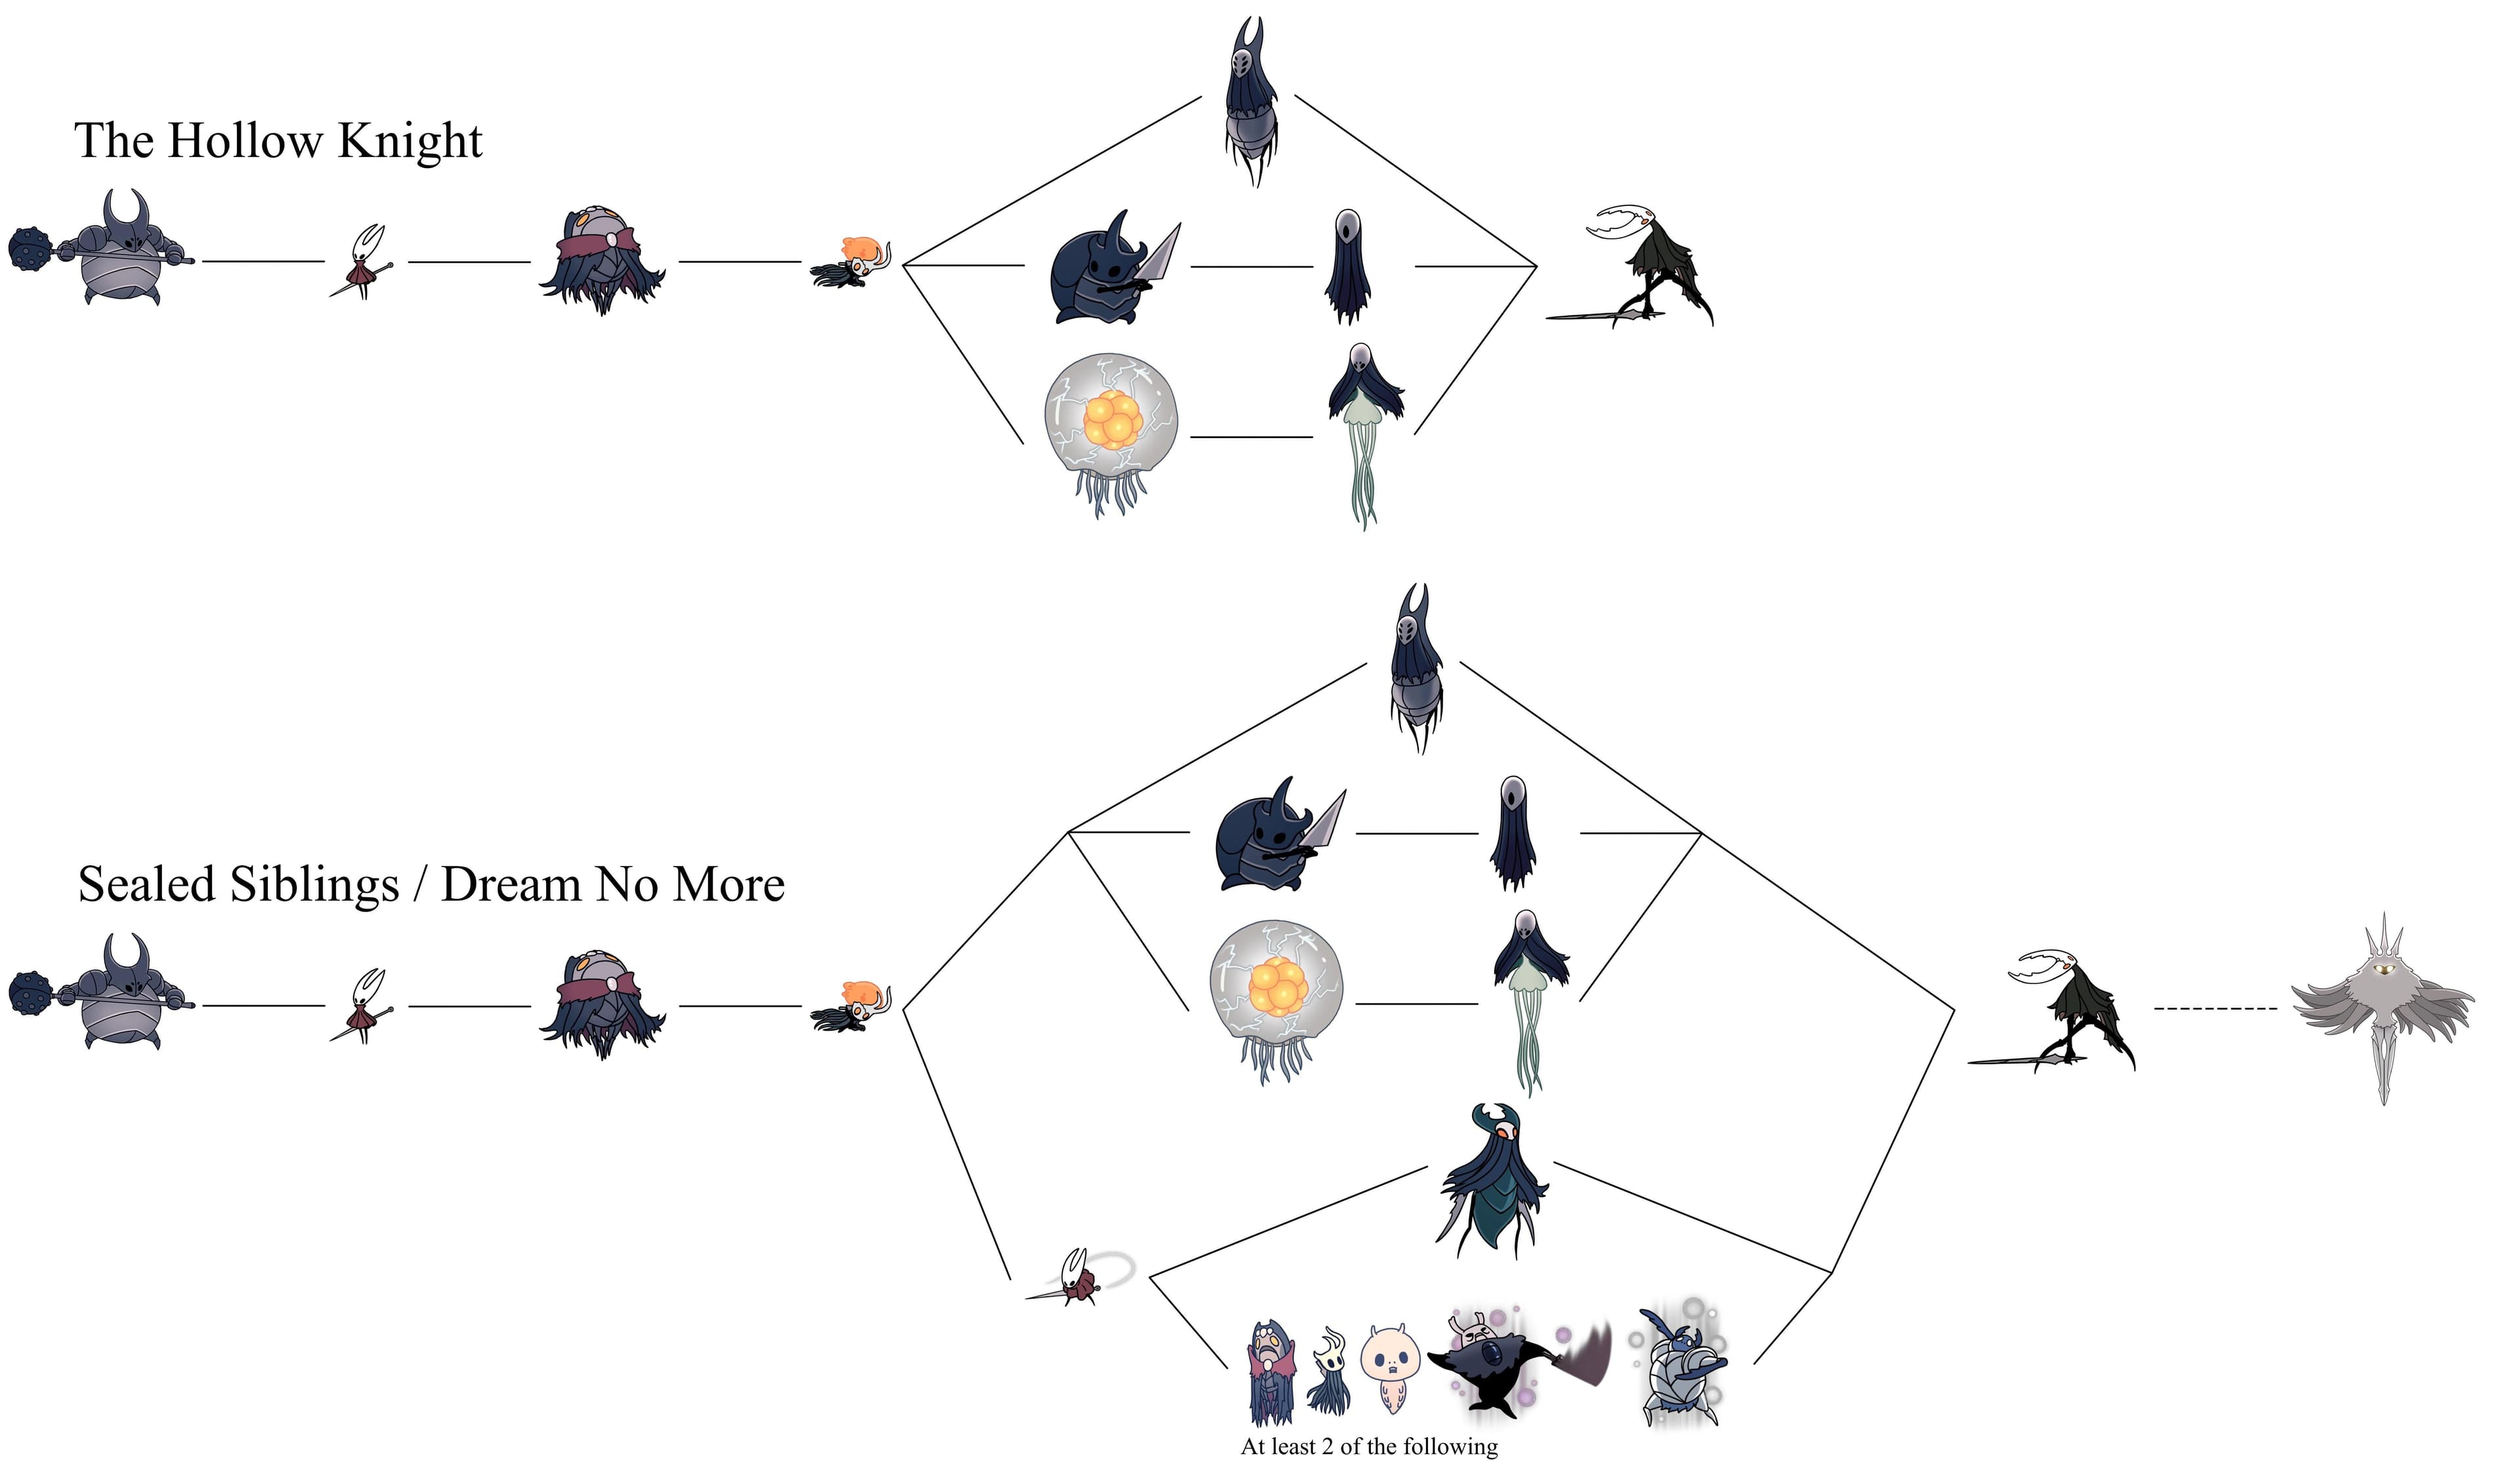
Visual breakdown of False Knight combat phases.
Gear Up for the Fight
Your base Nail will get the job done, but if you’ve scraped together 250 Geo, head back to Dirtmouth and visit Sly's Shop. His first upgrade, the Sharpened Nail, is a straightforward damage boost that will shave precious seconds off this fight. It’s the single best investment you can make here.
Charms are your strategic edge. The absolute MVP for this encounter is Grubsong. Found by rescuing 10 Grubs from their glass prisons throughout the Forgotten Crossroads, this charm is a game-changer: it grants you SOUL every time you take damage. Since this fight has a unique SOUL economy (more on that in a second), this passive generation is invaluable.
If you’ve ventured down to the Mantis Village and earned the respect of its lords, grab the Mark of Pride from the chest there. The extended Nail reach it provides lets you match the False Knight’s own mace radius, allowing you to strike safely from just outside his shockwaves. If you don’t have it, don’t sweat it—Grubsong is the true essential.
Understand the SOUL Economy (This is Critical)
Here’s the trick most guides miss, and it’s the core of this fight: attacking the False Knight’s armour grants you 0 SOUL. None. Zero. Your SOUL meter, used for healing and spells, will not budge by whacking his metal shell.
SOUL is only generated when you hit the exposed Maggot head during his brief stagger windows. This completely flips the standard Hollow Knight combat loop on its head. You cannot afford to be wasteful with your SOUL, because you won’t get it back by trading blows.
Right before triggering the fight, use your Dream Nail on the enemies or the Maggots in the storeroom above the arena. This fills your SOUL meter to max before the battle even begins, giving you a crucial buffer for emergency heals.
Because of this, your strategy needs a shift. Grubsong effectively bypasses this harsh economy by giving you SOUL on hit, making it the perfect safety net. Without it, you must be extremely disciplined: save all your SOUL for healing, and only heal during the guaranteed safe windows (like when he’s staggered or throwing his Rage tantrum in the center).
With your Nail upgraded, Grubsong equipped, and a full SOUL meter, you’ve mitigated the fight’s biggest hurdles. You’re not just stronger—you’ve got a plan. Now, let’s learn his patterns.
False Knight Phase 1: Learning the Hammer Patterns
Welcome to the main event. The gates slam shut, and False Knight crashes down from the ceiling, a giant in stolen armor blocking your path forward. This first phase is your crash course in Hollow Knight's boss design: a dance of observation, reaction, and measured aggression. Your goal isn't to overwhelm him, but to learn his rhythm.

Gameplay in the area where False Knight is encountered.
Phase 1 is all about recognizing three core hammer patterns and the small, safe windows they create. Don't worry about fancy tricks yet—this is about building your foundation.
Recognizing the Opening Moves
The False Knight opens with two primary movement-based attacks designed to control space and punish panic.
- Leap: This is his repositioning tool. He'll jump a short distance, either to get closer or to set up a more dangerous attack. Your move is simple: [Dash] or simply walk underneath him as he lands. This safely swaps your positions and keeps you in control of the arena.
- Charge: If you try to create too much distance to heal or reposition, he'll respond with a short, forward burst to close the gap. It’s quick, so be ready to move away or [Jump] to avoid the contact damage.
His Leap never happens twice in a row. After he jumps once, you know the next move will be something else, giving you a moment to anticipate.
The Two Big Punishes
His main damage-dealing attacks are heavily telegraphed. Learning these tells is the key to the entire fight.
- Slam: This is his signature move. He'll rear back, priming his mace for a full second before swinging it down into the ground. The impact sends a white shockwave rippling across the floor. Your counter is straightforward: [Jump] over the wave just before it reaches you. The timing is generous—watch for the mace to hit the ground, then hop.
- Leaping Bludgeon: Here, he jumps high into the air, targeting where you were when he started the leap. He swings his mace in an overhead arc before crashing down. The safest response is to [Dash] away during his arc, creating space. Trying to go under this one is riskier in Phase 1.
After each Slam or Leaping Bludgeon, he has a significant recovery period. This is your invitation. Dash in, land one or two Nail strikes on his armor, then retreat. Greed is your biggest enemy here.
Your Golden Opportunity: The First Stagger
Your attacks aren't actually hurting him yet—you're damaging the armor. Once you deplete the armor's health to 0, you trigger the first Stagger. The False Knight will fall forward onto his chest, and his helmet will pop off, revealing the tiny, pale Maggot pilot inside.
This is your most critical moment in Phase 1. Immediately run up and [Nail] strike the exposed Maggot head as many times as you can. These hits do build your SOUL meter, unlike strikes on the armor. If you need to heal, do it quickly right at the start of this window, then attack.
If you take too long, he'll recover on his own. Always end the stagger by dealing the final blow to the Maggot, which forces him back into his armor and progresses the fight.
Master this push-and-pull—dodge the big swings, punish the recoveries, and capitalize on the stagger—and you'll have Phase 1 down cold. With the Maggot's desperate voice now echoing with each attack, you're ready for the chaos of Phase 2.
False Knight Phase 2: Managing Falling Explosives
You’ve staggered him once and exposed the little grub pilot. Now, as the False Knight in Hollow Knight rises for round two, the rules change. The air fills with the muffled cries of the Maggot inside the armor, and the arena becomes a deadly obstacle course.

Official screenshot showcasing the atmosphere of Hollow Knight.
This is Phase 2, where the boss enters a Rage state and the environment itself turns against you. Explosive barrels now rain from the ceiling during his Slam attacks, forcing you to manage spacing like never before. Your goal is to expose the Maggot head a second time, but getting there requires a new level of awareness.
Navigating the Barrage
The core change is the Falling Barrels. Every time the False Knight performs his telegraphed Slam, debris will drop from above. Your instinct might be to just dodge, but here’s the trick most guides miss: you can fight back. Hit these falling barrels with your Nail to redirect them straight at the boss. A well-angled strike deals 10 damage each and, crucially, contributes to his stagger meter. This turns a defensive hazard into a major offensive opportunity.
Listen for the distinct, muffled grunts from the armor—that’s your audio cue that Phase 2 has begun and barrels are now in play.
Your windows to act safely are narrower. The Slam shockwave is still there, so you must jump over it, but now you also need to watch the sky. Immediately after dodging, glance up: if a barrel is falling toward you, a quick Nail tap can send it hurtling back at the False Knight. This phase rewards aggressive, precise reactions.
Finding Your Openings to Heal and Strike
SOUL economy gets even tighter here. Remember, hitting the armor still grants zero SOUL; you only gain it by damaging the exposed Maggot during a stagger. This makes managing your resources critical.
Safe Healing is all about timing. Do not attempt to Focus heal during a Slam or its shockwave—you will get hit. The two best windows are:
- During the Rage tantrum. When the boss jumps to the center and slams repeatedly, retreat to the far corners. You’ll usually find a safe spot between the falling barrels to squeeze in a heal.
- Immediately after the second Stagger. Once you deplete his armor health again and the Maggot head pops out, land a few hits to gain SOUL, then use a moment to heal if needed before he recovers.
For your big damage push, this second Stagger is your moment. If you managed to acquire the Vengeful Spirit spell from the Ancestral Mound (the room immediately after this arena), now’s the time to use it. Stand at a safe distance and blast the vulnerable Maggot head for high burst damage. Even if you don’t have the spell, maximize your Nail strikes here.
With barrels redirected for extra damage and smart healing keeping you alive, you’ll break through Phase 2. The floor is about to give way, but first, you need to survive his final, most desperate tantrum. You’ve adapted to the chaos—now finish the fight.
False Knight Phase 3: Final Stand and Floor Collapse
This is it—the final phase of the False Knight fight in Hollow Knight. He’s beaten, battered, and absolutely furious. The Phase 3 escalation is here, and the arena itself is about to become your enemy.
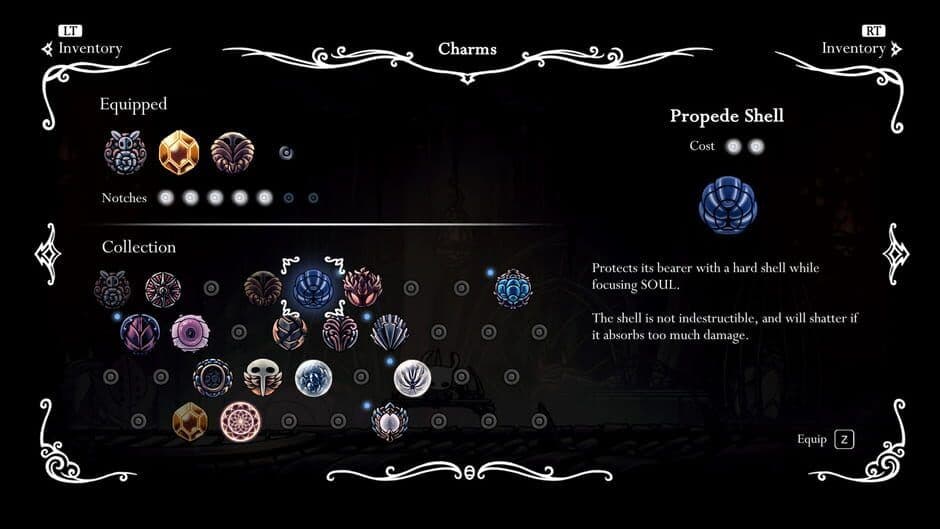
The dark, ornate environments where boss fights occur.
After triggering the second stagger, the boss enters his last stand. The rules change: barrels now drop during the Leaping Bludgeon attack, not just the Slam. His Slam also summons even more barrels than before. This is pure chaos management—your spacing needs to be perfect. Stay mobile, use your dash liberally to avoid his targeted leaps, and remember that jumping over shockwaves is still your safest bet. The corners are less safe now due to the increased debris, so try to stay central and reactive.
If you’re feeling confident, keep using your Nail to redirect those falling barrels back at him. Each one that connects still deals 10 damage and can help push him toward that final, crucial stagger.
The third and final stagger is your ticket to victory. Once you’ve dealt enough damage to the Maggot inside the armor—the true, weak creature wearing Hegemol's stolen armour—the scripted finale begins. The False Knight will perform one last, furious Rage attack in the center of the room. Survive it, and he’ll jump, slamming through the floor and causing a Floor Collapse.
Both of you will fall to the chamber below. Immediately press [A] to jump down after him. Here, the fight ends not with a complex mechanic, but with raw, cathartic violence. The Maggot is fully exposed and incapacitated. This is your Final Execution. Lay into it with your Nail. Attack relentlessly until a dramatic orange explosion occurs—this is the kill signal, and it doesn’t hurt you. The small grub will emerge from the shattered armor, and the City Crest will be yours.
If you’ve wiped here before, you’re not alone—the sudden floor drop can be disorienting. But now you know: survive the intensified barrage, chase him down, and finish the job. You’ve just conquered Hollow Knight’s first major gatekeeper.
How to Skip the False Knight Boss Fight
Think you have to beat the False Knight to progress in Hollow Knight? Think again. There's a secret exit that lets you slip past this early boss, grabbing powerful tools before you're "supposed" to have them. This isn't just a skip—it's a strategic choice that can reshape your early game.
The Knight navigating the dangerous ruins of Hallownest.
The Great Escape Route
The key to bypassing the boss lies in the Forgotten Crossroads arena itself. After you trigger the boss's first Rage attack—where he jumps to the center and slams his mace repeatedly—the wooden support beams on the left wall above the gate become damaged and breakable. This is your ticket out.
You don't have to survive long to trigger this. Just focus on dealing enough damage to his armor to cause the first stagger and subsequent Rage state. Once he starts slamming in the center, the escape route is ready.
Head to the far left side of the arena and start striking the weakened wooden beams with your nail. A few hits will break them open, revealing a passage. Trust me, the moment you see that opening, you'll feel a rush of freedom. This isn't a glitch; it's a cleverly designed option for players who want to sequence break.
What You Gain (And What You Leave Behind)
Slipping through that broken wall leads you directly to the Ancestral Mound, the area immediately to the left of the boss room. Here, you'll find the Vengeful Spirit spell. This is your first ranged attack in Hollow Knight, a game-changing ability that lets you fire a projectile by tapping your Focus button. With this in hand, you can return to the False Knight arena (the fight will have reset) and challenge him with a powerful new tool, or you can simply press onward, exploring areas like Greenpath much earlier than intended.
However, skipping the fight comes with a penalty. Bypassing the boss forfeits the City Crest and the 200 Geo found in the arena chest until you return and defeat him later. The City Crest is the key item needed to open the main gate to the City of Tears, a critical progression path. While there are alternate, more difficult routes into the city, this is the most straightforward one. So, by skipping, you're trading immediate safety and a new spell for a temporary delay in accessing a major area.
When to Use the Skip
This escape route is perfect for two types of players: those who are truly stuck and need a power boost, and experienced players looking for a challenge run or early spell access. If the boss's patterns are overwhelming you, grabbing Vengeful Spirit can turn the tide completely. It also lets you experiment with Hollow Knight's non-linear world design right from the start.
Just remember: whether you flee now to fight smarter later, or charge ahead to forge your own path, the choice is yours. That's the beauty of Hollow Knight.
False Knight Rewards and Post-Fight Secrets
With the False Knight defeated and the City Crest in hand, the path forward opens up—but your work in the Forgotten Crossroads isn't quite done. Let's collect your hard-earned rewards and uncover the secrets left behind in the arena.
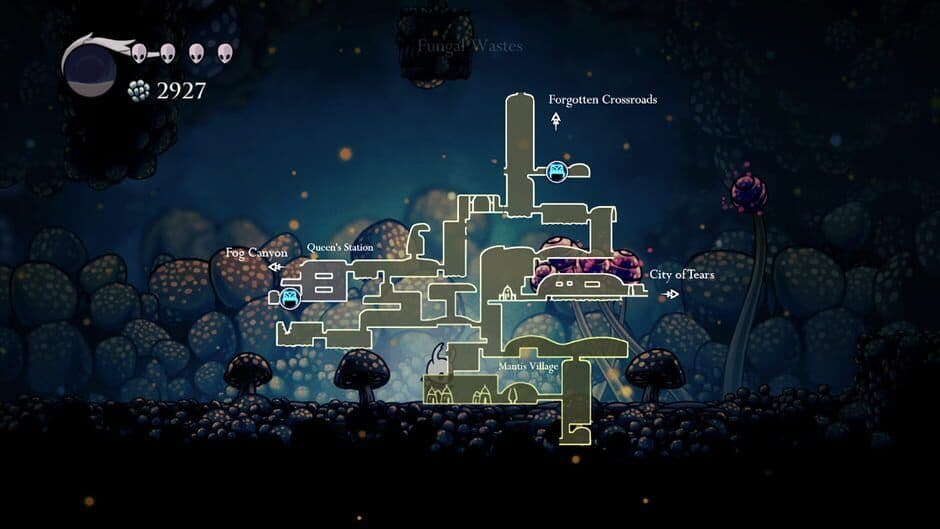
The Knight preparing for a boss encounter.
First, the immediate loot. After delivering the final blow, the Maggot will crawl from the massive armor, leaving behind the City Crest. This key item is your ticket to the capital; you'll use it to open the massive gate leading to the City of Tears. Don't forget to grab the 200 Geo from the treasure chest in the arena—it's a solid chunk of early-game currency for maps and charms.
Before you leave, take a moment to Dream Nail the empty armor shell. You'll get a bit of SOUL and a line of dialogue that hints at the Maggot's desperate motives.
Now for the hidden lore. Return to the boss room and look up. You'll find a breakable wall on the upper-left side, leading to the Maggot Storeroom above the arena. Inside, you'll see the fallen Maggot's corpse, with its siblings mourning nearby. This room is the heartbreaking answer to why the False Knight fought: a weak creature who stole strength in a doomed attempt to protect its family.
Your Next Destination in Hallownest
With the City Crest, your primary goal is to head left from the arena, through the newly accessible gate, and into the fungal caverns that lead to the City of Tears. However, Hollow Knight always offers alternate paths.
If you explored the escape route earlier, you may have already visited the Ancestral Mound and acquired the Vengeful Spirit spell. From there, you can choose to either return to claim your rewards from the False Knight or bypass the city gate entirely for now by heading south. This southern path leads to Greenpath, a lush, overgrown area that serves as another major early-game region. Whether you seek the grandeur of the city or the wilds of Greenpath next is up to you.
⚠️ Remember: Skipping the fight means you forfeit the City Crest and 200 Geo until you return. It's almost always worth claiming your victory loot before moving on.
You've conquered the first major gatekeeper of Hallownest. Take your rewards, absorb the somber story in the storeroom, and choose your next adventure—the vast kingdom is now yours to explore.
Failed Champion: How to Beat the Dream Rematch
You thought the False Knight was tough? Wait until you meet his nightmare. In Hollow Knight, the Failed Champion is the brutal Dream Nail rematch that transforms a tutorial boss into a high-speed, high-stakes test of your skills. This dream variant hits twice as hard and moves twice as fast, demanding a perfect blend of patience and aggression. Here’s how to conquer him and claim his 300 Essence.

Official Hollow Knight artwork.
The Arena & The Awakening
To start this fight, you must first return to the Maggot storeroom hidden above the original False Knight arena in the Forgotten Crossroads. Behind a breakable wall, you’ll find the Maggot’s corpse. Using your Dream Nail on it transports you to the dream arena—a familiar room with a far more dangerous occupant. Remember: Failed Champion deals 2 masks of contact damage with every touch, turning small positioning errors into catastrophic losses. Don’t treat this like the original fight.
⚠️ Watch out: Before you start the fight, Dream Nail the living Maggots in the room for a full SOUL meter. Killing them first wastes a crucial resource, as hitting the boss’s armor grants no SOUL.
Moveset: Speed & Savagery
The Failed Champion uses the same moves as his waking counterpart, but they are significantly faster and more punishing.
- Leap & Leaping Bludgeon: His jump is lower and faster. The Leaping Bludgeon (the overhead slam) now causes barrels to fall in all phases. Your safest dodge is to dash underneath him as he jumps.
- Shockwave Slam: This is your biggest threat. The shockwave is now taller, making a simple hop insufficient if you’re too close. Time your jump perfectly or use the Shade Cloak to dash through it. Barrels fall with every Slam.
- Rage Tantrum: As before, he’ll jump to the center and slam repeatedly, raining barrels. This is your primary safe window to heal in the corners, but watch for stray debris.
The core strategy, the Patient Dance, is to stay near the center, bait a Leap, dash under it, land 1-2 hits, and retreat immediately. Greed is your worst enemy here.
The Stagger-Lock Strategy
Your most powerful tool in this fight is a specific tech that can trivialize the challenge if executed correctly: the Stagger-Lock Cheese.
When you deplete his armor health, the Failed Champion will stagger, falling forward. Normally, you’d attack the exposed Maggot head to progress the fight. However, if you ignore the head and instead use your Nail to strike the armour shell during the stagger, you reset the stagger timer without damaging the Maggot. This creates a loop.
With the Dream Wielder charm equipped, you can Dream Nail the exposed Maggot during this extended window for a massive SOUL refill, then use that SOUL to cast spells like Descending Dark (for invincibility frames) or Abyss Shriek (for huge damage) when he gets up.
This loop lets you fully heal with Focus and gather SOUL safely between phases, turning a chaotic fight into a controlled execution.
Builds for the Dream Warrior
Your charm loadout should support your chosen strategy.
- For the Stagger-Lock: Shaman Stone (bigger spell damage), Dream Wielder (faster Dream Nail strikes for SOUL), and Quick Focus (to fit a heal into the stagger window) are ideal.
- For the Patient Dance: Prioritize survival and damage. Quick Slash lets you maximize your brief attack windows, Unbreakable Strength boosts your nail damage by 50%, and Quick Focus or Stalwart Shell can save your life.
Victory & Legacy
Defeating the Failed Champion is a major milestone. You’ll be rewarded with a hefty 300 Essence, absorbed directly by your Dream Nail, bringing you closer to awakening it. You’ll also unlock the Strength achievement, a badge of honor for conquering one of Hollow Knight's tougher dream rematches.
His spirit will appear, offering a moment of tragic lore before shattering. Remember, you can also Dream Nail his empty armor in the Pantheons later for extra SOUL. With his essence claimed, you’ve proven your strength goes far beyond a stolen shell.