
What Happens Upon Death in Hollow Knight
In Hollow Knight, death is more than a setback—it’s a core part of your journey through Hallownest. When your health drops to zero, the immediate consequences are harsh but manageable if you understand the rules.

Gameplay in Hollow Knight.
First, you’ll lose all Geo you were carrying. That hard-earned currency vanishes in an instant. Second, your Soul meter becomes cracked, reducing your maximum Soul capacity by roughly half. This makes healing and casting spells much harder until you recover.
Your fallen self doesn't just disappear. A Shade appears at your death location, holding onto all that lost Geo and the key to restoring your Soul meter. It usually spawns in or just before the room where you fell. If you died in a boss arena, the game shows a little mercy: your Shade spawns in a safe location outside the boss trigger zone, so you don’t have to re-engage the boss just to get your stuff back.
Always check your map after dying. A black Shade pin marks its exact location, making it much easier to track down.
There’s one notorious bug to watch for. If you die to an environmental hazard like spikes and your body gets knocked into another room during the death animation, your Shade may not appear. In this rare case, your Geo is permanently lost unless you use an alternative recovery method.
While it feels punishing, this cycle of death and recovery is a deliberate part of Hollow Knight’s challenge. Knowing exactly what happens—and where to find your spectral twin—turns a moment of frustration into a clear objective for your next attempt.
How to Locate and Defeat Your Shade in Hollow Knight
You’ve died, and your Shade is out there in the dark—a shadowy twin holding all your lost Geo. Finding and defeating it isn’t just a chore; it’s your one chance to reclaim what you lost and mend your fractured soul. In Hollow Knight, this is a non-negotiable part of survival.

Listen for the eerie music that signals a Shade is nearby.
Your first and best tool is your map. The instant you die, a Shade Pin appears as a small, black icon marking your Shade’s exact location. It’s your literal guiding light—follow it back to the room of your death, or sometimes just before it if you fell to a boss. Trust me, you’ll want to make this your immediate priority after respawning.
If your Shade is stuck in a boss arena, it usually spawns just outside the entrance, letting you recover your Geo without triggering the fight again.
When you find your spectral double, the fight is on. Approach your Shade and press [X] to strike with your Nail or [A] to use Spells. It’s not a complex duel—your Shade mirrors your movements and has a simple, predictable attack pattern—but it does have health. Its HP is calculated as your Nail damage multiplied by half of your max HP at the time of death, rounded down. This means a tougher, more robust Knight leaves behind a sturdier Shade.
There’s one major exception to this rule: if you had the Joni's Blessing charm equipped when you died, the calculation changes. Instead, your Shade HP equals 1x your Nail damage. This often makes the Shade far easier to dispatch, a small mercy if you were running a lifeblood build.
The payoff for victory is everything. Defeat your Shade, and you instantly regain all lost Geo and restore your Soul meter to normal, clearing the cracked visual and returning your maximum Soul capacity. It’s a full reset, wiping the slate clean from your last death.
This is the core loop of recovery in Hollow Knight. With your map guiding you and a clear understanding of the combat, you can face your shadow, reclaim your resources, and dive back into the depths with confidence restored. Let’s go get your stuff back.
How to Use Confessor Jiji for Shade Recovery in Dirtmouth
Stuck with your Shade deep in a nasty corner of Hallownest? Hollow Knight offers a crucial alternative for those moments when trekking back to your death site feels impossible. Instead of braving a gauntlet of enemies or a tricky boss run, you can call your lost spirit directly to you with the help of a peculiar NPC and a strange, rotten-smelling egg.
The world of Hollow Knight.
Head to the stone house behind the Simple Key door in Dirtmouth. Inside, you’ll find Confessor Jiji, a mysterious bug who offers a special service for a fee. Speak to her, and she’ll offer to summon your Shade directly into her home, saving you the dangerous trip. The payment? A single Rancid Egg, a consumable item that acts as the catalyst for her ritual.
This service is a lifesaver if you died with a huge amount of Geo in a remote or dangerous area, like the depths of Deepnest or during a tough platforming section. It’s often faster and safer than fighting your way back.
So, where do you get these Rancid Eggs? You have a few options. The most accessible early source is Sly in his Dirtmouth shop. After you rescue him, he’ll sell you one Rancid Egg for 60 Geo. It’s a smart investment to buy this early and hold onto it for a true emergency. For a more reliable, unlimited supply, seek out Tuk in the upper right part of the Royal Waterways. This vendor will sell you as many Rancid Eggs as you need, though the price is higher at 80 to 100 Geo each.
You can also farm them from specific enemies. Keep an eye out for the brown, bloated Bluggsacs. These bugs have a chance to drop a Rancid Egg upon death when defeated. They can be found in several locations, including parts of the Fungal Wastes and Royal Waterways, providing a free, if less consistent, source.
Once you have an egg, the process is simple. Return to Confessor Jiji in Dirtmouth, hand over the Rancid Egg, and she’ll begin her ritual. Your Shade will materialize in her chamber, ready for you to defeat it. Win the fight, and you’ll instantly recover all your lost Geo and restore your Soul meter to normal, no dangerous backtracking required.
With Jiji’s help, even the most devastating deaths don’t have to mean a perilous recovery mission. Keep a Rancid Egg in your pocket, and you’ll always have a safe way home for your lost wealth and spirit.
Consequences of Failing to Retrieve the Shade
Alright, let’s talk about what happens when you just can’t get your Shade back. In Hollow Knight, losing a battle is just a setback—but failing to recover your Shade can turn that setback into a permanent loss.
Exploration often leads to difficult Shade retrievals.
The stakes are simple but brutal: if you die before killing your Shade, the old Shade disappears and all Geo inside is lost forever. It’s replaced by a new one at your most recent death site. Think of it as your spirit moving on, abandoning the old loot. If you had 3,000 Geo on you and die in a spike pit on the way back, that Geo is gone for good. This is the core risk that makes every journey back to your death site a tense one.
If you’re carrying a huge amount of Geo and die in a dangerous spot, seriously consider visiting Confessor Jiji in Dirtmouth. Paying one Rancid Egg to summon your Shade safely is always cheaper than losing thousands of Geo forever.
This replacement mechanic means you can’t stockpile Shades or have multiple out at once. There’s only ever one active Shade tied to your latest death. Dying in the White Palace adds a strange twist: it counts as a real death for the purposes of breaking Fragile Charms, but no Shade is released upon death there. You won’t lose Geo from a White Palace death, but your Fragile Charms aren’t safe.
Finally, there’s the ultimate consequence in Steel Soul Mode. Here, death is permanent and your save file is deleted—no Shade recovery is possible because there’s no coming back. This mode turns every encounter into a high-stakes gamble where a single mistake can erase hours of progress.
Losing Geo hurts, but in Hollow Knight, it’s rarely the end of the world. Geo can always be re-earned through farming or selling relics. The true penalty is the lost time and progress. Learn from each death, and you’ll keep moving forward.
Best Charms and Abilities for Shade Management
Now that you've mastered the fundamentals of Shade recovery, let's talk about turning a liability into an asset. In Hollow Knight, the right gear doesn't just help you get your Geo back—it makes collecting it in the first place far more efficient and gives you the power to dominate your own Shade when you find it. This final piece of the puzzle is about proactive management.
Combat gear helps secure Geo and defeat the Shade.
Maximizing Your Haul: Geo Collection Charms
Before you ever worry about losing Geo, you can be earning more of it. Two charms are absolute game-changers for building your bankroll.
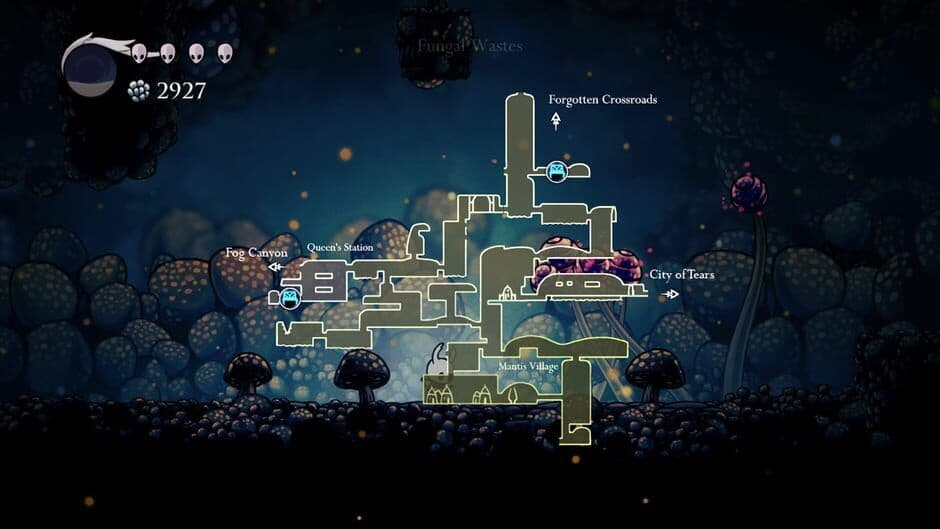
First, grab the Gathering Swarm from Sly's Shop in Dirtmouth. For just [1] charm notch, this charm deploys a swarm of tiny insects that automatically collects any Geo dropped by enemies, saving you the hassle of chasing down every last coin, especially in the heat of battle.
For serious farming, you'll want Fragile Greed, found with Leg Eater in the Fungal Wastes. This [2]-notch charm significantly increases the amount of Geo dropped by every enemy you defeat. While it's "Fragile" and breaks if you die with it equipped, the increased income is often worth the risk during dedicated farming runs. Just remember to swap it out before a tough boss!
Combine Gathering Swarm and Fragile Greed for the ultimate passive Geo farming setup. You'll earn more from each enemy and never miss a single coin.
Offensive Tools for Shade Domination
When it's time to face your Shade, you want to end the fight quickly. Two late-game abilities, in particular, give you immense offensive and defensive power.
For sheer firepower, seek out Shade Soul in the City of Tears. This upgrade is locked behind an Elegant Key door within the Soul Sanctum. Once obtained, press [B] to fire a powerful, wall-piercing projectile that deals 30 damage—double that of the base Vengeful Spirit. This lets you snipe your Shade from a safe distance or blast through its attacks.
Your greatest defensive tool, however, is the Shade Cloak. You'll find this transformative ability at the bottom right of The Abyss, after a challenging journey. Press [ZR] to execute a "Shadow Dash" that grants temporary invincibility, allowing you to phase right through your Shade (and its attacks) without taking damage. This completely changes the dynamics of the confrontation, letting you reposition aggressively.
Converting Finds into Funds
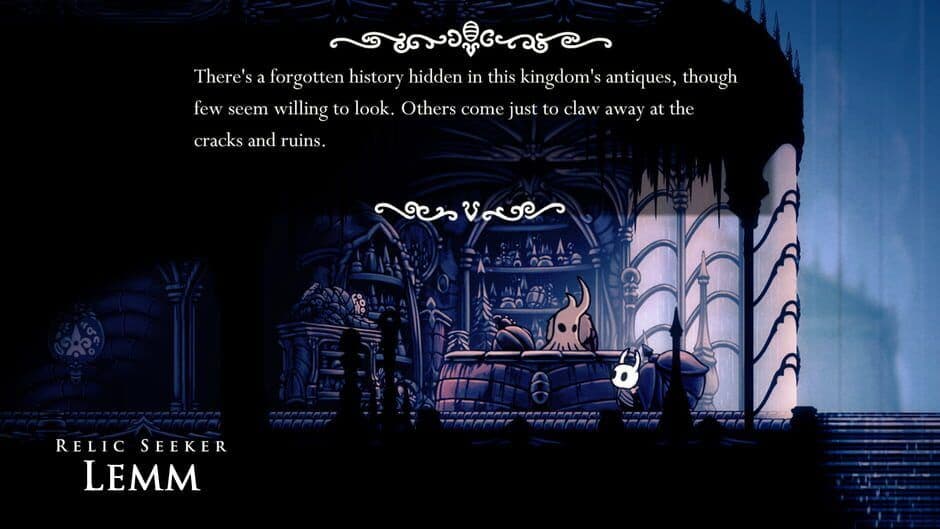
Sometimes, the best Geo isn't earned from enemies but found in the world. That's where Relic Seeker Lemm comes in. You'll find this unique vendor in Fountain Square in the City of Tears, west of the large statue. As the only NPC who buys artifacts, his purpose is to turn your exploration loot into cold, hard Geo. He pays handsomely for relics like Wanderer's Journals and rare Arcane Eggs.
Trust me, visiting Lemm to sell duplicate relics after a deep exploration session is one of the most satisfying ways to fund your next big purchase from the Nailsmith.
With these charms and abilities in your arsenal, you're no longer just reacting to death in Hollow Knight—you're controlling the entire economy of risk and reward. You'll build wealth faster, reclaim it with overwhelming force, and turn every artifact into an advantage. Now, go spend that Geo. You've earned it.