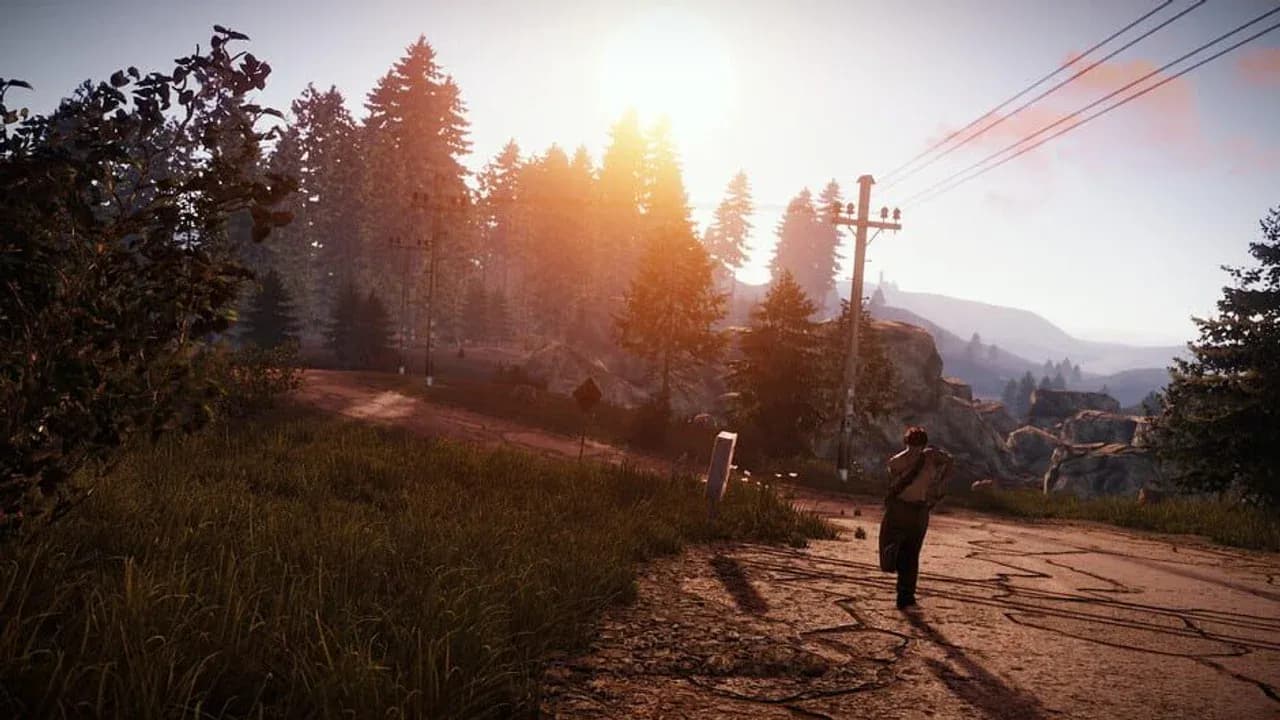
The first recycler at Abandoned Supermarket or Oxum’s Gas Station is useful because it compresses your opening route—not because it is a safe place to farm scrap forever. On a fresh vanilla-like wipe, your real objective is to turn that Tier 1 stop into a Green Keycard, a workable travel kit, and a practical next puzzle before nearby players or diminishing inventory value make the recycler loop worse than leaving.
There is no universal scrap number that tells you when to go. The right departure point is when a compatible green-card puzzle is reachable, your fuse problem is solved or actionable, and you can survive the route and return. This guide compares the two starts, selects first-blue targets from the procedural map, and gives you the powered-puzzle sequence and current progression payoff without relying on obsolete Outpost-vendor or fixed-timer advice.
Turn Supermarket or Oxum into a short staging loop
Once you reach Abandoned Supermarket or Oxum’s Gas Station on a fresh vanilla-like wipe, treat the monument as a staging point, not as your first permanent scrap route. For a solo or duo, the immediate job is the same at either start: secure the Green Keycard, collect enough food and useful early supplies to move, and use the on-site recycler to turn the best components into a compact travel loadout. Both are no-radiation roadside monuments with one recycler and a Green-card progression route. No radiation makes the opening easier to manage; it does not make either location safe.
Contexto de viaje genérico; la imagen no fija las condiciones ni el destino.
At Abandoned Supermarket, use the back/left card area and the back recycler as one short pass. Its current mix of food boxes, vehicle-part crates, barrels, and a Green-card puzzle route gives you reasons to sweep selectively, not a promise that every container or card will be waiting in one fixed place. Move from the card area toward the recycler, keep what supports the next leg, and avoid turning the pass into a full inventory-clearing exercise while other players can arrive from the surrounding road.
Oxum’s equivalent pass runs from the office to the garage recycler. The office-to-garage landmarks make the route easy to read, while the current route offers food and vehicle parts at the storefront plus a Green-card and military-crate opportunity. Oxum also gives opponents more angles to read: its roof, cave, storefront, garage, and multiple approaches can expose you before or after the recycler. Use those landmarks to orient yourself and check exits, not as a script that overrides the live doors, layout, or player pressure.
Your useful carry-out load is deliberately small: the Green Keycard, food, healing, a basic weapon and enough ammunition or other combat reserve to survive contact, plus protection suited to the route you expect to take. Leave behind components that do not improve your immediate survival, fighting chance, or next-leg preparation. Supermarket’s back pass is shorter and Oxum’s office-to-garage pass is broader, but both should end with the same result: a Green Keycard and a survivable staging loadout rather than a bag full of deadweight.
That shared role is why neither start has a universal “correct” order. They are player-contested roadside staging points whose landmarks help you orient a quick pass, while the current map and pressure decide what happens next. With the card and a usable loadout secured, choose the current blue-puzzle target that the procedural map makes practical.
Choose the first blue puzzle from your map, not a fixed order
The first Blue Keycard is not tied to a universal monument sequence. Rust’s map is procedural, monument loot was reshuffled in the October 2025 progression changes, and those changes added The Dome’s green puzzle to the current route. Choose the green-card puzzle you can reach with your actual gear: Sewer Branch, Satellite Dish, Large Harbor, Small Harbor, or The Dome. Each uses one Green Keycard and one Electric Fuse and lists a Blue Keycard plus a Basic Blueprint Fragment in its puzzle rewards. That makes the destination a route decision, not a memorized order.
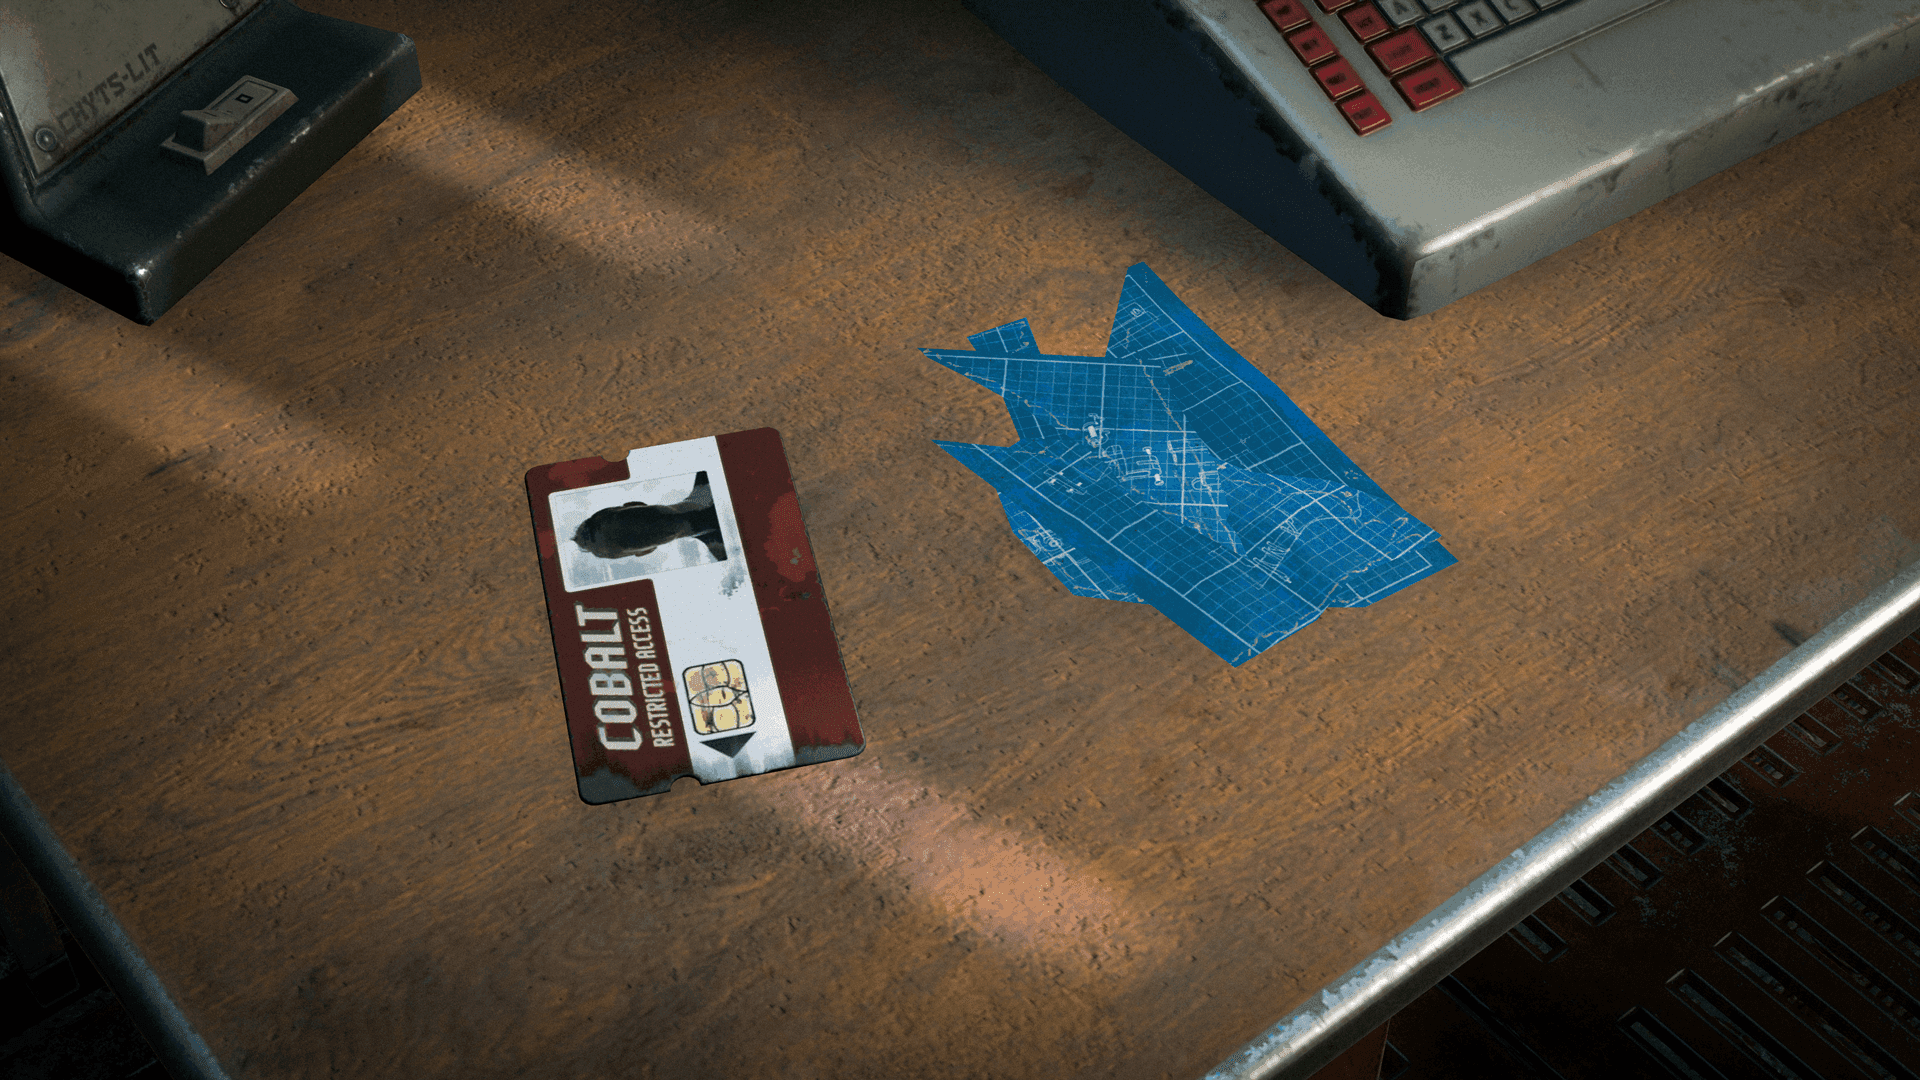
Card-and-fragment progression context; this does not depict a specific Harbor, Sewer Branch, Satellite Dish, or Dome layout.
Use the map to compare distance, approaches, exits, and the terrain between your staging monument and each candidate. Then make the choice in three branches:
- Take the nearer Large Harbor or Small Harbor when the route is reasonable. Both Harbors list no radiation and one recycler, so they are the cleanest low-radiation branch in the checked set. Each still needs the Green Keycard and Electric Fuse, and each still sits in a player-contested world; “no listed radiation” does not mean a safe walk or a guaranteed uncontested puzzle. If a Harbor is close enough to preserve your supplies and gives you more than one workable exit, its simpler exposure profile usually outweighs a longer trip to a database-favoured alternative.
- Take Sewer Branch or Satellite Dish when distance or utility pays for the radiation. Both list median radiation of 3 and maximum radiation of 11, so bring protection that matches the route rather than treating the Green Keycard as the only requirement. Sewer offers two recyclers and a larger listed puzzle-reward profile; Satellite offers one recycler, a Research Table, and its own loot profile. If one is substantially nearer—or its recycler, research, or loot utility removes another trip—the extra exposure can be the better trade.
- Take The Dome only when its route and exposure are acceptable. The Dome currently combines one recycler with Blue-and-Basic rewards, Diesel, and crates, but its exposed climb and approach keep it conditional. Its median radiation is listed as 0 but its maximum is 11, and the exposed climb and approach can matter more than the median number. Choose it when the map makes the approach practical and you can handle the exposure and exits; do not treat the database profile as a blanket safety rating.
This is why a current monument profile cannot overrule a bad live route. A closer Sewer or Satellite may be safer in practice than a distant Harbor if it avoids a long exposed crossing; a nearby Harbor may be worse than a slightly longer target if its approaches are busy or your protection is inadequate. Weather, player population, team size, server settings, and the gear you actually carried out of Supermarket or Oxum all change the calculation. Check the route you can run now, not the route a guide recorded for another seed or an older wipe.
Once you have marked the compatible target, compare its distance and exits with your carried food, healing, combat reserve, Electric Fuse, and any radiation or weather protection the branch demands. The destination is chosen; the next decision is whether that readiness is already sufficient to leave the recycler, or whether one focused loot pass is still justified.
Stop recycling when the next leg is survivable
The recycler loop is finished when it has made the next move practical, not when your inventory has produced some magic amount of scrap. A monument recycler is worth using: it returns 60% of an item’s recyclable value and processes an item in about five seconds, compared with 40% and about eight seconds at a protected safe-zone recycler. That advantage makes Supermarket or Oxum a good place to stage. It does not make another cycle automatically worth the exposure, the noise, or the time spent at a contested monument.
Use four questions to decide whether the staging job is complete:
- Do you have the Green Keycard? It is the entry requirement for the next puzzle, not an item you can replace by crafting, repairing, recycling, or researching another card.
- Is the fuse situation actionable? Ideally, an Electric Fuse is already in your inventory. If it is missing, you need a concrete nearby loot plan that can produce one while keeping the selected route practical; more scrap alone does not help.
- Can you survive the selected leg? Count food, healing, a basic weapon and enough ammunition or another combat reserve, then add the radiation or weather protection that route requires. You also need a realistic exit or return plan if another player contests the monument.
- Would another recycler cycle change the decision? If it does not improve survival, solve the fuse problem, or materially change the route you can take, it is no longer preparing the run. It is just keeping you in the danger zone.
That last question is the actual stop rule. Leave when the Green Keycard, the fuse plan, your minimum travel kit, and the chosen route line up. Extra scrap is worth taking only when it changes what you can survive or accomplish after leaving.
The fuse deserves its own decision because recycling cannot solve a missing one. An Electric Fuse is not craftable, repairable, or researchable; it is a loot-dependent item. Recycling a fuse produces scrap, but recycling components produces no fuse in return. If you do not have one, continue through plausible loot opportunities that fit the route, or change to a target and plan that makes the missing-fuse search worthwhile. Do not stay at the recycler indefinitely trying to convert components into an item the game does not let you craft.
The two starts make this rule easy to apply. At Supermarket, treat the short back card-area-to-recycler pass as complete once the Green Keycard, fuse or immediate fuse plan, and minimum survivability are ready; leave the back recycler instead of extending the same visit into open-ended scrap farming. At Oxum, use the office-to-garage pass to check the same conditions, then disengage when the next puzzle or fuse search is practical. Oxum’s broader exposure and multiple approaches make repeated trips especially expensive, but the principle is the same at either monument: the pass ends on readiness, not on an arbitrary scrap total.
Before you recycle one more component, ask whether the answer is yes to at least one of these: will it keep me alive on the route, solve the fuse problem, or materially change which route is viable? If the answer is no, take the live PvP risk of moving while your kit is still useful rather than accepting the quieter risk of stalling until someone else decides when you leave. With departure justified, the next step is to power the green circuit before swiping the card.
Power the puzzle, then take the Blue Keycard
With the destination chosen and the departure decision made, treat the Green puzzle as a live powered circuit rather than a card door you can test casually.
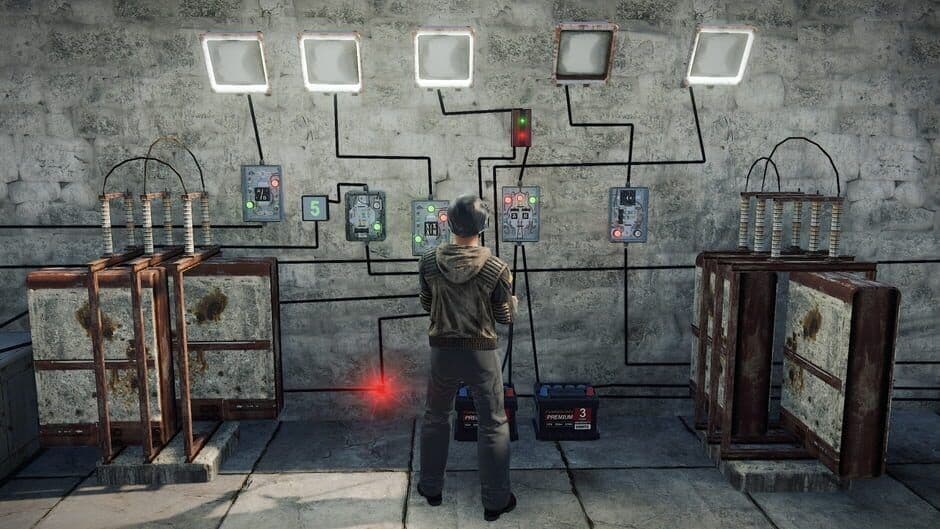
Contexto eléctrico genérico para la secuencia de fusible e interruptor; no demuestra el diseño actual de un monumento.
Circuit order: Carry the Electric Fuse, find the monument’s fuse box or power cabinet, insert the fuse, and activate the associated switch. Only then return to the Green-card reader and swipe the Green Keycard. The switch, cabinet, and reader can sit in different rooms or approaches depending on the monument, so use the current room landmarks and doors in front of you rather than a memorized coordinate sequence.
Protect the card: Verify the circuit before spending it. An unpowered reader can still consume card condition, which turns a failed test into a lost entry item. Look for the powered reader state and the opened route before swiping; the safe order is fuse, switch, powered reader, Green Keycard. Green and Blue Keycards are clearance items, not substitutes for a missing fuse: neither card is currently craftable, repairable, recyclable, or researchable, and the Electric Fuse is likewise loot-dependent rather than something scrap can produce.
Take the payoff: At Sewer Branch, Satellite Dish, Large Harbor, Small Harbor, or The Dome, bring one Green Keycard and one Electric Fuse; each lists a Blue Keycard and a Basic Blueprint Fragment in its current puzzle rewards. Exact surrounding containers, door states, room landmarks, and reward-room layout are current monument and server facts, not a universal crate-by-crate path. Loot was reshuffled in the October 2025 changes and newer green puzzles broadened the old route list, so take the Blue card and Fragment from the room that is actually live on your server rather than assuming an older guide’s positions.
That Basic Blueprint Fragment is part of the reason to finish the run instead of treating the Blue card as the only objective. A Workbench Level 2 currently requires five Basic Blueprint Fragments alongside 500 Metal Fragments and 20 High Quality Metal. Completing a green and blue puzzle in the same progression run can provide three Basic Fragments, so this trip advances clearance and the next workbench decision at the same time. Use the Fragment total you actually have to decide whether Workbench Level 2 is now the next investment; do not assume identical loot, map placement, or server configuration will produce the same surrounding containers everywhere.
Read the room state: If another player may already have looted a puzzle-room container, do not camp the doorway because an old guide promises a fixed three-minute or 180-second refresh. Current behavior starts the reset timer only after a player loots a room container, nearby players can delay the clear condition, and severe radiation begins before the room refreshes. Read that state as a reason to clear players and leave when the exposure becomes the immediate risk—not as a countdown that makes the room safe on schedule. If the room is contested, take the fight or disengage according to your kit and exits; waiting for a number from an older guide is not a reliable plan.
Reject stale vendor advice: Search results may still send you to Outpost for a Blue Keycard. Facepunch removed the Outpost vending-machine Blue-card route on November 6, 2025, so reject that advice for a vanilla current route. A modded server may add custom vendors, but that is a server-specific exception, not a shortcut to carry into this progression path.
At the chosen monument, confirm the fuse box and switch are active before the swipe, enter the live reward room, take the Blue Keycard and Basic Blueprint Fragment, and then make the next workbench decision from the fragments and materials actually in your inventory.