
How to Start the Meadowlands Farm in Stardew Valley 1.6
Welcome to Stardew Valley's most generous farm start. The Meadowlands Farm, a brand-new layout introduced in the 1.6 update, completely reshapes your early-game economy by giving you a massive head start in animal husbandry. If you've ever dreamed of a bustling coop from day one without the initial grind, this is your farm.
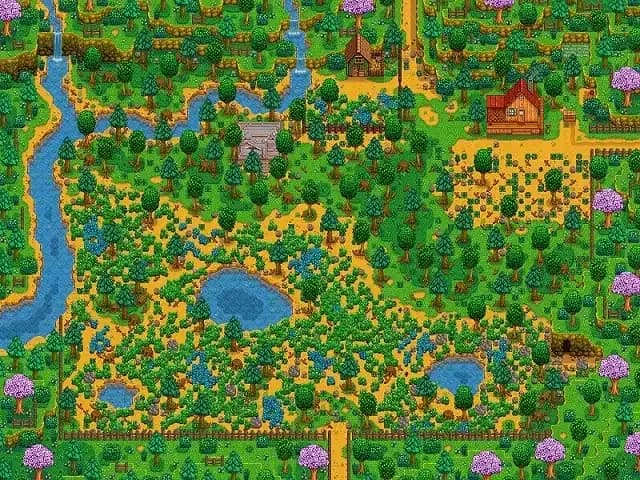
The Meadowlands Farm layout features unique blue grass and a starting coop.
Your adventure begins with immediate advantages. The land is covered in Chewy Blue Grass, a unique, vibrant grass that animals absolutely love. Using your scythe on it yields hay, but more importantly, having it growing on your farm provides a significant happiness boost to your animals, making them more productive, faster. Even better, waiting for you near the farmhouse is a fully constructed Starter Coop. This pre-built building saves you the hefty initial investment of 4000g, 300 wood, and 100 stone. Inside, you’ll find your two Starting Chickens, already settled in and ready to provide eggs from your very first week.
Don't cut all the Chewy Blue Grass right away! Let some of it spread naturally to maintain a steady source of free animal happiness and hay for the upcoming seasons.
This setup is a game-changer. Instead of spending your first season saving every penny for a coop, you can immediately invest in seeds, tool upgrades, or befriending the townsfolk. The river and ponds on the farm also offer convenient fishing spots right outside your door. While the Meadowlands Farm has slightly less open tillable land than the Standard farm, the early economic security and focus on animals more than make up for it.
With your coop built, your chickens fed, and a field of special grass at your disposal, you’re set for a profitable and cozy first year in Stardew Valley. Let’s get farming.
How to Unlock the Mastery System in Stardew Valley
You've conquered the early grind, filled your wallet, and maybe even finished the Community Center. But in Stardew Valley, reaching level 10 in your skills isn't the end of the road anymore—it's the key to a whole new chapter. The 1.6 update introduces the Mastery System, a true endgame progression hub packed with powerful perks, and finding it is your first major goal.
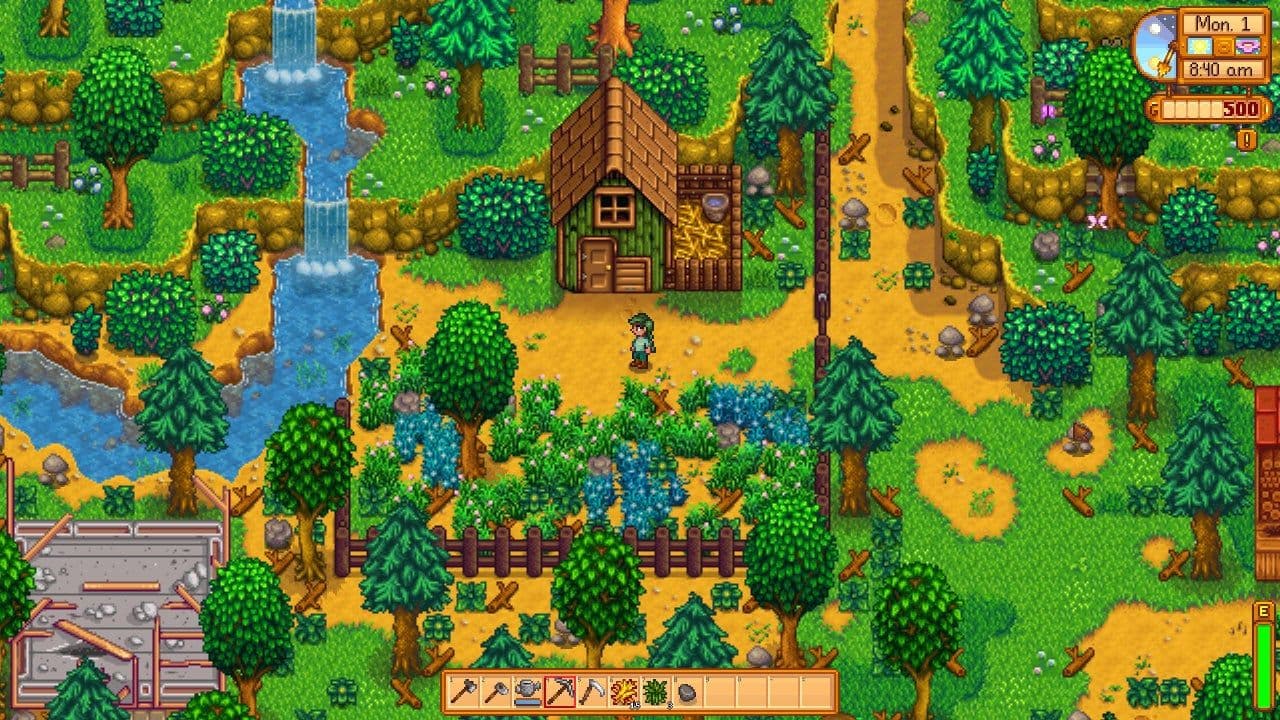
The physical location of the Mastery Cave in Cindersap Forest.
How to Unlock the Mastery System in Stardew Valley
The door to this new power won't open until you've truly proven yourself. First, you must reach the maximum level in all five core skills. Head to your Player Menu > Skills Tab and confirm you're at level 10 in Farming, Mining, Foraging, Fishing, and Combat. This is the only prerequisite—once that final skill ticks over to 10, the path forward is revealed.
With all skills mastered, make your way to Cindersap Forest. Head to the southern area, just south of Leah's Cottage, and look for a previously sealed door built into the cliffside. This is the entrance to the Mastery Cave, and it will now be accessible. Trust me, walking through that door for the first time feels like a reward in itself.
Inside the cave, you’ll find a central pedestal and five skill pillars lining the walls. Interact with the Central Pedestal to check your Mastery Points progress. This is your new XP bar. Any experience you earn after hitting level 10 in a skill is converted into these points, filling a unique gauge on your skills page.
Don't stress about "grinding" for points right away. Just play the game—harvest crops, mine ore, catch fish. All that XP now has a second life, working toward your next big unlock.
The system is structured into Mastery Tiers. Back at the Skill Pillars in the cave, you can see that each of the five skills has five tiers of rewards to unlock. Claiming a reward costs one Mastery Point, and the point requirement to earn each subsequent point increases: your first needs 10,000 points, the second 15,000, and so on up to 30,000 for the fifth. It's a long-term investment, but the perks—from game-changing tools to daily buffs—are absolutely worth it.
With the cave unlocked and your Mastery Points already accumulating, you're officially on the path to becoming Pelican Town's ultimate legend. Let's see what power awaits.
Farming and Mining Mastery Rewards in Stardew Valley 1.6
Once you've mastered all five skills in Stardew Valley, the Mastery Cave transforms from a mysterious door into your personal endgame workshop. Inside, the Farming and Mining pillars offer some of the most impactful and practical upgrades in the game. Here's exactly what you can unlock and how they'll change your daily routine.
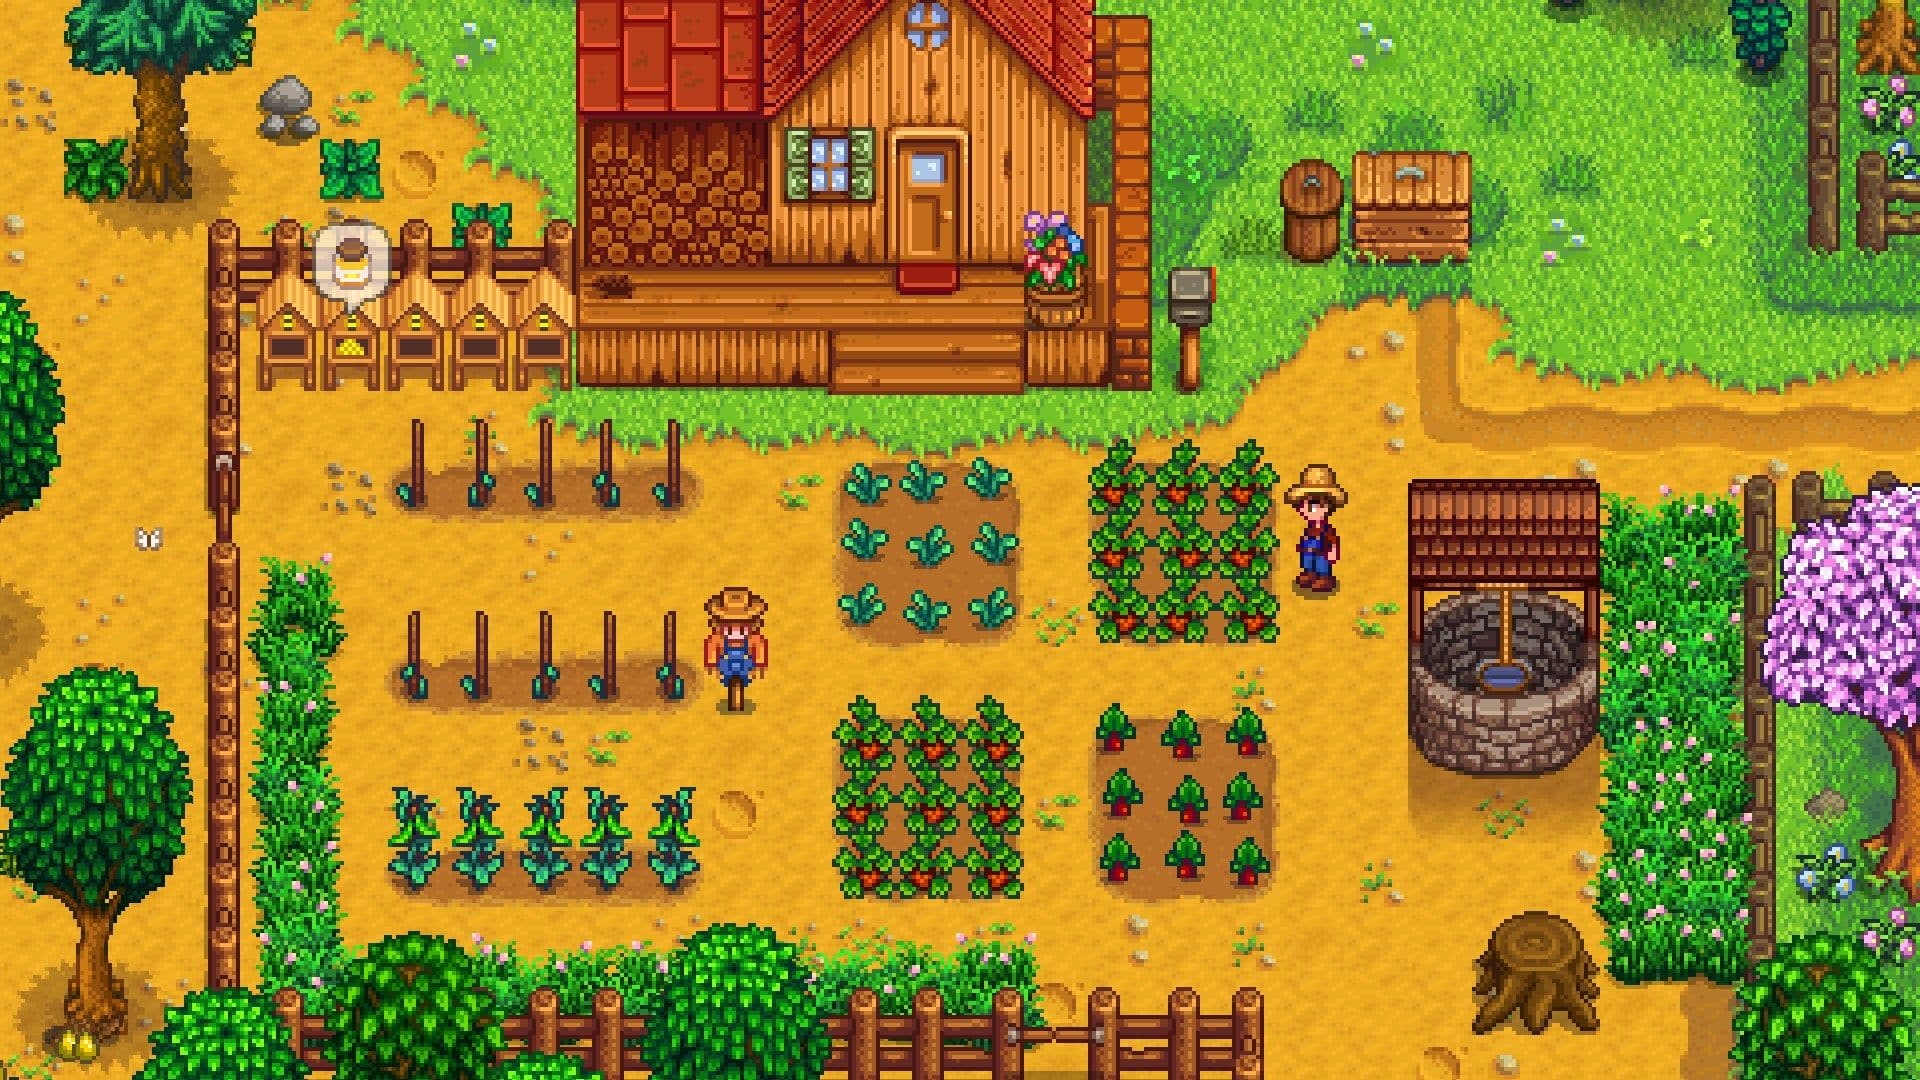
Crops and farm life in the Stardew Valley 1.6 update.
Farming Mastery: The Ultimate Harvest
The Farming Mastery pillar is a game-changer for any farmer looking to streamline their operation. The crown jewel is the Iridium Scythe. This isn't just a cosmetic upgrade—it's a powerful tool that lets you [Left-Click] to harvest any crop instantly, from parsnips to ancient fruit, in a wide radius. It also gathers hay from grass far more efficiently than the standard scythe, saving you hours of tedious work each season.
Use the Iridium Scythe on your final day of harvesting a large field. You'll clear it in seconds, giving you more time to prep the soil for the next season.
Next, you’ll get the recipe for the Statue Of Blessings. Once crafted and placed on your farm, you can [Right-Click] it each morning to receive one random daily buff, like a boost to Luck, Speed, or Max Energy. It’s a fantastic way to add a little extra oomph to your mining runs or fishing trips.
Finally, keep an eye out for Golden Animal Crackers. These rare consumables are the ultimate treat for your livestock. [Right-Click] one on any animal (except pigs) to permanently double their produce output. That means cows will give two milks, chickens two eggs, and so on. Trust me, your mayonnaise and cheese production will skyrocket overnight.
Mining Mastery: A Prospector's Dream
If delving deep into the earth is your passion, the Mining Mastery rewards are built for you. First, craft the Heavy Furnace. This beast of a machine lets you process 25 pieces of ore and 3 coal at once, with a high chance of yielding bonus bars. It dramatically cuts down on the time spent smelting, letting you convert a massive haul of iridium ore in just a few clicks.
You’ll also unlock the Statue Of The Dwarf King. Place it in your mining outpost (or right by your front door) and [Right-Click] it each day to select one of two potent daily mining buffs. These can range from increased ore drops to better chances of finding ladders and mine shafts, making every trip to the Skull Cavern more profitable.
The passive perk here is just as valuable: Gem-Bearing Rocks. Once unlocked, any gem node you break in the Mines or Skull Cavern will drop twice the gems. This pairs perfectly with the Geologist profession, turning a single aquamarine node into a small fortune.
⚠️ Watch out: The Gem-Bearing Rocks perk only applies to nodes that naturally spawn gems. It won’t double gems found in crates or as monster drops.
With these tools and perks from the Farming and Mining Mastery pillars, you're not just maintaining your farm—you're optimizing it for maximum efficiency and profit. Let's gear up and make Grandpa proud.
Foraging, Fishing, and Combat Mastery Perks
The Mastery Cave in Cindersap Forest holds more than just farming and mining secrets. After unlocking the system, you’ll find three more pillars waiting, each offering unique utility items that transform foraging, fishing, and combat from simple tasks into masterful arts. Let’s break down what makes these final trees worth the long grind in Stardew Valley.

Mastery perks unlock powerful new utility items for veteran players.
Foraging Mastery: Mysteries and Treasure
Foraging mastery rewards the explorer at heart, turning every walk in the woods into a potential windfall. The first major unlock is the recipe for the Mystic Tree Seed. Plant this unique seed on your farm, and after it matures, you can place a Tapper on it. Every seven days, it will produce valuable Mystic Syrup, a high-value artisan good perfect for gifting or selling.
The second key item is the Treasure Totem. This is a consumable you can craft after unlocking the perk. When you [Right-Click] on any diggable land (like dirt or sand), it spawns a ring of treasure spots around you. This is an incredible way to hunt for artifacts, clay, and even rare Golden Mystery Boxes, which contain superior loot compared to standard ones.
Save your Treasure Totems for high-luck days and use them on the beach or in the mountains for the best chance at rare finds.
Fishing Mastery: Advanced Angling
If fishing is your zen activity, the Fishing Mastery perks will make it even more rewarding and efficient. The cornerstone is the Advanced Iridium Rod. This isn't just a visual upgrade—it’s a functional one, allowing you to equip two bobbers simultaneously. Imagine combining a Trap Bobber with a Cork Bobber for the ultimate catch-easy setup.
You’ll also unlock the recipe for Challenge Bait. This specialized bait creates a thrilling high-risk, high-reward scenario. On a perfect catch, you have a chance to reel in up to 3 fish at once. But here’s the catch: every time a fish escapes your fishing bar, you lose 1 potential fish from that haul. It’s perfect for skilled anglers looking to maximize their daily yield.
Combat Mastery: Trinkets and Portable Power
For those who brave the depths of the Skull Cavern, Combat Mastery offers a suite of tools that fundamentally change your approach to battle. The first perk is a passive one: it unlocks a new Trinket Equipment Slot in your inventory. Trinkets are powerful combat charms that grant effects like increased critical strike chance or defensive bonuses, and now you have a dedicated place for one.
To make the most of trinkets, you’ll gain the recipe for an Anvil. Place this handy station on your farm and interact with it [Right-Click] while holding a trinket and 3 Iridium Bars to re-roll its randomized stats. No more settling for a mediocre roll!
Finally, the Mini-Forge recipe lets you bring the power of the Volcano Forge home. This craftable item acts as a portable Dwarvish Forge, allowing you to enchant weapons and combine rings right on your farm, saving countless trips to Ginger Island.
⚠️ Watch out: The Anvil's re-roll cost is permanent, so make sure you have a healthy stockpile of Iridium Bars before you start experimenting with your best trinkets.
With the Foraging, Fishing, and Combat Mastery perks unlocked, you’re no longer just playing the game—you’re mastering it. Whether you’re tapping mystical trees, landing triple catches, or forging the perfect combat loadout, these tools give you the power to tailor the valley to your playstyle. Now, let’s see what new neighbors and seasonal events await.
How to Attend the Desert Festival in Stardew Valley 1.6
Spring in Stardew Valley just got a whole lot more exciting. For three sun-drenched days, the Calico Desert transforms into a bustling festival ground, packed with games, shops, and unique challenges. This is the Desert Festival, running from Spring 15-17, and it’s the perfect reward for any farmer who’s already put in the work to repair the Bus.

Stardew Valley version 1.6.
To get there, you’ll need to have fixed the Bus at the Bus Stop. Once you do, head over any time after 10:00 AM on the festival days. Trust me, you’ll want to save your energy and arrive early—there’s a lot to see and do. The entire event revolves around earning Calico Eggs, the special festival currency you’ll collect from every activity.
A Tour of the Festival Grounds
The festival is packed with things to do, but a few key attractions are your best bet for earning eggs. Here’s a quick tour of the must-visit spots.
First, seek out The Scholar near the Oasis. This knowledgeable NPC runs a daily quiz. Answer all their questions correctly, and you’ll be rewarded with a tidy sum of Calico Eggs. It’s a quick and easy way to boost your funds without spending any stamina.
Next, head north of the bus stop to find The Chef. Interacting with them lets you select ingredients to create custom food buffs. It’s a great way to get a powerful, free meal to fuel your other festival activities or take home for later adventures.
For the more adventurous, don’t miss the Skull Cavern Challenges hosted by Gil and Marlin of the Adventurer’s Guild at the cavern entrance. They’ll set you specific tasks, like reaching a certain floor or defeating monsters. Completing these challenges is one of the most rewarding ways to earn a large batch of Calico Eggs.
The festival runs for three days, but your Calico Eggs don’t carry over to the next year. Spend every last one before you leave on Spring 17, or they’ll vanish!
Spending Your Hard-Earned Eggs
Once you’ve collected a stack of Calico Eggs, it’s time to shop. Various villagers from Pelican Town set up booths around the desert, each selling unique items you can’t find anywhere else. These range from decorative furniture and rare seeds to powerful equipment and crafting recipes. The inventory is different each day, so check back daily if you’re hunting for something specific.
The beauty of the Desert Festival is that it caters to every playstyle. Whether you love fishing mini-games, testing your knowledge, diving into the Skull Cavern, or just browsing unique vendor stalls, there’s something here for you. With this guide, you’re ready to make the most of all three days, earn a mountain of Calico Eggs, and bring home some fantastic new treasures for your farm.
New 1.6 Crops and the Raccoon Family Questline
One of the most charming and rewarding new additions in Stardew Valley 1.6 isn't a flashy festival or a late-game system—it's a quiet, heartwarming questline that introduces you to new neighbors and unlocks a world of new resources. This is the story of the Raccoon Family, and it's your primary ticket to cultivating the update's exclusive new crops.
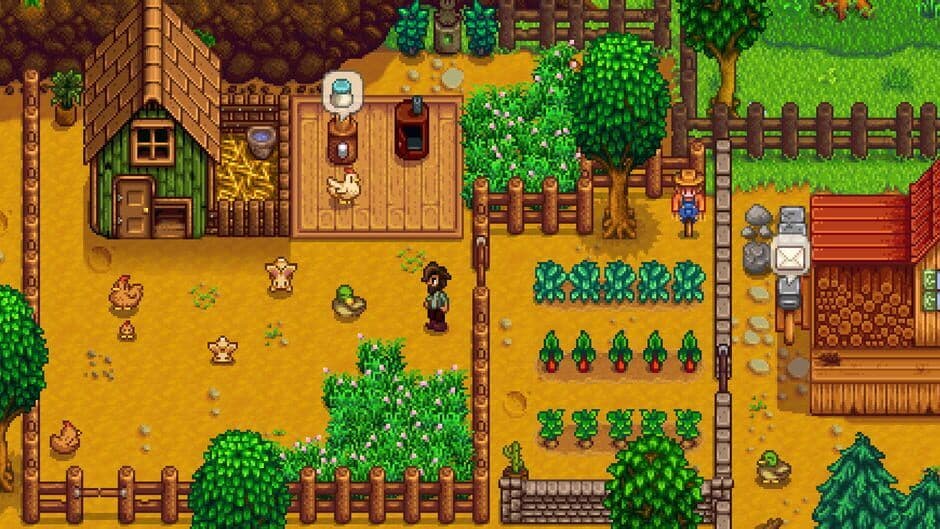
Gathering resources is key to completing the Raccoon family quests.
The adventure begins after a special in-game announcement about a strong windstorm. Head to the Giant Tree Stump in Cindersap Forest, located west of Marnie's Ranch. You'll find it damaged, requiring 100 wood to repair. Once you do, the next day, you'll meet The Raccoon, who emerges from the stump to thank you. This friendly NPC acts as your quest-giver, offering a new request every seven in-game days to help his growing family.
Each request from The Raccoon follows a simple "Community Center bundle" format, asking for a set of seasonal foraged items, fish, or artisan goods. Completing these quests builds trust and gradually unlocks the Raccoon Shop right there at the stump. This is the only place you can purchase seeds for the four brand-new crops introduced in 1.6: Carrots, Summer Squash, Broccoli, and Powdermelon. These crops can't be bought at Pierre's, making this questline essential for any completionist or farmer looking to diversify.
The Raccoon's requests often ask for specific quality levels (like gold-star items). Plan ahead by using the Seed Maker on high-quality forage or saving your best catches from fishing festivals to fulfill these tasks easily.
While you're out exploring the valley helping your new neighbors, keep an eye out for another new 1.6 treasure: Mystery Boxes. These can be found randomly while mining, fishing, or digging up artifact spots. When you find one, take it to Clint at the Blacksmith shop and [Right-Click] to have him open it. Inside, you'll discover a random assortment of valuable items, from resources and meals to rare equipment, adding a fun layer of surprise to your daily chores.
By befriending the raccoons and exploring every corner of the map, you'll seamlessly integrate the best of Stardew Valley's new content into your farm's economy. With your new seeds planted and a stash of mystery rewards, your valley feels more alive and bountiful than ever.
Essential Quality of Life Changes in Stardew Valley 1.6
This is it—the final polish. While Stardew Valley 1.6’s new farm, festivals, and mastery system steal the spotlight, the update’s true brilliance lies in dozens of subtle quality-of-life tweaks that smooth out your daily grind. These changes don't just add content; they fundamentally improve how you interact with the world, making your farm life more efficient and intuitive than ever before.
UI and interaction updates improve quality of life.
Let's dive into the essential changes that will reshape your strategy from day one.
Streamlining Your Farm & Inventory
First, say goodbye to storage headaches. The new Big Chest is a game-changer, offering almost double the capacity of a standard chest. The best part? You don't have to empty and rebuild. Just craft it and [Right-Click] on an existing chest to upgrade it in-place, preserving all your items. It’s the ultimate storage solution for your hoarding tendencies.
Animal lovers get a massive upgrade with the new Multiple Pets mechanic. Once you reach max hearts with your starter pet, you can head to Robin at the Carpenter's Shop to purchase additional pet bowls. Fill them with water, and soon you’ll have a whole menagerie of cats, dogs, and even new turtle pets wandering your farm—each capable of bringing you gifts once they love you.
Place your new pet bowls in different areas of the farm. Pets that love you will sometimes leave small gifts like forage items or clay near their favorite watering spot.
New Resources & Crafting Efficiency
Keep an eye on the summer sky. The new random Green Rain event transforms the entire valley. During this weather, moss sprouts on nearly every tree. This isn't just for looks—Moss is a crucial new resource used in recipes like Speed-Gro and the Dehydrator. Treat Green Rain days as a top priority for foraging; it’s your best chance to stockpile this versatile material.
Speaking of new recipes, the Fish Smoker is a fantastic addition for anglers. This craftable machine lets you [Right-Click] with a fish and some coal to produce smoked fish, which doubles the fish's base value. To craft it, you’ll need the new fishable resources: Sea Jelly, River Jelly, or Cave Jelly. It turns a decent fishing haul into a fantastic payday.
Smarter World Interactions
Two new visitors will regularly enhance your capabilities. The Bookseller appears in Pelican Town, just north of JojaMart, twice per season. They sell Books of Power that grant permanent passive buffs, like increased movement speed or higher sell prices for artifacts. Always check the calendar for their visit dates—these books are worth budgeting for.
The world itself is now more responsive. NPCs will politely shove chests out of their way instead of destroying them, and Pam will leave a note at the bus stop if she can’t drive, allowing you to take the wheel to the desert yourself. Small touches like colored labels on wines and jellies (matching the ingredient), the ability to sit in chairs at festivals, and a smoother day/night lighting transition all add up to a more immersive and polished experience.
The Takeaway
While the big flashy additions in Stardew Valley 1.6 are incredible, it’s this layer of thoughtful refinements that makes the game feel brand new. From the massive Big Chest in your shed to the helpful Bookseller in town, every change is designed to respect your time and reward your dedication. Your farm isn’t just bigger now—it’s smarter, smoother, and more delightful to manage every single day.