How to Unlock the Sheikah Slate in The Legend of Zelda: Breath of the Wild
Your journey in The Legend of Zelda: Breath of the Wild begins not with a weapon, but with a slate. The Sheikah Slate is your lifeline—a mystical GPS, camera, and toolkit rolled into one. Unlocking its core navigation features is your very first step toward mastering the wilds of Hyrule.
Official gameplay showing the world of Breath of the Wild.
To bring the slate online, you need to reach the Great Plateau Tower, the imposing spire in the central region of the starting area. Ascend to its summit, find the Sheikah Slate Pedestal, and place your slate on it. This initial activation is a brief but essential ritual that brings your primary tool to life.
Once activated, the slate's map becomes your window onto the world. Press the minus button [-] to open the full-screen Map Interface. Here, you can view Link’s current location, the glowing icons of discovered shrines, and the silhouettes of Sheikah Towers. It’s your reference point for every journey.
Your map starts blank, but activating Sheikah Towers fills it in. For each tower, climb to its summit, place the slate on the terminal with [A], and watch as the local map data uploads and renders the surrounding terrain. It’s an immensely satisfying way to chart your progress.
To mark a point of interest while exploring, use the Scope function. Click the right stick [R] to look through it, zoom with the control stick, and press [A] to set a Map Pin. That pin will appear on your mini-map and main map, making it easy to navigate back to that curious rock formation or suspicious-looking pond.
This functionality becomes your greatest convenience: Fast Travel. From your map screen, you can select any activated Shrine or Tower and press [A] to warp there instantly. Trust me—you’ll rely on this constantly to traverse the vast kingdom. However, be aware that certain environmental hazards can disrupt this. In desert regions, a Sandstorm Static effect will cause your map screen to become fuzzy and unusable, preventing all warping until the storm clears.
Use your Scope liberally when you spot something interesting in the distance. Setting a pin not only marks it for later but gives you a clear, persistent direction to follow, which is a lifesaver in the game's sprawling landscapes.
With your Sheikah Slate activated and its map functions understood, you’ve mastered the cornerstone of navigation in Breath of the Wild. You’re now ready to start filling in that blank canvas with adventure.
How to Master the Magnesis Rune in Zelda: Breath of the Wild
Welcome to the world of magnetic mayhem. In The Legend of Zelda: Breath of the Wild, the Magnesis rune transforms the landscape into a toolkit of moving parts, letting you solve puzzles and crush enemies with the power of magnetism. It’s your first major ability on the Great Plateau, and mastering it is the key to unlocking the game’s creative potential.
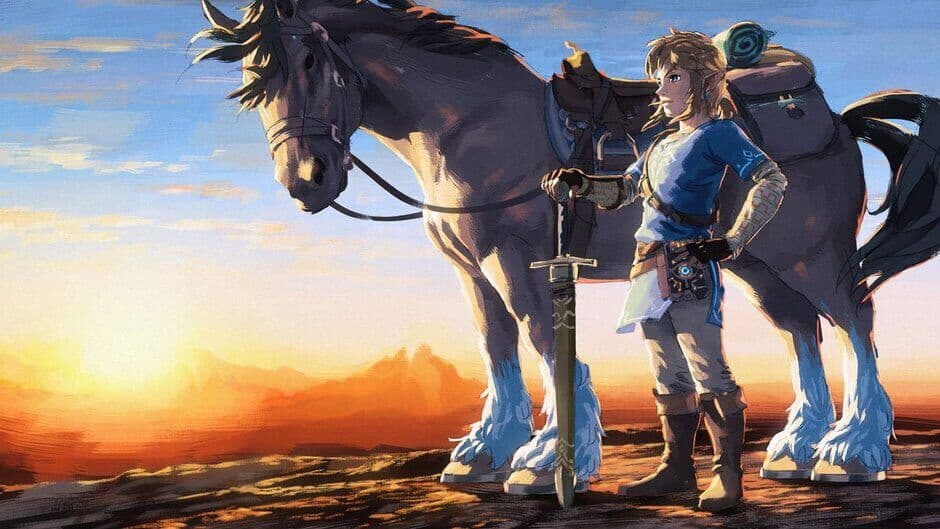
Official game artwork
Unlocking Magnesis
Your journey to master magnetism begins in the Oman Au Shrine on the Great Plateau. After placing your Sheikah Slate on the pedestal at the Great Plateau Tower, this shrine’s location will be marked on your map. Inside, interacting with the Guidance Stone grants you the Magnesis ability. To activate it, press [L] to bring up your rune wheel, select Magnesis, and press [L] again. A bright pink overlay will appear, and any metallic object within range will be highlighted in magenta. Aim at a target, and when it turns yellow, press [A] to grab it with a holographic magnet. From there, you can lift, push, pull, and drop the object freely with the Control Stick.
The visual cue is everything. Look for that magenta glow in dark corners or underwater—it often points to hidden metallic treasure chests you’d otherwise miss.
Practical Applications and Combat
Magnesis isn't just for puzzles; it's a versatile tool for survival and combat. In shrines and the overworld, you’ll use it to create bridges with metal plates, move heavy blocks onto switches, and open stubborn metal doors. But here’s the fun part: Magnesis Combat. Spot a metal crate or a rusty plate? You can grab it with [A] and, with a flick of the Control Stick, drop it right on a Bokoblin’s head for instant, often hilarious, damage. It’s a fantastic way to conserve weapon durability and deal with groups from a safe distance.
One of its most valuable uses is retrieving Metallic Treasure Chests. These are often cleverly hidden—submerged in deep water, perched on high ledges, or even buried. Simply activate Magnesis, scan the area, and you can pluck them from their hiding spots and drag them to safety. No more watching a precious chest sit just out of reach.
Advanced Tricks and Limitations
Once you’re comfortable, you can experiment with one of the game’s most famous emergent mechanics: the Flying Machine. While not an official feature, players have discovered you can stack two flat metallic surfaces (like the metal doors found in shrines or mining carts near Death Mountain), stand on top, and use Magnesis on the bottom piece to slowly lift yourself into the air. It’s a slow, wobbly, but incredibly satisfying way to reach high places or cross gaps when your paraglider isn’t enough.
However, Magnesis does have its Limitations. While you’re manipulating an object, Link is restricted to a light trot. If you try to run, jump, or lose your footing on uneven ground, the magnetic snare will automatically disengage and drop your prize. It also can’t grab objects that are already in motion (like a rolling metal ball) or be upgraded later at the Hateno Ancient Tech Lab.
With Magnesis in your arsenal, the world of Breath of the Wild becomes a playground of movable parts. Look at every metal object not as scenery, but as a potential key, weapon, or stepping stone.
How to Master the Remote Bomb Rune in Zelda: Breath of the Wild
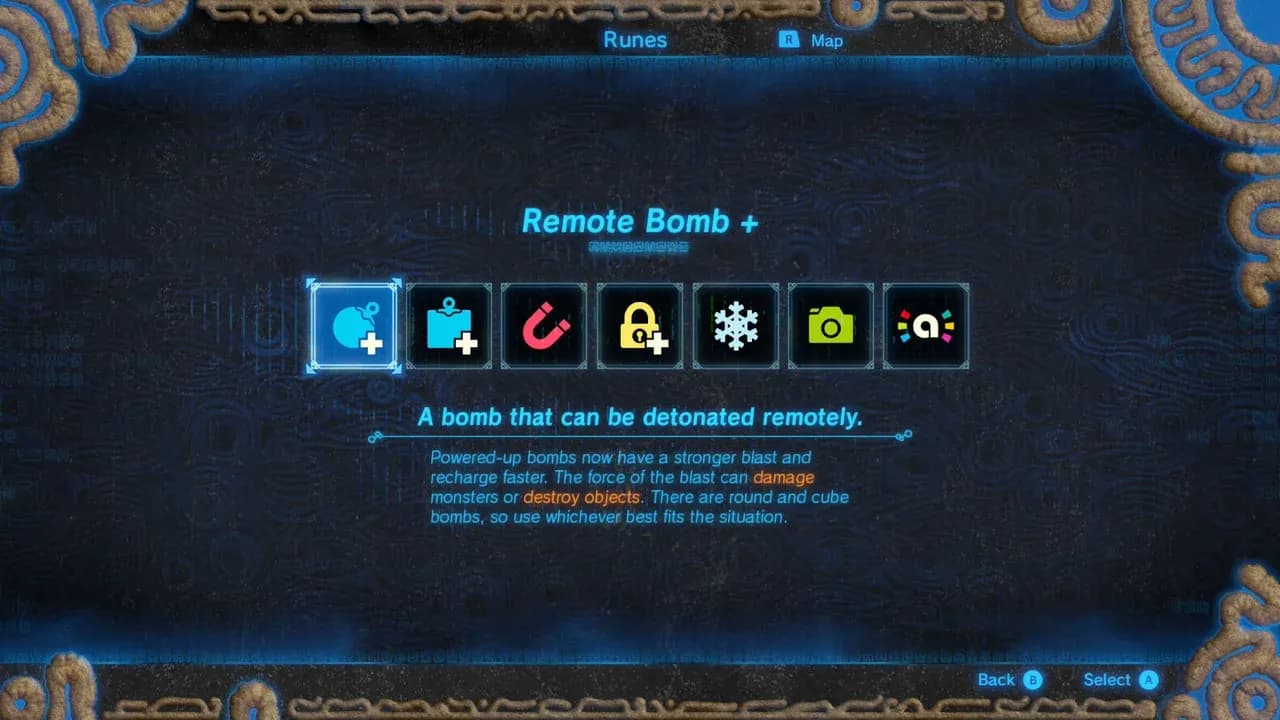
Welcome to the explosive heart of the Sheikah Slate. In The Legend of Zelda: Breath of the Wild, the Remote Bomb rune is your ultimate tool for creative destruction, turning every encounter into a potential fireworks show. This isn't just about blowing things up—it's about understanding the distinct personalities of your two explosive friends to solve puzzles and dominate combat.
Remote Bombs are essential tools for exploration and combat across Hyrule.
You’ll unlock this power at the Ja Baij Shrine on the Great Plateau. Inside, the Guidance Stone will grant you the Remote Bomb ability. To use it, press [L] to activate the rune. You’ll then use the [D-pad Up/Down] to select between your two bomb types: the Round Bomb and the Square Bomb. Each has a unique tactical role.
The Round Bomb is your go-to for mobility and chaos. When deployed with [A], it will roll down slopes and bounce unpredictably, perfect for chasing down moving targets or rolling into hard-to-reach crevices. Its spherical shape makes it the ideal choice for general destruction where precision is less important than area coverage.
Conversely, the Square Bomb is your strategic anchor. It stays exactly where you drop or throw it with [A], refusing to roll. This makes it indispensable for precise puzzle-solving, like holding down pressure plates, or for setting up traps where you need an explosion to occur at a specific point. For both bombs, the detonation is always in your control: press [L] again while the bomb is active to trigger the blast, damaging enemies and destroying cracked walls and ore deposits.
The audio cue is your best friend. Listen for the distinct beeping of an active bomb—it gets faster just before the bomb self-detonates, giving you a last-second warning to get clear or trigger it yourself.
Mastering these basics opens the door to advanced techniques. For crowd control, lure a group of Bokoblins together, drop a bomb with [A], and wait for them to cluster around it before pressing [L] to detonate. The real game-changer, however, is the Wind Bomb (affectionately called "Boomie Zoomie" by the community). This advanced movement glitch involves jumping, dropping a Square Bomb with [L], entering bullet-time with [ZR], dropping a Round Bomb, and then detonating the square bomb to launch yourself across massive gaps. It’s a high-risk, high-reward trick that redefines traversal.
With the Remote Bomb rune in your arsenal, you hold the keys to demolition and discovery. Whether you're meticulously clearing a path with a stationary square charge or sending a rolling sphere of chaos into an enemy camp, your approach to Hyrule’s challenges just got a lot more explosive.
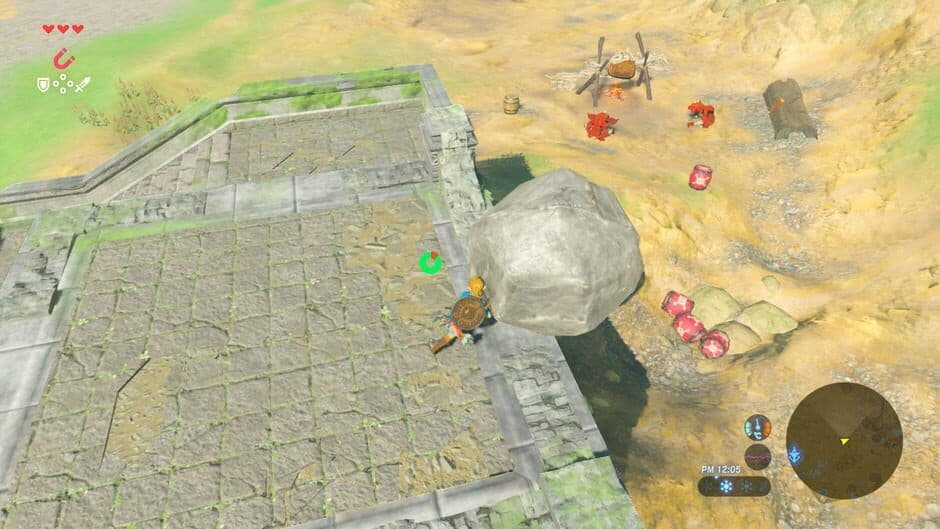
How to Master the Stasis Rune in Zelda: Breath of the Wild
Welcome to the Owa Daim Shrine—this is where The Legend of Zelda: Breath of the Wild introduces you to time manipulation. The Stasis rune isn't just a puzzle-solver; it's a physics playground, letting you freeze objects, store kinetic energy, and launch them across the landscape. Mastering this ability unlocks a whole new dimension of creative problem-solving, both in the shrine and across Hyrule.
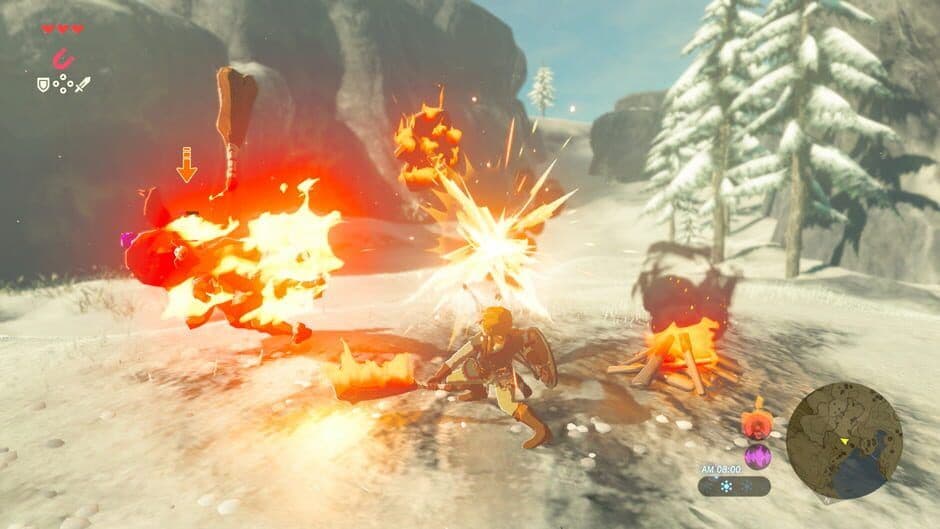
Environmental puzzles are scattered throughout the world.
To begin, head to the Owa Daim Shrine on the Great Plateau's southern side, in the forest south of the Temple of Time. Inside, interact with the Guidance Stone to download the Stasis rune to your Sheikah Slate. To use it, select the rune, press [L] to activate it, and aim your reticle. Applicable objects—like boulders, gears, and metal blocks—will glow a bright yellow. Press [A] to freeze your target in place for up to 10 seconds, locking it in a web of holographic yellow chains.
Here’s where the magic happens: while an object is frozen, you can hit it to store kinetic energy. Each strike you land with a weapon—represented by a growing arrow extending from the object—builds potential force. The object's color will shift from yellow to red as more energy accumulates. When Stasis wears off, all that stored energy releases at once, launching the object in the direction of the arrow. This is the core of the Stasis Launch technique: freeze something heavy, whale on it, and then either get out of the way or, if you're daring, position yourself to ride it as it rockets forward.
For maximum launch power, use a heavy two-handed weapon. The Iron Sledgehammer, which you can find leaning against a wall inside the Owa Daim Shrine, is perfect for the job—it builds kinetic energy incredibly fast.
The shrine trial itself is a practical exam in these mechanics. You'll use Stasis to stop a rotating gear, creating a stable platform to cross. Later, you'll freeze a massive rolling boulder on a ramp, allowing you to safely ascend. The final puzzle involves a boulder blocking your path. Freeze it with Stasis, hit it at least twice with the Iron Sledgehammer, and watch it get blasted out of the way when time resumes, clearing the path to your Spirit Orb.
Unlocking Advanced Time Control
Your journey with Stasis doesn't end on the Great Plateau. For a major upgrade, travel to Hateno Village and visit the Hateno Ancient Tech Lab. There, speak with Purah, the brilliant (and surprisingly youthful) lead researcher of ancient technology. She can upgrade your Stasis rune to Stasis+ for a cost of 3 Ancient Cores, which are rare drops from defeated Guardians.
This upgrade is a game-changer. Stasis+ allows you to freeze enemies in addition to objects. A frozen foe takes all accumulated damage in one burst when time resumes and gets sent flying by the kinetic energy. It’s a fantastic way to stun a tough enemy or set up a massive combo. Be aware that stronger enemies may break free from Stasis more quickly, and frozen targets are temporarily immune to elemental status effects like burning or shocking.
⚠️ Watch out: Stasis+ also passively highlights all freezable objects and enemies in your environment. This makes it an invaluable scouting tool, especially for identifying dormant Guardians that might be pretending to be harmless ruins.
With the core ability mastered and its powerful upgrade unlocked, you now command time itself in Breath of the Wild. Use it to solve environmental puzzles, launch yourself across gaps, or gain the upper hand in a tough fight. The world is quite literally your catapult.
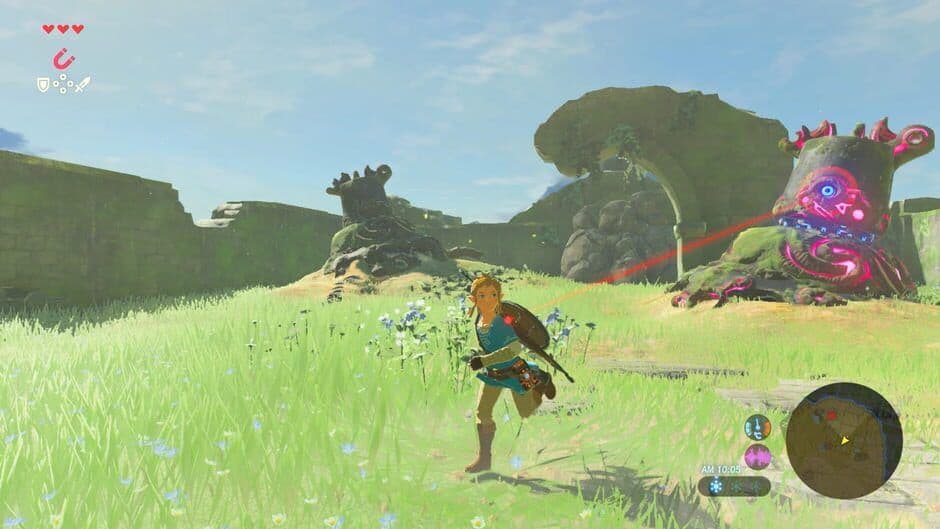
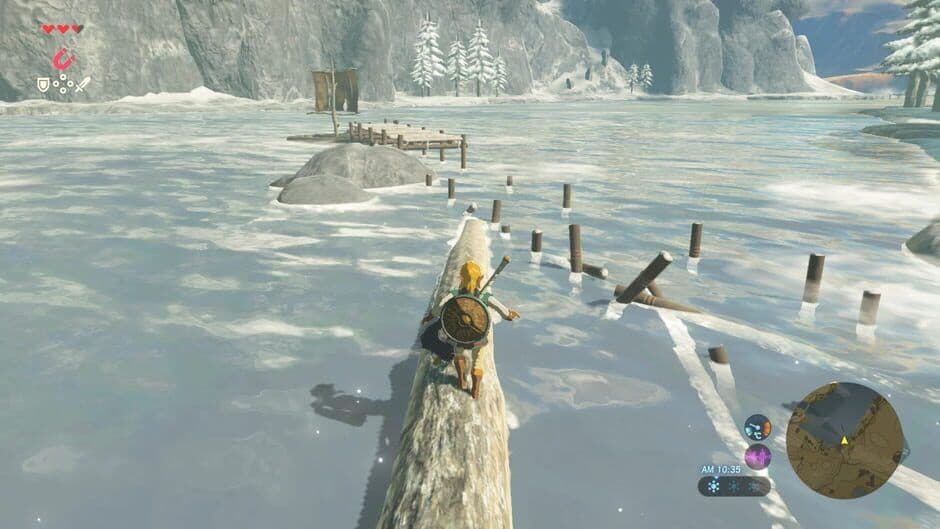
How to Master the Cryonis Rune in Zelda: Breath of the Wild
Water in The Legend of Zelda: Breath of the Wild isn't just a barrier—it's a tool. With the Cryonis rune, you can turn any lake, river, or pond into a stepping stone, a weapon, or even a launchpad. This ability is unlocked at the Keh Namut Shrine on the Great Plateau, and mastering it opens up Hyrule in ways you might not expect.
Any standing water can be used to generate ice pillars with the Cryonis Rune.
To use it, press [L] to activate the rune from your Sheikah Slate, aim the reticle at a calm water surface, and press [A] to summon an Ice Pillar. These pillars are your primary tool: use them as platforms to cross water, create staircases to reach higher ground, or even block the flow of a waterfall to reveal hidden passages. Trust me, when you're faced with a vast lake, this is your ticket across.
If a puzzle involves moving water, like a gate or a waterwheel, creating a pillar directly in the flow can jam the mechanism, often solving the puzzle instantly.
But Cryonis isn't just for puzzles. In combat, you can shatter pillars to drop enemies standing on them, or use them defensively as cover. For a more advanced offensive move, try the Guardian Flip. If you find a decayed Guardian partially submerged in water, position yourself underneath it and use [L] and [A] to create a pillar directly beneath its body. The force will flip the Guardian over, exposing its glowing weak point for easy targeting.
The real magic happens when you start combining Cryonis with movement. The Cryo Bounce is a speedrunning trick that uses the rune's physics for a massive speed boost. Find an elevated waterfall. Create a new pillar right next to the one you're standing on to make it taller, then perform a shield jump [X] directly into the expanding block while simultaneously aiming your bow [ZR] to enter bullet-time. Cancel bullet-time by deploying your paraglider, and you'll rocket forward with the stored momentum. It's tricky, but once you nail it, you'll feel unstoppable.
Don't forget you can clean up after yourself, too. If a pillar is in your way, simply aim at it with Cryonis active and press [A] again to shatter it instantly. This is crucial for clearing paths you've blocked or resetting puzzles.
With Cryonis in your toolkit, no body of water is an obstacle—it's an opportunity. Whether you're building a bridge, flipping a robot, or launching yourself across the map, this rune turns Hyrule's waterways into your playground.
Advanced Sheikah Slate Combat and Traversal Glitches
This is where mastery becomes magic. Once you’ve conquered the basics of the Sheikah Slate in The Legend of Zelda: Breath of the Wild, a world of physics-defying exploits opens up. These advanced glitches aren't just for show—they're essential tools for speedrunners and a thrilling way to solve problems the game never intended. Let’s break down the most powerful tricks.
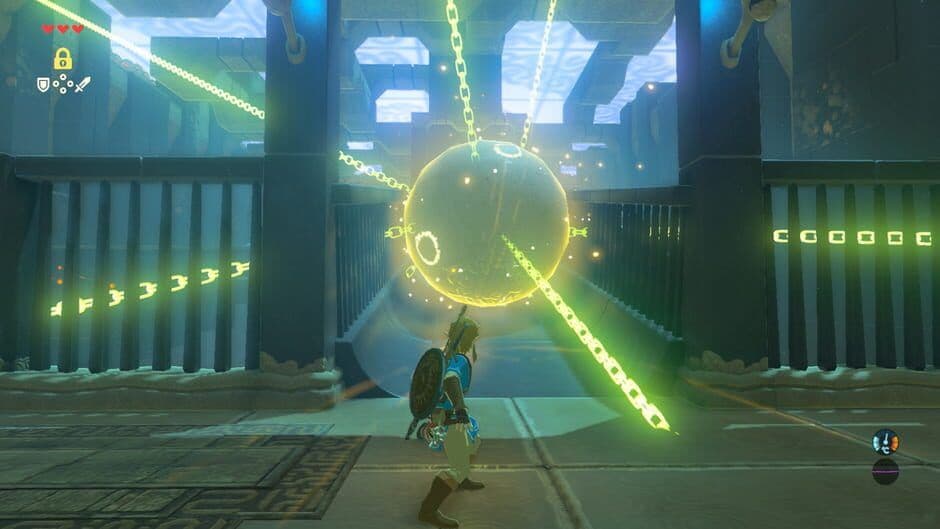
Sheikah technology is the source of Link's physics-altering abilities.
Bullet-Time Bounce (BTB): The Fastest Way to Fly
The Bullet-Time Bounce, or BTB, is the undisputed king of overworld traversal. This trick amplifies the physics of bullet-time (slow-motion) to launch Link incredible distances. Here’s how to execute it:
- Positioning: Find a Red Bokoblin—they ragdoll automatically when landed on, making them the easiest target.
- The Jump: Perform a precise neutral shield-jump by pressing [Y] to start a two-handed weapon swing, then immediately holding [ZL]+[Forward]+[A] to shield-surf, and finally pressing [X] to jump.
- The Launch: While airborne, press [ZR] to aim your bow and enter bullet-time. Your goal is to land your shield directly on the ragdolling enemy.
- The Cancel: For maximum speed, you must cancel bullet-time on the exact frame your shield makes contact. The easiest method is to force-unequip your bow, which allows for pause buffering.
Aim to land on the Bokoblin’s lower back for a great balance of height and horizontal speed. The shorter the time you spend in bullet-time before the cancel, the more momentum you’ll keep.
Mastering Movement & Survival Glitches
Once you’re soaring from a BTB, you need to know how to land safely and how to clip through obstacles.
- Shield Skew Slide: This trick exploits Link’s collision box to bypass walls and entire puzzle rooms. It’s triggered by landing on a specific slope or uneven surface and activating your shield mid-jump with [ZL]+[A]. If angled correctly, Link’s hitbox “skews,” allowing him to clip through narrow spaces. It requires precise practice but can skip huge sections of shrines.
- Fall Damage Cancel: Surviving a long BTB fall without your paraglider requires this lifesaver. As you plummet, you can reset your fall speed by putting away your shield (press [B] while not gliding). To completely negate damage, execute a specific input just before impact: hold [R] to aim a throw, click the Right Stick to activate the Scope, and unequip your shield right before landing.
Creative Combat Exploits
Beyond movement, you can manipulate game systems to create devastating traps.
- Electricity Glitch: This clever exploit lets you create persistent environmental hazards. Equip an electric weapon like a Thunderblade, start a swing with [Y], and immediately pause the game with [Plus]. While paused, drop the weapon. If done mid-swing, the weapon will retain its electrical aura on the ground indefinitely.
- Yiga Clan Trap: Use the electricity glitch with multiple weapons to craft a deadly arena. Line up several glitched electric weapons on the ground to create an impassable electric field. Then, simply lure Yiga Clan enemies into the zone—they’ll be continuously fried without you lifting a finger.
Mastering these glitches transforms Breath of the Wild from a structured adventure into a physics playground. With practice, you’ll be launching across canyons, clipping through temples, and turning the game’s own mechanics against it in the most satisfying ways possible.
Best Setup for Upgrading the Sheikah Slate in Breath of the Wild
The Sheikah Slate is your constant companion in The Legend of Zelda: Breath of the Wild, but its journey doesn’t end on the Great Plateau. To unlock its full potential—including a brand-new ability and powerful upgrades—you’ll need to undertake a specific quest chain that takes you to the heart of Hyrule’s ancient technology research.
Your destination is the Hateno Ancient Tech Lab, located in Hateno Village in the game’s eastern region. This is where your Sheikah Slate’s evolution truly begins. Inside, you’ll meet Purah, the energetic and brilliant director of ancient technology research. She’s the one who can perform the upgrades, but first, she needs you to light the lab’s furnace with a Blue Flame carried from the ancient furnace in town.
The path from the town furnace to the lab is patrolled by enemies. Light every lantern along the route as you go—this creates safe checkpoints so you don’t have to run the entire distance again if you’re interrupted.
Once the lab is operational, speak to Purah to unlock the Camera Rune. Press [L] to activate it and [A] to take a photo. This isn’t just for souvenirs; it’s the key to the Hyrule Compendium. Every photo you take of a material, creature, or enemy can be added to this log with [A], creating an essential tracking guide for every resource in the game.
The real power, however, lies in upgrading your existing runes. Purah offers enhancements like Stasis+, which allows you to freeze enemies, but they come at a cost. You’ll need Ancient Materials: Ancient Screws, Shafts, Gears, and Cores. These are primarily looted from defeated Guardians found in ruins across Hyrule, particularly around the Central Tower and Hyrule Field. Stockpile them—you’ll thank yourself later.
This questline also ties back to an early-game item you might have missed. Remember the Warm Doublet? You can get it on the Great Plateau by cooking a Spicy Meat and Seafood Fry (using Spicy Peppers, Raw Meat, and Fish) and giving it to the Old Man in his Cottage in the evening. While not a Sheikah Slate upgrade, it’s a perfect example of how the game rewards exploration and preparation, much like the upgrade quest itself.
Finally, remember that every shrine you conquer rewards you with a Spirit Orb. Collect four of these, then pray at any Goddess Statue (like the one in the Temple of Time) to exchange them for either a Heart Container or a Stamina Vessel. Boosting your health and stamina is the ultimate "upgrade" to your own capabilities, making every challenge, including hunting Guardians for parts, significantly easier.
With the Camera Rune secured, your Compendium started, and a clear path to powerful rune upgrades, you’ve moved from simply using the Sheikah Slate to mastering it. Now you’re ready to document and dominate every corner of Hyrule.