How to Master Basic Controls and Navigation in Breath of the Wild
Your adventure in The Legend of Zelda: Breath of the Wild begins with a sprawling, beautiful, and dangerous Hyrule at your feet. Before you charge headfirst into the wilderness, mastering the Sheikah Slate and your own movements is the key to survival. This section will get you comfortable with the basic controls and UI, so you can focus on exploration, not fumbling with menus.

Basic movement and environmental navigation.
Your Digital Toolbelt: Menus and Quick Controls
The pause menu is your command center. Press [+] to open it—here you’ll find your Inventory (for weapons, shields, armor, and food), the Adventure Log (which tracks all your quests), and System Settings. The Adventure Log is your best friend; selecting a quest here will place an objective marker on your map to guide you.
Your most-used tools, however, are the quick menus. These let you swap gear on the fly without pausing:
- Hold [D-pad Right] to cycle through your one-handed swords, spears, and rods.
- Hold [D-pad Left] to swap between your shields.
- Hold [D-pad Up] to select your Rune abilities, like Remote Bombs or Magnesis.
- To use a bow, hold [ZL] to aim, then use [D-pad Right] and [Left] to change your bow or arrow type while aiming.
Get into the habit of checking your quick-select menus before a fight. The last thing you want is to fumble for a bomb when a Bokoblin is charging.
Navigating the World
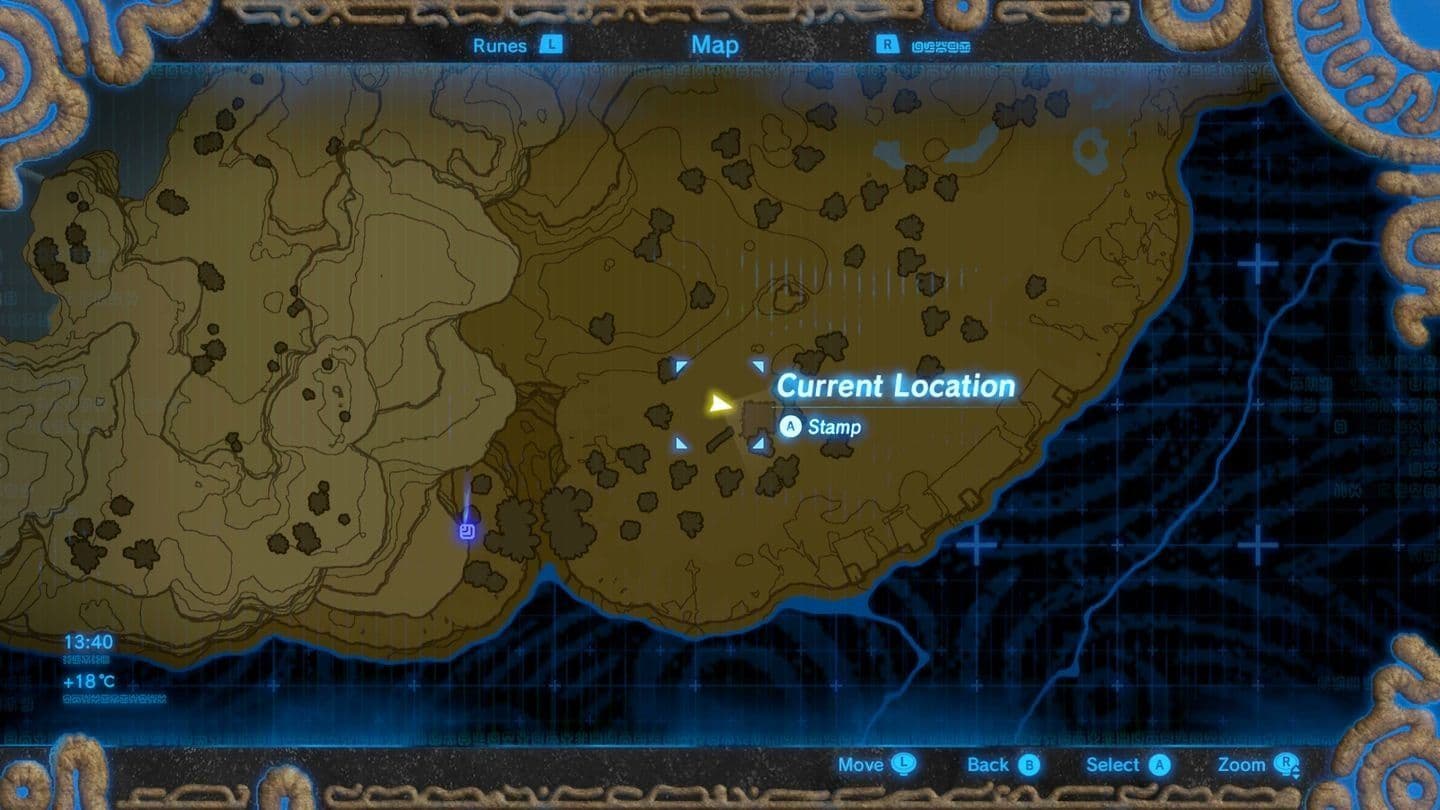
Your map is essential for planning your journey. Press [-] to open the full map of Hyrule. As you explore, you’ll unlock regions by activating Sheikah Towers. You can place custom pins on this map by pressing [A] while hovering over a point of interest—use this to mark shrines you spot in the distance, curious landmarks, or resource-rich areas you want to revisit.
Calling for your trusty steed is simple once you’ve registered one. A quick press of [D-pad Down] makes Link whistle, which will summon your registered horse if it’s within earshot. Trust me, you’ll use this constantly once you have a companion.
Movement and Interaction Fundamentals
Breath of the Wild’s physics are your greatest weapon and tool. Running, climbing, and gliding are all tied to your green stamina wheel. Sprint with [B], but watch that wheel—if it empties completely while climbing or swimming, you’ll fall. Here’s a lifesaver: if you jump at the very last moment when the wheel flashes red, you’ll get a final, extra-powerful leap. This is crucial for scaling tall cliffs.
When interacting with the world, [A] is your all-purpose button: pick up items, talk to NPCs, open chests, and mount horses. [X] is your jump button, and it’s also used for climbing leaps and initiating a shield surf. To pick up or manipulate specific objects like metal crates with Magnesis, hold [A] and use the control sticks.
With these controls committed to muscle memory, you’re ready to step off the Great Plateau and into the wild with confidence. Let’s go explore.
How to Reach the Great Plateau and Survive the Early Game
Welcome to the Great Plateau, your sprawling tutorial area and the first major challenge in The Legend of Zelda: Breath of the Wild. This is where your adventure truly begins, and survival hinges on mastering a few key mechanics before you can even think about exploring the vast world below. Don’t be fooled by the serene landscapes—this is a proving ground designed to teach you everything you need to know.
The Warm Doublet is essential for early game survival.
Your primary guide here is the Old Man, a mysterious figure who appears at various locations across the plateau. He’ll offer hints, point you toward the four introductory Shrines, and ultimately reward you with the Paraglider—your ticket off the plateau—once you’ve proven yourself. Keep an eye out for him near landmarks like the Temple of Time, the central ruins that house a Goddess Statue where you’ll later trade Spirit Orbs for upgrades.
Mastering Movement and Stamina
Exploration in Breath of the Wild is governed by a green Stamina wheel. Sprinting with [B] and climbing any surface will drain this wheel. If it empties completely while climbing, you’ll fall. Here’s the crucial trick: when the wheel is in its final, red-flashing phase, pressing [X] to jump will propel Link a double-distance leap. This “last-chance jump” is essential for scaling taller cliffs.
Always watch your Stamina wheel while climbing. Plan your route to include rest spots on ledges, and use that final leap to reach safety when you’re running on fumes.
Understanding Environmental Threats
The plateau isn’t just a pretty backdrop—it’s a harsh teacher. In certain areas, like the snowy slopes of the northern mountains, you’ll encounter Temperature Damage. Look for visual cues: Link will start shivering in the cold or looking dizzy in extreme heat, and his health will slowly deplete. You can check the temperature gauge by opening your menu. To survive these zones early on, you’ll need to either cook meals with Spicy Peppers for temporary resistance or find the Warm Doublet (a topic covered in-depth in the next section of this guide).
Your Path to Freedom
Your main objective is clear: complete the four Shrines scattered across the plateau to earn Spirit Orbs. Each one teaches a core Rune ability and presents a unique puzzle. Once you have four orbs, return to the Goddess Statue in the Temple of Time. You can choose to increase your health with a Heart Container or your mobility with a Stamina Vessel. For the early game, many veterans recommend the stamina boost—it makes climbing and sprinting much less frustrating.
After praying at the statue, seek out the Old Man at the highest point on the plateau. He’ll congratulate you and finally hand over the Paraglider. With this tool, you can leap from any high point and safely glide down to the lands of Hyrule below.
⚠️ Watch out: A common mistake is trying to climb down the plateau’s cliffs before getting the paraglider. With your limited early-game stamina, this almost always ends in a swift Game Over. Be patient—finish the Shrines first.
With the paraglider in hand and a basic understanding of stamina and survival, you’re ready to leave the Great Plateau behind and dive into the incredible expanse of Hyrule. Let’s go.
How to Get the Warm Doublet in Breath of the Wild
The cold can kill you in The Legend of Zelda: Breath of the Wild, especially on the frosty peaks of the Great Plateau. Before you can explore snowy areas like Mount Hylia, you’ll need the Warm Doublet—your first piece of permanent cold-resistant armor. Thankfully, you can get it almost immediately, and there are three distinct ways to do it. Here’s the breakdown.
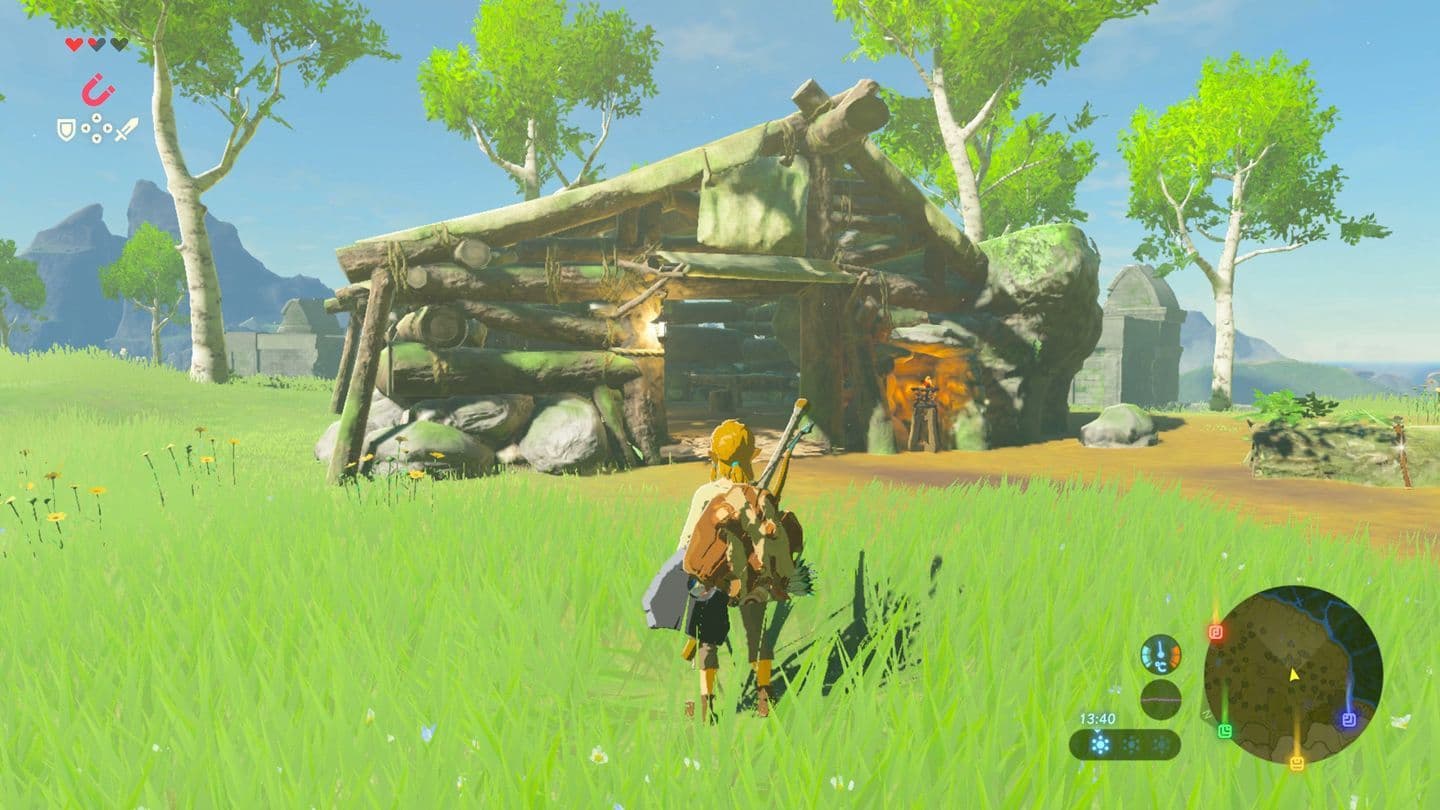
Acquiring the Warm Doublet from the Old Man.
The Recipe Method (Fastest)
Head to the Old Man's Hut south of the Temple of Time. Inside, you’ll find a bed, some supplies, and a diary. Read it—it hints at a forgotten recipe using Raw Meat, a Spicy Pepper, and a fish.
The ingredients are all nearby. Hunt a boar in the woods for Raw Meat, grab Spicy Peppers from the hut or a campsite south of the Temple, and catch a Hyrule Bass in the pond. No rod? Toss a Remote Bomb in the water.
Cook these together at the pot outside to make Spicy Meat and Seafood Fry. Bring it to the Old Man (he’s usually by his campfire near the hut) and he’ll gift you the Warm Doublet. Trust me, this is the quickest route and gets you exploring cold zones right away.
The Summit Method (The Hard Way)
If you’re feeling bold, you can climb Mount Hylia on the plateau's southern edge without any warm gear. You’ll need temporary cold resistance to survive the trek—munch on a few Spicy Sautéed Peppers (just cook a pepper or two). Fight your way to the peak, and the Old Man will be waiting. Impressed by your grit, he’ll hand over the Warm Doublet as a reward. This path is tougher, but it’s a classic Breath of the Wild "figure it out" moment.
The Completionist Method (Backup Plan)
Maybe you missed the Old Man or just want to clean up the plateau first. That’s fine. After you complete all four Shrines on the Great Plateau and obtain the Paraglider, return to the Old Man's Hut. A treasure chest will have appeared inside, containing the Warm Doublet. It’s your safety net.
⚠️ Watch out: The Warm Doublet provides Level 1 Cold Resistance. It’s perfect for the Great Plateau and other chilly regions, but for the bitter cold of Hebra or Mount Lanayru, you’ll need stronger gear like the Snowquill set from Rito Village.
With the Warm Doublet equipped, you’re officially winter-ready. No more shivering on mountain slopes—you’re free to conquer the cold.
Best Cooking Recipes for Survival in Hyrule
Mastering the cooking pots of Hyrule is your true key to survival in The Legend of Zelda: Breath of the Wild. While raw apples will keep you alive, cooked meals and elixirs provide the healing and powerful buffs needed to conquer the game's toughest challenges. Let's transform your foraging into feasting.
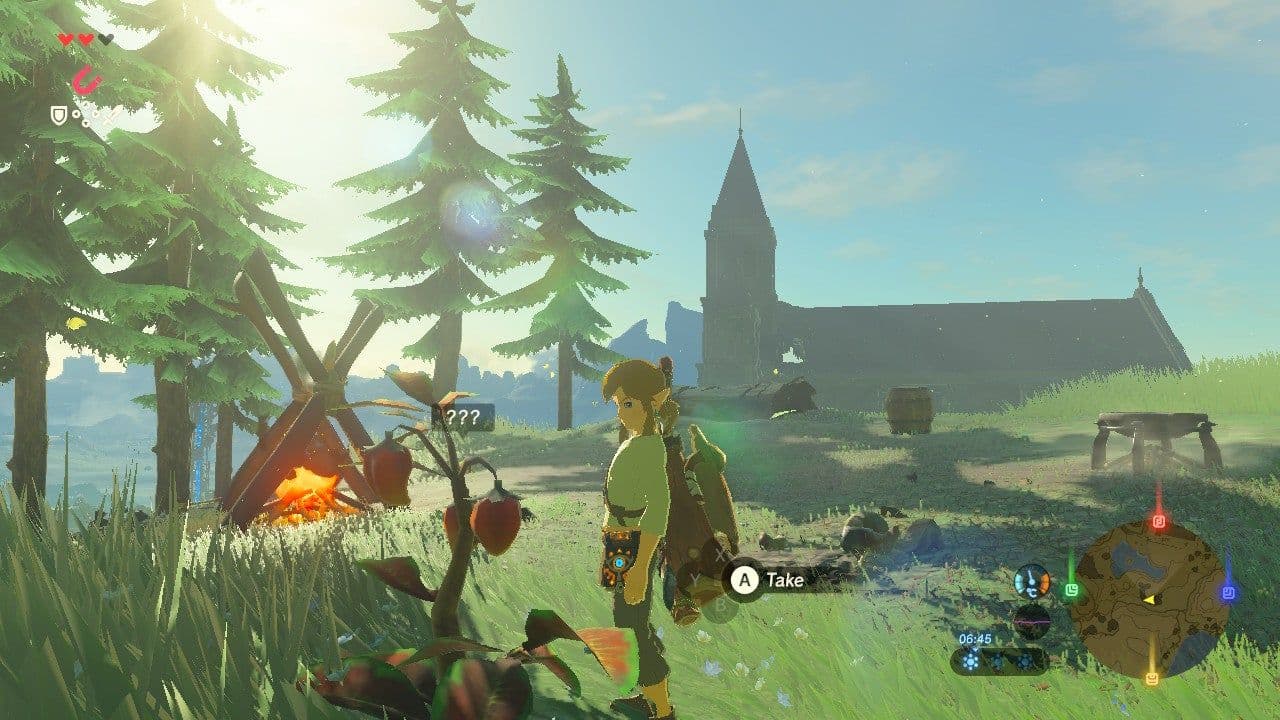
Cooking Spicy Peppers provides essential cold resistance for early exploration.
The Basics of Cooking
The system is intuitive and forgiving. Find a lit cooking pot—common in villages, stables, and enemy camps—and approach it. In your inventory, select up to 5 ingredients, press [A] for 'Hold', then press [A] again for 'Cook' at the pot. Experimentation is encouraged, but logical combinations (meats with herbs, monster parts with critters) yield the best results. Trust me, cooking just five apples together gives you a meal that restores far more hearts than eating them one by one.
Always cook in batches of five of the same ingredient when possible. Five cooked apples or five cooked raw meats are vastly more efficient for healing than smaller snacks.
Essential Survival Recipes
These dishes and elixirs will form the backbone of your early and mid-game adventures.
Spicy Meat and Seafood Fry is your early-game lifeline for cold climates. Combine 1x Raw Meat, 1x Spicy Pepper, and 1x Hyrule Bass to create a meal that grants Cold Resistance. This is the exact recipe needed to get the Warm Doublet from the Old Man on the Great Plateau, and it remains useful for exploring other chilly regions before you have full armor sets.
For when you’re staring down a tough boss or a dangerous area, nothing beats the Hearty Simmered Fruit. Cook 5x Hearty Durian together (found in the Faron region jungles) for a meal that performs a Full Recovery and adds a staggering 20 Temporary Hearts. This next part can feel overwhelming—don't panic. With this buffer, you can survive hits that would normally one-shot you.
Stealth is a powerful tool, and the Sneaky Mushroom Skewer makes you a ghost. Using 5x Silent Shroom (which glow blue at night in areas like West Necluda) creates a dish that grants a Level 3 Stealth boost, letting you sneak past enemies, tame skittish horses, or land devastating sneakstrikes with ease.
Elixirs for Every Element
When you need buffs from critters and monster parts, you brew elixirs. For stamina, the Energizing Elixir is a climber's best friend. Combine 1x Bokoblin Horn with 1x Restless Cricket (often sold by Beedle at stables) to restore a chunk of your Stamina wheel. This is perfect for making that final climb to a distant peak.
⚠️ Watch out: Elixirs use a "critter + monster part" formula. The critter determines the buff (like a Restless Cricket for stamina), while the monster part determines the buff's duration. Save your rare parts for elixirs you really need!
With these recipes in your culinary arsenal, you're no longer just surviving Hyrule—you're thriving in it. Stock up on Durians and Silent Shrooms; you'll thank yourself later when you're brimming with extra hearts or sneaking through a camp full of sleeping monsters. Let's cook.
How to Find and Use Shrines and Sheikah Towers
Hyrule is vast, but two types of glowing structures hold the key to mastering it: the towering Sheikah Towers and the hidden Shrines. In The Legend of Zelda: Breath of the Wild, this duo forms the core progression loop—unlocking the world and upgrading Link himself. Here’s how to use them to your advantage.

Traversing the landscape is key to uncovering Sheikah Towers.
Unlocking the Map with Sheikah Towers
Your first major goal after leaving the Great Plateau is to chart Hyrule. Look to the horizon for the colossal Sheikah Towers, one in each region. When you reach one, interact with the pedestal by pressing [A] to activate it. This reveals the map data for the entire region and, crucially, unlocks a Travel Gate at the tower’s peak. Don’t just activate and leave—use the high vantage point to scan for distant shrines, stables, and interesting landmarks, marking them with pins on your map for later exploration.
Activating a tower doesn’t automatically mark points of interest. Use your scope from the top to manually place pins on shrines you spot—it’s your best tool for planning efficient travel routes.
Discovering Power in Shrines
Scattered across every corner of Hyrule are 120 Shrines. These are your primary source of power-ups. The moment you find one, walk up to its entrance and press [A] to interact with it. This alone unlocks it as a Fast Travel point, even if you don’t solve the puzzle inside. Trust me, you’ll want to do this for every shrine you see. It creates a network of teleport spots that saves hours of backtracking.
Inside, you’ll face a puzzle or combat challenge. Completing it rewards you with a chest (often containing weapons, armor, or rare materials) and, most importantly, a Spirit Orb.
Trading Spirit Orbs for Strength
You can’t use Spirit Orbs directly. Instead, you need to visit a Goddess Statue. You’ll find the first one inside the Temple of Time on the Great Plateau, and others in major villages like Kakariko Village and Hateno Village. Approach the statue and choose to pray. For every 4 Spirit Orbs you’ve collected, you can choose one permanent upgrade: a Heart Container to increase your maximum health, or a Stamina Vessel to extend your stamina wheel.
⚠️ Watch out: This is the only way to increase your base health and stamina in Breath of the Wild. There are no Heart Pieces from cutting grass here, so shrine hunting is non-negotiable for growth.
Here’s the trick most guides miss: while extra hearts are tempting, prioritize stamina early on. A larger stamina wheel lets you climb taller cliffs, sprint longer in combat, and swim across wider rivers—fundamental actions for exploration. You can get temporary hearts from food easily, but permanent stamina upgrades are game-changers.
With each activated tower revealing new lands and each conquered shrine making you stronger, you’re building the map and the hero needed to save Hyrule. Now get out there and light them up.
Best Early Game Weapons and Resource Gathering Strategies
In The Legend of Zelda: Breath of the Wild, your weapons will break—that’s a given. But that doesn’t mean you’re doomed to wander Hyrule with a collection of flimsy sticks. By mastering the game’s durability system and knowing where to look, you can secure a formidable arsenal early on and gather resources without constantly feeling under-equipped.

Scouting for enemy camps and treasure chests.
Let’s start with the most important mindset shift: don’t get attached. Weapons are tools, not treasures. You’ll know a weapon is fresh when it glistens in your inventory menu. As you use it, you’ll get a notification when it becomes ‘badly damaged.’ This is your cue—instead of getting a few weak final hits, hold [R] to throw it. A thrown weapon deals double its last hit's damage, making it a powerful parting shot. Constantly swap out worn gear for what you find, even if it’s a slight downgrade; an intact weapon is always better than a broken one.
To make your resources last, use your abilities creatively. The Remote Bomb Rune from the Ja Baij Shrine on the Great Plateau is perfect for this. Instead of hacking at trees with your sword, toss a bomb to blast them apart, collecting Wood and Fruit without consuming any weapon durability. It’s also fantastic for dealing with clusters of weak enemies, saving your good weapons for tougher fights.
Speaking of resources, Arrows are precious early on. Here’s a reliable farming method: when facing enemy archers like Bokoblins, equip a Wooden Shield. Hold [ZL] to block, letting their arrows stick into the shield’s surface. When you release the block button, those stuck arrows are automatically added to your inventory. It’s a safe, renewable way to build up your stockpile.
Always carry an Iron Sledgehammer. You can find one in the Owa Daim Shrine on the Great Plateau. It’s not just a weapon—it’s your essential tool for mining ore deposits (which yield precious gems to sell) and for defeating Stone Taluses, whose weak point is the black mineral on their back.
For the truly adventurous, a risky early expedition can yield some of the best gear in the game. Hyrule Castle, looming north of the central plains, is packed with powerful weapons, shields, and rare Ancient Arrows that can one-shot Guardians. You don’t have to fight Calamity Ganon; just use your paraglider from the high ground to the north to infiltrate the outer halls and libraries. Grab the loot and get out. It’s a high-risk, high-reward strategy that can catapult your combat effectiveness.
By embracing the cycle of breaking and looting, using your runes smartly, and knowing where to hunt for quality gear, you’ll transform from a scavenger into a conqueror. Let’s go claim your arsenal.
How to Expand Inventory with Korok Seeds and Hestu
Struggling to juggle a royal claymore, a guardian shield, and three bows? You’re not alone—The Legend of Zelda: Breath of the Wild’s notoriously limited inventory is one of its biggest early hurdles. The good news is there’s a dedicated system for solving it, and you can unlock it before tackling your first major quest.
Hyrule's diverse terrain holds many secrets.
Your ticket to a bigger arsenal is the humble Korok Seed. There are 900 total of these little tokens hidden all over Hyrule, often tucked behind clever environmental puzzles. You’ll find them under solitary stones, within rings of lily pads on ponds, or by solving other minor brain-teasers scattered across the landscape. Make a habit of investigating anything that looks slightly out of place, and you’ll start amassing seeds quickly. They don’t take up inventory space themselves, so collect every single one you see.
Finding Hestu, Your Inventory Upgrader
Your collected seeds are useless until you find someone to trade with. That someone is Hestu, a delightfully large and jingly Korok. You’ll first encounter him on the road to Kakariko Village, fretting about a lost treasure. After a brief interaction, he’ll relocate to a spot just outside the village itself, where he’ll set up shop permanently.
Hestu’s role is simple: he’s the merchant who trades your hard-earned Korok Seeds for permanent inventory slot upgrades. You can choose to expand your weapon, bow, or shield inventories, with each subsequent slot costing more seeds than the last. The first few upgrades are cheap, so it’s a huge quality-of-life boost to seek him out early.
If you can’t find Hestu on the road to Kakariko, just head to the village itself. He eventually moves to a spot near the shrine there, and later to the Korok Forest, so you’ll never permanently lose access to his services.
Managing Your Slots Wisely
Even as you upgrade, smart inventory management is key. The golden rule? Prioritize high-durability weapons and discard weak or worn gear to make room for new loot. Don’t get sentimental; weapons are plentiful, and a badly damaged traveler’s sword isn’t worth the slot when you could pick up a soldier’s broadsword. This constant cycle of swapping keeps your fighting power at its peak.
With a growing stash of Korok Seeds and Hestu’s location marked on your map, you’re ready to shed the constraints of a tiny backpack. No more leaving powerful weapons behind—your capacity to explore and conquer Hyrule just expanded exponentially.
How to Tame and Register Wild Horses in Breath of the Wild
Nothing defines freedom in The Legend of Zelda: Breath of the Wild like galloping across Hyrule on a trusty steed. Finding and taming your first horse is a rite of passage, and once you register it, you’ll have a loyal companion for the entire adventure.

Exploring Hyrule at dusk on horseback.
Your first step is to locate a herd. Large, open fields are prime territory. Two excellent early-game spots are the plains northwest of the Great Plateau and the fields near the Dueling Peaks Stable east of the plateau. Approach slowly—horses are skittish. Press in on the [L-stick] to crouch and sneak up from directly behind. Watch the sound meter on your HUD; stay in the white zone to avoid spooking them.
When you’re close enough, a prompt will appear. Press [A] to mount. This is where the real challenge begins. The horse will buck wildly, draining a rapidly depleting pink stamina wheel. Your job is to tap [L] repeatedly to soothe it. Don’t panic—steady, rapid taps are key. Higher-quality horses with better stats will buck longer, requiring more stamina to tame, so having a temporary stamina-boosting meal or elixir can be a big help for those prime finds.
Soothing isn’t just for taming. Tap [L] whenever your horse follows a command correctly to build affinity, making it more responsive and less likely to throw you off course later.
Once tamed, you’ll want to make your bond official. Head to the Dueling Peaks Stable, the first such outpost you’ll likely encounter east of the plateau. Speak to the stable hand outside (you can’t miss the giant horse-head architecture). For a one-time fee of 20 Rupees, you can register your horse. This lets you name it, board it for safekeeping, and—crucially—summon it from any other stable in Hyrule. It’s the best 20 Rupees you’ll spend early on.
With your horse registered, you’re no longer just exploring Hyrule—you’re conquering it. Let’s ride.
Essential Combat Tips for Surviving Hyrule's Enemies
Hyrule’s fields and ruins aren’t just scenic—they’re crawling with Guardians, Lynels, and bosses that can end your journey in an instant. This final section of your guide arms you with the advanced combat techniques and survival tricks you’ll need to face them head-on. In The Legend of Zelda: Breath of the Wild, knowing how to fight smart is just as important as having a strong weapon.
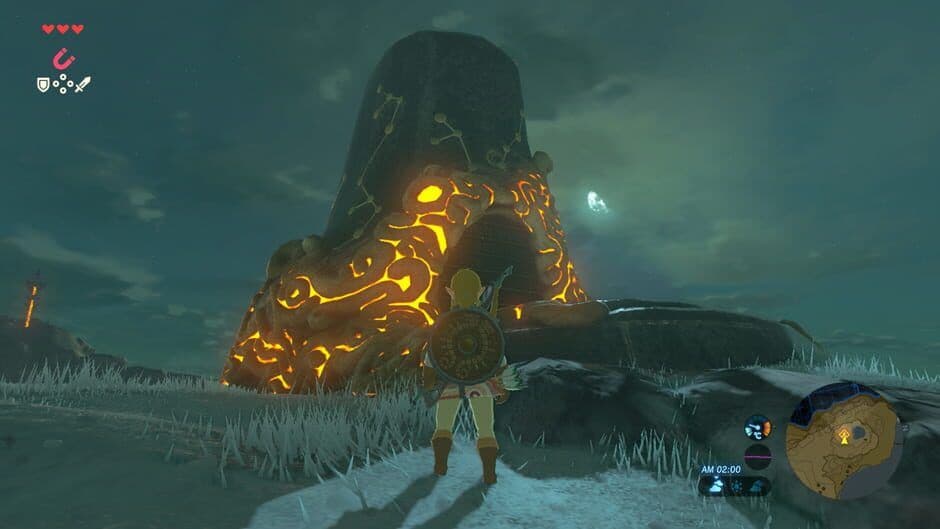
The environment often provides tactical advantages during difficult boss fights.
Master the Art of the Sneakstrike
When the sun sets, most of Hyrule’s monsters fall asleep. This is your chance. Sneakstrikes are a devastating, often overlooked tactic. Approach any sleeping enemy while crouching to stay silent, get directly behind them, and press [Y] for a massive damage multiplier. This can one-shot weaker foes and take huge chunks out of tougher ones like Moblins and Hinoxes. It’s the perfect, resource-free way to clear a camp.
Combine this with the Sneaky Mushroom Skewer or Stealth Armor to get even closer without being detected. A single Sneakstrike can often save you an entire weapon’s worth of durability.
Turn the Tables on Guardians
Those panicked piano chords don’t have to spell doom. Guardians have a critical weakness: their single, glowing eye. Aim for the eye with an arrow—any arrow—to momentarily stun it, buying you precious seconds to close the distance or escape. For a more permanent solution, track down Ancient Arrows. These rare projectiles one-shot kill standard Guardians (and most other enemies), vaporizing them instantly. You can find a few in chests scattered across Hyrule, including some within Hyrule Castle itself.
But you don’t need to face active Guardians to benefit from them. Scattered across the Great Plateau and beyond, you’ll find the rusted husks of Decayed Guardians. Search these rusted machines to scavenge Ancient Screws, Springs, and other valuable parts. These are crucial for later upgrades and can be sold for a hefty sum of Rupees early on.
Understand Your Safety Net
The game has a hidden mercy rule that can save your life. Link survives lethal hits with 1/4 heart if his health was full before the attack. This is a lifesaver against a stray club swing or arrow. However, this does not apply to elemental or laser damage. A Guardian’s beam, a fiery explosion, or an electric shock will still kill you outright regardless of your heart count. This mechanic makes keeping your hearts topped off—via cooked meals or simple apples—a critical combat habit.
Additional Combat Wisdom
- Throw Your Weapons: When a weapon is “badly damaged,” don’t use its last weak swing. Hold [R] to aim and throw it. A thrown weapon deals double its final hit’s damage and can often finish off an enemy while saving your next weapon’s durability.
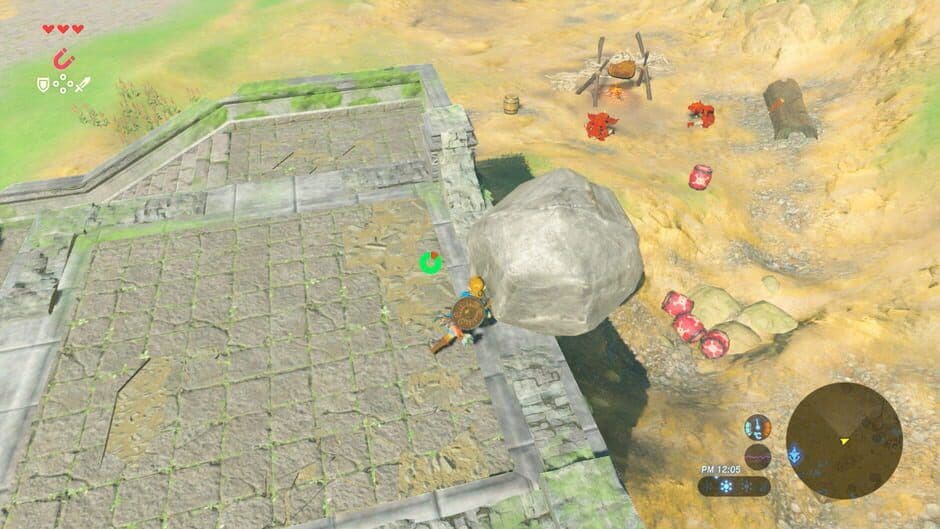
- Use the Environment: Your runes are weapons too. Use Magnesis to drop heavy metal crates on enemies, Stasis to freeze a charging foe and wail on them, or Remote Bombs to knock groups off cliffs. The world is your arsenal.
- Respect the Elements: If you see a lightning storm, unequip any metal weapons, bows, or shields immediately to avoid becoming a target. In the rain, know that climbing becomes nearly impossible and that fire-based attacks won’t work.
With these strategies in your pocket—sneakstriking under the moon, staring down a Guardian’s beam with confidence, and scavenging ancient tech for an edge—you’re no longer just surviving in Hyrule. You’re conquering it. Now, go claim your victory.