How to Reach Calamity Ganon in Hyrule Castle
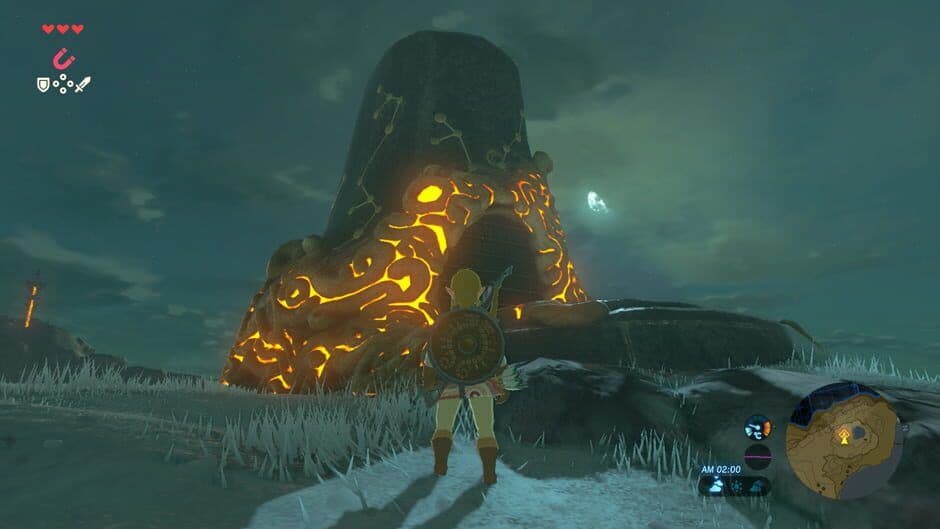
This is it—the final dungeon. Hyrule Castle looms in Central Hyrule, north of Lookout Landing, daring you to enter and confront the source of Hyrule's ruin. In The Legend of Zelda: Breath of the Wild, reaching Calamity Ganon means navigating this perilous fortress to its peak, the Sanctum. This guide will get you past the gates and to the boss door, setting you up for the ultimate showdown.
Navigating the hazards of Hyrule Castle.
First, getting close is easy—use fast travel towers near the castle. The real challenge begins at the moat. Crossing it signals your entry into Hyrule Castle proper, and from this point, a fast travel restriction kicks in: you cannot use the Sheikah Slate to warp out. To leave, you must open your map and press [X] to select 'Leave Area'. Plan your approach carefully.
Save your game on solid ground just before crossing the moat. This gives you a clean restart point if things go sideways inside.
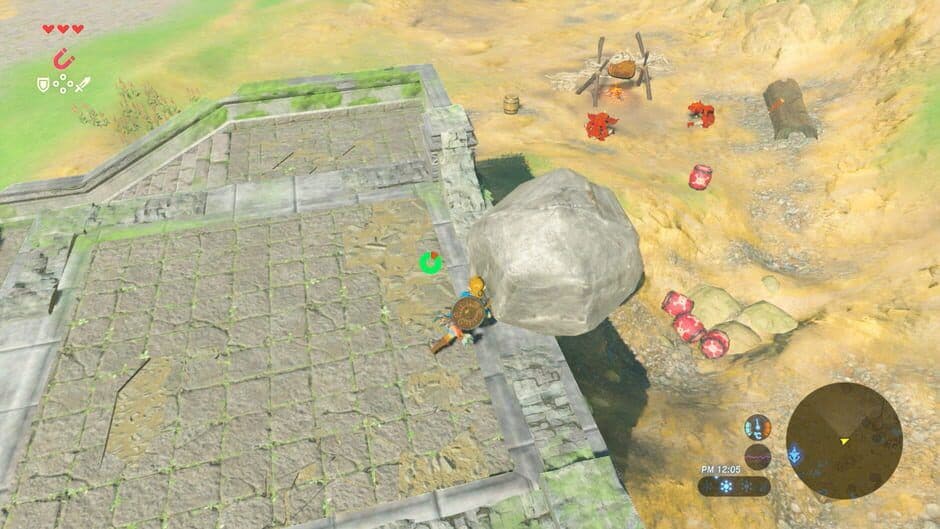
To cross the moat, you have a few solid options. The moat crossing can be done by gliding with your Paraglider from one of the high stone pillars, using Revali's Gale to create an updraft, or even employing the Cryonis rune (activated with [Up D-pad]) to create ice pillars to walk across the current. Once you're on the castle grounds, your map will transform. The castle schematic replaces the standard 2D overview with a detailed 3D model of the fortress, clearly highlighting major interior paths, tunnel entrances, and marking the Sanctum as a large orange ball at the very top.
While you can follow the winding, enemy-filled paths inside, there's a much faster route if you're eager for the final fight. The southwest shortcut involves jumping the moat on the southwestern side and then using a combination of climbing and the Zora Armor (which lets you ascend waterfalls swiftly) to scale the rock faces and waterfalls, bypassing the main gates and guardian turrets entirely. This path lets you reach the upper levels with minimal fuss.
Trust me, once you're inside and climbing towards that orange marker, the atmosphere is unforgettable. Guardians patrol the skies, malice clings to the walls, and the music swells—you're in the heart of the calamity. Follow the schematic upwards, through the castle's grand architecture, until you stand before the entrance to the Sanctum. Take a breath and prepare; Calamity Ganon awaits within.
With the castle breached and the path to the Sanctum clear, you're ready to face the end of your journey in Breath of the Wild. Let's go.
Best Preparation and Gear for Calamity Ganon in Breath of the Wild
You’ve reached the Sanctum, and Calamity Ganon awaits—but rushing in unprepared is a surefire way to meet a swift end. In The Legend of Zelda: Breath of the Wild, this final fight is a marathon, not a sprint. Your success hinges on the gear and consumables you bring. Let’s make sure you’re equipped to not just survive, but dominate.
Equipping Link for the challenges ahead.
Essential Weapons and Shields
Your weapon choice is critical. The Master Sword, obtained from the Lost Woods in Korok Forest (and requiring 13 Hearts to pull), is your best friend here. Inside Hyrule Castle, its durability becomes functionally infinite, and it deals 60 damage to Ganon, making it your most reliable melee option. Pair it with a top-tier shield. The legendary Hylian Shield is found in the Lockup dungeons on Hyrule Castle’s west side, guarded by a Stalnox you must defeat. With 800 durability, it’s the best all-purpose shield in the game. For a more specialized defense, purchase the Ancient Shield from Cherry at the Akkala Ancient Tech Lab. Its unique trait: simply holding [ZL] will automatically reflect Guardian lasers back at Calamity Ganon, perfect if you struggle with parry timing.
Pair the Master Sword with a multi-shot bow like a Lynel Bow or a Forest Dweller's Bow. These let you fire 3-5 arrows per shot while consuming only one from your inventory—a massive efficiency boost when using precious Ancient Arrows.
Optimal Armor Sets
Your armor is your lifeline. For maximum protection against Ganon’s ancient-tech attacks, the Ancient Armor Set, purchased from the Akkala Ancient Tech Lab using Guardian parts, is ideal. When upgraded, it provides laser resistance and the Ancient Proficiency bonus. If you prefer an aggressive playstyle, seek out the Barbarian Armor Set, hidden in chests at the end of the three Lomei Labyrinths. It provides a permanent “three-sword” attack boost, letting you shred Ganon’s health faster if you’re confident in your dodges. Whichever set you choose, visit the Great Fairies at their various fountain locations. They can upgrade your armor to its maximum defense level using collected materials and Rupees—don’t skip this step.
Vital Food and Elixirs
Stocking up on the right meals is non-negotiable. For healing, nothing beats Hearty Meals. Cook a single Hearty Durian or Hearty Radish to create a dish that fully restores your hearts and adds temporary yellow ones. For offense, cook five Mighty Bananas to create Mighty Simmered Fruit, granting a powerful level 3 attack boost for several minutes. Since you can only have one food-based boost active at a time, save this for when you’re ready to unleash your heaviest attacks. To mitigate Ganon’s devastating blows, prepare Tough Steamed Fish using Ironshrooms or Fortified Pumpkins for a solid defense boost.
⚠️ Watch out: Temporary extra hearts and stamina from food do not cancel your active attack or defense boost. You can safely eat a Hearty meal for more HP without losing your Mighty or Tough buff.
With the Master Sword in hand, the Hylian Shield on your back, a full quiver of Ancient Arrows, and your inventory stocked with potent meals, you’ve done everything possible to tip this climactic battle in your favor. You’re not just prepared—you’re ready to end this.
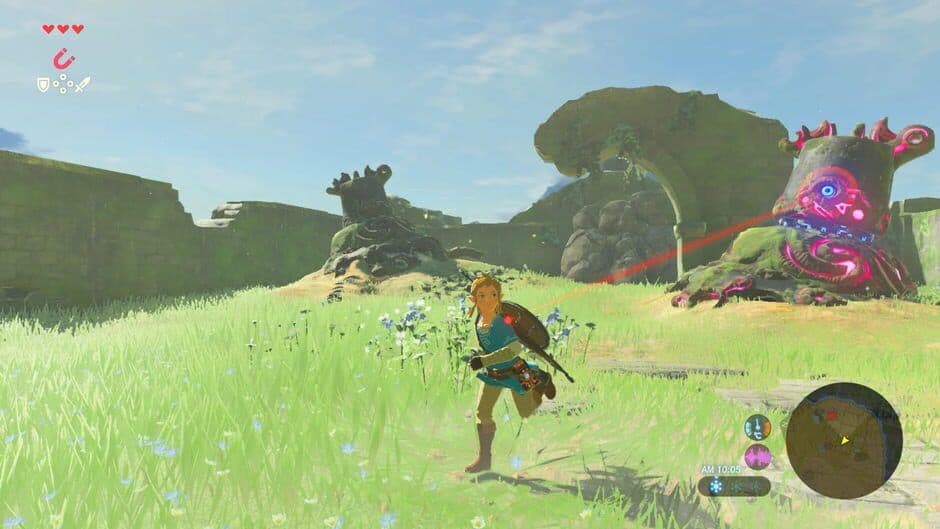
How the Four Divine Beasts Influence the Calamity Ganon Fight
Here's the secret that makes the final fight in The Legend of Zelda: Breath of the Wild manageable: the main quest isn't just a story—it's a power trip. Every Divine Beast you free doesn't just liberate a Champion; it chips away at Calamity Ganon's very essence, turning the ultimate showdown from a desperate struggle into a triumphant curb-stomp.
The path to the final confrontation with Ganon.
How the Four Divine Beasts Influence the Calamity Ganon Fight
Think of the four Divine Beasts as your personal artillery battery. When you free Divine Beast Vah Ruta in Zora's Domain, you don't just save Mipha—you gain her spirit, which provides Mipha's Grace, an automatic revival that restores all your hearts when you fall. More importantly, her Beast joins the fight. The same goes for Daruk in Divine Beast Vah Rudania on Death Mountain, whose spirit grants Daruk's Protection to auto-reflect attacks; Revali in Divine Beast Vah Medoh above Rito Village, who gives you Revali's Gale for crucial vertical mobility; and Urbosa in Divine Beast Vah Naboris in the Gerudo Desert, whose Urbosa's Fury can stun Ganon and shatter his defenses.
Here's where your efforts pay off. When you finally trigger the battle in the Sanctum at the peak of Hyrule Castle, a cinematic plays. Each freed Champion commands their Divine Beast to fire a laser directly at Calamity Ganon. This Divine Beast Intervention is more than just spectacle—it’s a massive strategic advantage. Each laser reduces Ganon's total HP by a whopping 1/8. Free all four, and that's a 50% HP Reduction right off the bat. He starts the fight at half health.
If you've struggled with the sheer endurance test of the final fight in other games, this is your reward. Completing the main quests in Breath of the Wild directly lowers the boss's health bar, making the victory feel earned and strategic.
The impact is twofold. First, it drastically shortens the grueling first phase of the Calamity Ganon fight, letting you conserve weapons and resources for the tougher second phase. Second, and just as crucial, it means you completely skip the punishing boss rush. If you haven't freed the Divine Beasts, you must face all four Blight Ganons—Windblight, Waterblight, Fireblight, and Thunderblight—back-to-back before you even see Calamity Ganon, who will then be at full strength. Trust me, you do not want that marathon.
So, while you can challenge Ganon straight off the Great Plateau, the intended—and far more satisfying—path is clear. Freeing the Divine Beasts isn't just checking boxes; it's assembling your ultimate advantage. By the time you walk into the Sanctum, you're not just Link with a sword—you're the commander of an ancient army, and Ganon is already on the ropes.
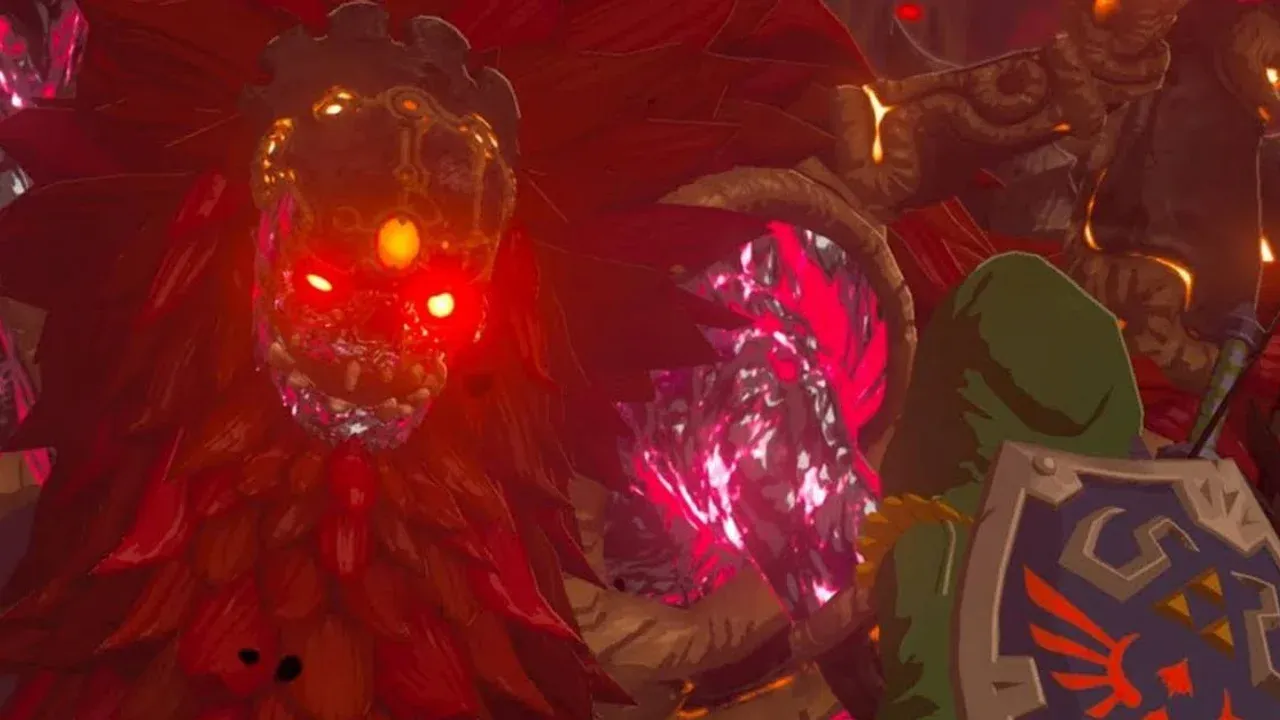
Calamity Ganon Phase 1: Blight Attack Patterns and Counters
This is it—the moment you’ve been building towards in The Legend of Zelda: Breath of the Wild. The monstrous, spider-like Calamity Ganon awaits in the Sanctum, a terrifying amalgamation of the four Blight Ganons you’ve faced. His first phase is a brutal test of everything you’ve learned, as he cycles through their signature elemental and physical attacks. Don’t panic—by recognizing each pattern and knowing the perfect counter, you can dismantle his assault and control the fight.
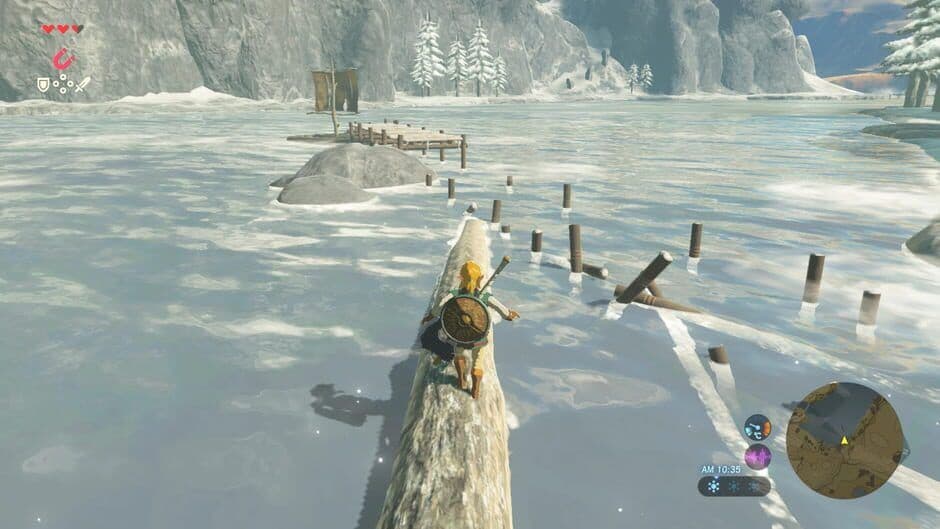
Link in the wilds of Hyrule.
Recognizing and Countering the Blight Attacks
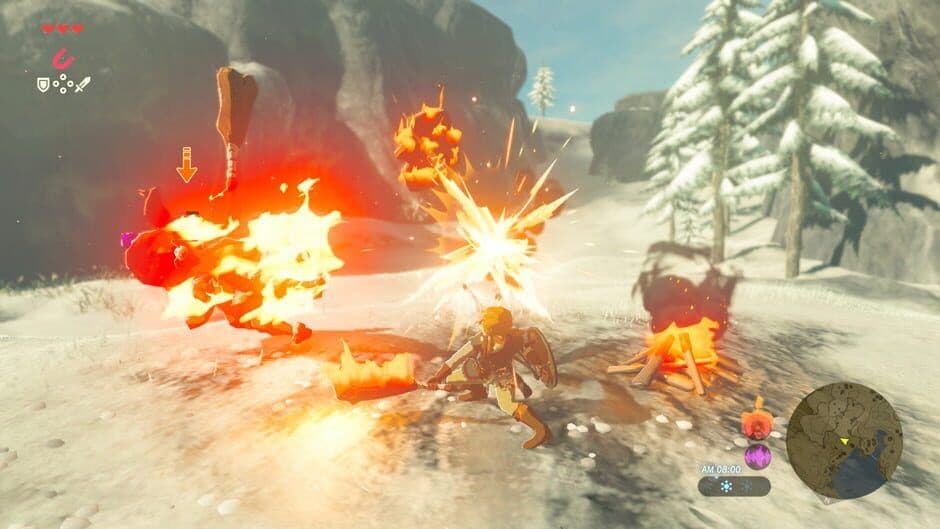
Calamity Ganon’s moveset is a chaotic mix of all the Divine Beast bosses, but each attack has a clear, exploitable counter. Your goal is to create openings for damage, primarily through Flurry Rushes and parries.
- Horizontal/Vertical Axe Slash (Fireblight Influence): This is your primary opening for a Flurry Rush. When he winds up his massive, flaming axe for a horizontal sweep or a vertical slam, time your dodge perfectly. For the horizontal swing, perform a [Back] backflip. For the vertical slam, do a [Left/Right Stick] side-hop. Both will trigger the slow-motion Flurry Rush, letting you unleash a devastating combo.
- Laser Guided Beam Blast (Guardian Influence): This is your best chance to stun him. When he charges a familiar Guardian-style laser, get ready to parry. Hold [ZL] to raise your shield, and as the beam fires, press [A] with perfect timing to parry it back at him. A successful parry will stagger him, leaving him wide open for attacks.
- Fire Orbs (Fireblight Influence): He’ll launch a slow-moving, tracking fireball that explodes with a huge radius. Don’t waste stamina running forever—shoot it. [ZR] to aim your bow and [A] fire an arrow to detonate it early and safely.
- Waterblight Ice Blocks: He’ll hurl large ice blocks your way, just like in the Vah Ruta fight. Don’t just dodge; shatter them. Quickly open your rune menu with [Up D-pad], select Cryonis, and press [A] to summon an ice pillar directly in the block’s path. It’s the most efficient way to clear the threat.
- Windblight Gale & Hurricanes: Unblockable gusts of wind and swirling hurricanes will fill the arena. You cannot shield against these; you must evade. Keep moving and use [Left Stick] to run sideways to avoid the direct hits.
- Thunderblight Metal Rods: He’ll slam electrified metal rods into the ground. Unlike the Thunderblight fight, you don’t need Magnesis here. Just see where they land and use [Left Stick] to run away from the rods before the lightning strikes the area.
The axe attacks leave lingering flames on the ground. Use them! Jump into the fire and press [X] to glide on the created updraft, then hold [ZR] to enter bullet time for easy, critical headshots on Ganon.
Key Strategies for Phase 1 Dominance
Beyond simply surviving his attacks, you want to aggressively create damage windows. His eye is a critical weak point. A well-placed arrow, especially an Ancient Arrow, to his eye will interrupt whatever he’s doing and often stagger him, giving you a free melee combo. This is a fantastic way to stop a dangerous wind-up or create an opening when he’s at a distance.
Remember, if you freed the Divine Beasts, he starts this phase at half health, making it much shorter. Your Champion abilities are also key tools: Urbosa’s Fury can stun him from a distance, and Daruk’s Protection can automatically parry that scary laser if your timing isn’t perfect.
This phase can feel overwhelming with all the elemental effects flying around, but once you see each attack as a familiar puzzle with a solution, you’ll move through it with confidence. Stay mobile, watch for your Flurry Rush cues, and parry that laser. You’ve got this.
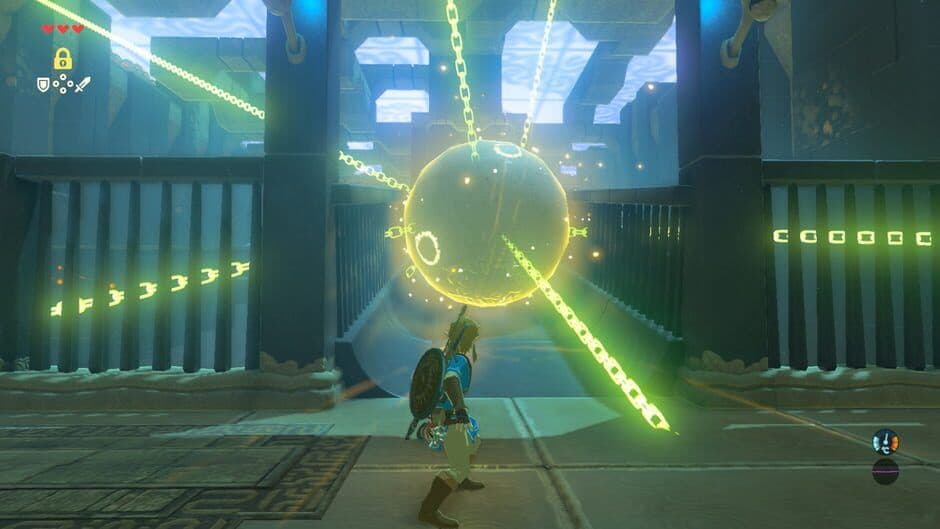
Calamity Ganon Phase 2: Breaking the Invincibility Shield
Phase 2 is where the true test begins. In The Legend of Zelda: Breath of the Wild, Calamity Ganon stops playing with his old Blight attacks and unveils his ultimate defense: an invincibility shield. This glowing orange barrier activates when he’s down to roughly 25% HP, rendering him completely immune to your standard arrows and sword swings. Don’t panic—this is where your Champion abilities and precise timing become your greatest weapons.
Link engaging in combat.
Your goal in the Sanctum is to shatter that shield to create a damage window. You have three reliable methods, and your best bet depends on your playstyle.
First, Urbosa’s Fury is the most straightforward solution. If you saved all three charges from Phase 1, now is the time to unleash them. Hold [Y] to activate the ability; the massive lightning strike will instantly penetrate his invincibility shield, electrocuting him and leaving him vulnerable for a full combo. This is arguably the easiest path to victory in this phase.
If you’re out of Champion abilities or prefer a more technical approach, mastering the Perfect Parry is your key. As Ganon winds up his powerful Guardian-style laser, hold up your shield and press [A] with perfect timing to reflect the beam back at him. A successful parry not only deals damage but also stuns him, temporarily dropping his shield. This tactic is identical to fighting a standard Guardian, so if you’ve practiced that, you’re already prepared.
⚙️ Pro tip: The Ancient Shield, purchased from the Akkala Ancient Tech Lab, can automatically reflect these beams just by holding it up, making this phase much more forgiving if your parry timing isn't perfect.
Your third option is to trigger a Flurry Rush. While his shield is up, Ganon will still use his fiery broadsword attacks. Time a perfect dodge (backflip for vertical slashes, side-hop for horizontal sweeps) to enter slow-motion and unleash a rapid flurry of attacks, which will bypass his invincibility entirely.
As the phase continues, Ganon will often climb the Sanctum walls. While perched, he’s protected by his invincibility shield and will fire spears or lasers. To knock him down, you can either parry his laser as described, or use Ancient Arrows for a guaranteed knockdown. A headshot with an Ancient Arrow will bring him crashing to the floor, stunned and open to attack.
⚠️ Master Mode Warning: If you’re playing on Master Mode, Ganon regenerates health rapidly if you don’t keep the pressure on. The key is to use one of the shield-breaking methods above to create an opening, then commit to a continuous assault. If you freed the Divine Beasts, his health won’t regenerate past the 50% mark, giving you a crucial safety net.
This phase is a battle of endurance and precision. Whether you choose to dominate with Urbosa’s Fury, showcase your skill with a Perfect Parry, or outmaneuver him for a Flurry Rush, breaking that golden shield is your ticket to the final, cinematic battle. Stay focused, watch his tells, and press the attack—the end of your journey is in sight.
Dark Beast Ganon Phase: The Final Cinematic Battle
The arena shifts from the claustrophobic Sanctum to the vast expanse of Hyrule Field. This is it—the final, cinematic showdown against Dark Beast Ganon. Don't let the scale intimidate you; this phase in The Legend of Zelda: Breath of the Wild is more about spectacle and precision than the frantic combat you just endured. Princess Zelda will provide you with the Bow of Light, the only weapon that can harm this colossal beast.
Combat mechanics used against Ganon.
Your objective is straightforward: ride your horse around the massive boar-like Ganon and shoot the glowing circles of light—Triforce-shaped marks—that appear on his body. The Bow of Light has infinite ammo and fires three light arrows at once, making it easy to hit your marks. Start with the three circles on each of his flanks. Staying to his sides is crucial, as his only attack is a devastating Malice Laser Sweep fired from his front. Simply gallop to the side with [Left Stick] to avoid the wide beam.
For easier aiming, jump off your horse with [X] to enter slow-motion archery. You can remount quickly, and staying on foot for a moment often gives you a clearer shot at the tricky side targets.
After hitting all six side weak points, a final circle will appear on his belly. Ride in close to land your shot. This triggers the final sequence: a large, glowing eye will emerge from a crack in his forehead. To hit it, wait for Dark Beast Ganon to charge up another Malice Laser Sweep. The beam superheats the ground, creating powerful updrafts. Jump off your horse, deploy your Paraglider into the rising air, and use the height to line up the perfect slow-motion shot. One arrow to the eye ends the battle.
If you've collected all 13 Captured Memories before this fight, you'll unlock the game's True Ending after the credits roll. With the Bow of Light in hand and the open field before you, this final test is a triumphant victory lap. Take aim, and finish your journey.