
How to Prepare for Hyrule Castle in Breath of the Wild
Approaching Hyrule Castle in The Legend of Zelda: Breath of the Wild can feel like a final exam. Guardians patrol the skies, malice pools on the walls, and the path to the Sanctum is a gauntlet of high-level enemies. But here’s the secret: you don’t need to be max-level to succeed. With the right preparation, you can infiltrate the castle, secure legendary gear, and face Ganon with confidence—even on a first playthrough. This guide will get you stocked, buffed, and ready.
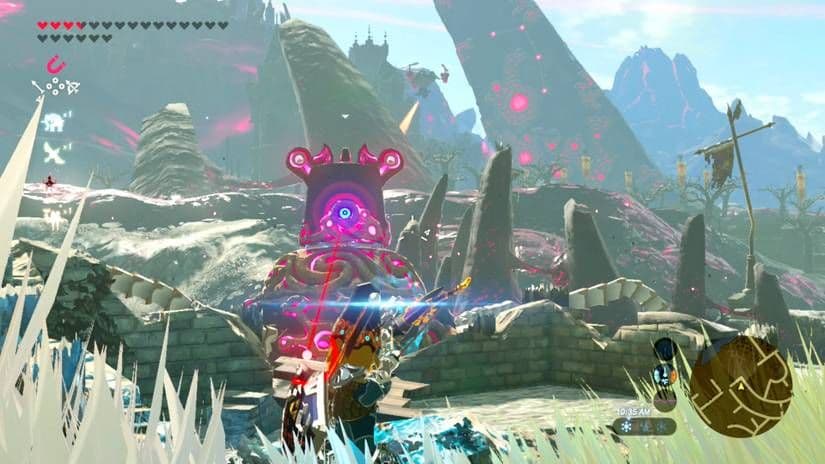
Preparing to enter the dangerous interior of Hyrule Castle.
Your first and most crucial step is to have the Paraglider. If you’ve just left the Great Plateau and haven’t spoken to the old man at the Temple of Time, do that now. You can’t even begin the approach to the castle’s higher entrances without it.
Stock Up on Essential Buffs
Hyrule Castle is relentless. You’ll face extreme cold, Guardian lasers, and enemies that hit like trucks. Don’t go in with just a handful of apples.
Cook in batches of five identical ingredients for the most potent single-effect meals. It’s more efficient than mixing and matching for minor bonuses.
- For Stamina: You’ll be climbing castle walls and paragliding long distances. Cook Stamina-Boosting Food like a Stamella Shroom or a Restless Cricket with a Monster Part (like a Bokoblin Horn) to create an Energizing Elixir. For the big climbs, Endura Carrots are your best friend, as they temporarily extend your stamina wheel.
- For Survival: Head to the Faron Region, specifically the jungles around Lakeside Stable. Here, you’ll find Hearty Durians growing on trees. Cook five of them together for a meal that grants a staggering +20 temporary hearts. Having a few of these in your pocket is like carrying extra lives.
- For the Guardians: Travel northeast to the Akkala Ancient Tech Lab and speak with Cherry. Stock up on Ancient Arrows. While expensive, they are a one-shot kill against any Guardian if you hit the eye. They turn the castle’s most terrifying patrols into a non-issue.
Gear Up for the Journey
While you can find amazing gear inside, walking in with solid equipment makes the trip much smoother.
- The Master Sword: If you have at least 13 heart containers, retrieve the Master Sword from the Korok Forest. Inside Hyrule Castle, it glows with 60 power permanently and never loses energy—it’s your ultimate weapon for this assault.
- Climbing & Swimming: The Zora Armor, obtained in Zora's Domain after calming Divine Beast Vah Ruta, is invaluable. Its set bonus lets you swim up waterfalls with [A], which are plentiful around the castle moat and provide secret shortcuts to upper levels.
- Defense: Visit the Great Fairies. Upgrading any armor set even once or twice dramatically increases your survivability against the castle’s Black- and Silver-tier enemies.
Your Infiltration Mindset
Remember, this isn’t a frontal assault. Your goal is to get in, grab what you need, and reach the Sanctum. Use the terrain. Climb the outer walls to bypass entire platoons of enemies. Save your Ancient Arrows for flying Guardians that have you in their sights. And don’t be afraid to run—sometimes the best strategy is to sprint past a Lynel or a Moblin camp to reach the next safe interior corridor.
With your Paraglider secured, your inventory full of Hearty meals and Ancient Arrows, and a solid set of armor, you’re not just ready to enter Hyrule Castle—you’re ready to conquer it from the inside out. Let’s find a way in.
How to Reach the Hyrule Castle Docks in Breath of the Wild
This is it—the stealth approach. While you could charge the front gates of Hyrule Castle in The Legend of Zelda: Breath of the Wild, the North Shore Moat offers a secret, Guardian-free path to the castle’s heart. Your goal is the Hyrule Castle Docks, a hidden entrance that lets you bypass the deadliest lasers on the perimeter.
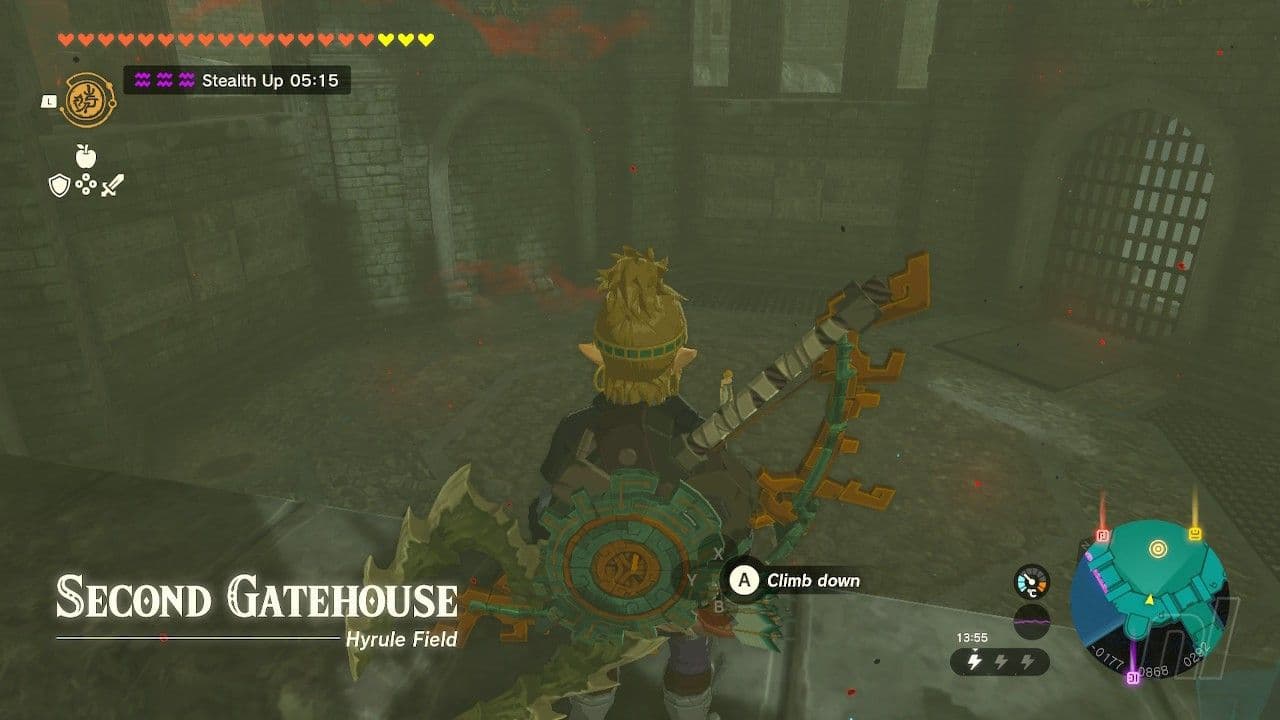
Navigating the interior of Hyrule Castle using stealth.
From the North Shore Moat, look directly at the castle’s northern cliff face. You’re aiming for a cave entrance marked by three glowing blue stones—trust me, they’re visible even during the day. Paraglide from the shore toward this landmark. If you’ve followed the prep guide, you should have plenty of stamina food to make the trip comfortably.
⚠️ Watch out: A Decayed Guardian turret is stationed right at the Docks Entrance. As soon as you land, sprint past it into the cave—don’t stop to fight. You can deal with it later if you wish by aiming for its eye with an arrow ([ZR] hold to aim → [A] press to fire), but evasion is the smarter play here.
Once inside the cave mouth, you’ll see a closed metal gate blocking a water channel. This is where your runes come in. Use Cryonis ([L] hold to select → [A] press to create ice pillar) to lift the gate by forming an ice pillar directly beneath it. This is your Stealth Entry complete—you’re now officially inside the castle’s underbelly.
With the gate raised, swim or wade into the Docks proper. You’ve successfully avoided the main Guardian patrols and can now focus on the treasures and challenges within. Let’s move in.
How to Find the Hylian Shield in Breath of the Wild
Deep within the gloom-shrouded halls of Hyrule Castle lies a prize worth the peril: the legendary Hylian Shield. This isn't just any piece of gear—it's the best shield in The Legend of Zelda: Breath of the Wild, boasting unmatched durability and the power to deflect Guardian lasers. Your hunt for it ends in the Lockup, a forgotten prison on the castle's west side, but a formidable skeletal guardian stands in your way.
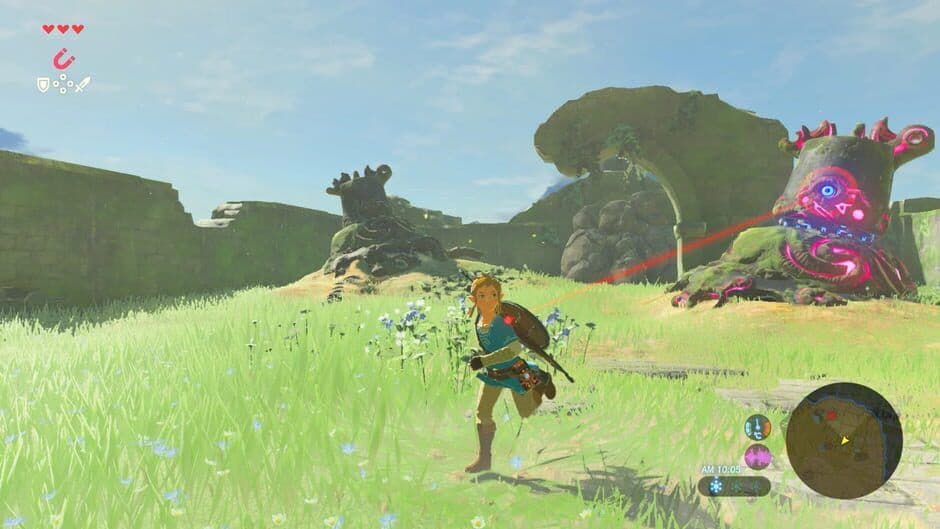
Link exploring the vast world of Hyrule.
To reach the Lockup (Hyrule Castle B1), you'll follow the corridor past the eerie jail cells you may have seen earlier. At the far end, you'll enter a large circular room littered with bones. This is the lair of the Stalnox, a skeletal Hinox variant that will animate the moment you step inside, sealing the door behind you. Don't panic—this fight is all about precision.
⚠️ Watch out: The gate slams shut when the fight starts. Make sure you have your bow equipped and a few arrows handy before you enter.
The Stalnox strategy is straightforward but requires good timing. Its glowing eye is the only weak point. Hold [ZR] to aim your bow and press [A] to shoot the eye. A direct hit will stun it, causing it to collapse to the ground. This is your opening: rush in and mash [Y] to attack its body with your strongest weapon. The Master Sword, glowing with full power inside Hyrule Castle, is perfect for this. After it recovers, create distance, dodge its heavy swings, and repeat the process. When its health is nearly depleted, a final arrow to the eye will cause the orb to pop out and roll away—chase it down and attack it for the finishing blow.
With the Stalnox defeated, a chest will materialize in the chamber. Open it to claim your reward: the iconic Hylian Shield. With 90 Defense and a staggering 800 Durability, it can withstand blows that would shatter lesser shields instantly.
While it's incredibly tough, the Hylian Shield can break. If you've struggled to get here, consider saving it for major fights against Lynels or Guardians, rather than everyday skirmishes.
You've conquered the Lockup and secured Hyrule's ultimate defense. With this legendary shield on your arm, you're ready to face the castle's greater horrors with significantly more confidence.
How to Reach the Library and King's Study
You’ve navigated the gloom-ridden Docks and secured the Hylian Shield—now it’s time to climb deeper into the castle’s heart. Your next targets are the Library and the secretive King’s Study, home to powerful Royal Guard equipment. In The Legend of Zelda: Breath of the Wild, this is your treasure-hunting playground, but you’ll need your wits—and the right rune—to uncover its secrets.
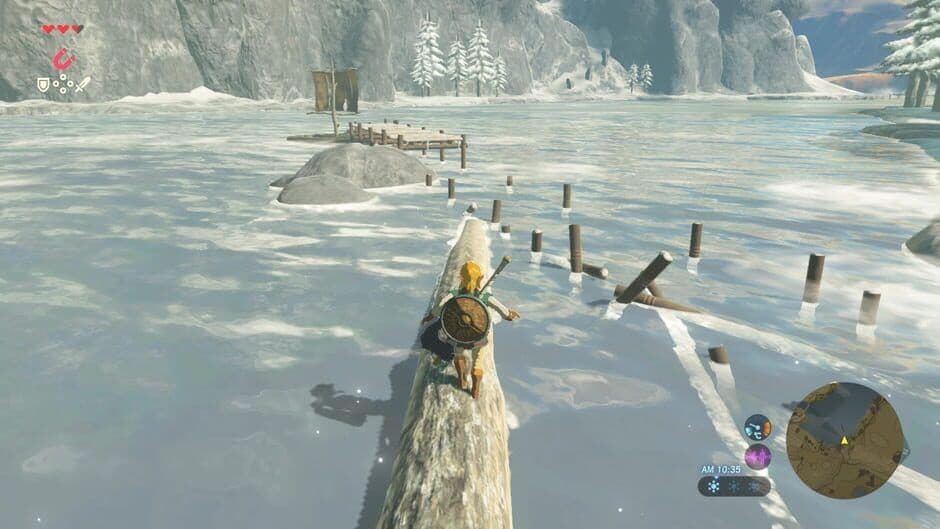
The expansive world of Breath of the Wild.
From the Saas Ko'sah Shrine in the Docks, climb the staircase directly behind it. At the top, you’ll face a blocked path sealed by a metal crate and a crumbling wall. This is your cue to use Magnesis. Hold [L] to select the ability, then press [A] to grab the metal obstacle. You can now push or pull it with [R] to clear the way into the grand Library.
Once inside, don’t get lost in the stacks just yet—several Lizalfos patrol the room. Clear them out first to explore safely. Now, the real treasure hunt begins. Use Magnesis to scan the Library’s first-floor walls. You’ll find several metal bookshelves you can move, revealing hidden passages. Behind one, you’ll find a corridor containing a heavy Stone Smasher (perfect for cracking ore deposits and Talus weak points) and a chest with a silver rupee.
Swing the Stone Smasher a few times in a safe area to get a feel for its slow, powerful arc. It’s unwieldy but invaluable for mining and certain boss fights.
The most important hidden door leads to the King’s Study. Look for a movable bookshelf on the first floor, underneath a staircase. Pull it aside to reveal the study. Inside, you’ll find King Rhoam’s Journal for lore, a chest with a gold rupee, and, mounted on the wall, the Royal Guard’s Shield. This shield boasts very high defensive stats, making it fantastic for blocking powerful blows, but be warned—its durability is quite low. It’s a superb tool for emergencies, not for everyday abuse.
With the Royal Guard’s Shield secured, you’ve successfully plundered one of Breath of the Wild’s best-kept castle secrets. You’re now armed with knowledge and superior gear, ready to ascend toward the castle's higher chambers.
How to Find Princess Zelda’s Room and Royal Guard Gear
The upper chambers of Hyrule Castle hold more than just memories—they contain some of The Legend of Zelda: Breath of the Wild’s most powerful end-game gear. If you're ready to loot these forbidden areas, you'll need to navigate past elite guardians and uncover hidden passages. Let’s claim those legendary weapons.

The path to the upper spires where Zelda's room is located.
Navigating to the Royal Quarters
From the safety of the Library, head to the stairs on the eastern side of the room (the side opposite the King’s Study). Follow this path outside, where a sheer rock wall and a series of ramparts stretch above you. Instead of going through the cave immediately ahead, climb the outer right wall. Trust me—a quick Korok seed awaits on the platform just above the cave entrance. Continue climbing upwards until you reach the castle’s upper spires; this is the long way around to the royal living quarters. If you prefer a more direct route, you can also head through the cave near the Library’s exit, defeating the patrolling Guardians along the way.
Finding Princess Zelda's Room
On the castle's western side, you’ll find the entrance to Princess Zelda’s Room inside a high tower. The most reliable path is to follow the exterior staircases upward from the Library area. Once inside the tower, prepare for a fight: a powerful Silver Moblin guards the chamber. Clear the room, and then you can explore.
Your primary loot target is the Royal Guard’s Bow, mounted prominently above the fireplace. This bow boasts a high fire rate and significant damage, making it perfect for taking down high-health targets. Don’t miss the lore on the desk—Zelda’s Diary provides crucial context for the game’s story and the Captured Memories quest. Before you leave, check the balcony for a hidden Korok and a chest containing a silver rupee.
If you’re chasing the Captured Memory located in Hyrule Castle, climb the walls outside Princess Zelda’s Room to reach Princess Zelda’s Study directly above, where the memory is found.
Securing the Royal Guard’s Sword
To claim the other piece of elite Royal Guard gear, you’ll need to backtrack and find a hidden passage. Return to the Library and take the exit on the opposite side, crossing a makeshift magnesis bridge. This leads to a hallway filled with Malice and patrolled by enemies.
In this hallway, keep an eye on the right-hand wall. You’re looking for a cracked section that looks out of place. Equip a Remote Bomb by holding [L], place it against the wall, and detonate it to blow the rubble away. Behind this hidden alcove, you’ll find the Royal Guard’s Sword waiting for you. This hallway also eventually leads to the Dining Hall, but the sword is your prize here.
Wrapping Up Your Haul
With the Royal Guard’s Bow and Royal Guard’s Sword in your inventory, you’ve secured two of the best non-legendary weapons in Breath of the Wild. Coupled with the lore from Zelda’s Diary and the earlier King Rhoam’s Journal from the King’s Study, you’re now fully equipped with both high-end gear and the complete story of the royal family’s last days. You’re more than ready to press onward toward the Sanctum.
How to Replace Broken Hylian Shields in Breath of the Wild
So you've braved the depths of Hyrule Castle, bested the Stalnox, and claimed the legendary Hylian Shield. Its 90 Defense and incredible 800 Durability make it feel indestructible… until it doesn’t. Here’s the good news: in The Legend of Zelda: Breath of the Wild, even this legendary relic can be replaced.
Heavy combat can eventually lead to the Hylian Shield breaking.
If your Hylian Shield ever shatters or gets lost, your one-stop shop for a replacement is Granté in Tarrey Town. You’ll find him on the balcony of a house in the town, where he sells lost or broken unique items. However, he operates under two strict conditions.
First, you must have completed the extensive From the Ground Up side quest. This multi-part quest begins with helping Hudson in Hateno Village and culminates in founding Tarrey Town itself. Only after the town is fully established will Granté appear.
Second, he will only sell the Replacement Hylian Shield—for a hefty 3,000 Rupees—if you have already found and obtained the original shield from the Hyrule Castle Lockup. Once you meet these conditions, he’ll offer you a fresh copy anytime yours is gone.
If you’re low on funds, consider farming rare gem deposits or hunting Taluses. That 3,000-Rupee price tag is steep, but for the best shield in the game, it’s a worthy investment.
With this knowledge, you can wield the Hylian Shield with confidence, knowing that even a catastrophic break is just a temporary setback. Your adventure across Hyrule just got a lot more secure.