How to Unlock the Trial of the Sword in Breath of the Wild
This is it—the ultimate test of your skills in The Legend of Zelda: Breath of the Wild. The Trial of the Sword is a brutal, multi-floor gauntlet where you start with nothing, but the reward is a permanent, game-changing upgrade to the legendary Master Sword. Before you dare to place it back in its pedestal, you need to be absolutely ready. This section will walk you through the crucial prerequisites and the essential buffs you must secure to stand a chance.
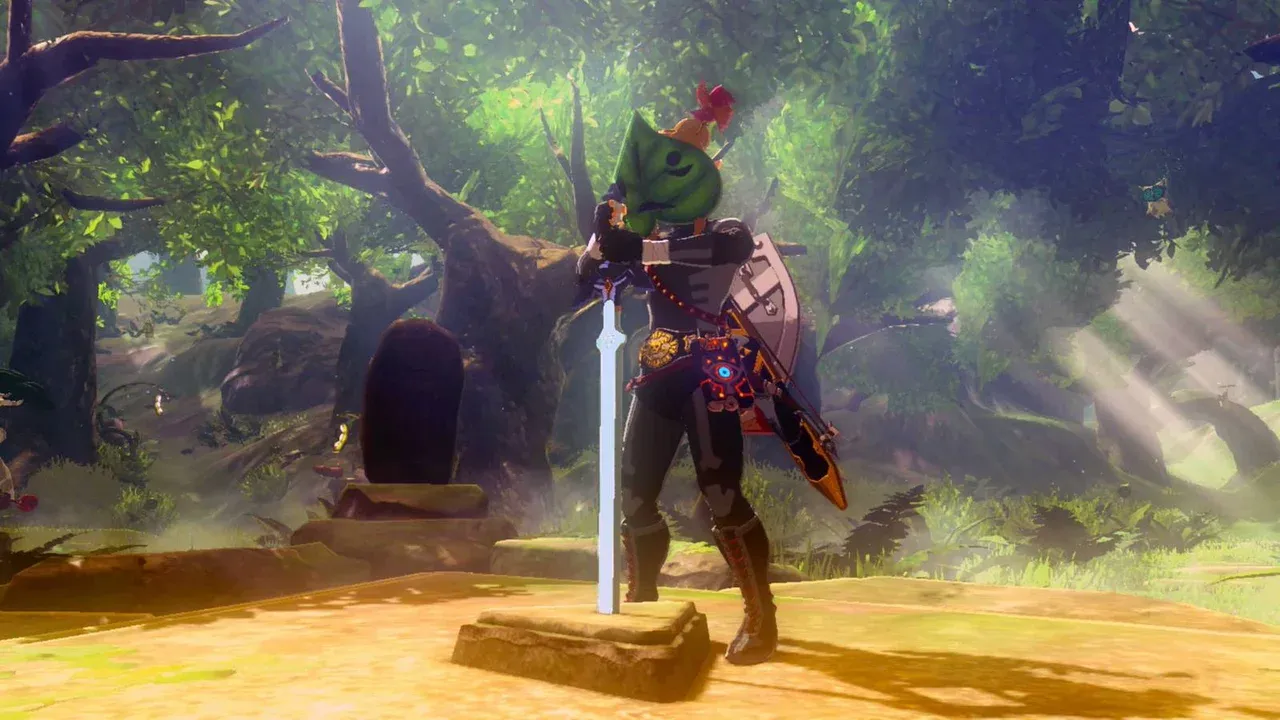
Stepping onto the pedestal initiates the Trial of the Sword challenge.
Accessing the Trial
The trial is locked behind two specific gates. First, you must have the Master Sword itself. This means you’ve already journeyed to the Korok Forest in the Lost Woods and pulled it from its pedestal, which requires a minimum of 13 heart containers.
Second, you need the DLC Pack 1: 'The Master Trials' purchased and installed. Once that’s done, return to the Korok Forest. At the Master Sword's pedestal, speak with the Great Deku Tree, the ancient guardian of the forest. He will present you with the quest 'Trial of the Sword' and explain the rules. Placing the Master Sword back into the pedestal is your point of no return.
⚠️ Critical Warning: Your exact health, stamina, and buff status when you begin the trial carries over. If you’re low on hearts or have no active buffs, you’ll start the grueling challenge at a massive disadvantage.
Essential Pre-Trial Preparation
Trust me, walking into this unprepared is the fastest way to a frustrating reset. You’ll be stripped of all your weapons, armor, and food, so your power comes entirely from the temporary buffs you cook before you begin. Here are the two non-negotiable meals you must make.
The Survival Buff: Maximum Temporary Hearts
The trial is long, and healing items inside are limited. To give yourself the biggest safety net possible, cook for overflow hearts.
- Recipe: Cook 5 Hearty Durians together in a cooking pot.
- Result: A single meal that grants +20 temporary yellow hearts. This massive health buffer will save you from countless one-hit kills in the early floors and give you room to learn enemy patterns.
The Combat Buff: 30-Minute Power Boost
You need every edge in damage and defense. The goal is a long-lasting, top-tier buff.
- Recipe: Cook 4 Ironshrooms (for a Tier 3 Defense Boost) or 4 Mighty Bananas (for a Tier 3 Attack Boost) with 1 Dragon Horn (from Farosh, Dinraal, or Naydra).
- Result: A meal that grants a level three buff for a full 30 minutes. The Dragon Horn is the key—it multiplies the duration of any buff effect to the maximum. Choose Defense to drastically reduce incoming damage, or Attack to tear through enemies faster. You cannot have both, so pick based on your playstyle.
Final Checklist Before You Begin
With your buffs cooked and ready, here’s your final pre-flight check:
- Hearts: Have at least 13 permanent hearts (for the Master Sword) and your +20 temporary heart meal.
- Buffs: Have your 30-minute Attack or Defense boost meal.
- Location: Be at the Master Sword pedestal in the Korok Forest, having spoken to the Great Deku Tree.
- Consumption: Eat your 30-minute buff meal first, then your +20 heart meal right before you interact with the pedestal. Timer buffs don’t tick down during cutscenes, so this maximizes your time inside.
Once you’ve fortified yourself with these essential preparations, you’re as ready as you can be. Take a deep breath, save your game, and place the Master Sword back in its pedestal. Your trial begins now.
Trial of the Sword Beginning Trials: Floors 1-12 Walkthrough
Welcome to the gauntlet. In The Legend of Zelda: Breath of the Wild, the Trial of the Sword is your ultimate test, and the Beginning Trials are your introduction to survival with nothing. Floors 1-12 are a masterclass in resource management, where every apple and every arrow counts. Your goal isn't just to kill monsters—it's to scavenge, strategize, and conserve your strength for the final boss. Let’s break down each floor, focusing on the critical loot and tactics you need to survive.

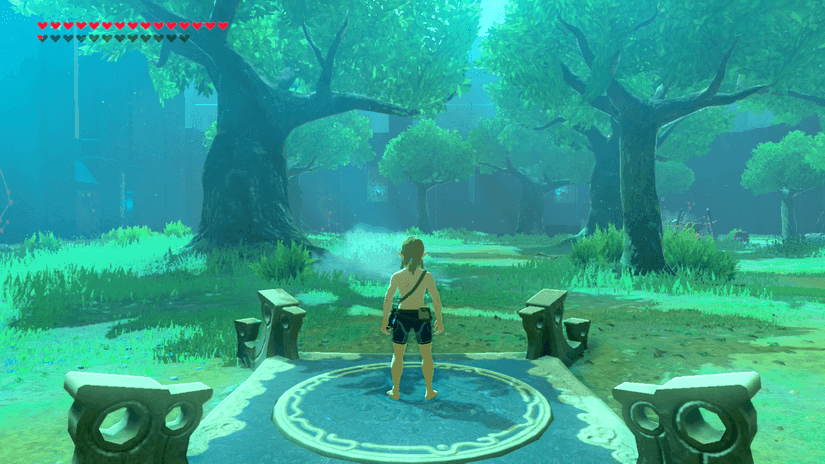
Navigating the early floors of the Trial of the Sword.
Floors 1-6: Scavenger’s Bootcamp
This first half is all about building your inventory from scratch. You start with nothing but your wits and Sheikah Slate.
- Floor 1: Three Bokoblins around a campfire. Don’t rush in. Climb a tree, drop a round Remote Bomb between them, and detonate. Loot everything, especially the Woodcutter's Axe—use it to smash every crate and barrel for apples and arrows. This is your foundation.
- Floor 2: A small fort with lookouts. Prioritize the archer on the tower, then use the Fire Chuchu to create an updraft and glide into the fort. Pick up all the arrows the enemies shoot at you.
- Floor 3: Waves of Chuchus. Keep your distance and use bombs. The two chests on high planks contain a Boomerang and Fire Arrows—use the updraft from defeating a Fire Chuchu to reach them.
- Floor 4: A tougher fort with a Blue Bokoblin archer shooting fire arrows. Use the metal crates as cover with Magnesis, or push the archers off their perch. Grab the Boko Shield dropped here; it’s essential for early parrying practice.
- Floor 5: Two patrolling Moblins and a skull cave with Blue Bokoblins. Lure the Moblins away one at a time. For the cave, you can shoot the hanging lantern to explode the enemies inside, but be quick to grab the weapons before they burn.
- Floor 6: Your first boss, a Stone Talus. It only wakes when you approach. Use Remote Bombs to destroy its arms, making it collapse. Climb its back and wail on the ore deposit with your strongest weapon. The Stasis rune is your best friend here for free hits.
Floor 7: Your Lifeline
After the boss, you get a desperately needed breather. Floor 7 is a Rest Area.
Crouch immediately and sneak up on the Fairy floating near the exit before it flies away. This is a free extra life.
This serene room is stocked: cook at the pot, grab Ironshrooms and Razorshrooms from the trees, fish in the pond, and open the three chests for weapons and a shield. Cook everything. A single "Hearty" ingredient cooked alone fully restores all your hearts—save those for emergencies.
Floors 8-11: Precision and Pressure
The difficulty ramps up here with faster, tougher enemies. Precision and smart use of the environment are key.
- Floor 8: A watery arena with Lizalfos. Work the room clockwise. For the group with an Electric Chuchu, shoot the Chuchu to electrocute the Lizalfos, then finish them. Use Magnesis to grab the chest in the water for 10 arrows.
- Floor 9: Take out the two Water Octoroks first—their rocks hurt. Then focus on the Electric Wizzrobe. A headshot with an arrow or a Stasis+melee combo works. Grab its dropped Lightning Rod.
- Floor 10: This is the skill check. A Blue Lizalfos spots you instantly. If it alerts the two Black Lizalfos, you’re in for a brutal water fight.
⚠️ The Cheese Strategy: Use Stasis on the first Lizalfos and land a headshot with your strongest bow to kill it before it can shout. Sneak and repeat on the others. If you have the Lightning Rod from Floor 9, use it to stun them from a safe distance. This "Lizalfos Cheese" lets you avoid the deadly water combat altogether.
- Floor 11: A multi-platform water level. Get on the raft and head right. Use Cryonis to create pillars for cover and elevation. Snipe the Bokoblin archers first. If you have a Korok Leaf, you can blow enemies off the platforms into the water where they’ll drown. Don’t miss the chests in the water and on a tower for Fire and Shock Arrows.
Floor 12: The Hinox Boss Fight
Your final challenge is a Blue Hinox. This big guy is slow but hits hard. The arena has plenty of Palm Fruit for healing—grab them first.
Here’s the winning strategy: Keep your distance and circle him. When his eye is exposed, shoot it with an arrow [ZR] to stun him. Sprint in and unleash a spinning attack [Y] with your heaviest two-handed weapon on his legs. When his health drops, he’ll cover his eye. Use Stasis+ to freeze him, then shoot the eye to stun him again for a final assault. Don’t waste ancient arrows here—they’re not effective.
After he falls, claim your prize: the Knight's Broadsword, Knight's Bow, and Knight's Shield from his necklace.
You’ve done it. By scavenging every resource, using smart cheese tactics, and taking down the Hinox, you’ve conquered the Beginning Trials. Head through the final portal—your Master Sword is about to grow stronger.
Trial of the Sword Middle Trials: Floors 1-16 Walkthrough
Welcome to the Middle Trials—this is where The Legend of Zelda: Breath of the Wild cranks up the pressure. The vertical, multi-level arenas and pitch-black rooms demand a whole new level of strategy, but don't panic. If you've made it this far, you've got the skills. This guide will walk you through Floors 1-16, focusing on mastering the updrafts and surviving the darkness.
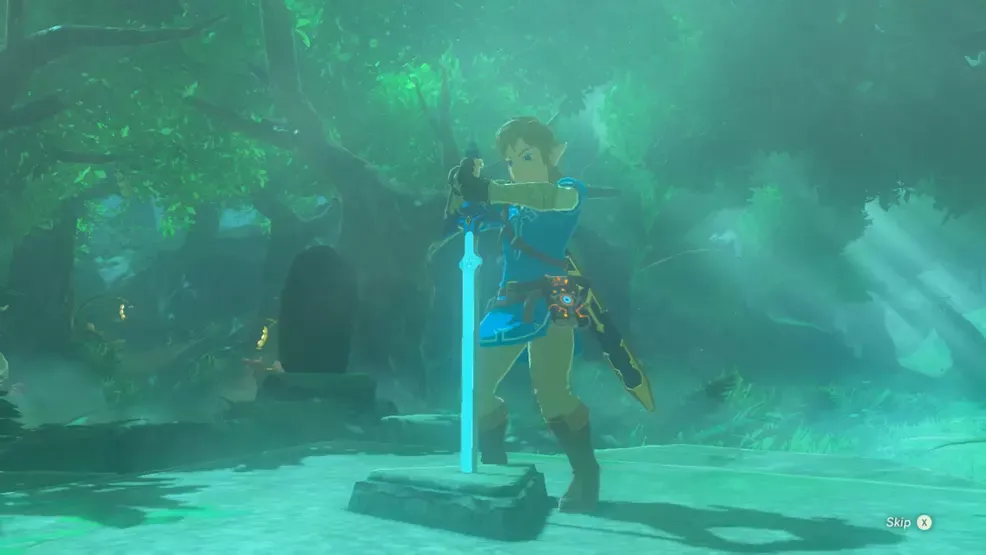
Preparing for the Middle Trials.
Floors 1-5: Mastering Verticality
This first set introduces the central mechanic of the Middle Trials: updrafts. You'll need to use your paraglider constantly. As soon as you enter a floor, double-tap [X] to glide and use [ZR] for slow-motion archery to pick off distant threats.
- Floor 1: You start under fire from a Bokoblin Archer. Immediately glide right to a safe platform to grab a Boko Spear, then use the updrafts to work your way up, clearing enemies on each tier. Don't leave without using a bomb on the updraft to knock down a chest for a Knight's Bow.
- Floor 2: Two Wizzrobes patrol the upper levels. The key here is patience. Use bullet-time headshots to knock them off their platforms. A chest on a wooden plank holds a Feathered Edge—burn the platform with a fire arrow to claim it.
- Floor 3: This is a chaotic archery gallery. Keep moving and use the paraglider to gain height, then pick off the Bokoblin Archers one by one with headshots before they overwhelm you.
- Floor 4: Your first real test—a Decayed Guardian on a central platform. Use the updrafts to your advantage: glide up, stun it with an arrow to the eye, land a few hits, and retreat. Rinse and repeat. A chest held aloft by balloons contains a Knight's Shield.
- Floor 5: Rest Area. Breathe. Sneak up on the Fairy first, then open the chests for a Knight's Broadsword, a Falcon Bow, and the Hylian Trousers. Cook all your food, especially any defense-boosting Ironshrooms.
The Falcon Bow from Floor 5 is your best friend for the upcoming vertical combat. Its high fire rate makes landing slow-motion shots while gliding much easier.
Floors 6-10: Trials in the Dark
The lights go out, and the game changes. You must defeat all enemies to illuminate the room. A lit torch is essential.
- Floor 6: A gentle introduction. Use arrows or thrown bombs to defeat the Electric Chuchu and the Fire Keese that swarm you.
- Floor 7: One of the toughest dark floors. Two Fire-Breath Lizalfos patrol ahead. Lure them back to your starting torches to fight on your terms. Then, snipe the lantern in the skull cave's eye socket to explode the Blue Lizalfos inside. Grab the Flameblade they drop—it's a lifesaving light source.
- Floor 8: Tread carefully among ruins. A Meteo Wizzrobe wanders the center. If it spots you, it will superheat the entire room, causing constant damage. Use Ice Arrows for a one-shot kill or stun it with a headshot and attack aggressively before it can cast.
- Floor 9: A lone Decayed Guardian in the dark. Use the braziers for brief glimpses of its position. The strategy is the same: stun with an arrow, attack, and hide behind the broken walls when it charges its laser.
- Floor 10: The sub-boss is a Black Hinox. Its glowing eye is your only beacon. Shoot the eye to stun it, wail on it, and run. When it covers its eye, shoot its wooden leg armor with Fire Arrows to set it ablaze and open it up for another stun. It drops a powerful Thunderstorm Rod.
Floors 11-16: The Guardian Gauntlet
The final stretch abandons darkness for a series of intense guardian battles. The gear you've collected is key.
- Floor 11: Rest Area. You've earned this. Capture the two Fairies, open the chests for a spear, sword, and the Hylian Tunic, and cook everything. Make defense-boosting meals for the coming fights.
- Floor 12: Six weak Guardian Scout Is. Use [L] Cryonis in the water to create instant pillars for cover, then pick them off with arrows or guardian weapons.
- Floor 13: Three Guardian Scout IIs. Use the Stasis rune to freeze one, destroy it quickly, and avoid fighting more than one at a time. A hidden chest behind a movable block contains a Duplex Bow.
- Floor 14: Two Guardian Scout IIs and four turret scouts. First, snipe the four turrets on the high platforms. Then, use the water and pillars to isolate and destroy the stronger scouts one-on-one.
- Floor 15: A brutal duel with two Guardian Scout IIs at once. Keep moving, use pillars for cover, and exploit their attack patterns. When they spin, hide to make them crash; when they charge lasers, use the resulting updraft to glide and retaliate with arrow shots.
- Floor 16: The final boss is a Guardian Scout IV—a "Major Test of Strength." Use your strongest guardian weapons. Perfect dodge its sword swipes for flurry rushes, hide from its spin attack, and either parry or stasis its big laser blast.
With the final guardian defeated, you've conquered the Middle Trials. Your Master Sword is now permanently awakened to 50 damage, and you're more than ready for the ultimate challenge that lies ahead.
Trial of the Sword Final Trials: Floors 1-23 Walkthrough
Welcome to the gauntlet. The Final Trials in The Legend of Zelda: Breath of the Wild are the ultimate test of endurance and skill, pushing you through 23 brutal floors of extreme environments and the game's toughest enemies. If you've made it this far, you know the drill—plan ahead, conserve everything, and use every trick in the book. This is where your journey with the Master Sword culminates.

The final floor of the Trial of the Sword.
Surviving the Elemental Gauntlet
The first 11 floors are a masterclass in environmental survival. You’ll be tossed between a violent thunderstorm, scorching lava flows, and biting arctic cold. Your first priority in every rest area is to cook for these conditions.
The Spicy Peppers and Chillshrooms you find in rest areas are lifelines. Cook them individually for guaranteed Cold Resistance or Heat Resistance meals before entering their respective zones. Don't mix them with other ingredients, or you'll lose the effect.
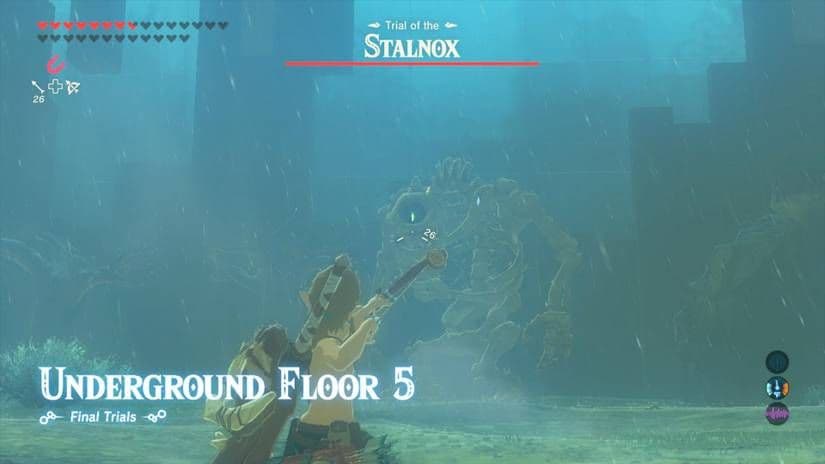
Floors 1-5 take place in a relentless thunderstorm. Your biggest threat isn't the Stalkoblins or Stalnox—it's the lightning. Do not equip any metal weapons or shields. Instead, rely on wooden Bokoblin Arms and your Remote Bombs to clear these early, fragile enemies. Make sure to pick up all the metal gear you see, though; you’ll need it later.
After a welcome breather at the Floor 6 Rest Area inside the Trial Realm—where you must grab the Flamebreaker Boots from a chest—the heat cranks up. Floors 7-11 are set in a volcanic region. With the Flamebreaker Boots equipped, you’re safe from burning, but wooden weapons will still catch fire. Here’s a trick: on Floor 7, you’ll find a Rock Octorok. Feed it all the rusty weapons you collected earlier; it will spit them back out as polished, non-rusty versions, effectively giving you a free weapon upgrade.
The cold returns with a vengeance for Floors 13-16. Eat a cold-resistance meal or keep a fire weapon like a Flamespear equipped to stay warm. These floors feature Silver Moblins and a Frost Talus, so save your strongest weapons for these tanky foes. Remember the Talus strategy: use Stasis+ to freeze it, smash its legs to cripple it, then climb up and wail on its weak point.
The Guardian Onslaught and Ancient Arrow Economy
The back third of the Final Trials is a relentless parade of Guardians. This is where your hoarded Ancient Arrows become your most valuable resource. You found your first three on Floor 6, more on Floor 10, and another batch on Floor 14. Save every single one.
Floors 19-22 pit you against every Guardian type. For the Decayed Guardians on Floor 19, the strategy is simple: shoot them in the eye with a normal arrow to stun them, then sprint in and dismantle them with melee attacks. Use the pillars for cover if multiple are active.
The Guardian Stalker on Floor 20 is more manageable. Use [L] to activate Stasis+, freeze it, then sprint in and [Y] strike its legs to disable its movement. Once it’s crawling, you can safely finish it off.
⚠️ Watch out: The Guardian Skywatchers and Turrets in the final floors have deadly accuracy. Do not try to face them head-on without a plan.
Here’s the golden rule: Use Ancient Arrows only on Lynels and flying Guardians. Your first target is the Blue-Maned Lynel on Floor 17. Hit it with an Ancient Arrow—preferably after freezing it with Stasis+ to ensure a direct hit—to erase it instantly. Save the rest for the brutal Floor 23.
The Final Push: Floor 23 Strategy
This is it. Floor 23 throws a White-Maned Lynel, a Guardian Turret, and a cavalry of Bokoblins on horses at you all at once. If you’ve followed the plan, you should have nine Ancient Arrows left. Here’s how to spend them:
- Immediately target the Lynel. The moment you land, pull your bow. Use Stasis+ on the roaring Lynel and fire an Ancient Arrow into its face. It will vanish, saving you an immensely difficult fight.
- Sprint to the Tower. Ignore the mounted Bokoblins for now and bolt to the tower where the Guardian Turret sits. Climb up, stun it by shooting its eye, and smash it with your strongest weapon—like the Royal Guard's Sword you can find in a chest here.
- Clean up the Bokoblins. From the high ground of the tower, you can now safely pick off the remaining Bokoblins with regular arrows or by dropping bombs on them.
With all enemies defeated, step into the light of the final portal. You’ve conquered the Trial of the Sword. Your reward—the fully awakened True Master Sword—awaits.
How to Defeat Lynels and Guardians in the Final Trials
This is the final exam—after dozens of grueling floors in The Legend of Zelda: Breath of the Wild’s Trial of the Sword, you’ll face the two most formidable enemy types in the game. Lynels and Guardians aren’t just tough; they’re designed to end your run instantly if you’re unprepared. But with the right tactics and the precious resources you’ve saved, you can turn these apex predators into stepping stones to victory.
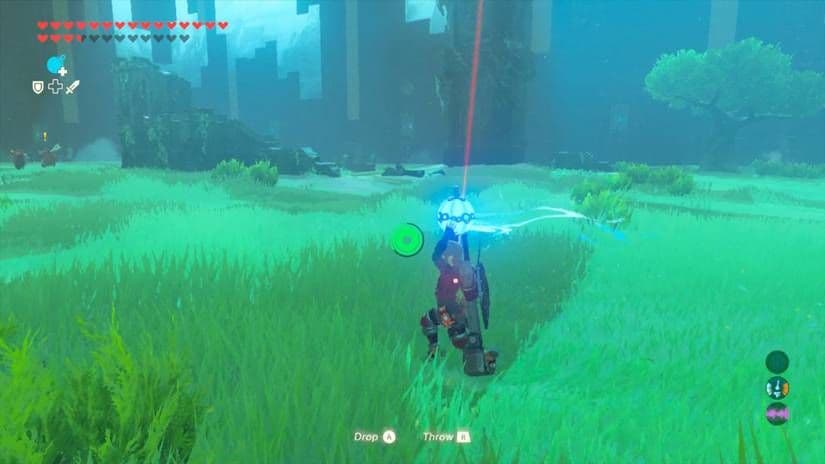
Navigating the chaotic final encounter of the Master Trials.
The Lynel Showdown
You’ll encounter two Lynels in the Final Trials, and each demands a different approach.
On Floor 17, you face a Blue-Maned Lynel. This is your first real superboss test in the trials. You have two clear paths here. The safe, guaranteed route is to use an Ancient Arrow. Aim with [ZR] and let it fly—it’s an instant kill, no fight required. If you’re confident in your combat skills and want to save that precious arrow, you can fight it head-on. The classic strategy is to lock on with [ZL], perfect-parry its charge attack to stun it, then land a [ZR] headshot. Once it’s dazed, run up and press [A] to mount it for several free, durability-free hits.
The mount attack is your best friend here. Landing five strong strikes while mounted doesn’t use any weapon durability, letting you save your best swords for later.
The climax arrives on Floor 23, where a Silver Lynel appears alongside other threats. Trust me, you’ll want to use an Ancient Arrow here. Not only is it the strongest Lynel variant, but it’s accompanied by a Guardian Turret and mounted Bokoblins—a chaotic mess you don’t want to get caught in. The Ancient Arrow lets you delete the biggest threat immediately, so you can focus on cleaning up the rest of the room without worrying about its devastating AOE fire attacks.
Mastering Guardian Encounters
Guardians are the other major hurdle, and they appear in several forms. For the walking and stationary types, mastering the Perfect Guard is essential. When a Guardian locks on, hold up your shield with [ZL]. Watch its eye closely—the moment it flashes blue, press [A] to parry and reflect the laser beam right back at it. This one-shots standard Guardians and conserves all your weapons and arrows.
⚠️ Watch out: The timing is tight. If you’ve struggled here, you’re not alone. Practice the rhythm on earlier floors if you can; it’s a skill that pays off massively.
The real danger comes from the Guardian Skywatchers, like the one on Floor 19. These flying enemies are incredibly agile and hard to hit. The most reliable method is, again, an Ancient Arrow shot directly to its eye. If you’re out of Ancient Arrows, you can try to disable it by using [ZR] to shoot Bomb Arrows at its propellers to force a crash, but this is risky and wastes resources.
Crowd Control is Key
One of the best tools you can find for managing groups of enemies is the Blizzard Rod. You’ll get one from the Frost Wizzrobe on Floor 16. Swinging it with [Y] unleashes a wide-area freeze effect, immobilizing entire groups of Bokoblins or Moblins. This lets you pick them off one by one, or simply push them into environmental hazards like lava. It turns overwhelming mobs into manageable puzzles.
With these strategies, the legendary foes of Hyrule become conquerable. Save your Ancient Arrows for the Lynels and Skywatchers, master the Guardian parry, and use crowd control to your advantage. You’ve made it this far—now go claim your victory.
Trial of the Sword Rewards and Master Sword Upgrades
You’ve conquered the gauntlet. After battling through 45 grueling floors across three trials, you’ve earned more than just bragging rights—you’ve permanently awakened the true power of the Master Sword. This is the payoff for every tense moment and clever strategy in The Legend of Zelda: Breath of the Wild’s Trial of the Sword. Let’s break down exactly what you’ve unlocked.
A boss encounter in the Final Trials.
The Three Stages of Awakening
The upgrades are applied progressively as you complete each trial set. The sword’s power isn’t just boosted; its very nature is transformed.
First, after clearing the Beginning Trials (Floors 1-12), you unlock Master Sword Awakening 1. The sword’s base attack power is permanently raised from 30 to 40. This is a solid upgrade that makes it a more reliable go-to weapon outside of its powered-up zones.
Next, after conquering the Middle Trials (Floors 1-16), you achieve Master Sword Awakening 2. The base damage jumps again, this time to 50. At this point, your Master Sword is already more powerful than most royal-grade weapons you’ll find in the wild.
Finally, the ultimate reward comes after surviving the Final Trials (Floors 1-23). You unlock the True Master Sword. This final awakening boosts the base damage to a permanent 60 and grants the sword its permanent glowing state and increased durability. No more waiting to be near Guardians or inside Hyrule Castle—the Master Sword will now always be at its maximum awakened power. Its durability is also significantly increased, meaning you can swing it far longer before it needs to recharge.
Mastering the Master Sword Beam
With the sword fully awakened, its signature projectile ability becomes far more practical. By holding [R] at full health, you can fire the Master Sword Beam. The best part? When the sword is in its fully awakened state, firing these beams costs no durability. This turns the beam from a situational trick into a powerful, spammable tool for sniping Keese, popping balloons, or picking off enemies from a distance without ever risking your sword’s energy.
The Great Deku Tree’s Final Blessing
Return to Korok Forest and speak with the Great Deku Tree for your final dialogue upon completion. As the guardian of the forest and the sword, he will acknowledge your proven worth and the sword’s true awakening. This conversation serves as the narrative capstone to your entire Trial of the Sword journey.
With the permanent 60-power True Master Sword, you effectively have one of the best one-handed weapons in the game that never truly breaks. Use it as your primary weapon for almost all combat, saving other powerful gear for emergencies or when the sword is recharging.
You did it. You faced the trial and emerged victorious, not just with a stronger sword, but with the legendary blade restored to its full, world-saving glory. In The Legend of Zelda: Breath of the Wild, the fully awakened Master Sword is your ultimate reward—a constant, glowing testament to your skill and perseverance. Now, go show Hyrule what a true hero can do.