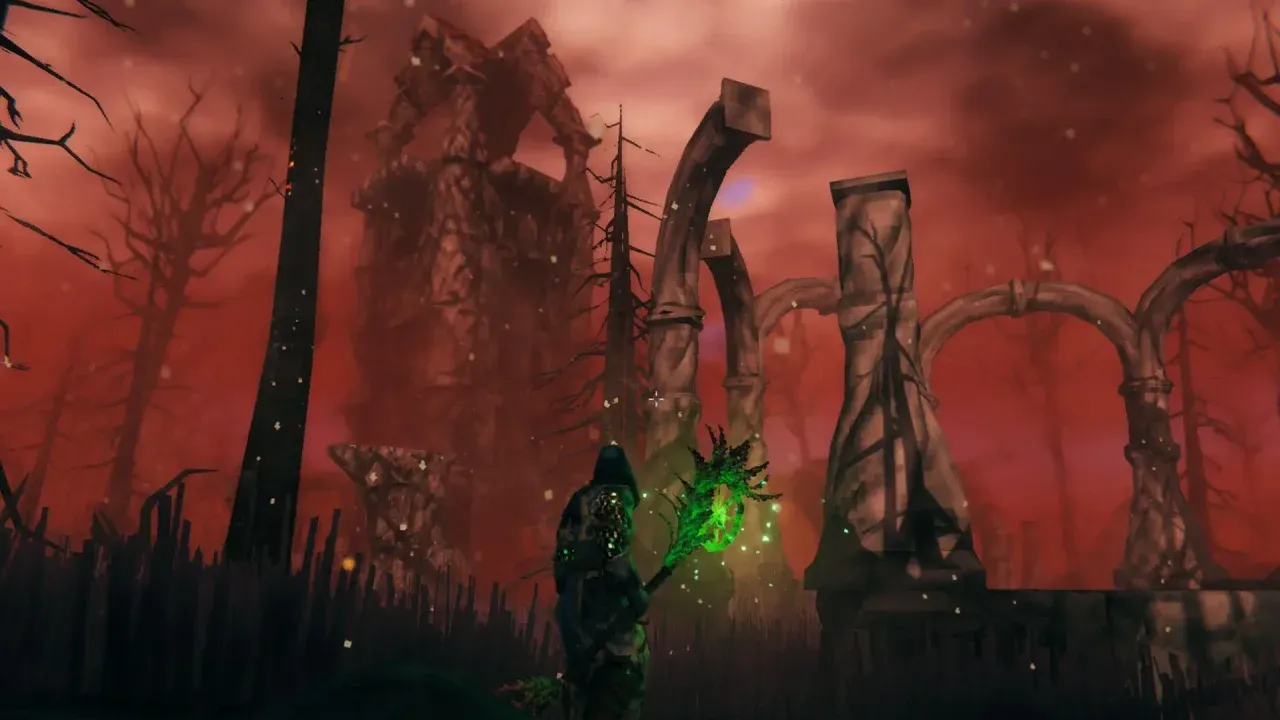
Fader’s 25,000 health bar is the least interesting part of this fight. The real problem is that every attack changes where you can safely stand: fissures seed the floor, meteors leave fire behind, flamebreath turns a lane into a hazard, and Wall of Fire—the ring-of-fire attack—leaves one escape gap. You win by preserving a route around the arena, then using blunt, slash, or Iolite-upgraded damage during the short windows when that route is clear.
Summon Fader and Build Around His Resistances
Fader waits at the Emerald Flame, a coliseum altar in the Ashlands. To summon him, raid Charred Fortresses for nine Bell Fragments, craft three Bells at the Black Forge, and place one on each of the three Bell Holders around the arena. The Emerald Flame activates after all three are in place. A Vegvisir in a Charred Fortress points you toward the arena, so do not spend your fragments until you have a recovery plan near the altar.
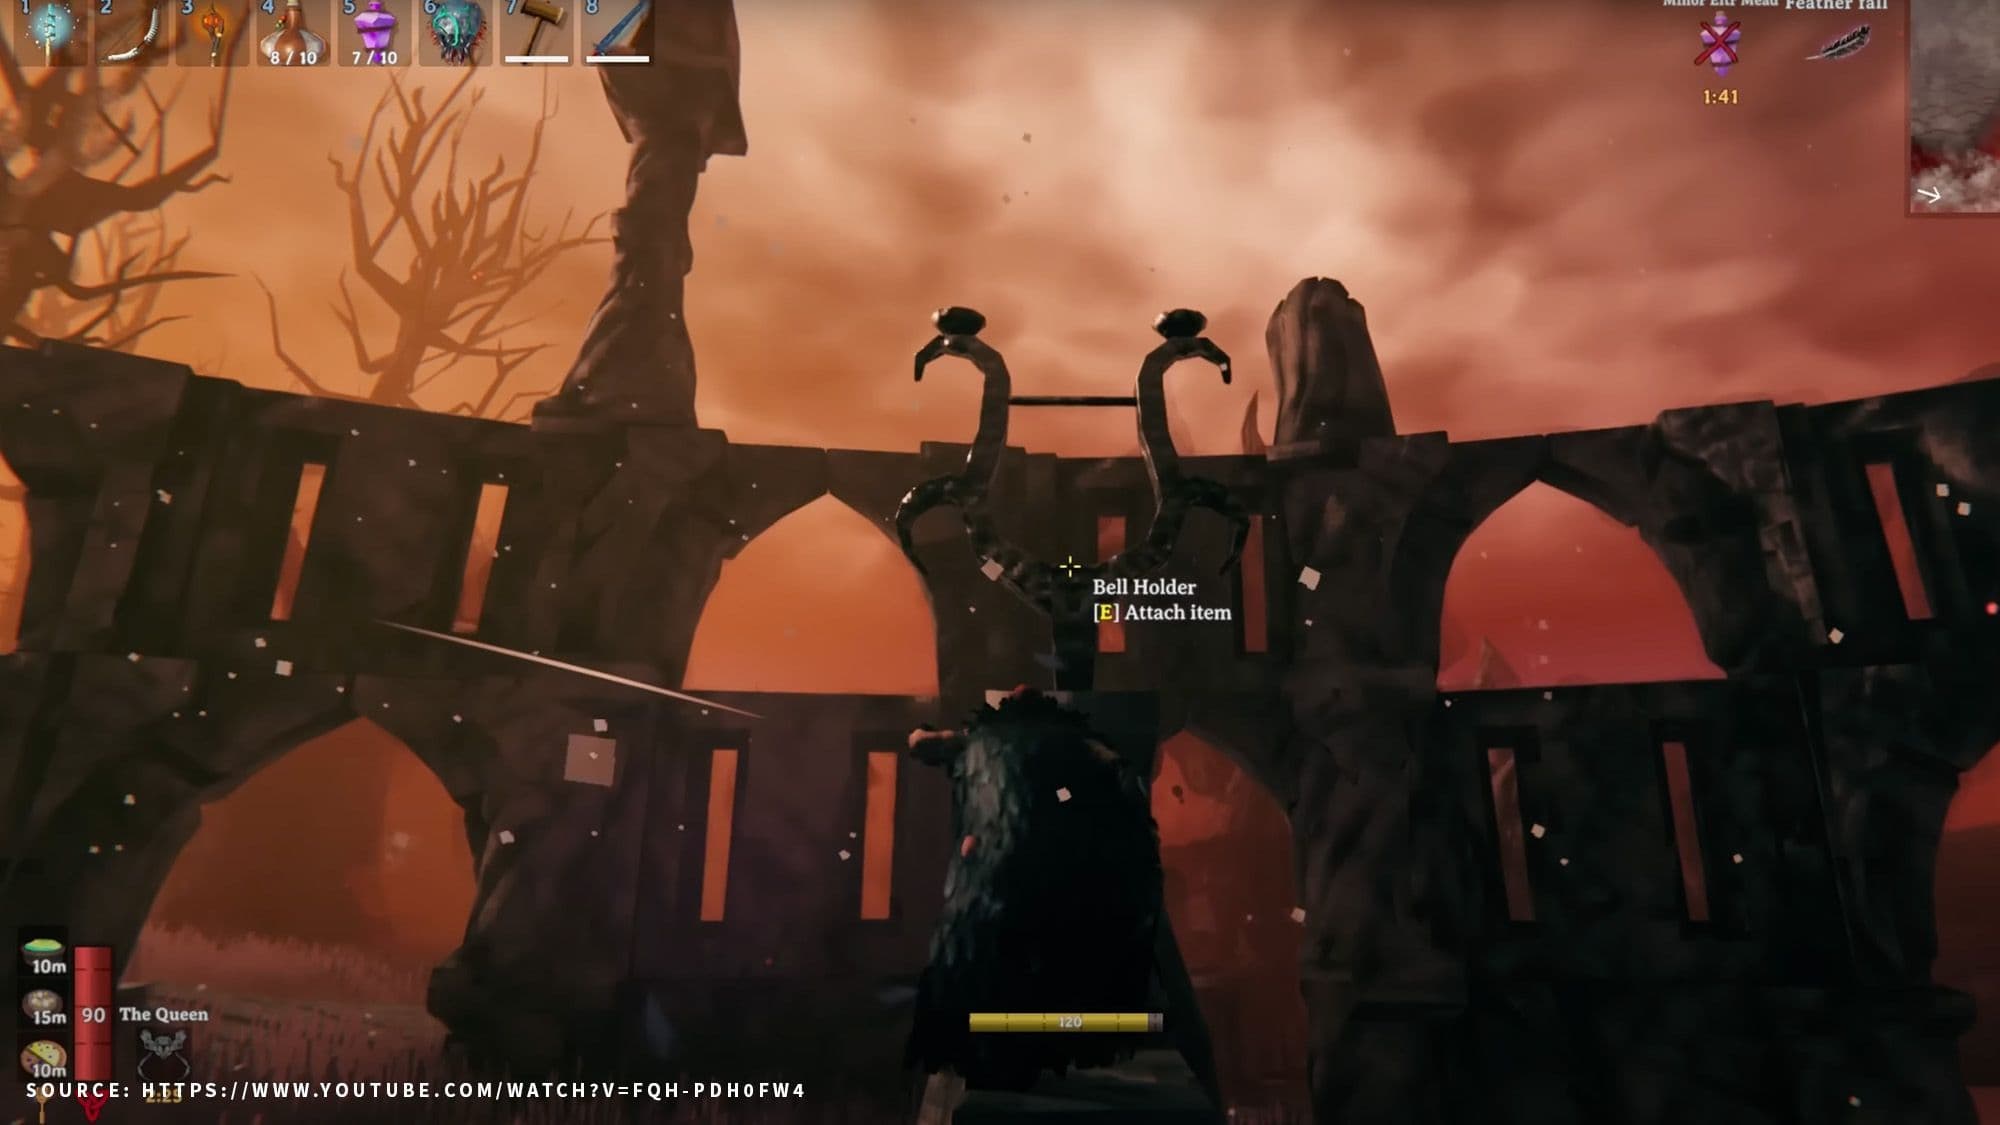
Three Bell Holders are the interaction points for the summoning ritual.
Fader is immune to Fire and Spirit and resistant to Pierce. Blunt, Slash, Frost, Lightning, and Poison damage are neutral, which makes a mace, sword, or suitable Ashlands weapon a better baseline than a bow built around Pierce. Iolite upgrades are especially useful: they add 10 Lightning damage and give normal attacks a 25% chance to trigger Chain Lightning. That Iolite Chain Lightning can also jump to nearby summoned Charred, turning the add phase into damage on the boss and the crowd at once.
Bring Fire Resistance Barley Wine, high-health and high-stamina food, healing and stamina meads, and a backup portal outside the arena’s destruction zone. Fader’s fire pools can invalidate a carefully built death route, and the arena becomes less forgiving every time you panic-sprint across it.
Move on the Fissure Warning
The fissure decides whether the arena remains usable. Green flames appear under and around you first; roughly four seconds later, spiked rocks erupt and leave a damaging fire pool. The warning is the attack. Do not wait for the spikes to appear before moving.
From 35% to 85% health, Fader can use Fissure every 30 seconds. Below 35%, its cooldown falls to 20 seconds. Those values, along with the other cooldowns below, follow the current creature data; the visual cues are what matter while you play.
When the green markers appear, walk or make a short sprint in a straight line along the edge of the arena. Keep Fader behind you, then turn back toward him only after the markers have finished erupting. Long panic sprints empty your stamina bar and leave you unable to dodge the next melee attack. A line of fissures also damages Ashlands enemies, so pull summoned Charred into it instead of trying to kill every add yourself.
Match Each Fire Attack to Its Escape
Fader’s ranged attacks are dangerous because they are predictable but leave fire behind. Learn the cue, move once, and return to your damage window.
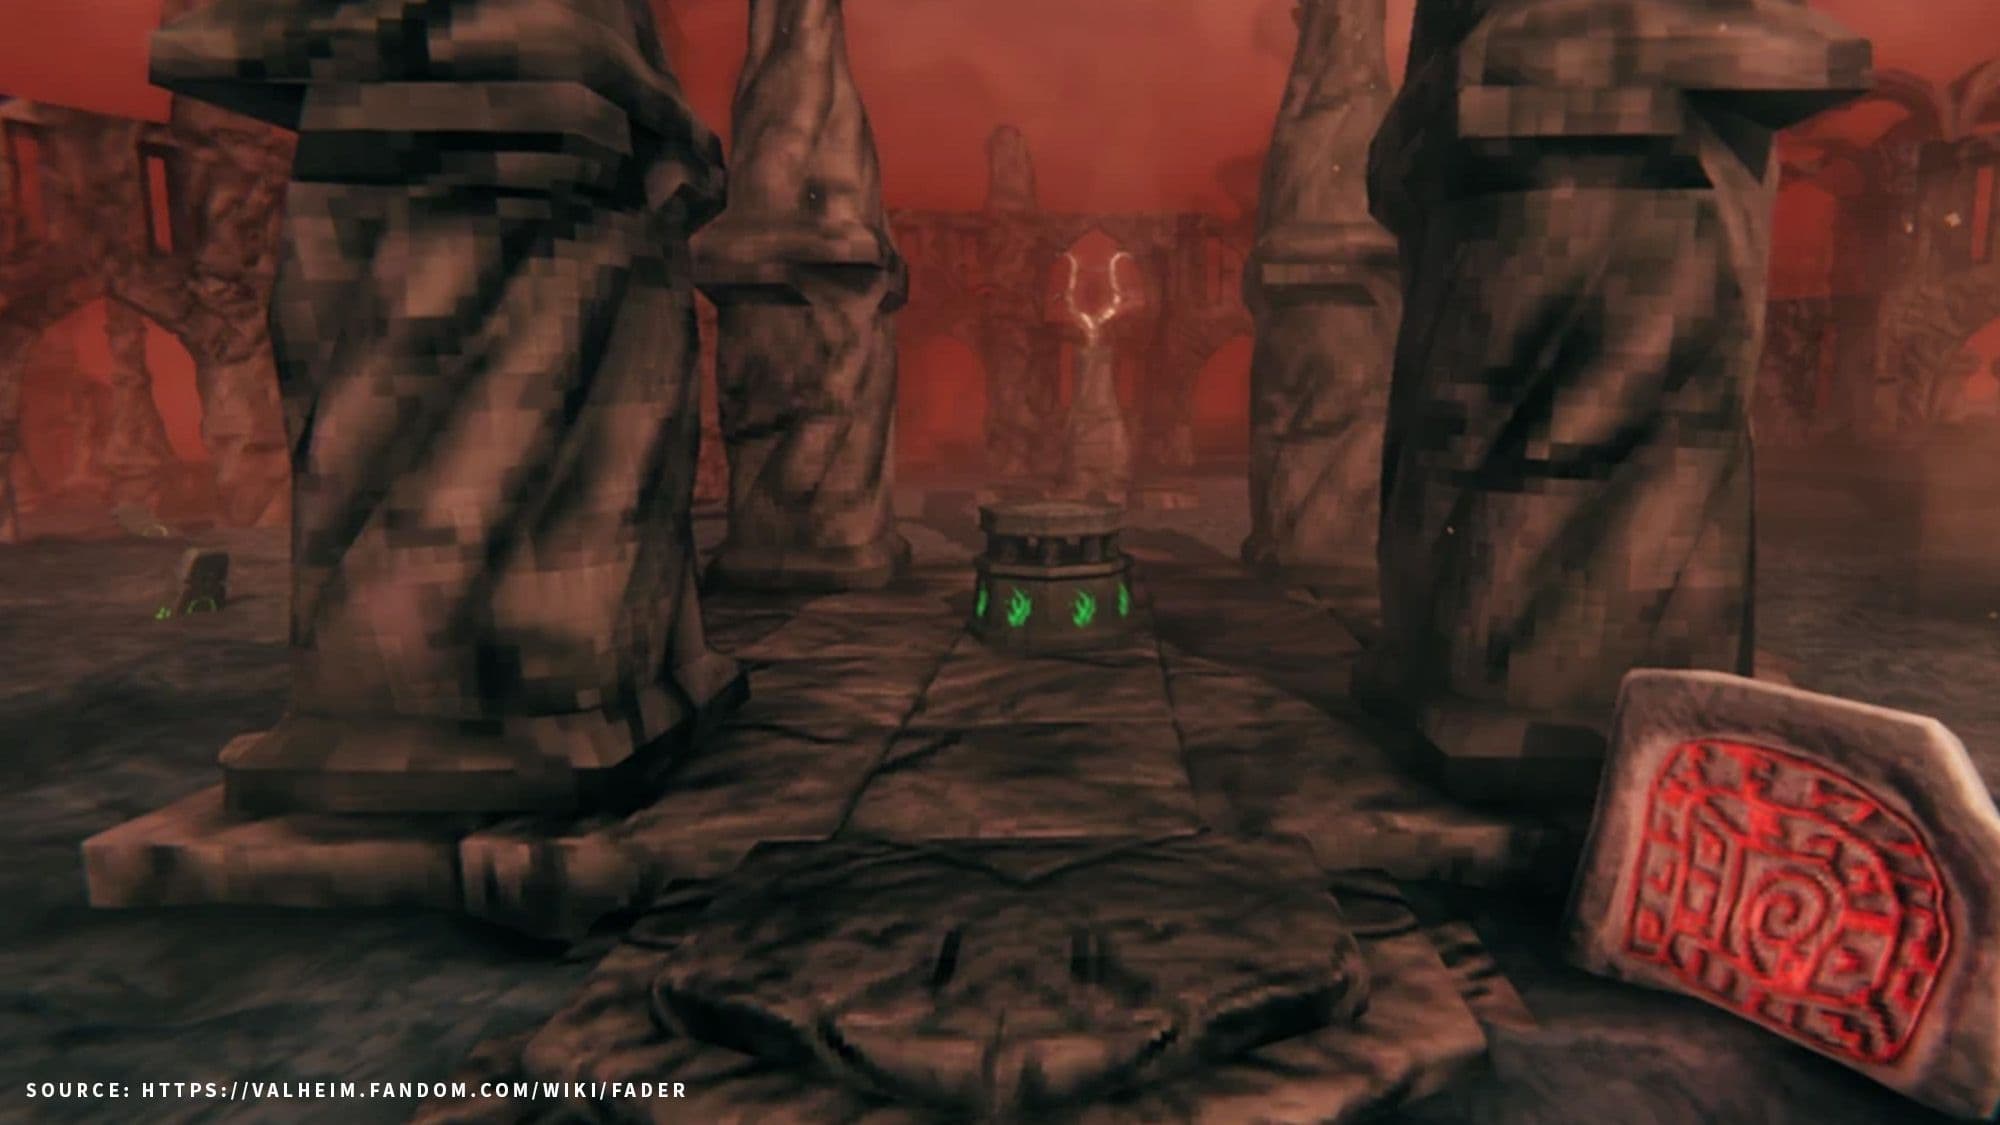
The Emerald Flame altar occupies the center of the summoning arena.
- Flamebreath — raise your head and cross the line. Fader fires a 17-meter line of Fire that leaves burning ground for 14 seconds. The cooldown is 25 seconds, and the attack is available from 85% down to 5% health. Walk perpendicular to the line rather than sprinting directly away; you spend less stamina and keep the boss in view.
- Meteors — move laterally when he rears up. Fader calls down 10 meteors around your position. The cooldown is 25 seconds from 100% to 25% health, then 18 seconds below 25%. Each impact leaves green fire for 20 seconds. The attack starts with a clear animation, so move before the first impact instead of reacting to the fire.
- Wall of Fire, the ring-of-fire attack — use the gap. Fader circles the player with a burning wall that has one opening where the ring began. It has a 60-second cooldown and is available from 90% down to 15% health. Run through the opening; jumping the fire is possible, but the gap is more reliable when fissures have narrowed the arena.
Turn Summoned Charred Into Free Damage
Watch for Fader to tilt his head and roar. Between 35% and 55% health, that summon has a 45-second cooldown; below 35%, it falls to 26 seconds. Green orbs spread around him and create weakened summoned Charred Warriors and Charred Marksmen. The orbs can knock you back, but they do not deal damage on their own.
Do not abandon Fader to chase every green skeleton. His ranged attacks deal friendly-fire damage to Ashlands enemies, including his summoned Charred. Keep the boss between you and the adds, then bait flamebreath, meteors, or fissures through the group. Iolite Chain Lightning is the other efficient answer: stand close enough for the chain to find a summon, but not so close that a claw swipe and a proc become the same mistake.
The rule changes if a Marksman pins you against the arena wall. Break line of sight, reposition toward Fader, and resume the loop. The summons are a positioning problem, not a second boss health bar.
Spend the Last Phase on Safe Hits
Fader’s melee attacks are readable, but they punish a player who stops watching the floor. A bite and each claw variant can use a three-second cooldown when you are close. His spin has a 20-second cooldown and reaches around him, so do not treat his back as a permanent safe zone. Block or parry a committed swipe when your stamina is healthy; dodge when fissure markers or burning ground make the block window unsafe.
Once the arena starts to close, stop taking marginal swings. Land a short blunt, slash, or Iolite-upgraded weapon burst after a telegraph resolves, then move before the next green marker appears. If you must choose between one more hit and an open escape route, keep the route.
Fader drops his trophy and five Fader Relics. The trophy grants his Forsaken Power, which provides Fire resistance, +100% Adrenaline gain, and 50% reduced stagger taken. Claim it only after the arena is quiet enough to reach the altar and your recovery portal is still usable.