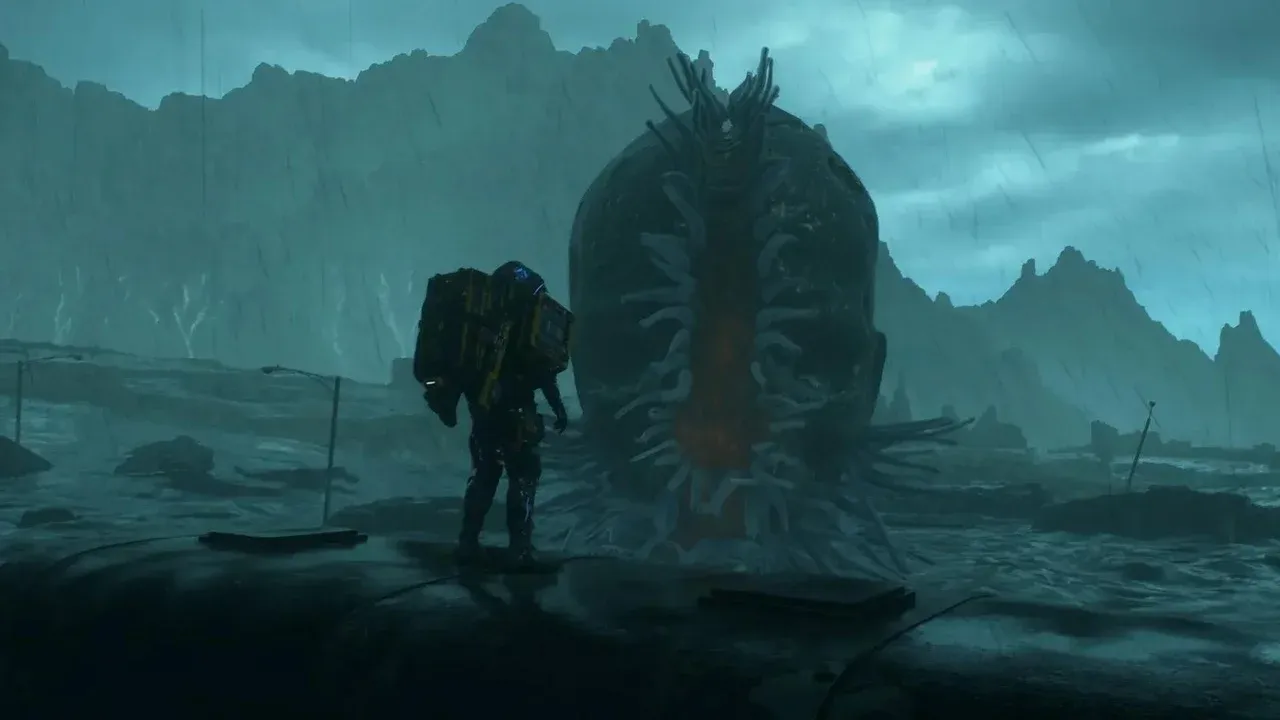
How to Unlock Mining and the Northern Mine in Death Stranding 2
Your journey across the fractured landscapes of Death Stranding 2 is about to shift from simple delivery to industrial-scale construction. The game's mining mechanic is your key to unlocking a reliable supply of essential materials, but first, you need to unlock the gateway.
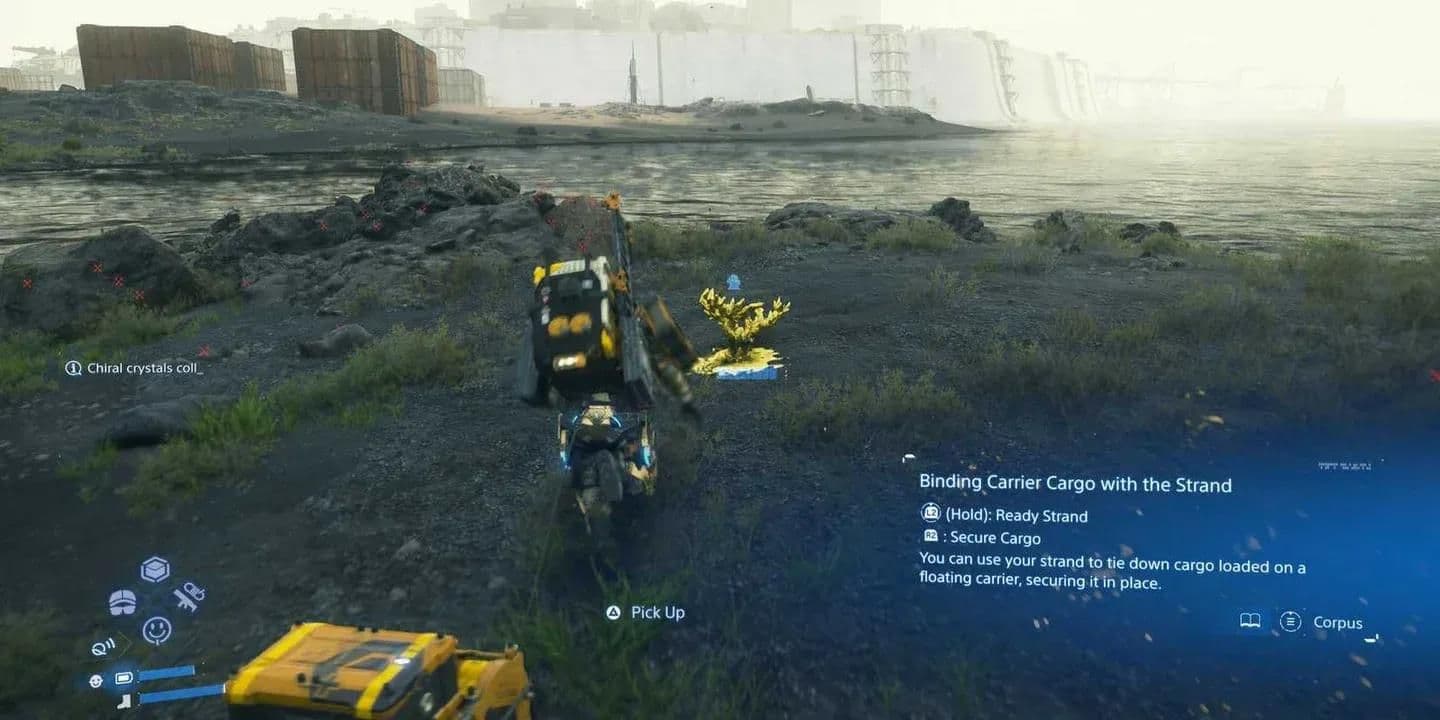
Managing Chiral Crystals is essential for unlocking and operating the Northern Mine.
This entire system is gated behind a major story milestone. You'll gain access to mining only after completing Main Order 13: Restore the Monorail and Deliver Special Alloys to F1. This mission is a pivotal point in the campaign, where you'll restore a critical transport link to access a key resource site. Once you finish it, the contribution terminals at mines across Australia will activate, allowing you to invest Chiral Crystals to start production runs.
The first and most critical mine you'll engage with is the Mine North of F1. As the name implies, it's located north of the F1 facility in Australia, and restoring the monorail in Main Order 13 is specifically done to reach it. This isn't just any mine—it's essential for story progression and your first major material investment.
Here’s the deal: to get this mine operational, you need to make a significant upfront payment. At the mine's contribution terminal, you must donate 2,000x Chiral Crystals. Press [Square] to contribute this hefty sum. It’s a big ask early on, but trust me, the payoff is worth the grind.
Your investment unlocks a massive return. Once production begins, the Mine North of F1 will yield 4,800x Special Alloys. These alloys are a premium resource, crucial for high-end fabrications like upgrading the DHV Magellan's Medical Bay and crafting All-Terrain Skeletons. This single mine can set you up for the entire mid-game.
Don't try to scrounge 2,000 crystals from the environment. The fastest way to gather this amount is by defeating BT Catchers, which can drop between 1,500-2,500 Chiral Crystals in one go. Check the later sections of this guide for the best farming spots to make this fee trivial.
With the monorail running and the Mine North of F1 humming with activity, you've officially graduated from porter to industrialist. This is just the first of nine mines waiting for your investment, each offering different materials to fuel your rebuilding of the world. Let's get to work.
Best Chiral Crystal Farming Locations in Death Stranding 2
Australia’s vast, treacherous landscapes hide pockets of incredible wealth—if you know where to look. In Death Stranding 2: On the Beach, the most efficient farming isn't about aimless wandering; it's about hitting the high-yield hotspots where Chiral Crystals bloom in abundance. This guide will show you the best spots across Australia and the Central Region to build your stockpile fast.

Official game artwork
Prime Hunting Grounds in Australia
These locations offer the highest returns for your time, focusing on defeating specific BT types that drop massive crystal hauls.
Ghost Hunter Farming Spot (Australia, near East Fort Knot) is arguably the crown jewel for late-game farming. This area is densely populated with Golden BTs, the glowing variants that drop between 500 and 1,000+ crystals each. Trust me, the trip is worth it. For optimal runs, consider building a Safe House nearby to repair gear and restock, as the nearest Magellan access point is quite a distance. Use a vehicle with mounted guns to clear the Golden BTs efficiently, and equip Climbing Gloves to gather crystals without dismounting. A single, thorough run here can yield 15,000 to 16,000 Chiral Crystals.
Snowy Mountain BT Spot (Australia, in the snowy peaks) is another top-tier location, rivalling the Ghost Hunter spot in yield. This challenging terrain is filled with Red BTs, Giant Gazers, and regular BTs. To navigate effectively, you’ll want the Bokka Skeleton and Absolute Boots. The strategy involves sneaking up to cut the umbilical cords of the Red BTs and then taking down the Giant Gazers for their huge drops. A cycle here consistently yields 14,000–16,000 CG, making it perfect for extended farming sessions.
For a quicker, more explosive method, head to the Tar Lake Floater Spot (Australia, near the Fisherman’s Shelter and Animal Shelter). This area features clusters of floating BTs, including distinctive red ones. The trick is to use a ranged weapon: [L2] to aim and [R2] to fire at a red floater when it's near other standard floaters. The resulting chain explosion can wipe out multiple BTs at once. A run here takes only 2-3 minutes and nets roughly 1,914 to 2,000 Chiral Crystals.
The F5 Ghost Mech Factory (Australia, near the F5 Distribution Center) is a mid-game powerhouse. Inside this factory, you’ll find Giant Gazers and Golden BTs that drop substantial crystal amounts. Park your Magellan nearby for easy ammo resupply, then use a customized vehicle or heavy weapons to clear the area. A efficient sweep takes about 8 minutes and can reward you with 4,400 to 4,500 Chiral Crystals.
Reliable Central Region Farm
If you're earlier in your Death Stranding 2 journey or revisiting familiar grounds, the Central Region holds one of the most reliable BT zones.
The Middle Knot City Crater (Central Region, north of the Craftsman) is noted for its relatively constant Timefall, which means BTs are almost always present. This makes it a fantastic, predictable spot for triggering encounters without needing to consult the weather forecast constantly. It’s an excellent location to practice BT combat and build your initial crystal stockpile.
When farming Golden BTs or Gazers, use Ex-Capture Grenades to stun and group them before opening fire. This makes them easier to hit and prevents precious crystal drops from sinking into the tar.
With these coordinates in hand, you're ready to target the most lucrative crystal veins in the outback. Focus on the spots that match your gear and confidence level, and you'll be funding your rebuilding efforts in no time.
How to Farm BT Zones Without Triggering Boss Fights
Navigating a BT zone in Death Stranding can feel like walking a tightrope—one wrong move triggers a chaotic boss fight, scattering your carefully collected cargo. But here’s the secret: you can harvest those valuable Chiral Crystals without ever facing a Catcher. This section covers the stealth and long-range tactics to safely farm from both standard and jellyfish BTs.
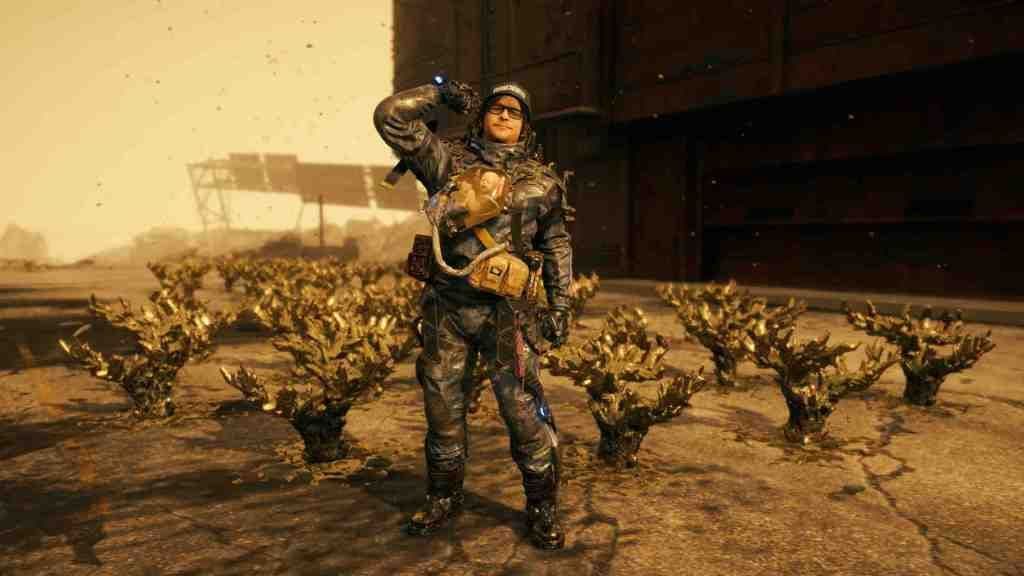
Chiral Crystal cluster locations
The Stealth Approach: Umbilical Cord Cutting
The safest method to farm crystals without a fight is to eliminate BTs before they can grab you. This is especially effective against Red BTs, which cannot be killed with conventional weapons. In any BT Zone, your goal is to get close without being detected. Hold your breath by holding [R1] to reduce your visibility to BTs, allowing you to sneak up directly behind them. Once you’re in position, press [Square] to cut their umbilical cord, causing them to dissipate and drop a small cluster of crystals. This method is silent, ammo-free, and completely avoids triggering a larger encounter.
Your Odradek Scanner is your best friend for this. Press [R1] to ping your surroundings; it will highlight nearby Chiral Crystal nodes and, more importantly, reveal the faint outlines of BTs through terrain and Timefall, letting you plan your stealthy approach.
The Long-Range Snipe: Farming Jellyfish Floaters
For a faster, more active farming loop that still avoids boss fights, target Jellyfish BTs (often called Floaters). These are common in coastal areas and above tar lakes. They’re less aggressive than Gazers and can be eliminated from a safe distance.
Here’s the core strategy: In these coastal areas, use [L2] to aim down your sights and tap [R1] to scan, which will highlight the Floaters. Then, fire Hematic rounds from a rifle or Hematic Grenades with [R2]. A single, well-placed shot is often enough to pop them. Because you’re engaging from outside their immediate aggro range, you can clear a whole group without them ever closing in to pull you into the tar.
Controlling the Engagement: Stunlocking Standard BTs
If you do get spotted by a standard Gazer BT and want to avoid the phase shift into a boss arena, you can use a controlled aggression tactic. In a BT encounter, aim with [L2] and throw a Hematic Grenade with [R2]. A direct hit will cause the BT to sink into the tar and retreat. The trick is to stunlock it: wait for it to reappear, then immediately hit it with another grenade before it can fully materialize and grab you. By repeating this process, you can defeat it on the spot, collecting its crystals without ever leaving the normal world.
This method requires good timing and a few grenades, but it gives you total control. If you’ve ever been frustrated by an unexpected Catcher fight ruining a farming run, mastering this stunlock will change everything.
With these strategies—silent cord-cutting, long-range sniping, and precise stunlocking—you can turn dangerous BT zones into productive crystal farms. You’ll build up your reserves safely, saving the intentional boss fights for when you’re truly prepared for them.
Best Build and Equipment for Chiral Crystal Farming
You've found the best farming spots in Death Stranding 2, but a perfect location means nothing without the gear to exploit it. This is where your loadout makes or breaks your efficiency—every crystal saved, every BT killed faster, adds up to thousands more in your pocket by the end of a run.
Here’s the essential kit that will transform you from a cautious collector into a crystal-harvesting machine.
Essential Offensive Gear
Your primary goal is to clear BT zones quickly and safely. For this, you need firepower that balances ammo efficiency with raw stopping power.
- Machine Gun Level 2: This is the workhorse of any serious farming run. Its high ammo capacity is crucial not just for you, but for activating the machine guns on a Customized Off-roader. Driving into a BT zone and letting the vehicle's auto-targeting guns shred through Floater BTs is one of the safest and fastest clearing methods available. Fabricate it whenever you have the materials.
- Custom Hematic Grenades: Never leave a private room without a full stock. These are your primary tool for stunlocking and killing Gazer BTs and are devastating against the larger Catcher bosses. Throwing a few to coat a BT in blood before opening fire with a regular weapon remains one of the most effective combat tactics in Death Stranding.
Always carry at least four sets of Blood Grenades (the base version of Hematic) as a backup. They’re perfect for dealing with Snatcher BTs that get too close, saving your custom grenades for the big targets.
Must-Have Utility Items
Collecting thousands of crystals scattered across tar and rough terrain is a chore without the right tools. These items turn a tedious clean-up into a quick sweep.
- Climbing Power Gloves: This isn't just for scaling cliffs. Once unlocked via Order No. 037 from the Adventurer, these gloves are a farming game-changer. They allow you to collect Chiral Crystals while remaining seated in your vehicle. Instead of stopping, getting out, and walking to each crystal node, you can slowly drive through the harvest zone, grabbing everything from the driver's seat and saving massive amounts of time.
- Chiral Rodent Hat: If you're venturing into areas with Golden Chiral Creatures—those skittish animals that drop large crystal hauls—this hat is non-negotiable. You obtain it by reaching Connection Level 2 with The Metagenomicist. Equipping it prevents these valuable creatures from fleeing as you approach, letting you take them down for a big reward.
Backpack & Mobility Setup
Staying in the fight and moving efficiently is key. Optimize your backpack and legs for endurance.
- Large Spare Ammo Container Level 2: In your Private Room, head to Backpack Customization and attach this. It dramatically increases your combat uptime, ensuring you can clear multiple BT zones or several waves of respawns without needing to retreat to a Safe House or the Magellan for ammo.
- Supporting Gear: Pair the container with an Extra Battery Level 3 to keep your tools running. For mobility, the Bokka Skeleton combined with Absolute Boots is the definitive kit for farming in snowy regions like the Snowy Mountain BT Spot, letting you navigate deep powder with ease.
Trust me, assembling this toolkit might require a bit of upfront legwork, but once you have it, you’ll watch your Chiral Crystal stocks soar. With the right build, every farming run becomes a high-yield expedition.
How to Use the Weather Forecast for Efficient Farming Runs
Timefall is the lifeblood of BT activity in Death Stranding, but it’s a fickle force—here one minute, gone the next. Wandering aimlessly through Australia hoping to stumble on a fresh BT zone is a surefire way to waste hours. Instead, you need to become a meteorologist. Reading the Weather Forecast is the single most important skill for planning efficient crystal farming runs, letting you pinpoint active zones and reset spawns on command.
Your map is your command center. On the map screen, press [R3] twice to toggle the Timefall overlay. This reveals the forecast, painting the landscape in shifting colors. Blue and purple zones indicate active or imminent Timefall—these are your hunting grounds. Clear zones mean BTs have likely receded. This simple check prevents you from trekking to a location only to find it empty. Trust me, you'll want to save here before heading out; always consult the forecast first.
The forecast isn't just for finding BTs. Scan areas with your Odradek immediately after a Timefall storm passes. New Chiral Crystal clusters often appear on the ground in the storm's wake, offering a quick, combat-free bonus haul before you even engage any ghosts.
Once you’ve identified an active zone, like the floating BTs southwest of The Dowser or the golden Gazers southeast of The Ghost Hunter, you can execute a farming loop. The key to infinite respawns is a clean reset. After clearing the area of BTs and collecting all crystals, open your map with [Options]. Use a Zipline or Fragile's fast travel to leave the immediate region entirely—travel to a distant safe house or facility. Wait a minute, then return. The BT spawns will have refreshed, allowing you to repeat the process. This Farming Loop Reset is how you turn a one-time windfall into a sustainable, high-yield operation.
To make these loops as smooth as possible, strategic infrastructure is non-negotiable. Use a PCC Level 2 to build a Safe House near your chosen BT spawn point. This isn't just a rest stop; it's a forward operating base. A Safe House lets you repair Timefall damage to your gear and vehicle, replenish ammo, and even take a quick nap to pass time if you’re waiting for a storm cycle. Placing one strategically turns a risky expedition into a controlled farming route.
Mastering these mechanics transforms crystal farming from a chore into a precise science. You’re no longer at the mercy of the weather; you’re using it. With the forecast guiding you and a Safe House supporting you, you’re ready to dominate the chiral economy and keep Australia connected.
Advanced APAS Enhancements and Passive Crystal Income
By the late game, you've mastered the art of the hunt, but Death Stranding 2 offers ways to let the world work for you. This is where you transition from active farmer to shrewd manager, unlocking powerful APAS enhancements and passive income streams that build your Chiral Crystal reserves while you focus on other goals.

The desolate landscape where crystals are harvested.
Automating Your Crystal Income
Your first major step into passive collection is unlocking the Super Chiralium Extraction enhancement. This requires a connection level of 1 star or higher with BPAS. Once unlocked, your APAS will automatically collect chiral particles from the atmosphere as you traverse the world, gradually adding to your total. It’s a slow trickle, but it’s completely free and works constantly—perfect for topping you up during long deliveries or while you’re exploring.
For a more significant boost when you’re actively gathering, you’ll want the Chiral Crystal Yield Boost. This is a late-game perk unlocked by reaching a 3-star connection level with The Metagenomicist. This enhancement provides a chance to recover crystals that would normally disperse into the environment when you collect them manually, occasionally granting a bumper haul from a single node. It makes every trip into a BT zone or tar pit that much more rewarding.
Prioritize raising your connection level with The Metagenomicist to 3 stars as soon as you can. The Chiral Crystal Yield Boost synergizes perfectly with your active farming routes, making those high-yield spots even more lucrative.
Claiming Your Network Dividends
Beyond your suit's upgrades, the Chiral Network itself works to fill your coffers. As you raise your connection level with any facility, that region’s capacity to support Chiral Crystals increases. The game periodically generates these as a reward for your efforts. To collect them, simply visit any facility terminal, select the ‘Claim Materials’ option with [X], and you’ll receive all the crystals that have accumulated. It’s a combat-free, easy haul you should never forget to check.
Finally, don’t overlook the humble comfort of a Private Room. After a long journey through BT territory or Timefall, taking a shower does more than just clean Sam up. This action extracts trace Chiral Crystals from his body, depositing a small but consistent amount directly into your inventory. It’s not a fortune, but it turns a routine rest stop into a tiny resource node.
With these systems in place, you’re no longer solely dependent on the hunt. Your APAS works for you, the network pays dividends, and even a moment of respite contributes to your wealth. This is the foundation of a truly sustainable end-game economy.
Death Stranding 2 Chiral Crystal Rewards and Utility
So you've been farming for hours, stockpiling those weightless, golden crystals in Death Stranding 2. Now you're staring at a massive haul and thinking: "What's this all for?" Here's the payoff—your Chiral Crystal economy is the foundation for everything from effortless deliveries to rebuilding the world.
The Four Pillars of the Endgame Economy
Your hard-earned crystals aren't just for show. They power four critical systems that define the late game in Death Stranding 2.
Weight Reduction is your first and most constant benefit. For every 1,000cg collected, Sam's total cargo load is reduced by 1kg. This isn't a passive buff; it's active and immediate. Hauling 5,000kg of ceramics? A stockpile of 5,000 Chiral Crystals will lighten that burden by a crucial 5kg, making treacherous climbs and river crossings manageable. It’s the difference between stumbling and sprinting.
Infrastructure Repair is how you maintain the network you've built. Ziplines and Bridges are lifelines, but Timefall degrades them. When a structure’s durability drops, open the Structure Menu and use your crystals to restore it instantly. This is far more efficient than rebuilding from scratch and ensures your delivery routes remain operational.
Floating Carrier Power transforms how you move cargo. These hover platforms can carry massive loads over rough terrain, but they consume Chiral Crystals as fuel. Keep your Equipment stocked, and you'll glide over canyons and tar lakes that would stop a truck cold. It's essential for the game's heaviest deliveries.
Finally, there's the ultimate goal: the 100K Crystal Cap. Your Status Screen shows the maximum storage limit for this weightless resource. Hitting this cap isn't just for bragging rights; it means you have a near-bottomless well of power for all the above utilities, letting you tackle any project without a second thought.
Investing in the Future: The Mine Network
This is where your stockpile transforms from personal utility into world-building power. After completing Main Order 13 and unlocking the Mine North of F1, you gain access to a network of nine mines across Australia. Each requires a hefty, one-time Chiral Crystal contribution to activate, but the return is a massive, renewable supply of raw materials.
Think of it as the ultimate investment. For example, contributing 2,000x Chiral Crystals to the Mine North of F1 yields 4,800x Special Alloys—materials vital for upgrading the DHV Magellan Medical Bay and fabricating All-Terrain Skeletons. Other mines pay out in thousands of Ceramics for highways or Metals for Safe Houses. This system turns your crystal surplus into the physical means to reshape the continent.
Don't just contribute to mines randomly. Check what material you need most for your next big project—like Ceramics for a desert highway or Special Alloys for skeleton upgrades—and fund that mine first.
With a robust stockpile, you're no longer just a porter. You're a power source for floating carriers, a guardian of the chiral network, and a financier for continental industry. Every crystal you farm fuels the connection of a fractured world. Now get out there and rebuild.