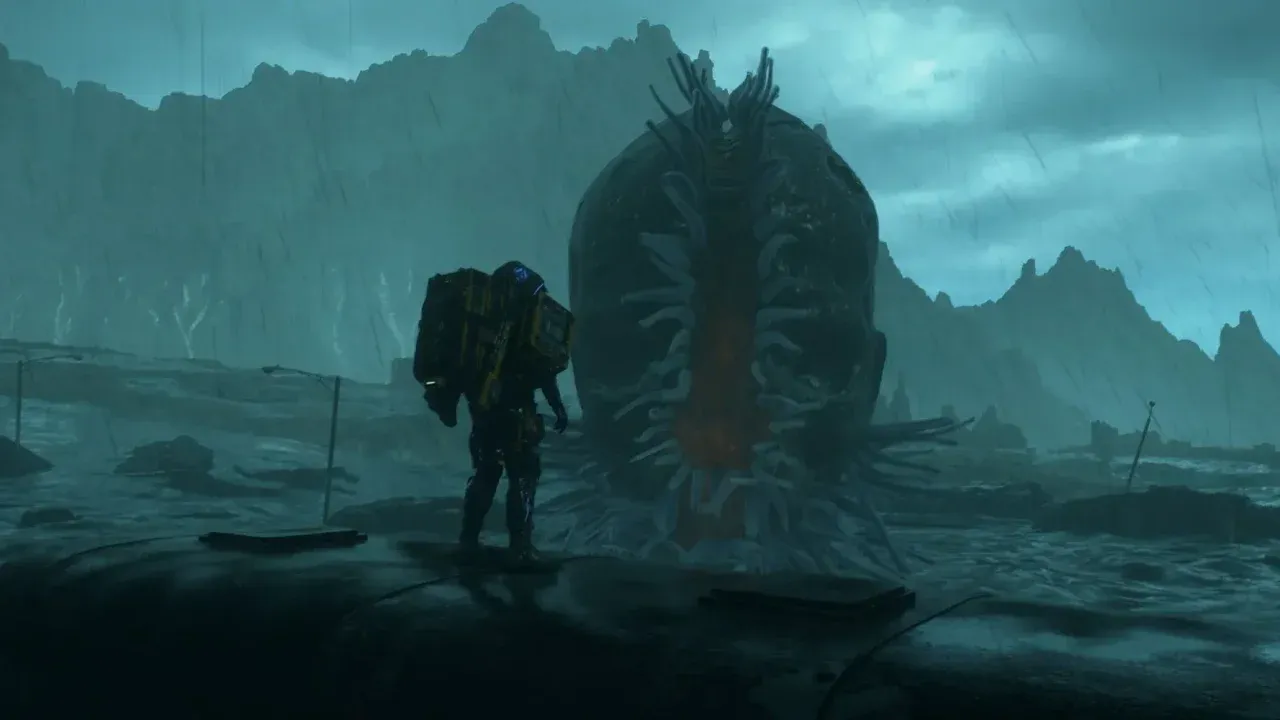
How to Find and Hunt BTs in Death Stranding
The skies darken, Timefall begins to patter on your hood, and your Odradek Scanner starts twitching wildly on Sam's shoulder—you've entered BT territory. In Death Stranding, these Beached Things are your most unnerving obstacle, but learning to find and hunt them is a core skill that turns fear into a rewarding resource loop. This guide breaks down the two main types you'll face: the lurking Gazers and the terrifying Catchers they summon.
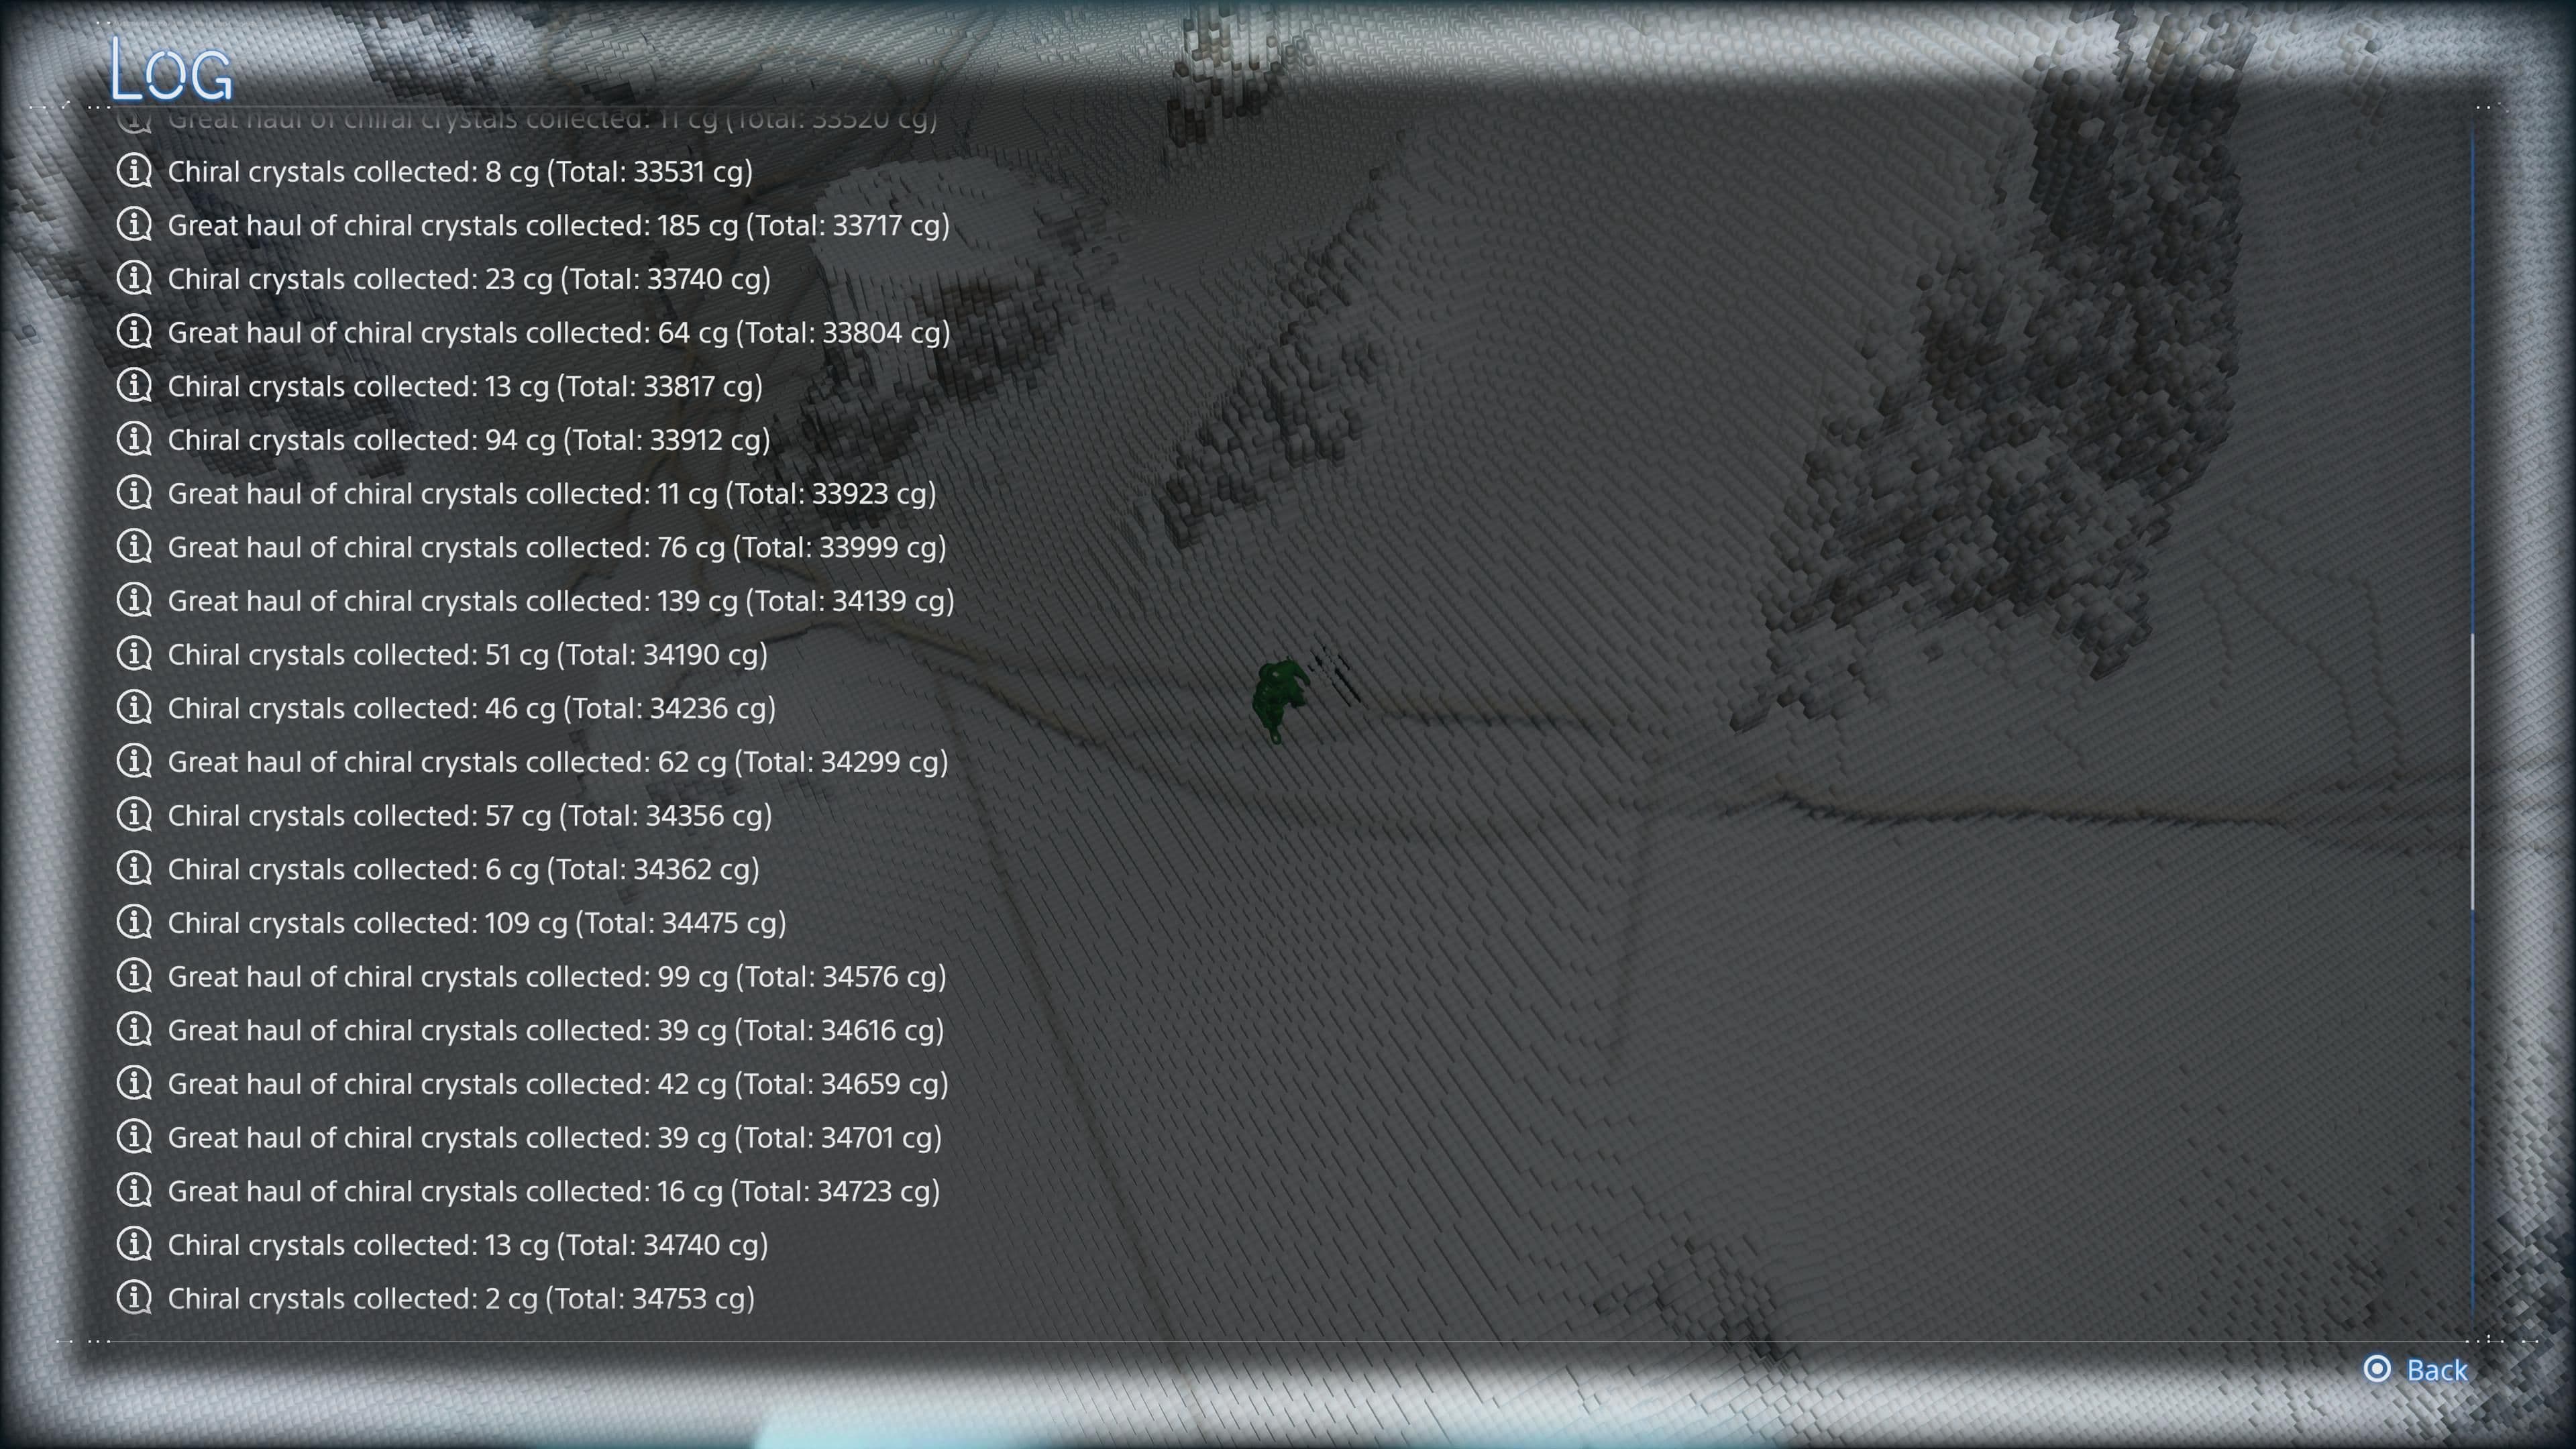
Hunting for BTs and collecting Chiral Crystals in the field.
Your primary tool for detection is the Odradek Scanner. Simply press [R1] to send out a pulse; the scanner will point toward the nearest BT and chirp faster as you get closer. When it’s spinning wildly and Sam starts holding his breath, you know you’re right on top of one. If you need to move through a pack undetected, remember the stealth mechanic: while crouching, hold [R1] to have Sam hold his breath. This keeps you silent and invisible to the floating BT Gazers, allowing you to slip past or set up an ambush.
BT Gazers are the common, ghostly spirits tethered to the ground. They drift aimlessly until they sense you, at which point they’ll give chase. If one catches you, it will begin dragging Sam away to trigger a much bigger problem. Later, you can acquire tools to sever their umbilical cords, but early on, avoiding or eliminating them is key.
Letting a Gazer successfully drag you is how you summon a BT Catcher. These are the large, tar-dwelling boss entities that drop the game's most valuable loot: massive clusters of Chiral Crystals. A Catcher fight is a deliberate choice—you either flee the drag or embrace the chaos for a big payoff.
If you want to farm Catchers for resources, let a Gazer grab you on purpose. Mash [Square] to resist the initial drag, but then let it pull you in. It’s the fastest way to trigger the boss fight.
Understanding this Gazer-to-Catcher chain is the foundation of BT hunting in Death Stranding. Master when to hold your breath and sneak, and when to stand your ground and fight, and you’ll turn these haunted zones into your personal harvesting grounds. Let's get started.
Best Weapons for BT Hunting in Death Stranding
You've found the BTs—now you need the right tools to put them down. In Death Stranding, your standard-issue cargo won't cut it; you need specialized anti-BT weaponry designed to exploit their weakness to Sam's blood. This section breaks down the essential arsenal for efficient Gazer elimination and Catcher farming.
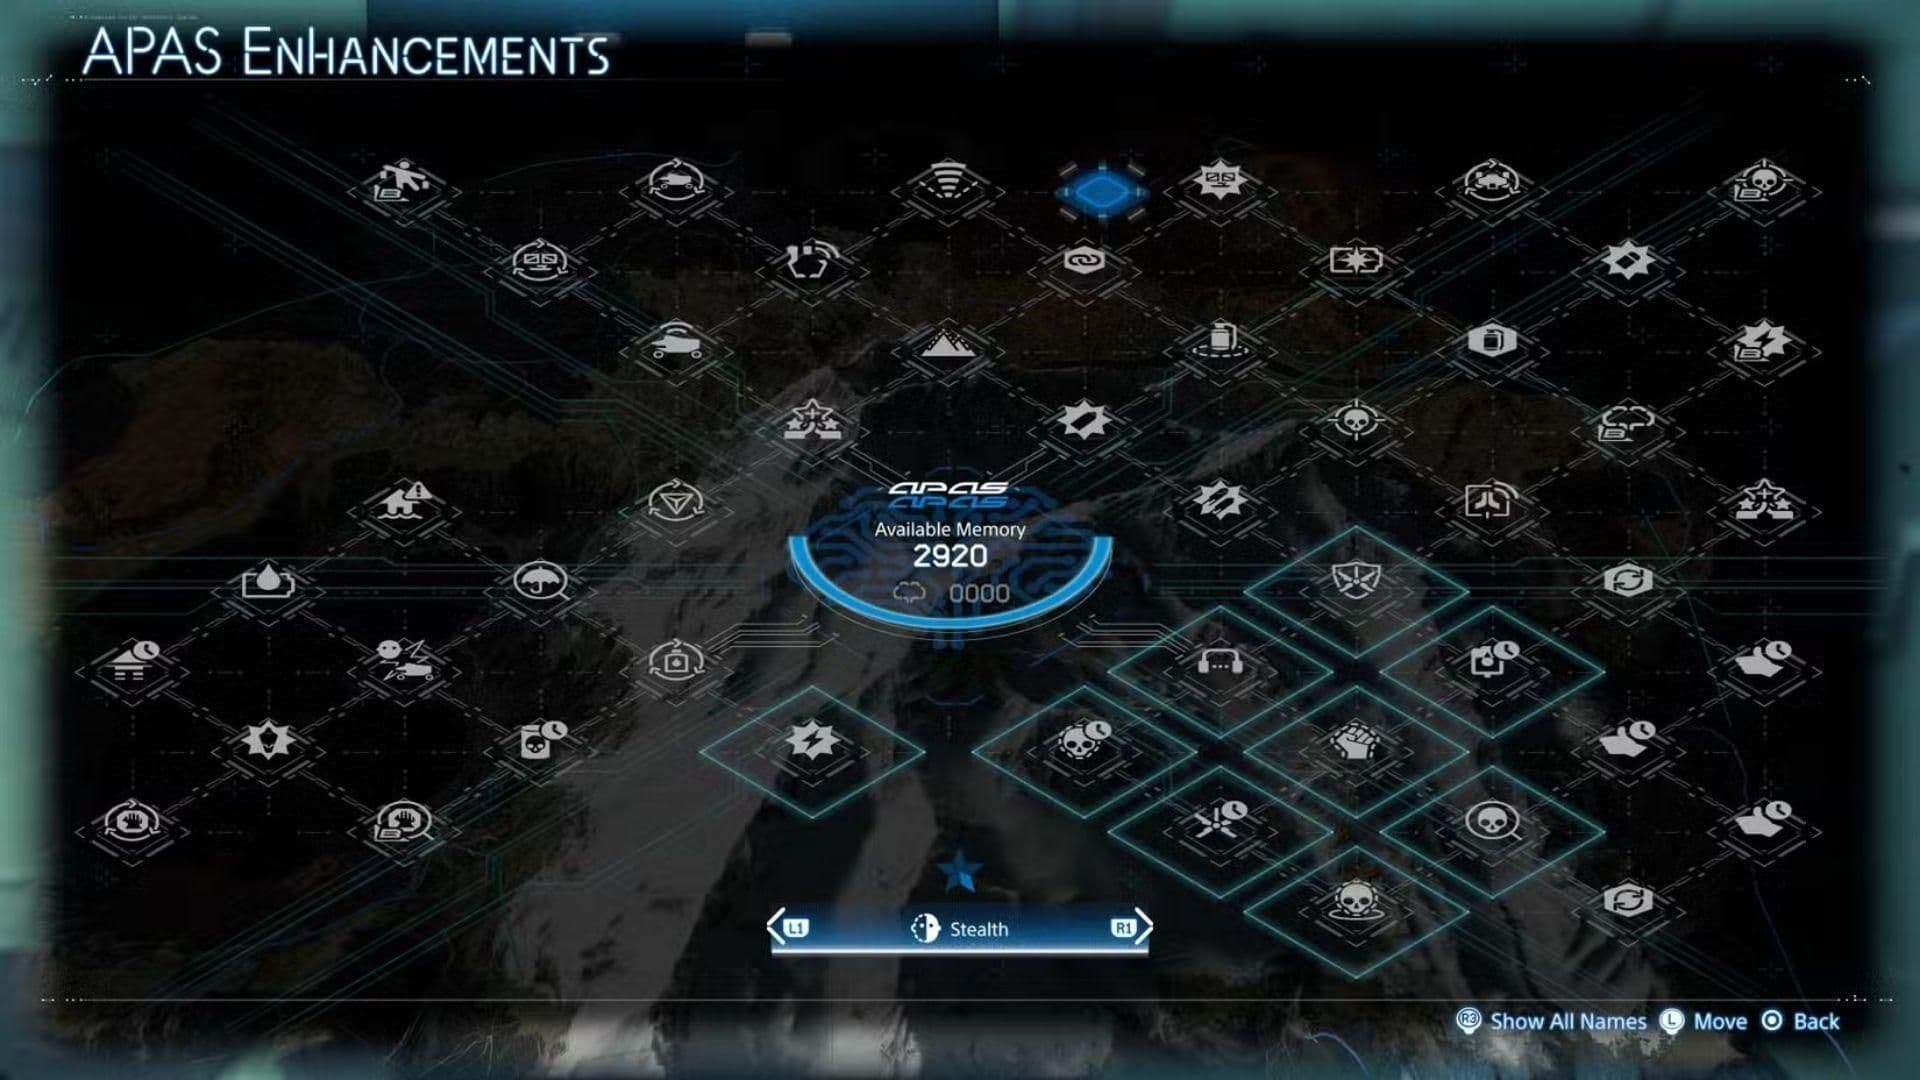
The skill tree offers essential upgrades for anti-BT weaponry.
Essential Anti-BT Arsenal
Your first real anti-BT tool comes early. Head to Capital Knot City and complete Order No. 14 to unlock Hematic Grenades. These are your bread and butter for a long time. Hold [L2] to aim and press [R2] to throw a grenade that splashes BTs with Sam's blood, damaging and briefly stunning them. They’re perfect for creating a safe zone or softening up a target before switching to another weapon.
For a more precise, ammo-efficient option, seek out the Chiral Artist's Mother. Upon reaching Connection Level 1 with her, you'll receive the Anti-BT Handgun. This unique firearm uses Sam's blood as ammunition to damage BTs directly. It’s excellent for picking off individual Gazers from a distance without wasting grenades, though its damage output is lower than heavier weapons.
When you need to control the battlefield, the Bola Gun Lv. 2 is invaluable. Earn it by reaching Connection Level 3 with the Craftsman. Hold [L2] to aim and press [R2] to fire a bola that temporarily binds Gazers in place. This won't kill them, but it gives you a crucial window to either finish them off safely or make a break for it through a crowded BT zone.
Heavy Weapons for Catcher Fights
When a Gazer pack drags you into a boss arena, you'll want serious firepower. After reaching South Knot City, tackle Order No. 38 to get the Grenade Launcher. This beast fires blood-infused rounds that deal massive area damage to Catchers. Hold [L2] to aim and press [R2] to fire. Its stopping power can break a Catcher's attacks and quickly whittle down its health.
For the ultimate in tactical bloodshed, complete Order No. 44 from Lake Knot City to acquire the Remote Detonation Grenade Launcher. It functions similarly—hold [L2] to aim and press [R2] to fire a round—but you can then press [Square] to detonate it at the perfect moment. This lets you shoot a grenade into a blood cloud you've already created for a devastating combo, or time the explosion to hit a Catcher right as it lunges.
Always pair these heavy weapons with multiple Blood Bags (which we’ll cover in the next section). They drain Sam's blood gauge quickly, and running dry in the middle of a Catcher fight is a death sentence.
With this toolkit—from the humble Hematic Grenade to the mighty Remote Detonation Launcher—you’re equipped to handle any BT threat the world throws at you. Stock up, plan your loadout, and turn those terrifying encounters into profitable crystal farms.
Advanced Combat Gear for Catcher BT Battles
So you've tangled with Gazers and survived a few Catcher scrapes—now you're ready to go professional. In Death Stranding, sustained farming means gearing up to survive extended engagements, not just win a single fight. This is where your loadout shifts from reactive to proactive, letting you stand your ground and farm with confidence.
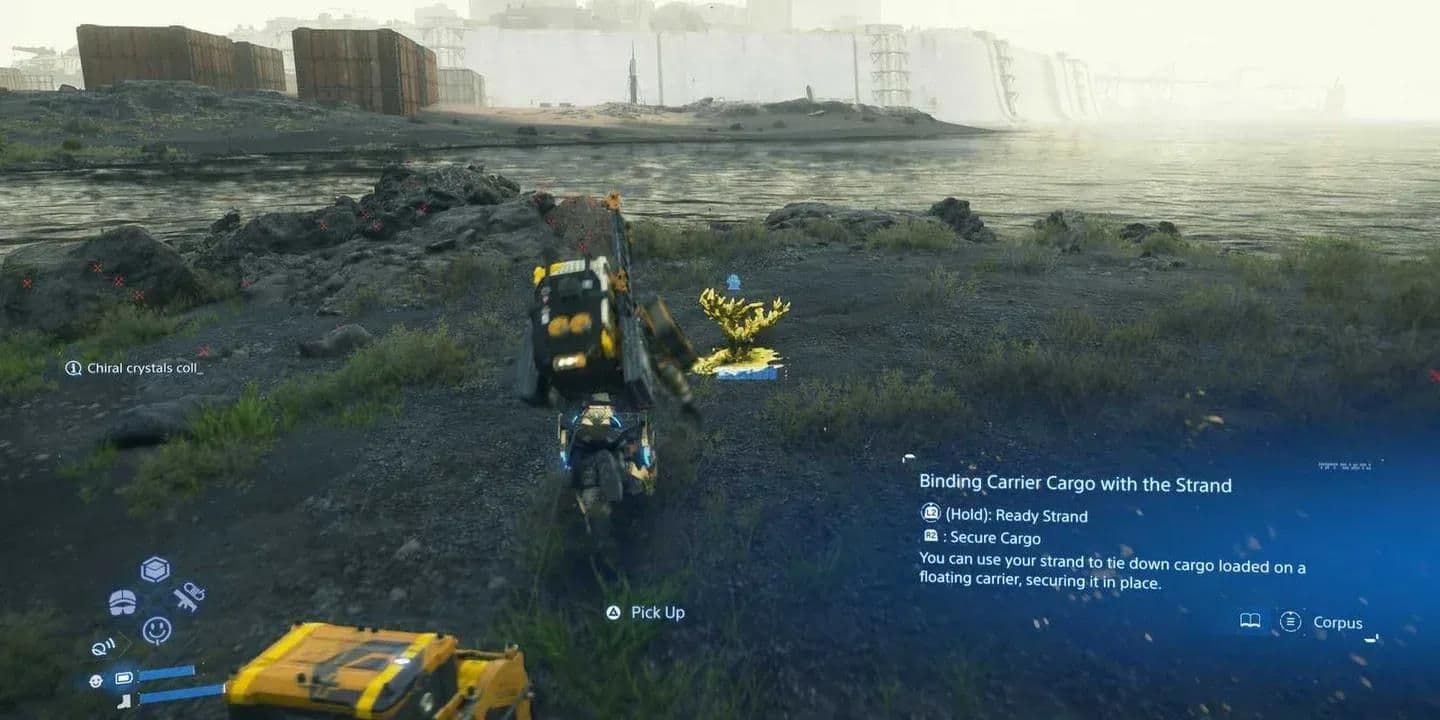
Managing Chiral Crystals is essential for maintaining high-tier combat gear.
First, let's talk about your lifeline: Blood Bags. These are auto-filled for you in your Private Room and are the essential fuel for all your anti-BT weaponry. Every shot from a Hematic Grenade or Anti-BT Handgun drains Sam's blood gauge, so carrying multiple Blood Bags is non-negotiable. Before any major farming trip, fabricate at least four. You can quickly replenish your blood mid-fight by equipping a bag and holding [Square].
Next, you need to armor up. The Armor Plate Lv. 4 is your best physical defense against Catchers. You unlock it by reaching Connection Level 5 with the Waystation North of Mountain Knot City. This high-tier armor significantly reduces the damage from a Catcher's physical swipes and charges, letting you make riskier plays to finish fights faster.
Now, for the unconventional tools that can turn the tide. Your Private Room isn't just for rest—it's an armory of biological oddities. After a shower, you can fabricate EX Grenade No. 0, which splashes BTs with Sam's sweat to repel them. More potent are the options from the toilet: EX Grenade No. 1 (produced at the standing toilet) uses urine to repel BTs, while EX Grenade No. 2 (from the sitting toilet) uses feces to attract and distract them. These grenades won't deal heavy damage, but they're brilliant for crowd control, creating space to heal or line up a killing shot.
Cycle through your grenade types with the D-pad during a fight. Use an EX Grenade to scatter a group of Gazers closing in, then switch back to Hematic Grenades to focus fire on the Catcher. This flexibility is key to managing chaotic battles.
With your blood supply secured, your body armored, and your utility belt stocked with repellants and distractions, you’re no longer just surviving BT territories—you’re farming them on your own terms. This setup turns those terrifying Catcher battles into sustainable, rewarding loops. Let’s gear up and get to work.
How to Farm Chiral Crystals from Catchers
In Death Stranding, intentionally triggering a boss fight is the fastest path to wealth. Forget scavenging tiny crystals—this is where you learn to farm Chiral Crystals from Catchers, the massive tar bosses that drop thousands at a time. It’s a high-risk, high-reward loop, but once you master the cycle, you’ll never worry about resources again.
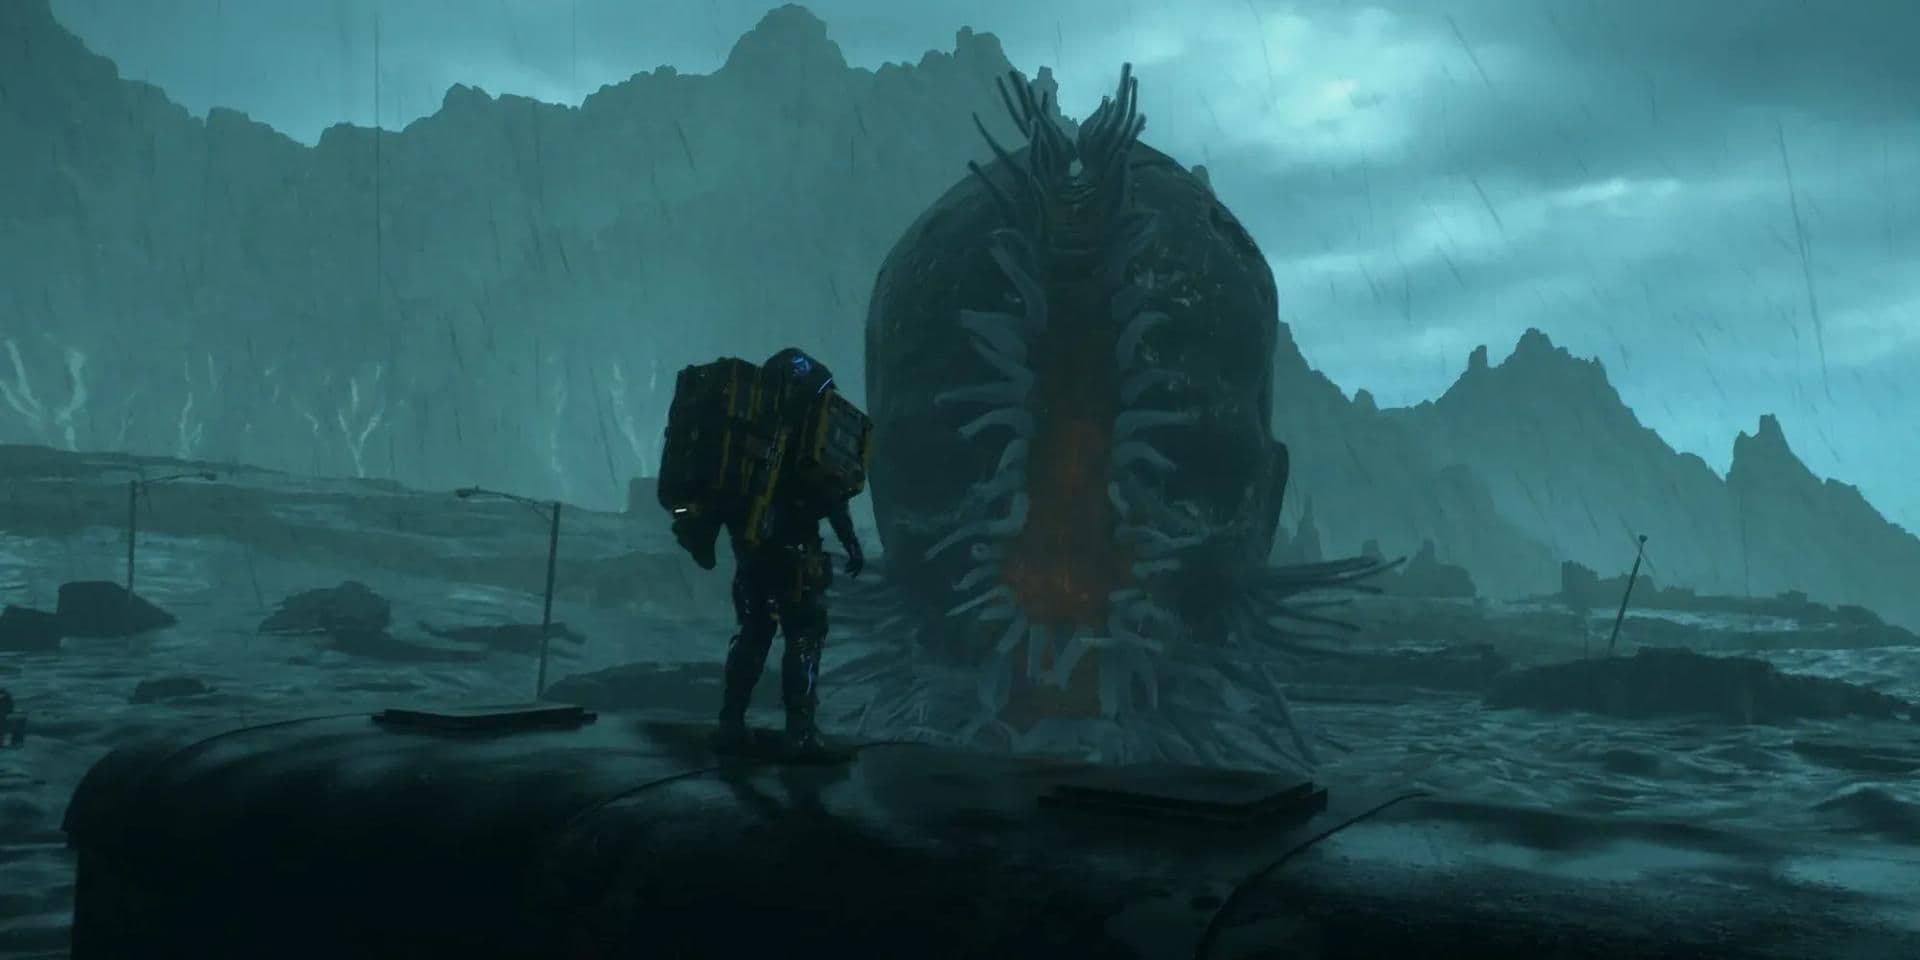
Engaging a Catcher BT is the most efficient way to farm large quantities of Chiral Crystals.
The Get Caught Method
Your first step is to trigger the fight on your terms. Head into any known BT territory—your Odradek Scanner will guide you. Instead of sneaking past the floating Gazers, walk right into them. When one grabs you, a prompt will appear: mash [Square] to resist. Here’s the trick—don’t. Let the Gazer drag you under. Within seconds, the ground will churn with tar and the Catcher will rise, ready for battle. This controlled method is far faster than waiting for a random encounter.
Optimizing the Kill
Once the Catcher spawns, speed is your best friend. The size of the Chiral Crystal bloom scales with how quickly you win. Your goal is a swift, overwhelming assault.
- Target Weak Points: Every Catcher has glowing gold or orange sections on its body. Aiming for these weak points deals critical damage and can stagger the beast, creating longer windows to unload your best weapons.
- Use Blood-Coated Bullets: For firearms like the Anti-BT Handgun, you can supercharge your shots. Throw a Hematic Grenade to create a blood cloud, then fire your conventional rounds directly through it. These blood-coated bullets will inherit the grenade’s properties, dealing massively increased damage to the Catcher.
- Manage the Arena: The fight takes place in a tar pit, which drastically slows your movement. To navigate faster, press [X] repeatedly to make Sam jump and skip through the sludge. This is essential for repositioning and avoiding the Catcher’s area attacks.
If you’re running low on blood bags or ammo mid-fight, press [Touchpad] to request aid. This summons helpful white avatars from other players’ worlds who will throw you items, including precious blood bags, to keep you in the fight.
Securing Your Reward
After you land the final blow, the Catcher will dissolve in a brilliant shower of light, leaving behind a sprawling field of Chiral Crystals. Move quickly and hold [Square] near the clusters to harvest them all. A single, efficient kill can net you between 1,500 to 2,500 CG, instantly refilling your weightless currency reserves.
With this deliberate farming loop—get caught, exploit weak points, kill fast, collect crystals—you transform BT zones from terrifying hazards into your personal gold mines. Stock up and head back in; the currency for upgrading the world is now yours for the taking.
Highest Density Timefall Zones for BT Farming
Ready to farm Chiral Crystals by the truckload? In Death Stranding, knowing where to hunt is just as important as knowing how. While BTs can appear anywhere Timefall rolls in, certain zones are legendary for their relentless, high-density spawns, turning them into perfect crystal factories. This is your map to the most profitable hunting grounds.
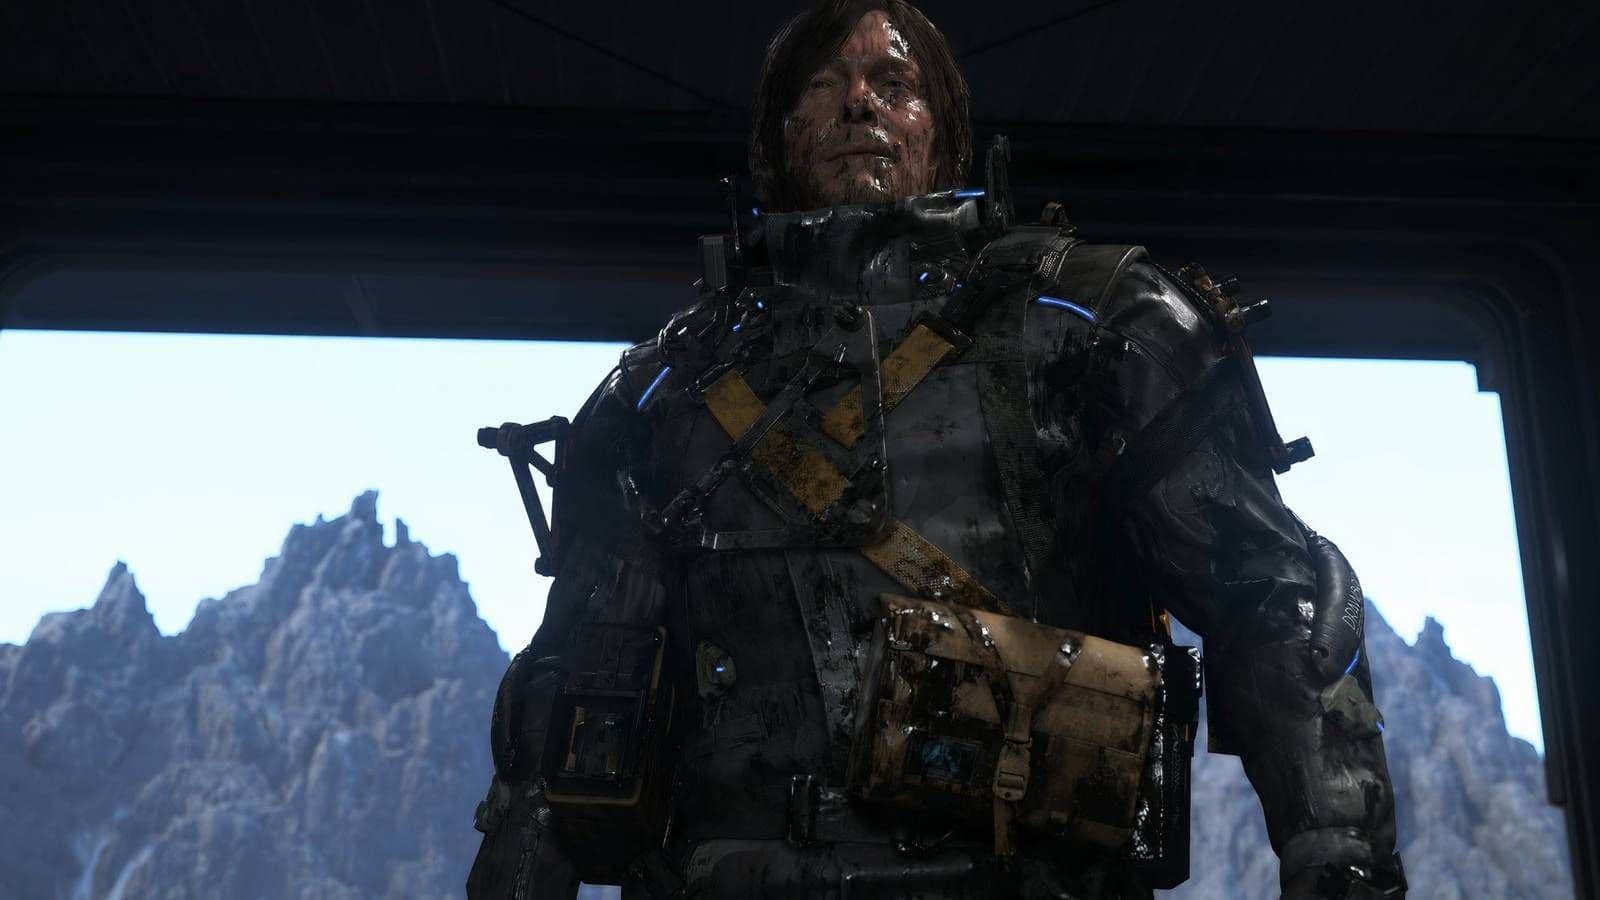
Tar-filled areas indicate active BT territory.
Your first major hotspot is the Ruined Shelter in the Central Region, located west of the Craftsman. This area is notorious for its high density of Gazers and frequent, lingering Timefall. It’s an excellent early-to-mid-game spot to practice triggering Catchers without venturing too far from relative safety.
For a more atmospheric and tense hunt, head to the Wind Farm in the Eastern Region. The entire forested valley here is a guaranteed BT spawning ground. Navigating the dense trees while your Odradek chirps wildly is a quintessential Death Stranding experience, and the confined space makes for intense, close-quarters Catcher encounters.
When you need room to operate, set your sights on the Ruined Crater, south of Lake Knot City in the Central Region. This massive, open area is a perfect arena for Catcher fights. With minimal terrain obstacles, you can easily kite the boss, line up shots on its weak points, and dodge attacks without getting cornered.
Before starting a farming run, check your connection level with the nearest facility. A higher level in the region increases the total Chiral Crystals the area can support, boosting your potential yield from each Catcher kill.
For the truly ambitious hunter seeking multiple targets, the Abandoned Roadside Factory is a prime destination. Found in the Central Region near the Waystation North of Mountain Knot City, this location can spawn multiple Catchers. It’s a high-risk, high-reward zone where you can chain fights back-to-back for a massive crystal haul.
Finally, for the ultimate end-game challenge, you must brave Edge Knot City in the Western Region. The entire city ruins are infested with the highest concentration of high-tier BTs in the game. This is where you’ll face the toughest Catcher variants and golden BTs, offering the most lucrative—and dangerous—farming in Death Stranding.
Stock up on Hematic Grenades, charge your blood bags, and pick your battlefield. With these locations, you’re ready to turn the game’s most terrifying regions into your personal Chiral Crystal gold mines.
Death Stranding BT Hunting Rewards and Loot
You’ve braved the Timefall, faced the Gazers, and toppled the Catchers. Now comes the payoff—the tangible rewards that make every tense hunt in Death Stranding worth the risk.
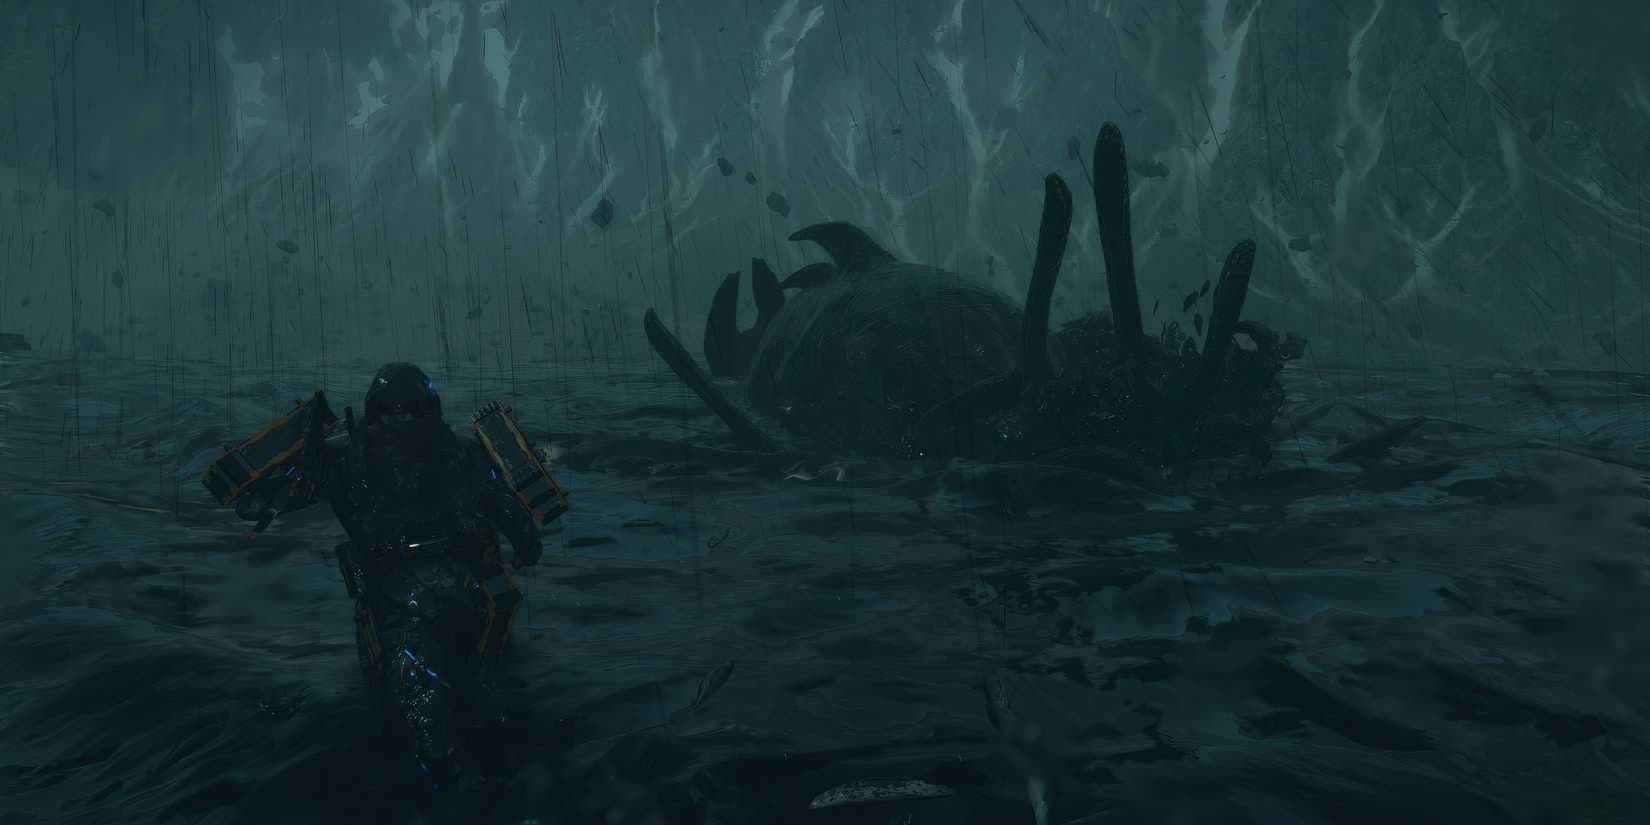
Combat with a Delphis BT.
The most immediate and essential loot is Chiral Crystals. After defeating a Catcher, the battlefield will be littered with shimmering clusters. Walk up to any large pile and hold [Square] to harvest them. These crystals are your gateway to advanced fabrication, used for building structures, crafting high-level gear, and even printing new weapons at a Private Room.
Chiral Crystals do not add to Sam's carry weight. Farm as many as possible from every Catcher you defeat—you can never have too many, and they free up inventory space for other critical cargo.
Beyond the crystals, your victory triggers a Timefall Cessation. Defeating a Catcher clears the stormy weather in that entire zone temporarily, creating a precious window of clear skies. This is your golden opportunity to make difficult deliveries through that area without your cargo degrading, or to simply explore and gather materials in peace.
Perhaps the most impactful long-term reward is the boost to your Connection Levels. Consistently farming BTs near facilities—like clearing the zone around the Wind Farm or the Ruined Shelter—generates a massive number of 'Likes' from the people you're connecting. This gratitude accelerates your reputation growth with those preppers and distribution centers, unlocking their special gear upgrades and fabrication blueprints much faster than standard deliveries alone.
So, while the Chiral Crystals fuel your construction and the clear weather aids your logistics, it's the strengthened bonds with America's survivors that truly turn a dangerous hunt into a foundational strategy for rebuilding the country. You're not just a porter anymore—you're a warden, clearing the paths and earning the trust needed to reunite a broken world.