How to Unlock the Chiral Artist's Mother in Death Stranding
Your journey through Death Stranding’s fractured world will lead you to many isolated souls, but few connections are as rewarding—or as tricky to establish—as the one with the Chiral Artist's Mother. This grieving artist, living in solitude at her coastal studio, holds the key to some of the game’s most valuable gear, but reaching her requires navigating a fragile first delivery.
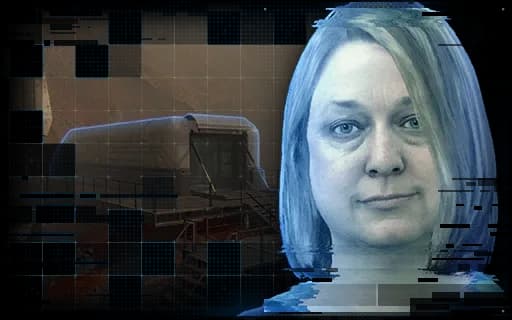
The Chiral Artist's Mother is a key NPC found in the Central Region.
She resides at the Chiral Artist's Studio in the Central Region, specifically south of the Junk Dealer along the coastal cliffs. Your map will mark her location once you’re in the area, but you can’t just walk in and introduce yourself. First, you must complete a specific delivery to prove your worth and open the lines of communication.
The key is Order 33, issued from South Knot City. This main story delivery tasks you with transporting a delicate Hourglass directly to the grieving mother at her studio. This isn’t cargo you can just toss on a truck; the Hourglass is fragile and must be carried by hand or secured in a utility pouch to prevent damage. The path from South Knot City to the coastal studio is your first test, often crossing tricky terrain and skirting BT zones.
Before accepting Order 33, visit a Private Room to equip a Utility Pouch on your backpack if you haven’t already. Stowing the Hourglass there protects it from most falls and frees your hands for climbing and balance.
Upon successfully delivering the Hourglass, you’ll officially connect the Chiral Artist's Mother to the Chiral Network. She’s the heartbroken artist living at the studio, and this initial delivery is just the beginning of your relationship. As you continue to fulfill her requests, she’ll gradually open up, eventually gifting the legendary Chiral Boots as a token of her gratitude. With the studio now on your network, you’re ready to start the real work of building her connection and unlocking her unique rewards. Let’s get to it.
Best Delivery Routes for the Chiral Artist's Mother
You’ve connected with the Chiral Artist’s Mother at her studio—now comes the real work. In Death Stranding, building a connection isn't just about a single delivery; it's about finding the fastest, safest routes to run her orders repeatedly and efficiently. This is where smart logistics turn a tedious grind into a smooth, rewarding climb to 5-stars.
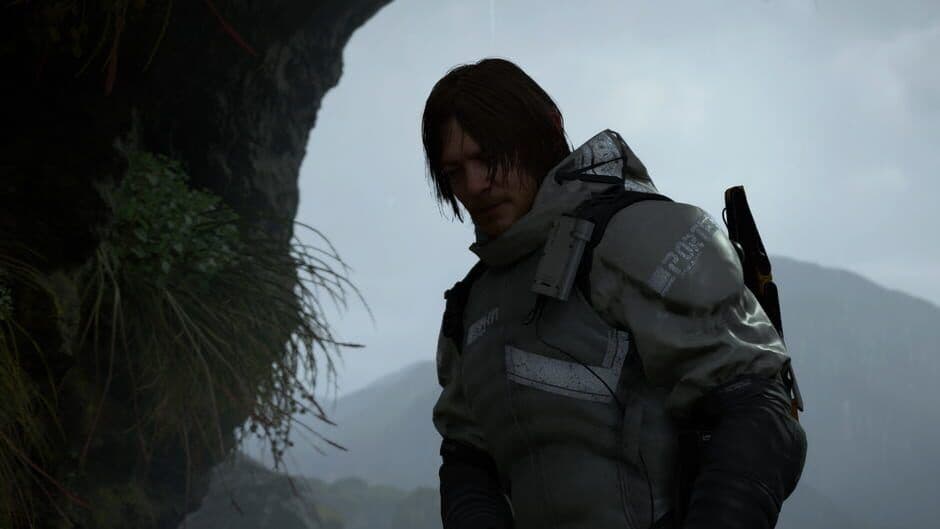
Using tools to create efficient paths through the environment.
Here are the most efficient paths to turn the Chiral Artist's Studio into a connection-level powerhouse.
Primary Land Route: Junk Dealer to Chiral Artist's Studio
Your most frequent run will be between the Junk Dealer and the Chiral Artist's Studio. The studio is south of the dealer, perched on the coast overlooking a tar lake. The safest and most straightforward path is the southward route along the coast.
From the Junk Dealer's shelter, head directly south, keeping the rocky coastline on your right. This path deliberately curves east to avoid the BT territory that lurks inland. It's a slightly longer distance, but you'll trade a few extra minutes of walking for zero BT encounters, which is almost always worth it for fragile cargo. A trike or truck handles this route easily, letting you haul multiple orders in one trip.
The Direct Bridge Route: South Knot City to Chiral Artist's Studio
For deliveries originating from South Knot City, you can take a direct eastern path. Head east from the city's main gate, and you'll soon hit a river ravine. This route requires a bridge over the river to be viable. If you or other players have constructed one here via the map's bridge-building tool, this becomes the fastest land route. If not, you'll need to detour north or south to find a crossing, which adds significant time. Once across, it's a straight shot to the studio on the coast.
Before starting a delivery run from South Knot, check your map for a completed bridge icon over the eastern river. If it's missing, plan to use the coastal route from the Junk Dealer instead—it's more reliable.
The Ultimate Speed Strategy: Build a Zipline Network
If you're serious about farming connection levels, investing in a Zipline Network is the single best thing you can do. Your goal is to connect three points: Junk Dealer > Chiral Artist's Studio > South Knot City.
Place your first zipline anchor just outside the Junk Dealer's delivery terminal range. The next should be on high ground near the Chiral Artist's Studio, avoiding the tar lake. The final anchor should be within range of South Knot City's terminal. With a Level 2 PCC and sufficient bandwidth, you can create a triangle that turns a 20-minute trek into a 5-minute delivery round trip. This network pays for itself after just a few premium deliveries.
Managing Heavy Loads with a Floating Carrier
Many of the Chiral Artist's Mother orders involve multiple heavy or fragile items. This is where your Floating Carrier becomes essential. To use it, open your cargo menu with [Options], go to Cargo Management, and select items with [X]. Then, press [Square] to place on carrier. You can stack a surprising amount of cargo onto two carriers, leaving Sam's back free for the most delicate package or for balancing. This lets you accept multiple orders at once and complete them in a single, efficient circuit.
With these routes in your toolkit—the safe coastal path, the direct bridge crossing, a blazing-fast zipline network, and smart cargo management—you're set to run deliveries with military efficiency. Keep on keeping on, and those connection stars will fill up in no time.
How to Complete Order 34: Chiral Artist Delivery
This is the moment you've been working toward—in Death Stranding, Order 34 is the emotional payoff where you finally reunite the Chiral Artist with her partner. It’s a straightforward delivery with a sweet story conclusion, but the journey through hostile BT territory demands careful planning.
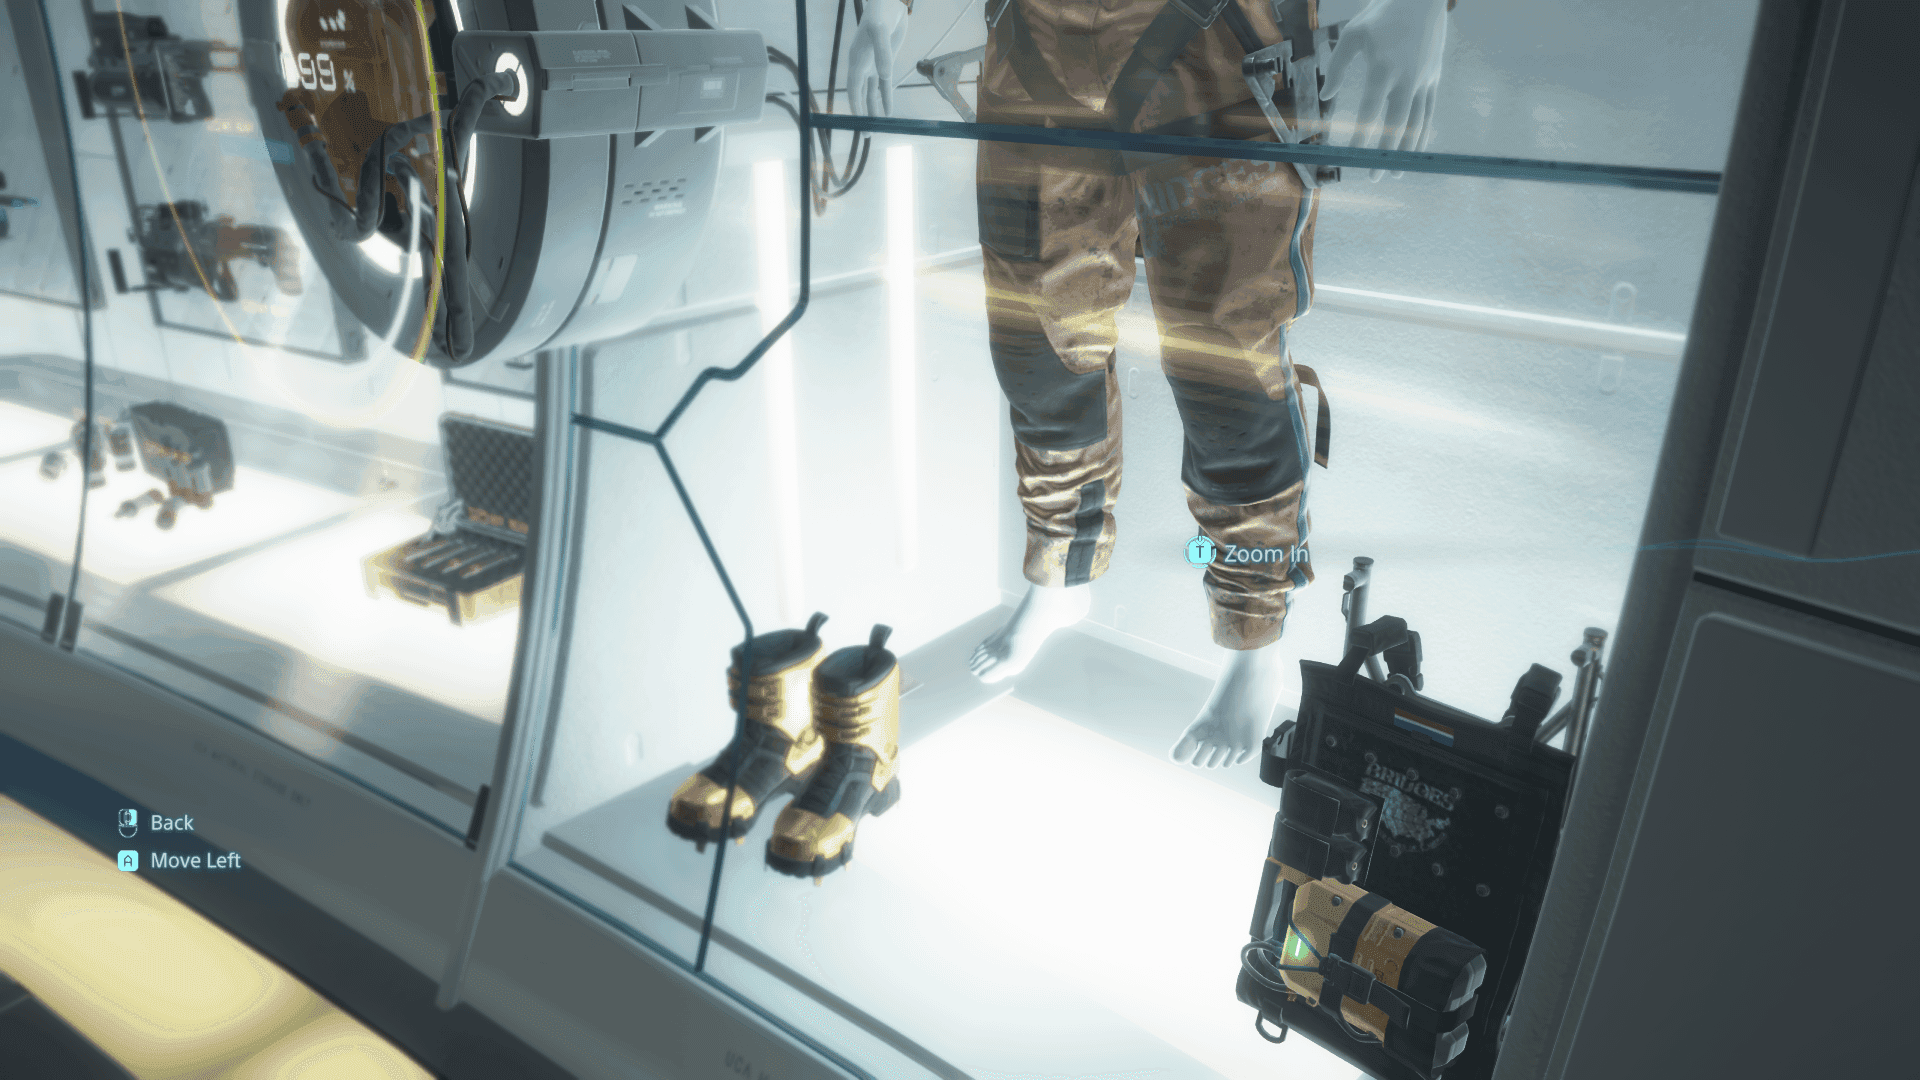
Equipment rewards for completing Artist deliveries.
Your mission begins at the Chiral Artist's Studio in the Central Region. Inside, you’ll find the Chiral Artist waiting for transport. Here’s the trick most guides miss: you must pick her up as cargo. If your back is full, don't fumble with inventory menus—simply offload your other cargo onto a Floating Carrier first. Then, carry the artist on your back with your hands free. This simple prep step saves a huge headache.
The real challenge is the route. You’ll be traveling from the studio to the Junk Dealer's Shelter, and the path between them is active BT territory. Trust me, you’ll want to move carefully. Use [R1] to scan constantly, watching for the tell-tale black handprints, and hold [R1] to hold your breath when you get close to avoid detection. If you’ve struggled with stealth here before, you’re not alone—this area is notoriously dense with BTs.
Before you leave the studio, craft or bring a Bola Gun. This weapon, unlocked via the Craftsman, is perfect for this trip. Aim with [L2] and fire with [R2] to tie up BTs (or any MULEs you encounter) from a safe distance, creating a clear path without a messy fight.
Once you navigate through the spectral threats, the Junk Dealer's Shelter will be a welcome sight. Head straight to the terminal outside the shelter. Interacting with it completes Order 34, finalizes the delivery, and triggers the heartwarming reunion cutscene. With the couple united, you’ve not only finished a key story thread but also strengthened the connection network in this part of Death Stranding. Well done, Porter.
Lost Cargo Spawn Locations for Chiral Artist's Mother
So you’ve unlocked the Chiral Artist’s Mother and are looking to boost those connection stars fast. This is where the real efficiency begins—finding her lost cargo scattered across the Central Region. In Death Stranding, these deliveries are your express lane to building rapport, and knowing exactly where to look saves you hours of aimless searching.
Using the Odradek scanner to find lost cargo in the wild.
Where to Find Lost Cargo for the Chiral Artist’s Mother
Her lost cargo spawns in a few specific, repeatable locations. Your best tool for this hunt is your Odradek Scanner. Make it a habit to press [R1] for a quick pulse as you travel; this will highlight nearby blue icons for Lost Cargo with the Chiral Artist’s Mother’s name attached. Don’t rely on your eyes alone—trust the scanner.
Here are the three key areas to check:
- Coastal Shoreline (South of Chiral Artist's Studio, scan for blue cargo containers): Start your search right on her doorstep. Head south from the Chiral Artist’s Studio along the rocky coast. Use your Odradek scan frequently here, as cargo often washes up or is tucked between rocks in blue containers. It’s the closest and safest spot to farm for her items.
- MULE Camp (South of Lake Knot City, loot postboxes for Artist-specific cargo): This is a high-risk, high-reward location. The MULE Camp located south of Lake Knot City is a known hotspot. After neutralizing or sneaking past the MULEs, check their postboxes and the camp’s storage tents. They frequently steal and hoard cargo destined for nearby facilities, including the Artist’s Mother.
- BT Territory Crater (North of the Studio, check near ruined structures): For the brave, venture into the BT territory north of the studio, near the large crater and its surrounding broken buildings. Lost cargo can spawn here amidst the ruins. If you choose this route, be prepared for a fight or have a stealth plan ready.
Always check shared lockers at major facilities like South Knot City or Lake Knot City. Other porters often entrust found cargo there, and you might get lucky with a piece destined for the Artist’s Mother, saving you a trip into dangerous territory.
How to Deliver for Maximum Impact
Once you’ve secured the cargo, prioritize taking it directly to the Chiral Artist’s Studio. While you can entrust it to any facility, a direct hand-off grants the biggest connection boost. If you’re running other deliveries in the area, use a Floating Carrier or truck to collect multiple pieces of her lost cargo for one efficient trip.
Stick to these locations, keep your scanner active, and you’ll have her connection level climbing steadily. With a reliable cargo pipeline established, you’re well on your way to that coveted five-star rating.
How to Reach 5-Star Connection and Unlock Chiral Boots
Reaching the peak of your relationship with the Chiral Artist's Mother isn't just about a trophy—it's about securing the single best pair of boots in all of Death Stranding. This is the final stretch of your commitment to her, and the reward is more than worth the effort.
You achieve a 5-Star Connection Level by consistently delivering to her Chiral Artist's Studio. This is a grind, pure and simple, built on two pillars: completing Premium Deliveries for her from any terminal and, crucially, returning any Lost Cargo addressed to her that you find scattered across the Central Region. Every package counts, and your Bridge Link grade will steadily climb with each successful drop-off.
The ultimate payoff for your dedication is the Chiral Boots. Once you hit that coveted 5-star rank, she'll gift you this gold-colored footwear, which boasts the highest durability of any boots in the game. They laugh in the face of rough terrain and last for miles longer than any other pair.
The grind to 5-stars can feel long, but focus on clearing her Lost Cargo from the MULE camp south of Lake Knot City and the BT crater to the north. These spawns provide huge connection boosts without requiring you to take on new orders.
Here’s the best part: once you’re at 5 stars, the Chiral Artist's Mother becomes a renewable source. Simply rest in a Private Room or complete any delivery to her studio afterward, and she’ll reward you with a brand new pair of Chiral Boots. Never worry about worn-out footwear again.
As a bonus for your maxed-out connection, you’ll also periodically receive Chiral Crystals as a reward from the studio. These are the essential resource for crafting advanced gear and contributing to those massive public works projects like the highways.
With your 5-star connection locked in and an endless supply of top-tier boots secured, you’re officially a premier porter in her eyes. Now you’re ready to tackle any terrain the game throws at you.
Best Equipment and Preparation for Chiral Artist Deliveries
The path to the Chiral Artist's Studio is a gauntlet of steep cliffs, treacherous rivers, and the ever-present threat of BTs. This isn't a simple stroll—it's an expedition that demands the right gear. Stock up now, and you'll thank yourself later.
Your first priority should be mobility. The terrain south of the Junk Dealer is brutal, with rocky inclines and deep streams that will drain your stamina. Head to the Roboticist and unlock the All-Terrain Skeleton. This game-changer lets you hold [X] to jump further and click [L3] to sprint through rough terrain without stumbling, making those coastal climbs and river crossings far more manageable.
Next, you need to protect your precious cargo from the relentless Timefall. Always carry Container Repair Spray. When you see your cargo containers degrading (indicated by the yellow or red damage icons), press [L2] to aim and [R2] to spray directly on the packages. This is non-negotiable—letting Timefall ruin your delivery means a massive hit to your rating.
⚠️ Watch out: The stretch between the Studio and the Junk Dealer is a known BT hotspot. Don't get caught unprepared.
For dealing with those BTs, you have two excellent options. The Bola Gun (unlocked via the Craftsman) is perfect for non-lethal crowd control, tying up MULEs or BTs from a safe distance. For a more direct approach, pack Hematic Grenades, unlocked after connecting Capital Knot City. Press [L2] to aim and [R2] to throw; they create blood clouds that damage and reveal BTs. To carry more of these lifesavers, complete the grenade pouch delivery from the Junk Dealer. Then, in any Private Room, go to Options > Backpack and press [X] to attach a Grenade Pouch. Trust me, having a dozen grenades at your disposal instead of just a couple makes BT encounters feel tactical instead of terrifying.
With the All-Terrain Skeleton for the hills, Repair Spray for the rain, and a stocked arsenal for the BTs, you’re equipped to handle anything the route to the Studio throws at you. Now you can focus on the delivery, not the danger.
Farming Chiral Crystals near the Chiral Artist's Studio
This is it—the final piece of the puzzle. You've mastered the deliveries, but Death Stranding’s biggest projects, like those sprawling highways, need a mountain of Chiral Crystals. The good news? The high-risk BT territory surrounding the Chiral Artist's Studio is one of the most reliable crystal farms in the Central Region.
Your first step is to check the Timefall forecast. Open your map and look for blue squares indicating rain in the next 30 minutes; these are active BT zones. The area just north of the Chiral Artist's Studio, towards the Craftsman, is a prime, consistent spot. For the most efficient farm, you'll want to have connected both the Weather Station and the Junk Dealer to the Chiral Network. The Weather Station gives you that reliable forecast, while the Junk Dealer unlocks a delivery for the grenade pouch blueprint—a game-changer for carrying more Hematic Grenades without filling your backpack.
Pack light. Bring only Hematic Grenades, a couple of Blood Bags, and maybe a Speed Skeleton. Extra cargo just gets in the way and risks damage.
Here’s the core strategy: BT Boss farming. Head into the active Timefall zone near the studio and intentionally get caught by a BT. Let it drag you into the tar to summon a large BT, known as a Catcher. This triggers the boss fight you need.
The combat is straightforward but intense. Your goal is to stunlock the Catcher. Find stable ground, keep your distance, and pelt it with Hematic Grenades. Watch for its attack animations—when it rears up or prepares a lunge, hit it with another grenade to interrupt it. The cycle is simple: throw a Hematic Grenade → wait for the BT to resurface → repeat until defeated. Keep an eye on your blood supply and use a Blood Bag if you get low. It’s a tense dance, but early-game Catchers aren’t too tough to bring down.
The reward makes the risk worth it. Once defeated, the Catcher crumbles and the tar recedes, leaving behind a field of glowing Chiral Crystal Deposits—large, gold, hand-shaped clusters scattered across the ground. You’ll typically get around 20 deposits, with each yielding 40-120 cg. In total, you can harvest 500-800 cg per boss kill.
To turn this into a true farming loop, consider building a Safe House nearby after your first successful kill. Since Chiral Crystals travel with you, you can use Fragile’s fast travel to zip back to a private room, resupply, and return in moments. With this method, you can amass thousands of crystals in a single play session, funding any construction project you can dream of.
You now have the complete toolkit: the routes, the gear, the connections, and the ultimate farming strategy. With this knowledge, you’re ready to build a new America, one crystal at a time. Keep on keeping on.