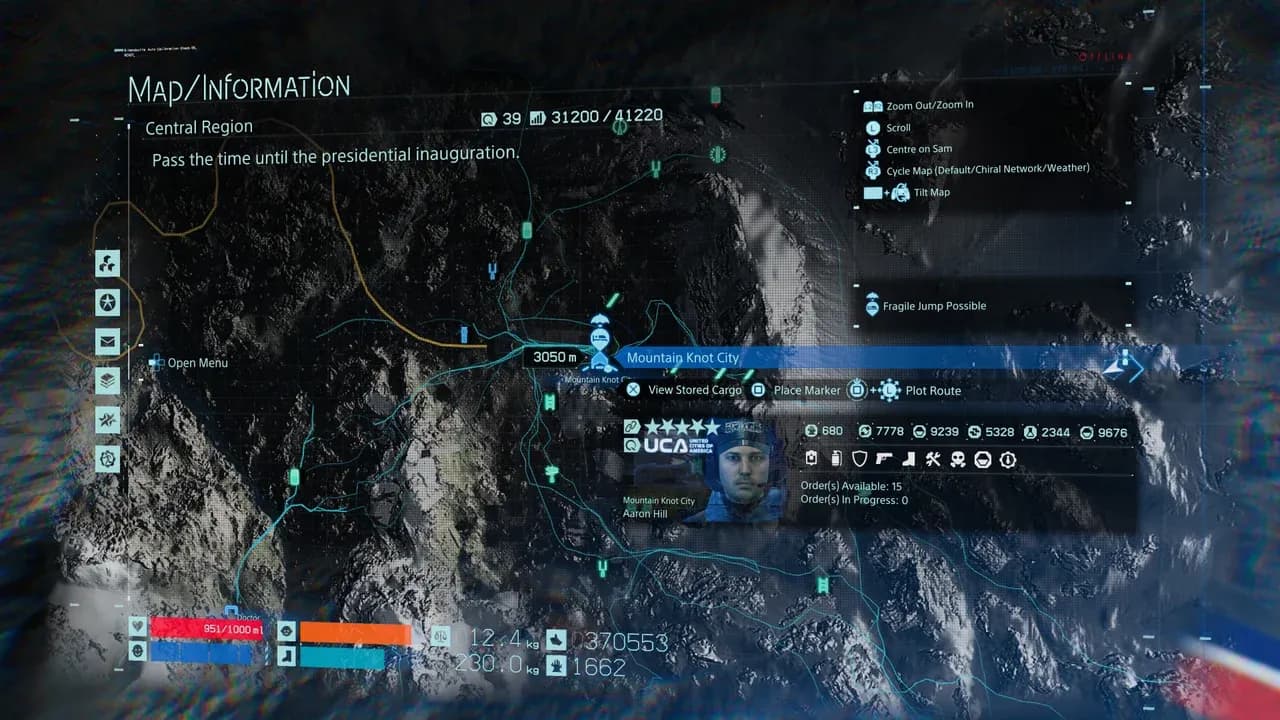
How to Unlock Ziplines in Death Stranding
Navigating the rugged terrain of Death Stranding can be a slog, but unlocking ziplines transforms your journey from a treacherous hike into a high-speed, breathtaking commute. This guide covers everything you need to get your aerial network off the ground, starting with the essential tools and story progress you must secure first.
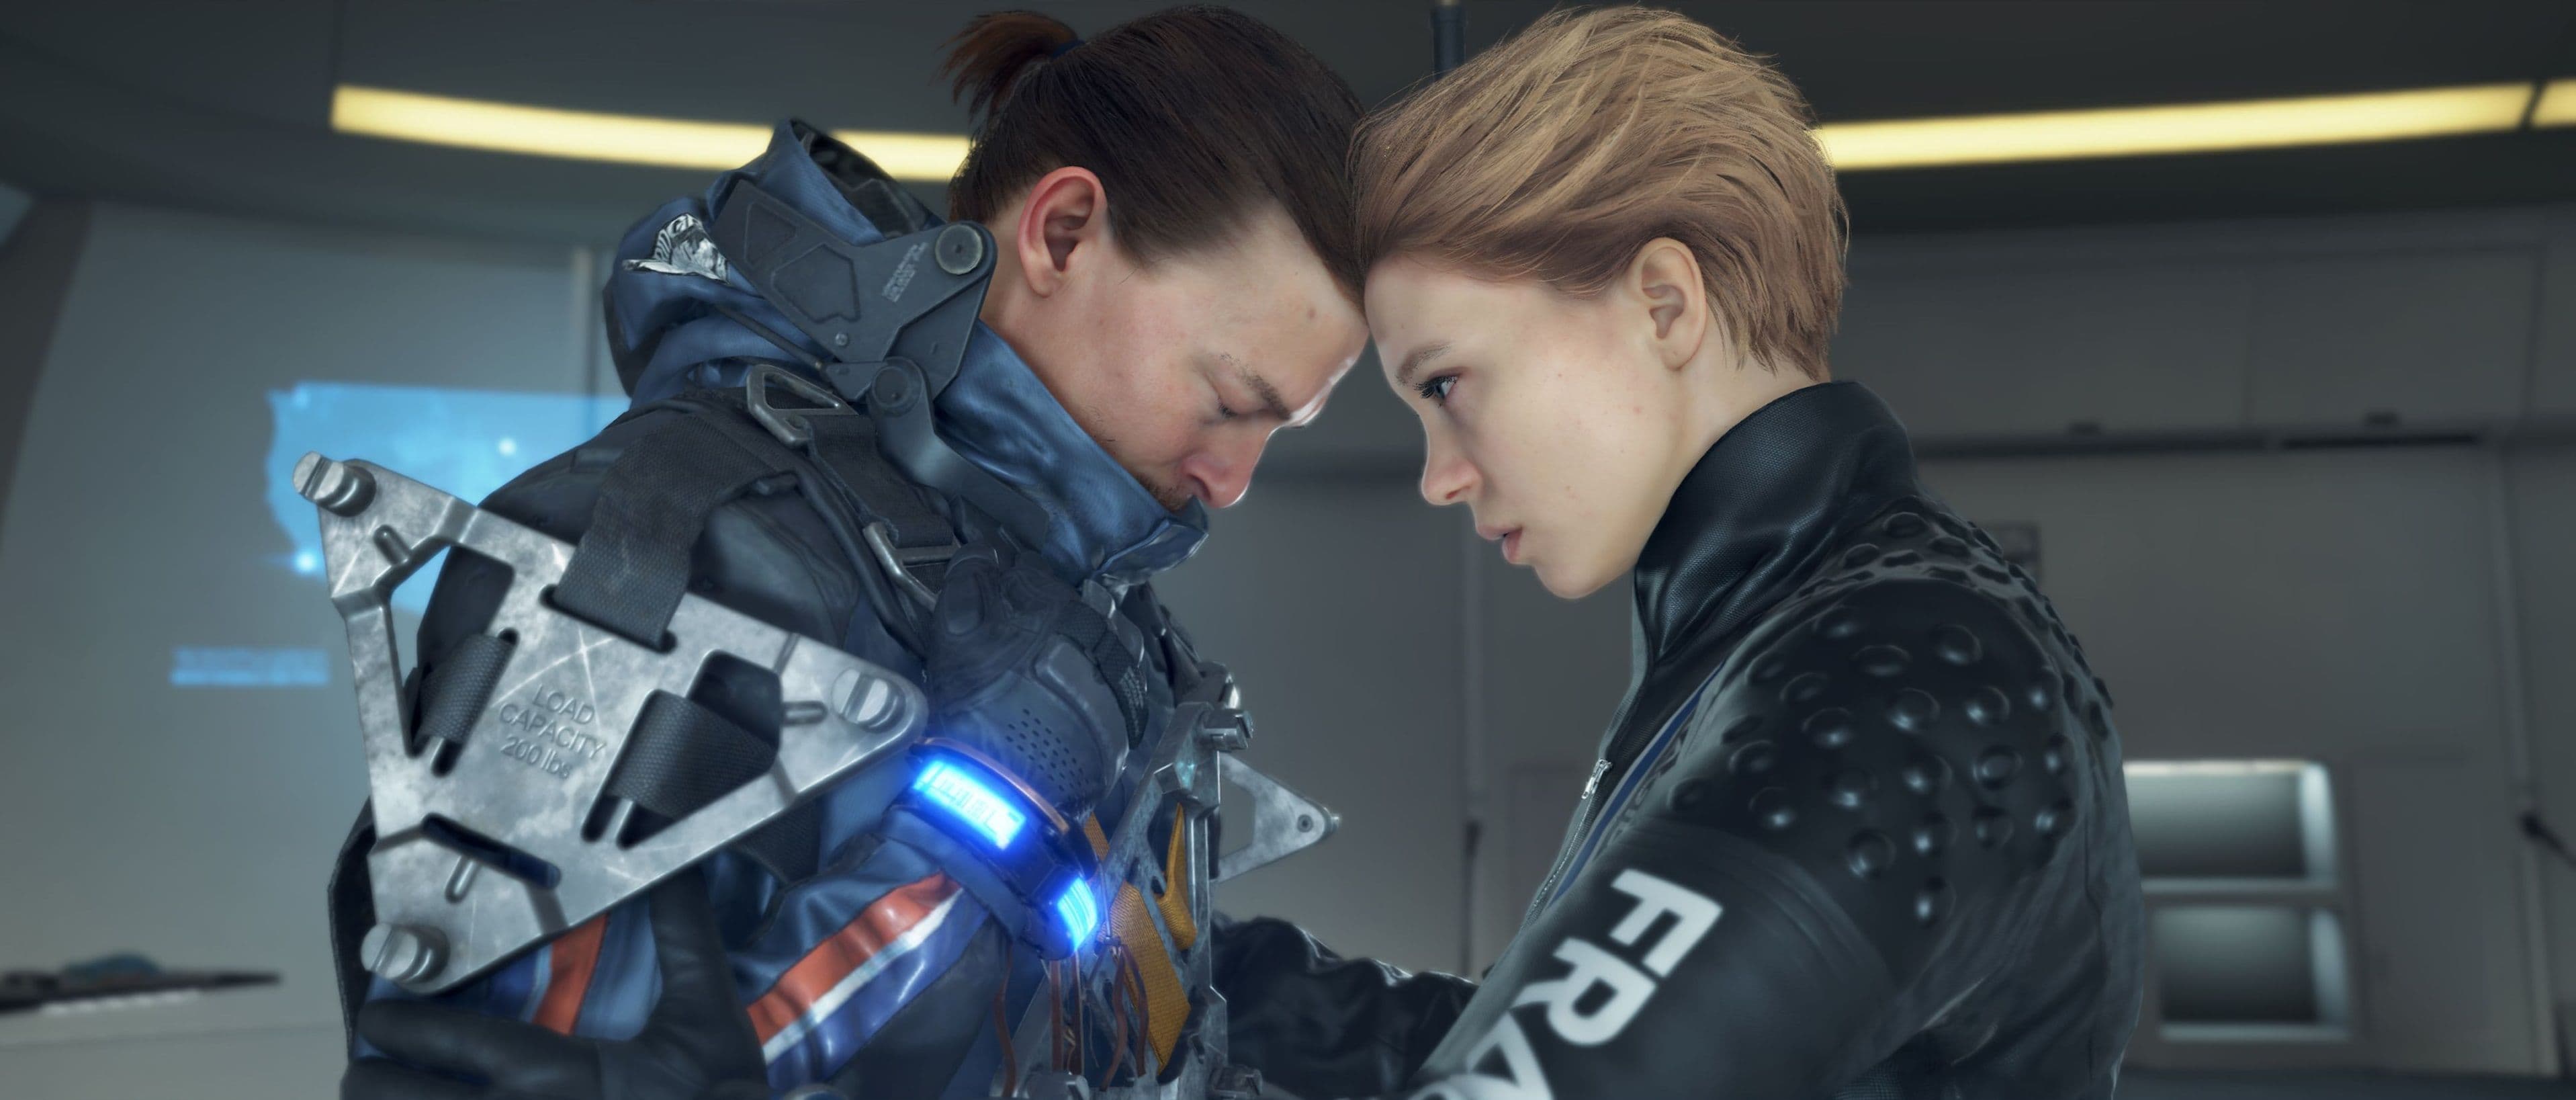
Visual guide for establishing ziplines in the Central Region.
Your path to the skies begins in the game’s middle chapters. The key item is the PCC Lv. 2, a construction tool unlocked during Episode 5: Mama. You’ll need to progress through this story episode before you can even think about ziplines.
The actual blueprints, however, come a bit later. You’ll gain access to zipline construction data in Episode 6: Chrysalis. Specifically, you need to complete Order 21, a mission where you must rescue a friend for an NPC named The Dowser. You’ll find The Dowser at his base in the Central Region. Successfully delivering his friend to Dowser's Base is your ticket; he’ll reward you with the data needed to add ziplines to your PCC menu.
Don't rush to unlock ziplines immediately. Focus on connecting a few key facilities in the Central Region first. This builds up your Chiral Bandwidth—the regional build limit that governs how many structures you can place. Each zipline anchor costs 500 units of this precious resource, so you’ll want a healthy reserve before you start building.
With the PCC Lv. 2 in hand and the data from The Dowser secured, you’re ready to start planning your network. Just remember to keep an eye on that bandwidth meter—smart planning now means a seamless, continent-spanning zipline highway later. Let’s get building.
Zipline Construction and Control Basics in Death Stranding
Now that you've unlocked the zipline data in Death Stranding, the real fun begins. This is where you transform those treacherous mountain passes and BT-infested valleys into your personal aerial highway. Let's break down the exact mechanics of placing, connecting, and riding your new favorite mode of transport.
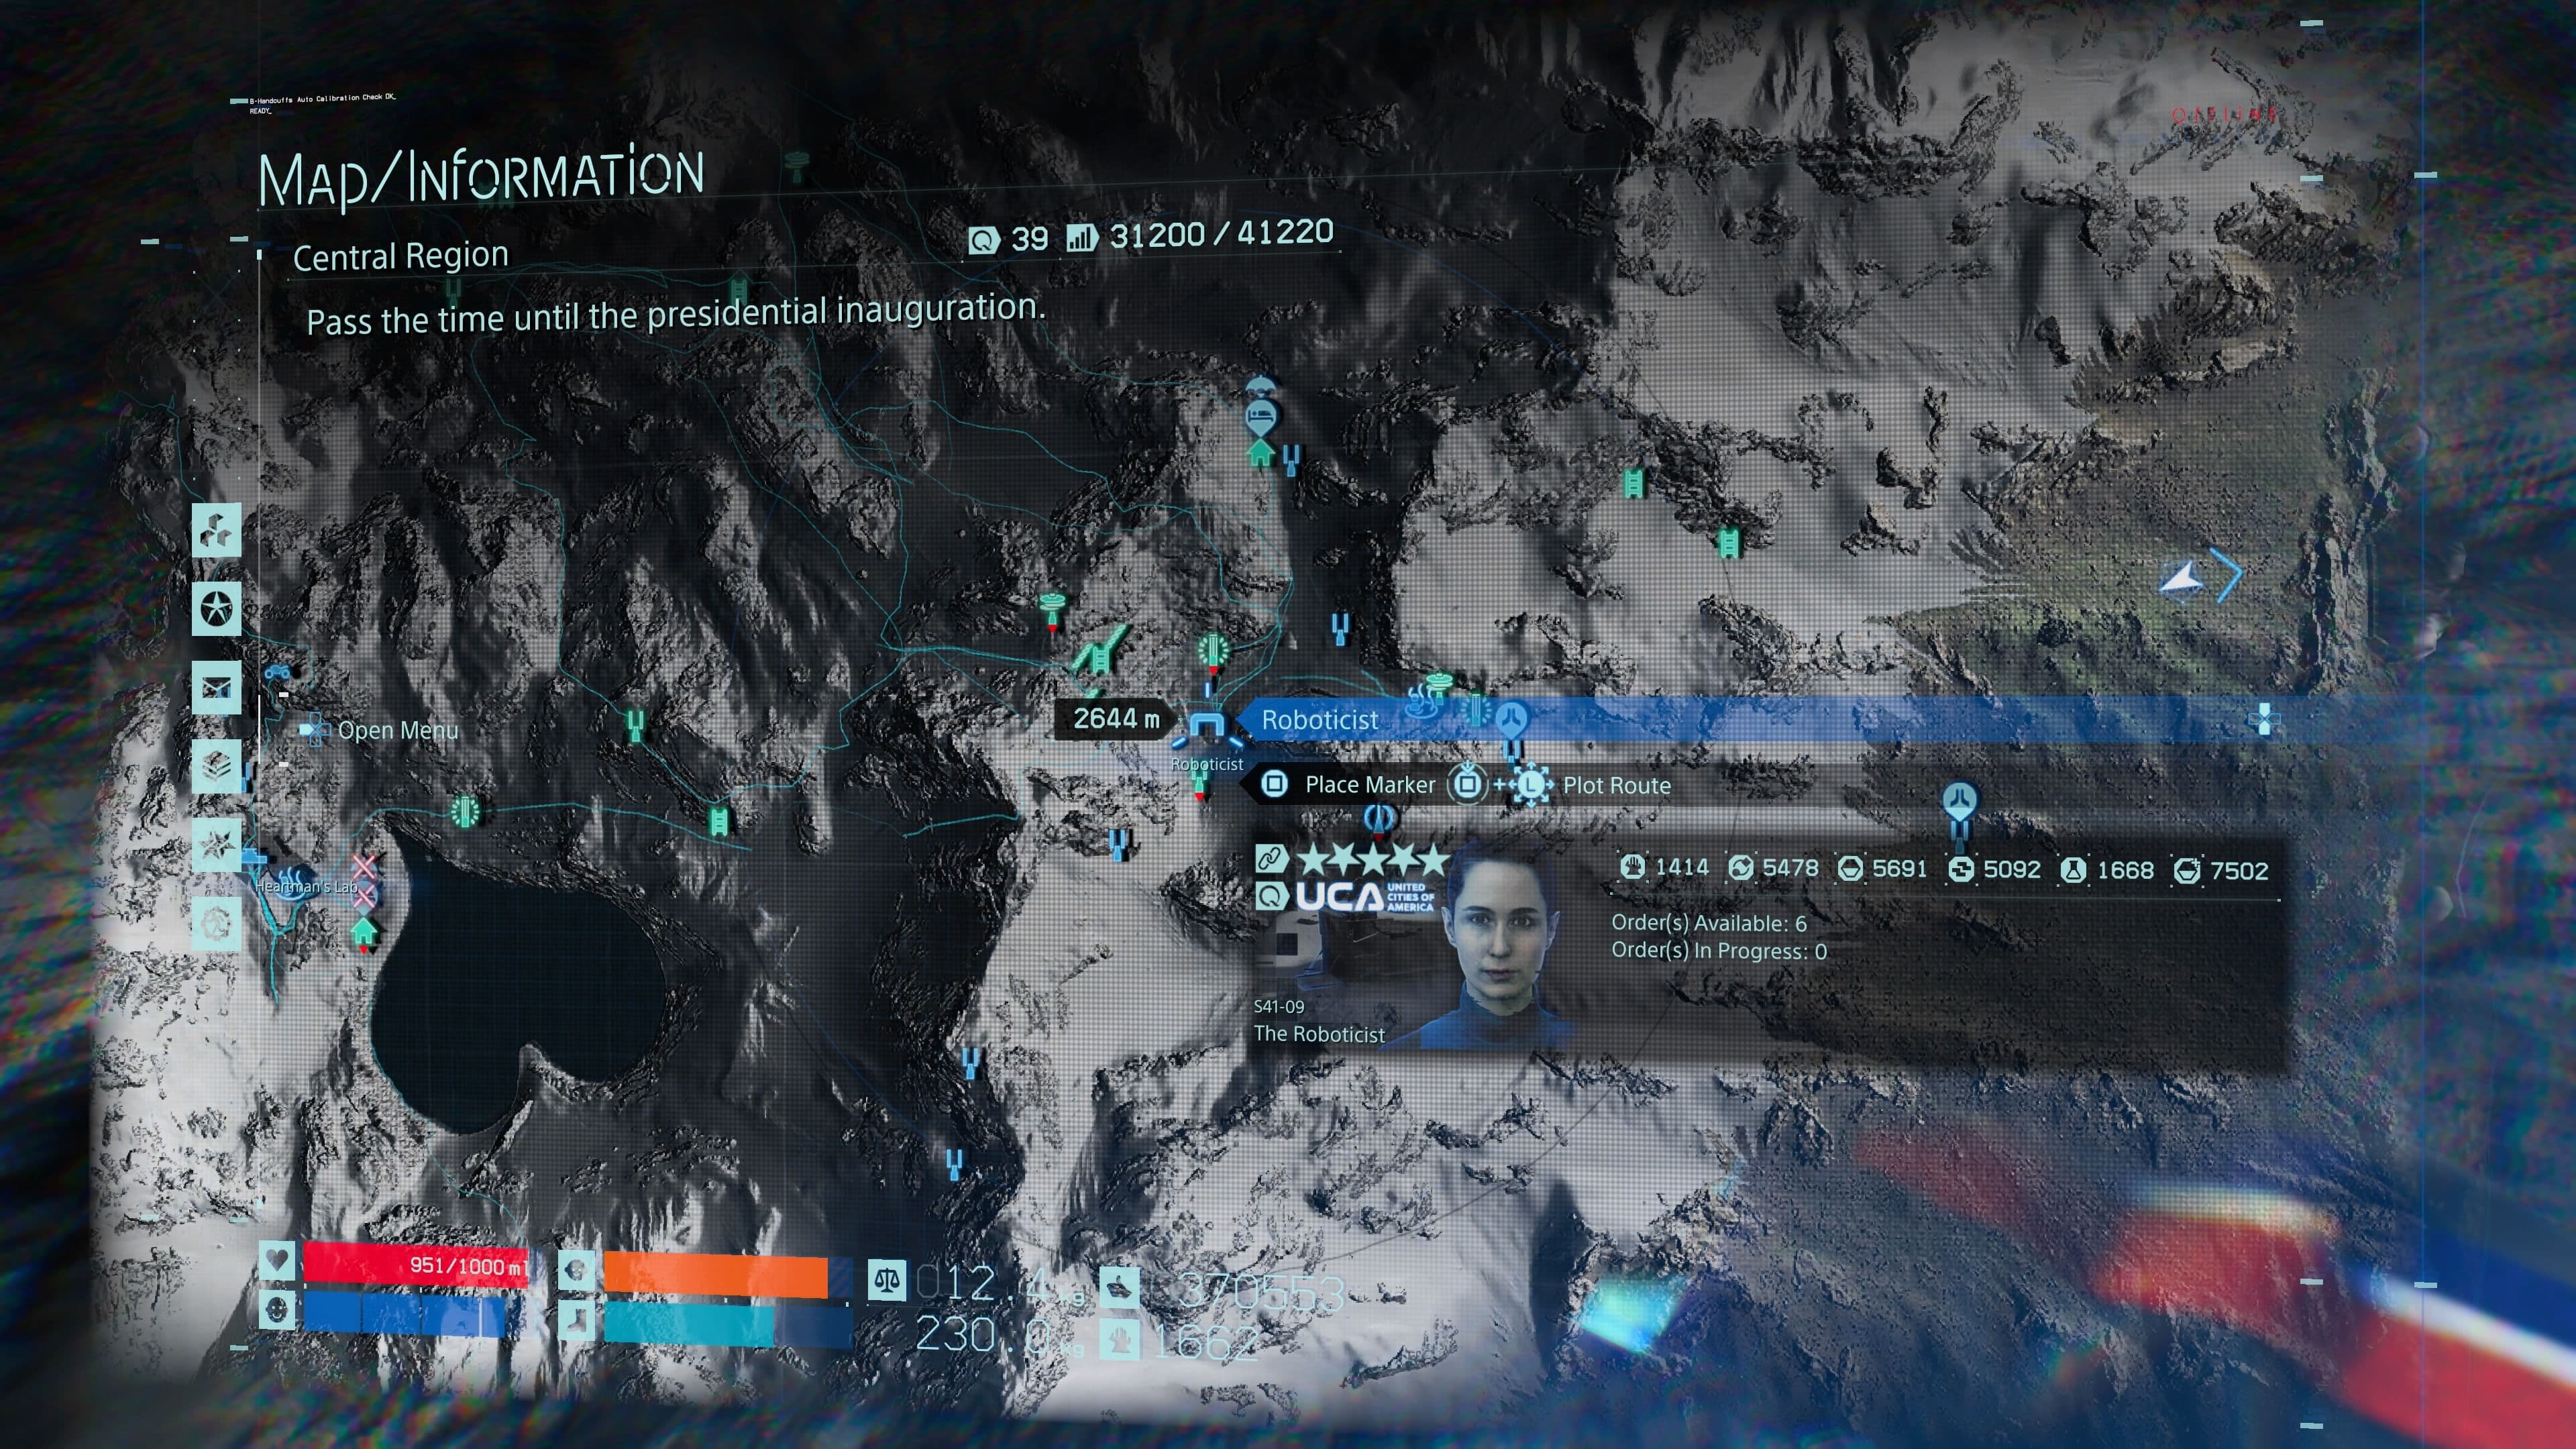
High-altitude locations like the Roboticist's shelter are ideal for placing zipline anchors.
Placing Your First Zipline Anchor
To start building, you need your PCC Lv. 2 equipped. Open your structure menu with the [D-pad], select the PCC, and choose the Zipline option. Now, aim with [L2] to see a holographic preview of the anchor. The game is picky about placement—it needs a relatively flat, open surface. When you've found a good spot, press [R2] to confirm construction and watch your first tower materialize.
If the anchor preview is red and won’t place, you’re likely on too steep a slope or too close to an obstacle. Walk a few meters in any direction and try again.
Perfecting Your Placement and Connections
Here’s a trick most guides miss: you can fine-tune your anchor’s angle. After aiming but before placing, use [Square] or [Triangle] to adjust the anchor tilt. This is crucial for setting up clean lines on irregular slopes or mountainous ridges, ensuring a smooth ride.
A single zipline anchor is useless on its own. You need at least two within range to create a route. The default connection range is 300 meters, visualized by a solid blue line that appears between two compatible towers. If you don’t see that blue line, the anchors are too far apart or an obstacle like a rock face is blocking the signal. You’ll need to dismantle and reposition one.
Riding the Lines
Using your network is beautifully simple. Approach any connected anchor and press [Square]. Sam will automatically mount the line and zip directly to the next anchor in the network. You don’t need to steer—just enjoy the ride and the suddenly trivialized landscape.
Need to bail out mid-flight? Maybe you spotted some lost cargo or need to avoid overshooting your destination. Just press [Circle] to dismount. You’ll jump off the line, so make sure you’re over relatively safe terrain before you leap.
⚠️ Watch out: While on the zipline, you’re completely safe from BTs below—it’s the ultimate evasion tool. But that dismount can land you right in trouble if you’re not paying attention to your surroundings.
With these fundamentals mastered, you’re ready to start plotting a network. Remember the 300-meter rule, use high ground to your advantage, and connect those distant shelters. The map is about to get a lot smaller.
How to Increase Chiral Bandwidth for Large Networks
You’ve mastered the basics of zipline construction in Death Stranding, but now you’re hitting a wall—literally. That massive Central Region layout you’ve envisioned, connecting every Prepper and Knot City, is colliding with the game’s most stubborn resource: Chiral Bandwidth. If you’ve ever seen the dreaded “Insufficient Bandwidth” message pop up, you’re not alone. This is the final logistical boss, but with the right strategy, you can break through the limit and build your sprawling network.
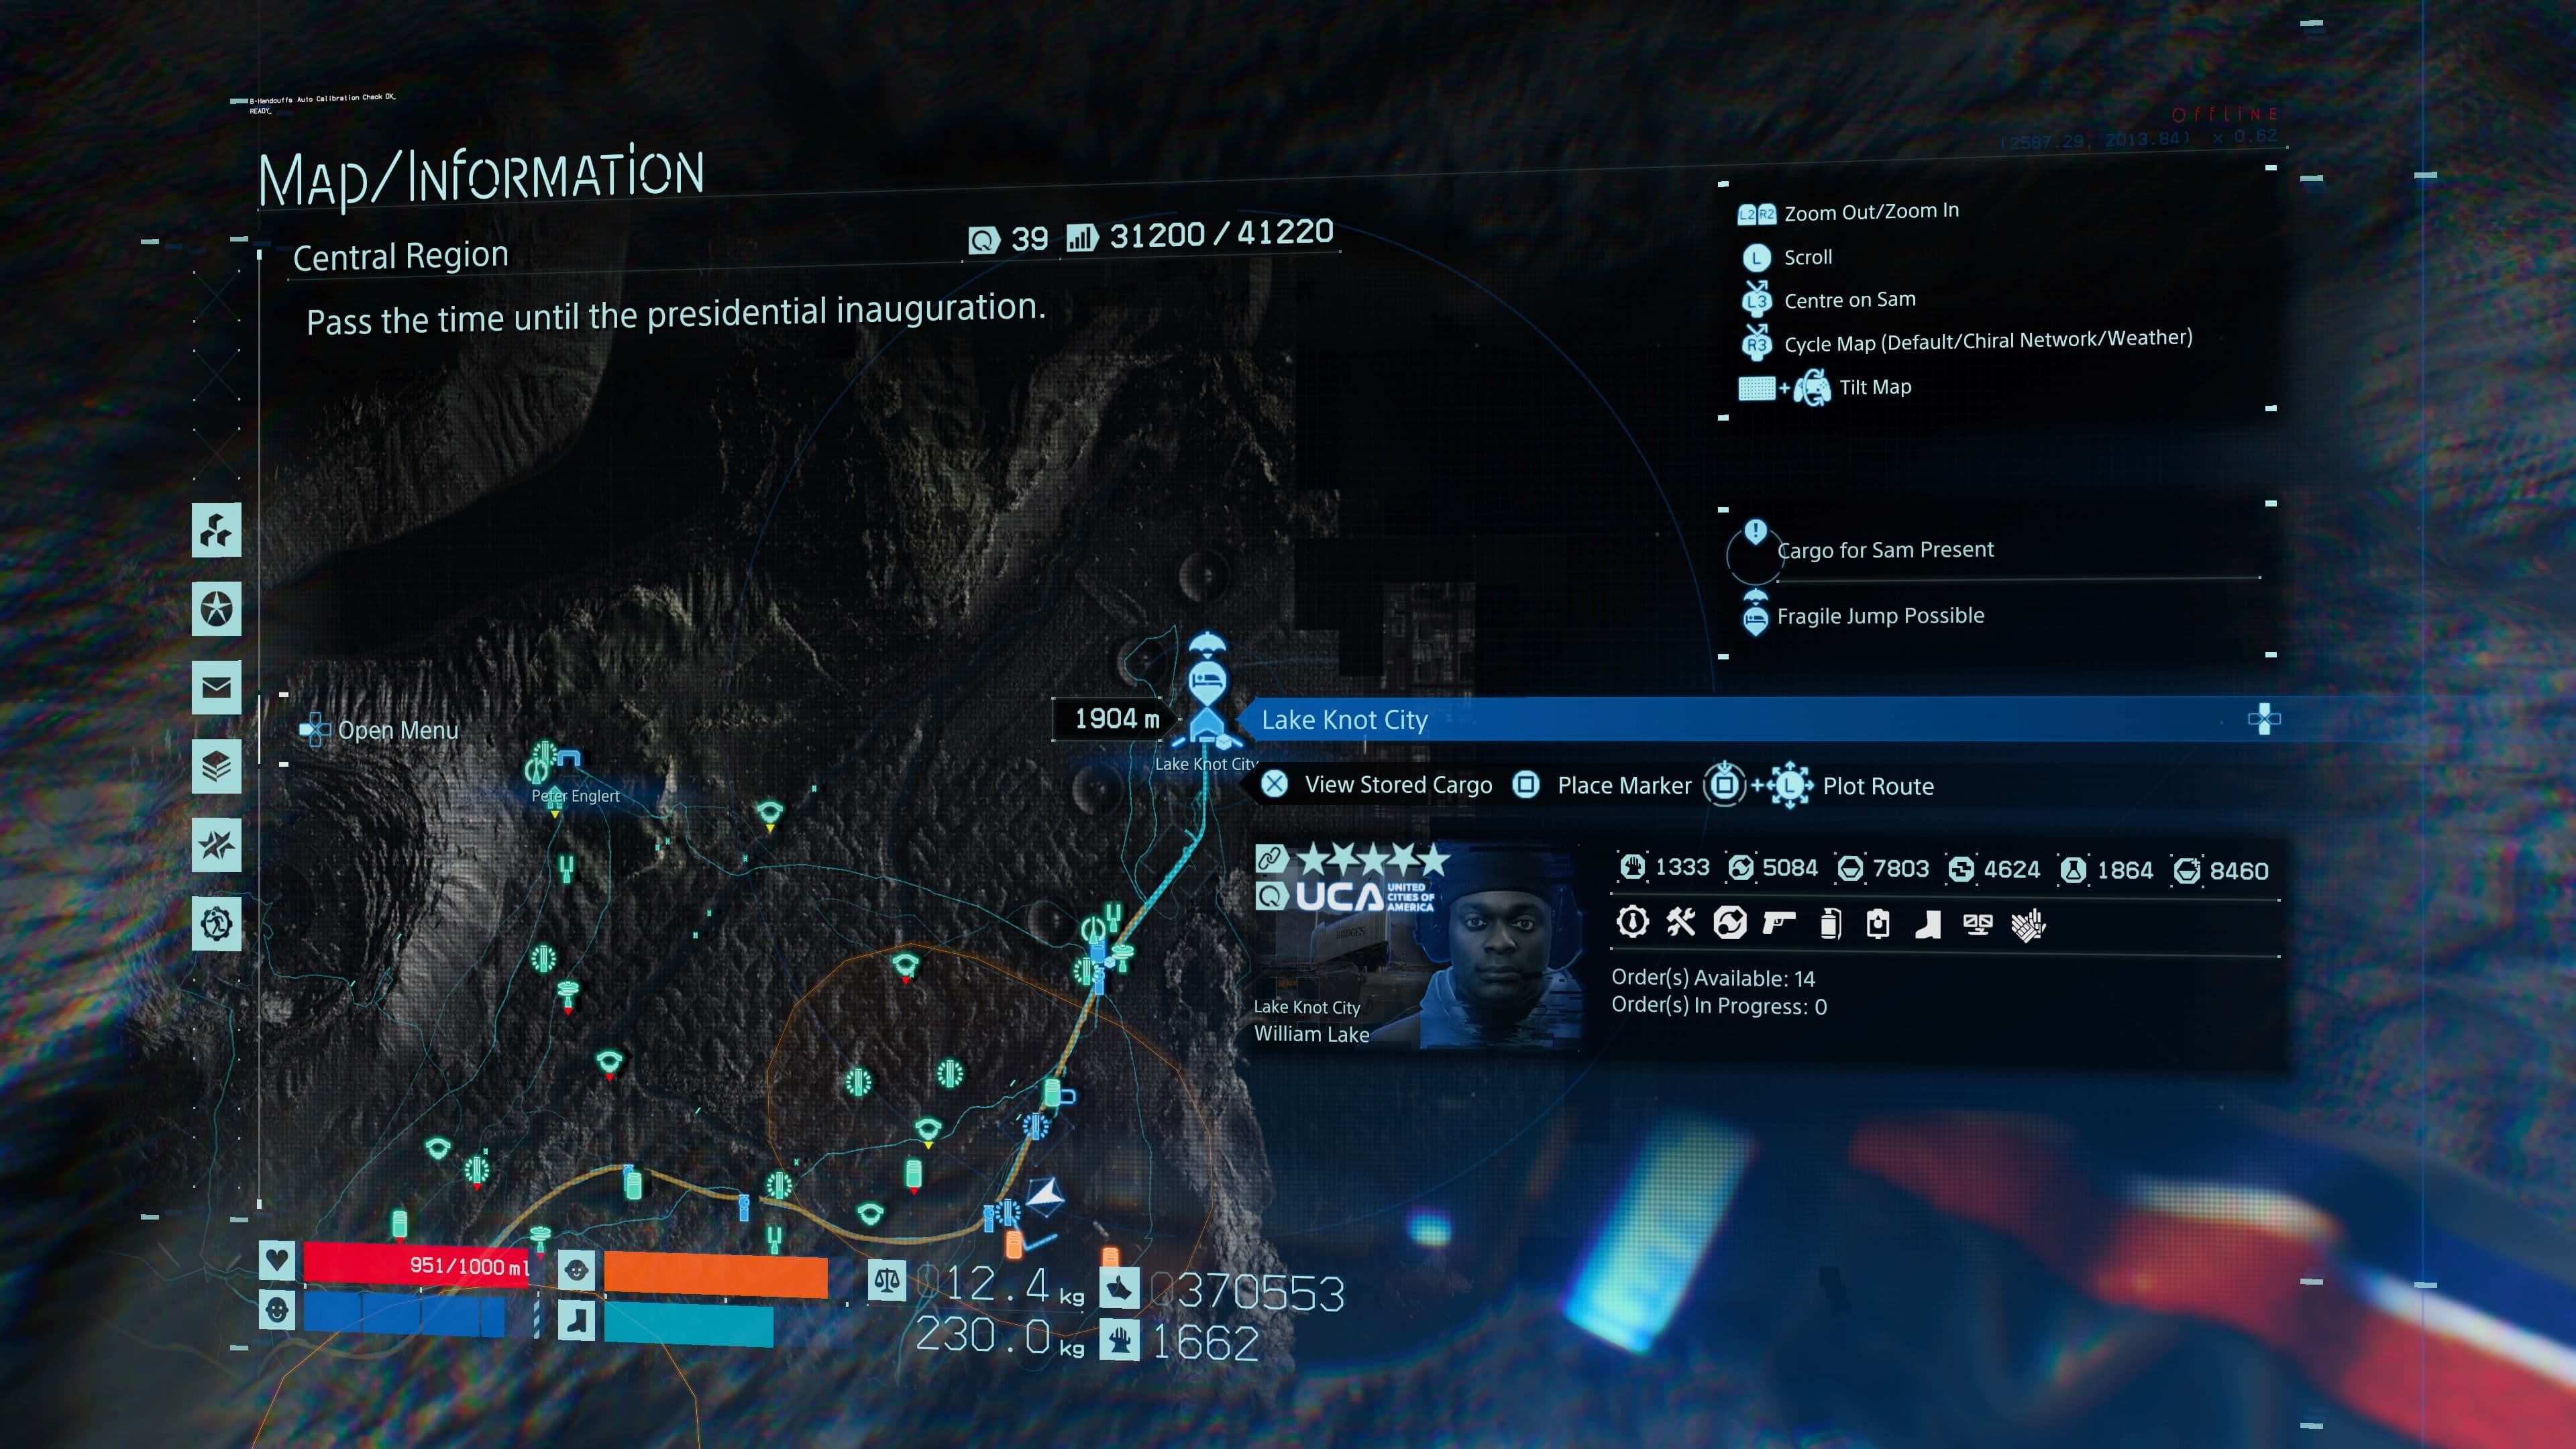
Major cities provide the largest initial boosts to your Chiral Bandwidth.
The Core Strategy: Leveling Up Facility Connections
Your Chiral Bandwidth isn’t a fixed number; it’s a living resource tied to your relationships across America. The single most effective way to increase it is by leveling up your connection levels with every facility you’ve linked to the network. Each facility has a star rating, and pushing them toward the maximum 5-star rating unlocks a permanent boost to your regional bandwidth. The stronger your bond, the more you can build.
Your primary tool here is earning Likes. Every delivery you complete for a facility fills its star meter. To accelerate this growth, focus on Premium Orders—these are the high-stakes deliveries that often involve fragile cargo, tight time limits, or heavy loads. Completing them in perfect condition yields a massive influx of Likes, skyrocketing your connection level. Don’t just grind standard orders; seek out these premium jobs on your terminal.
If you’re stuck, check your map for Lost Cargo scattered in the world. Returning these items to their specific facility is a fantastic, low-effort way to earn a quick trust boost and those crucial extra Likes.
Managing Your Existing Bandwidth
Increasing your cap is one thing, but you also need to manage what you’ve already spent. Death Stranding provides a brilliant shortcut for this. If you need to free up bandwidth, you don’t have to trek back to a remote anchor. Open your Map, hover over any structure you built (shown in blue), and hold [Triangle] to dismantle it remotely. This instantly frees up the bandwidth it was consuming, letting you reallocate it to a more critical zipline anchor elsewhere.
Remember, only structures you built consume your personal bandwidth. Those helpful green structures from other players are free to use. Before you build something new, always scout the area—a community-built bridge or generator might save you hundreds of precious bandwidth units.
With your facility connections maxed out and your existing builds streamlined, you’ll have the foundation for a truly epic zipline network. Let’s go build it.
Optimal Zipline Layout for Junk Dealer, Chiral Artist, and South Knot City
This is where your Central Region network becomes truly transformative. In Death Stranding, connecting the Junk Dealer, Chiral Artist’s Studio, and South Knot City creates a vital logistical triangle that bypasses some of the area's most frustrating terrain. Getting this layout right will save you hours of trudging through MULE-infested chasms and navigating the crater lake's shores.
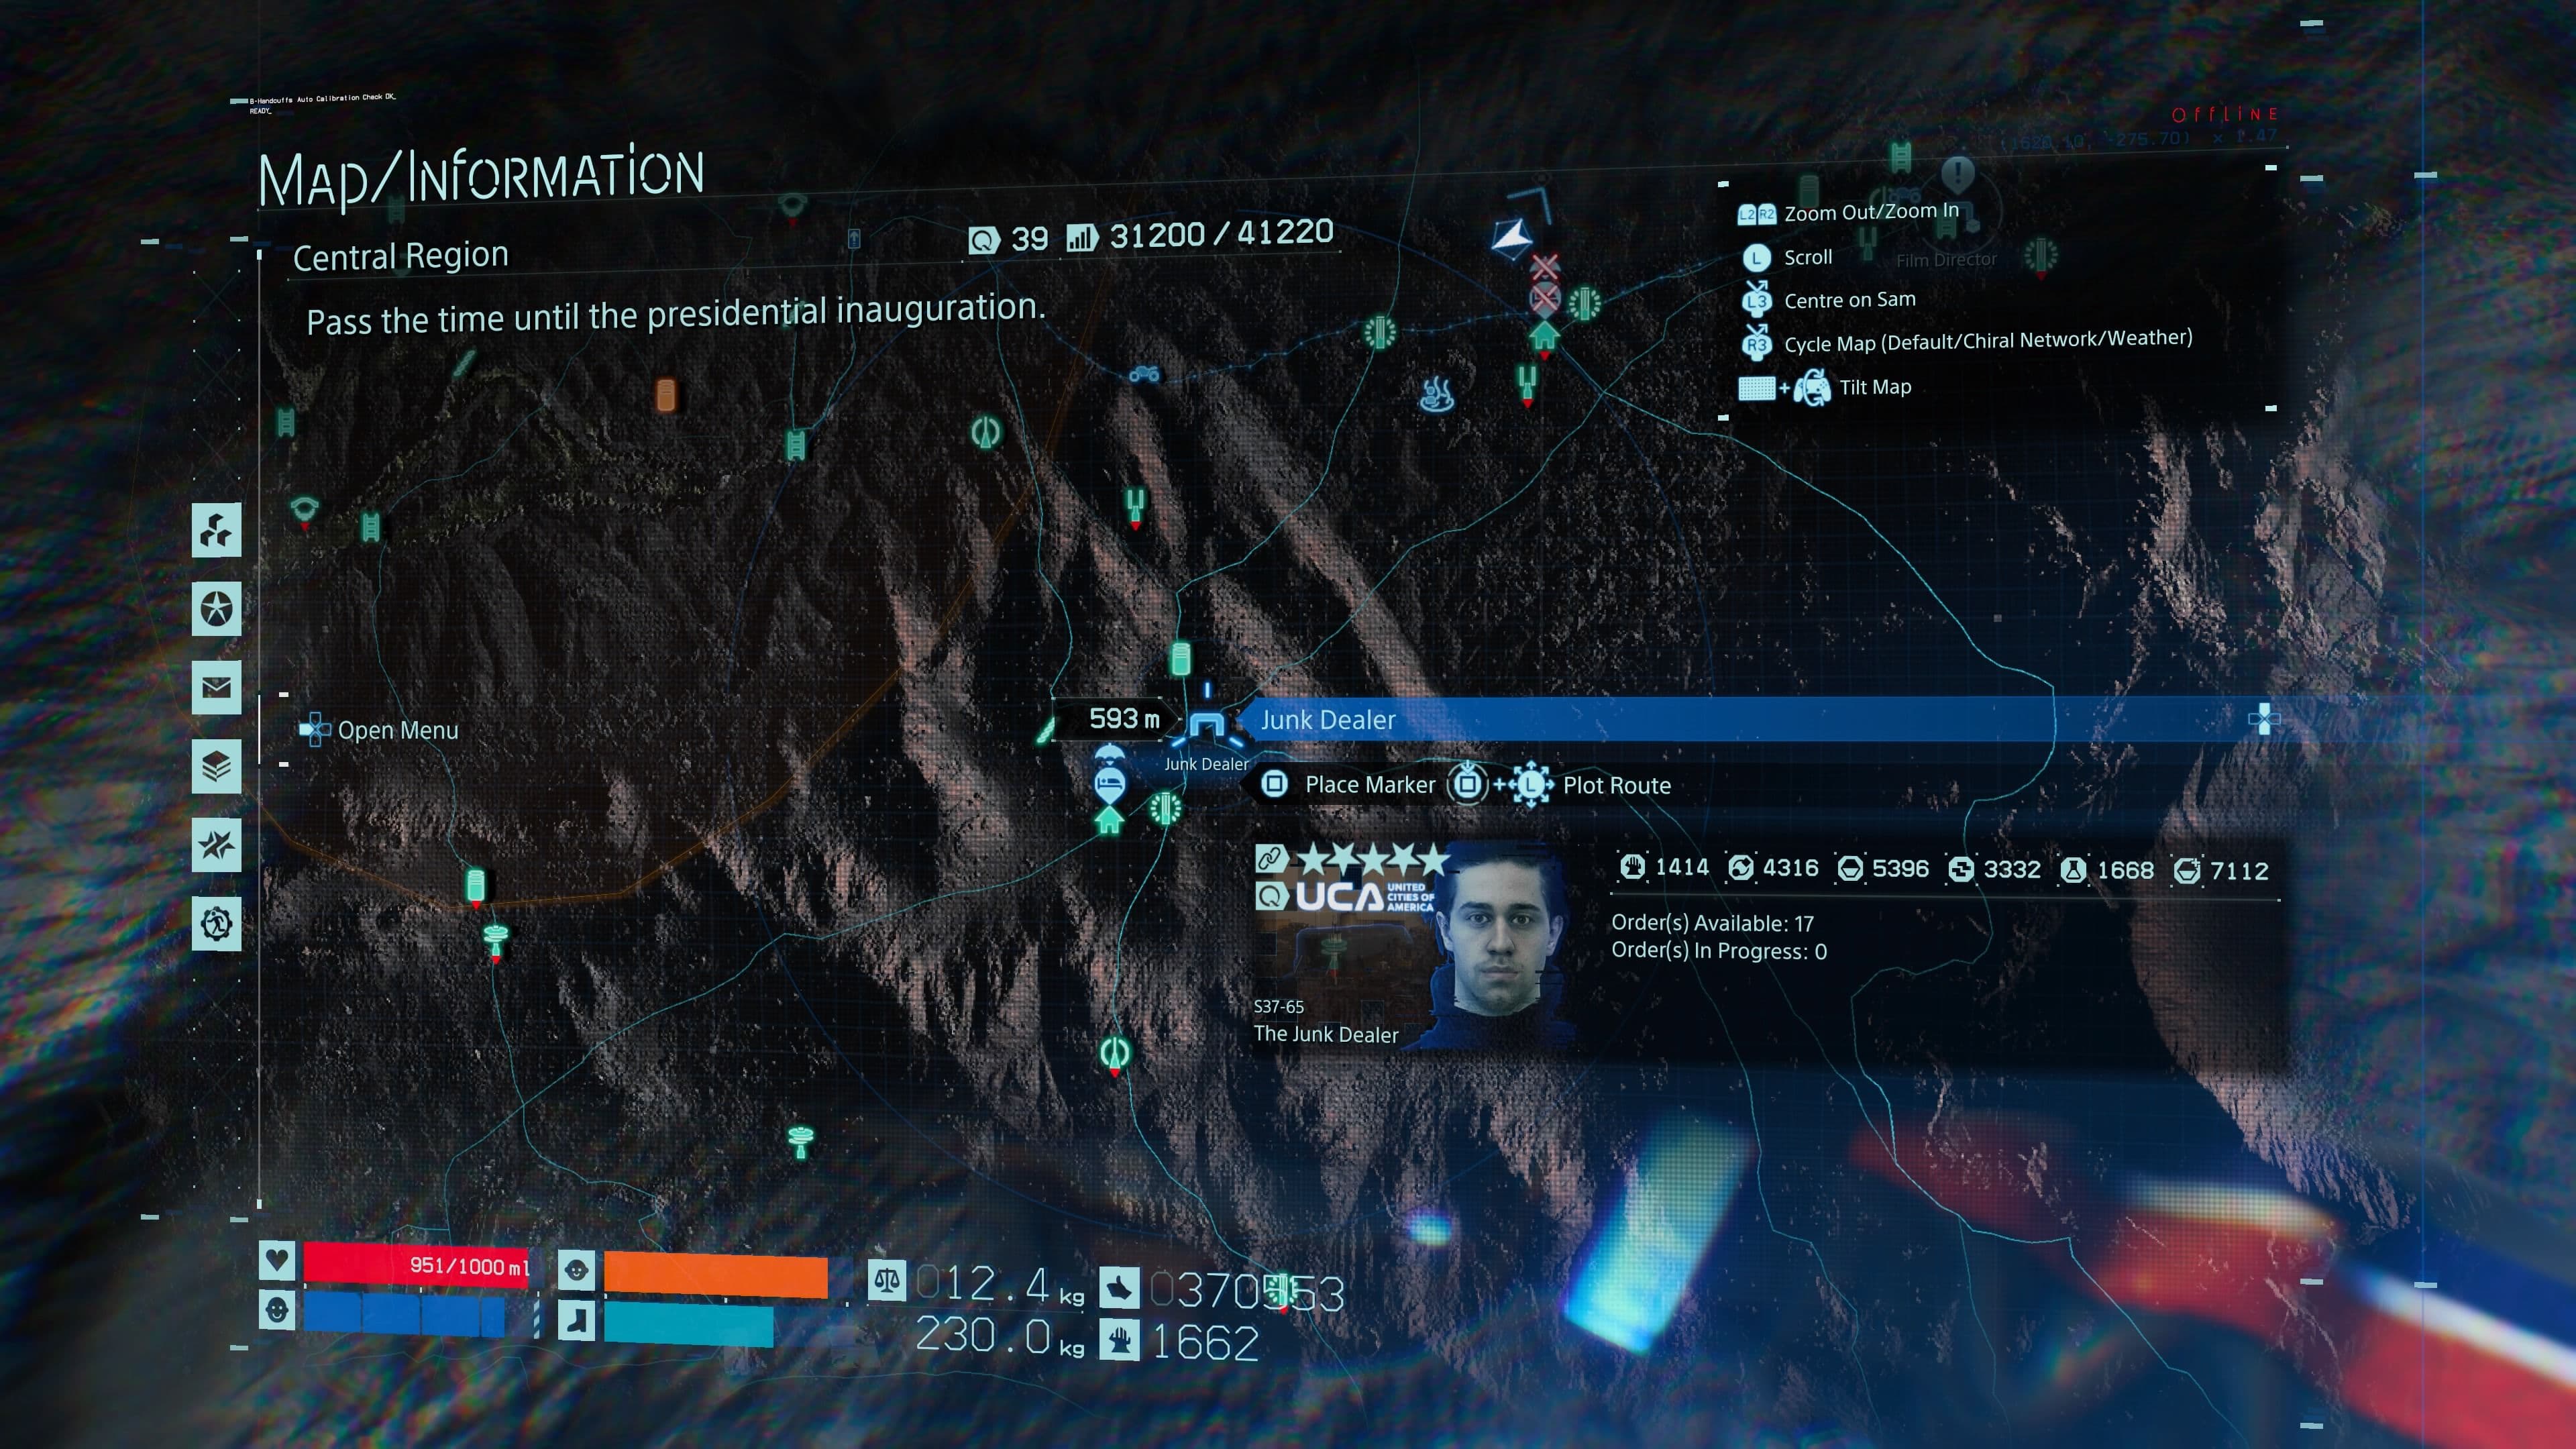
The Junk Dealer's shelter location.
Anchor Placement Strategy
The key to efficiency here is strategic, high-elevation placement. Always place your Junk Dealer anchor right at the shelter entrance on the high ground, not down in the chasms of the surrounding MULE territory. This gives you a commanding starting point. For the Chiral Artist’s Studio, aim for the western beach of the crater lake near her door. The most reliable path between these two points is to arc your line over the high ridge to the west, using the elevation to maintain the 300m (or 350m with upgrades) range.
Before building, use your map’s topography view to scout the highest ridge point between the Junk Dealer and the Chiral Artist. Placing an anchor on that peak or ridge maximizes line-of-sight and effective range, often letting you connect them in a single, clean jump.
From the Chiral Artist’s Studio, your next target is South Knot City. Place your final anchor at the main terminal entrance for a safe, convenient dismount. The terrain south of the crater lake is relatively open, but you can still gain an advantage by placing your studio anchor on the highest nearby rock formation to shoot a longer, straighter line toward the city.
Navigating Threats from Above
This route’s greatest benefit is how it lets you completely avoid ground-level dangers. By establishing aerial routes over spectral territories, you can glide past BT zones that would otherwise force a tense stealth sequence or a messy fight. The same principle applies to the MULE camps near the Junk Dealer—your zipline turns a high-risk area into a scenic overlook.
⚠️ Watch out: Always test the connection from both directions. An anchor might connect from A to B but not from B to A if there’s a slight obstruction. Ride the line back after placing it to be sure.
With these three key locations linked, you’ve built the backbone of a delivery superhighway. This triangle becomes a hub you can extend to the Distribution Center South of Lake Knot City, the Weather Station, and beyond, turning the entire southern Central Region into your personal express network.
Best Zipline Upgrade Path and Bandwidth Management
So you’ve got the basics down and your first zipline anchors are up—but in Death Stranding, a basic network will only get you so far. This is where smart upgrades and bandwidth discipline turn a handy travel tool into a game-changing aerial highway. Let’s optimize your system so you can glide past every obstacle.
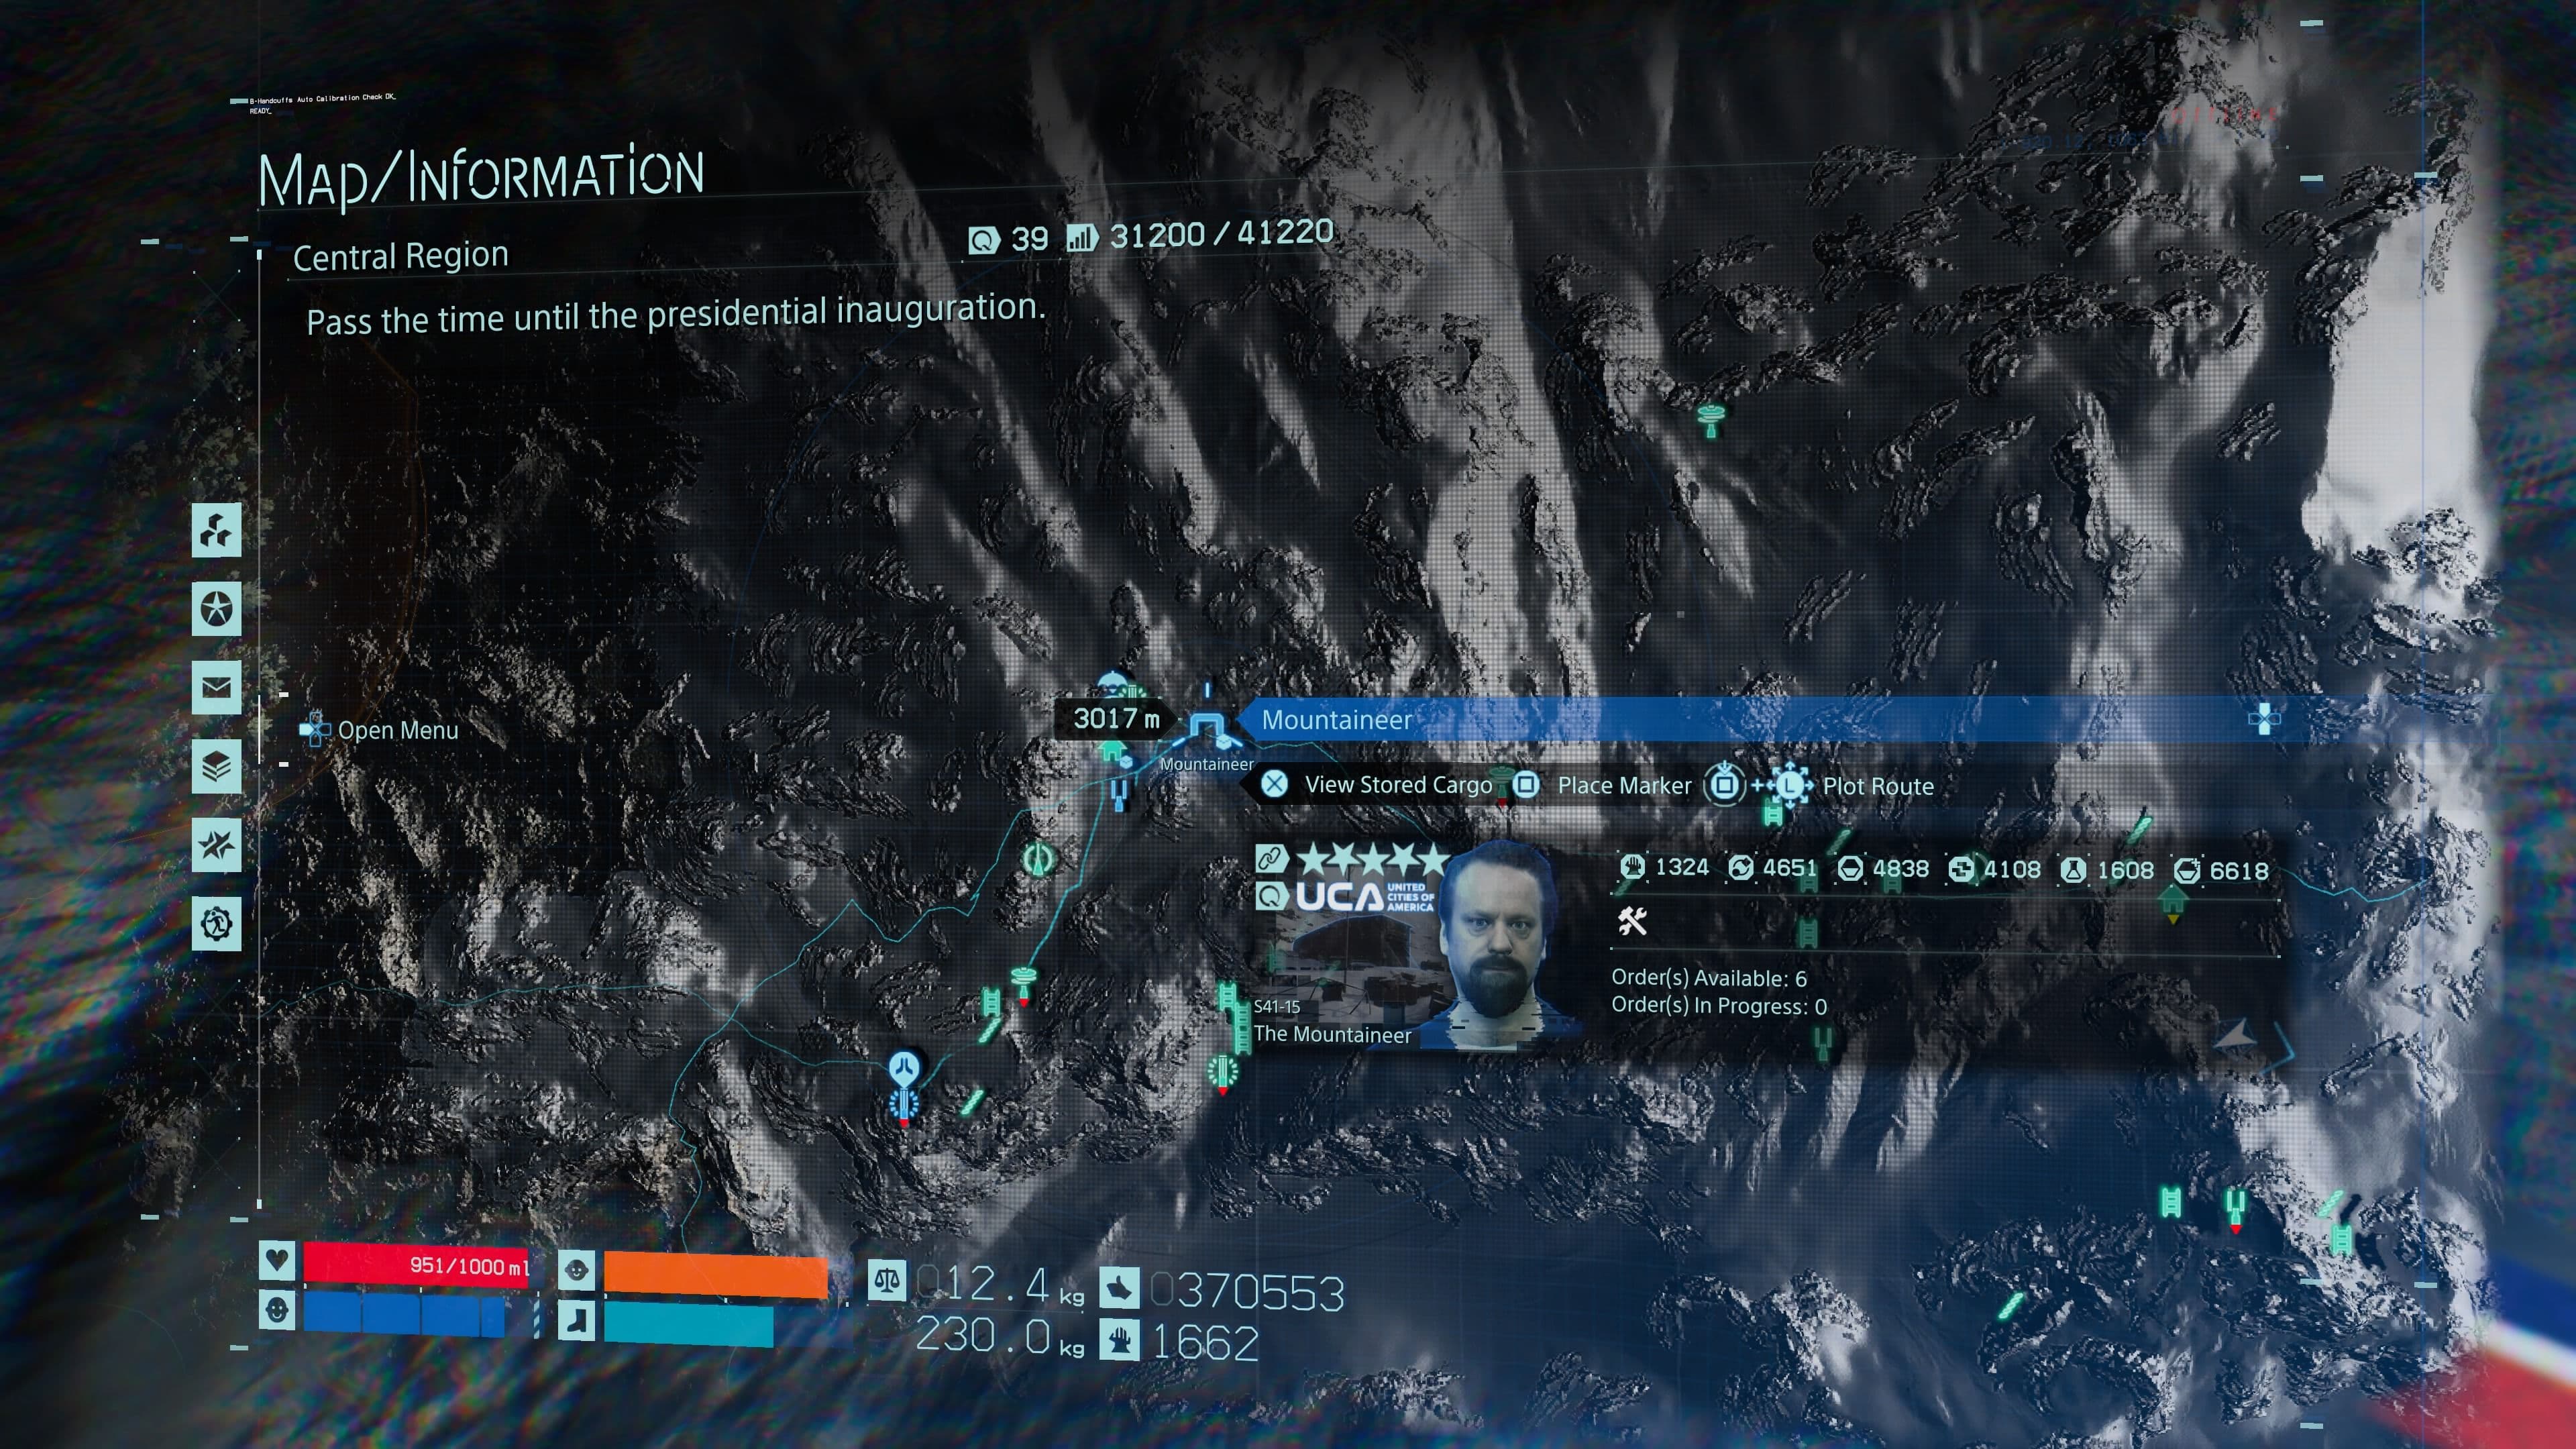
Connecting the Mountaineer requires efficient Level 2 zipline upgrades.
Prioritize Your Level 2 Upgrades
Your first goal should be upgrading key anchors to Level 2. This boost extends a single zipline’s range from 300 meters to 350 meters, and dramatically increases its resistance to Timefall decay. The upgrade cost is 240 Chemicals and 480 Special Alloys—a significant but worthwhile investment.
Here’s the trick most guides miss: you don’t need to upgrade every single anchor. Instead, adopt an alternating upgrade strategy. Upgrade every other anchor in a chain to Level 2. This maintains the efficient 350-meter spacing needed for continuous travel while conserving your precious Special Alloys and Chemicals for other projects. Focus these upgrades on anchors in harsh environments (like the snowy Mountain Region or heavy Timefall zones) first, as they degrade the fastest.
The Hub-and-Spoke Layout for Maximum Efficiency
Building a fragile, single-file line of ziplines is asking for trouble—if one anchor breaks, your entire route is dead. Instead, build using a hub-and-spoke layout. Choose a central, high-elevation location—like the peak near the Weather Station or a ridge above Lake Knot City—and place multiple anchors there. From this hub, run individual spokes out to key destinations like the Junk Dealer, Chiral Artist’s Studio, and South Knot City.
This design gives you redundancy; if one spoke is damaged, the others remain functional, and transfers at the central hub become predictable and easy. It also makes repairs more efficient, as you can service several routes from one location.
Integrate Community Structures to Save Bandwidth
This is your most powerful bandwidth-saving tool. On your map, player-built structures you encounter appear in green. You can use these at zero cost to your personal Chiral Bandwidth. Before you place an anchor, always scan the horizon and check your map. If you see a green zipline tower within ~300 meters, use it! Building your own anchor right next to an existing one is a massive waste of your limited 500 bandwidth per zipline.
When planning a new route, take a quick scouting trip on foot or by vehicle first. Mark any useful green structures you find. This can save you thousands of bandwidth and hours of material farming.
Managing High-Cost Upgrades and Bandwidth Caps
For the ultimate, near-indestructible network in the toughest areas, you can pursue Level 3 Ziplines. This top-tier upgrade costs 300 Chiral Crystals, 1440 Chemicals, and 1440 Special Alloys. It’s a massive resource sink, so reserve it only for absolute critical anchors in permanent Timefall or those impossible-to-repair mountain peaks.
If you hit your bandwidth cap (and you will), don’t panic. Open your map, hover over any of your own blue structures that are redundant, obsolete, or rarely used, and hold [Triangle] to dismantle them remotely. This instantly frees up bandwidth without a dangerous trek. Remember, you can only dismantle your own builds; green community structures don’t affect your limit.
By strategically upgrading every other anchor, adopting a hub-and-spoke design, and leaning on the community’s green builds, you’ll create a robust network that stretches further, lasts longer, and leaves you plenty of bandwidth for the other essential structures you’ll need. Now you’re not just building ziplines—you’re engineering an infrastructure.
Death Stranding Zipline Network Rewards and Efficiency Benefits
This is the payoff. After all the planning, building, and upgrading, your zipline network in Death Stranding transforms from a project into your greatest asset. Here’s what a completed, well-maintained system delivers—and how to keep it running forever.
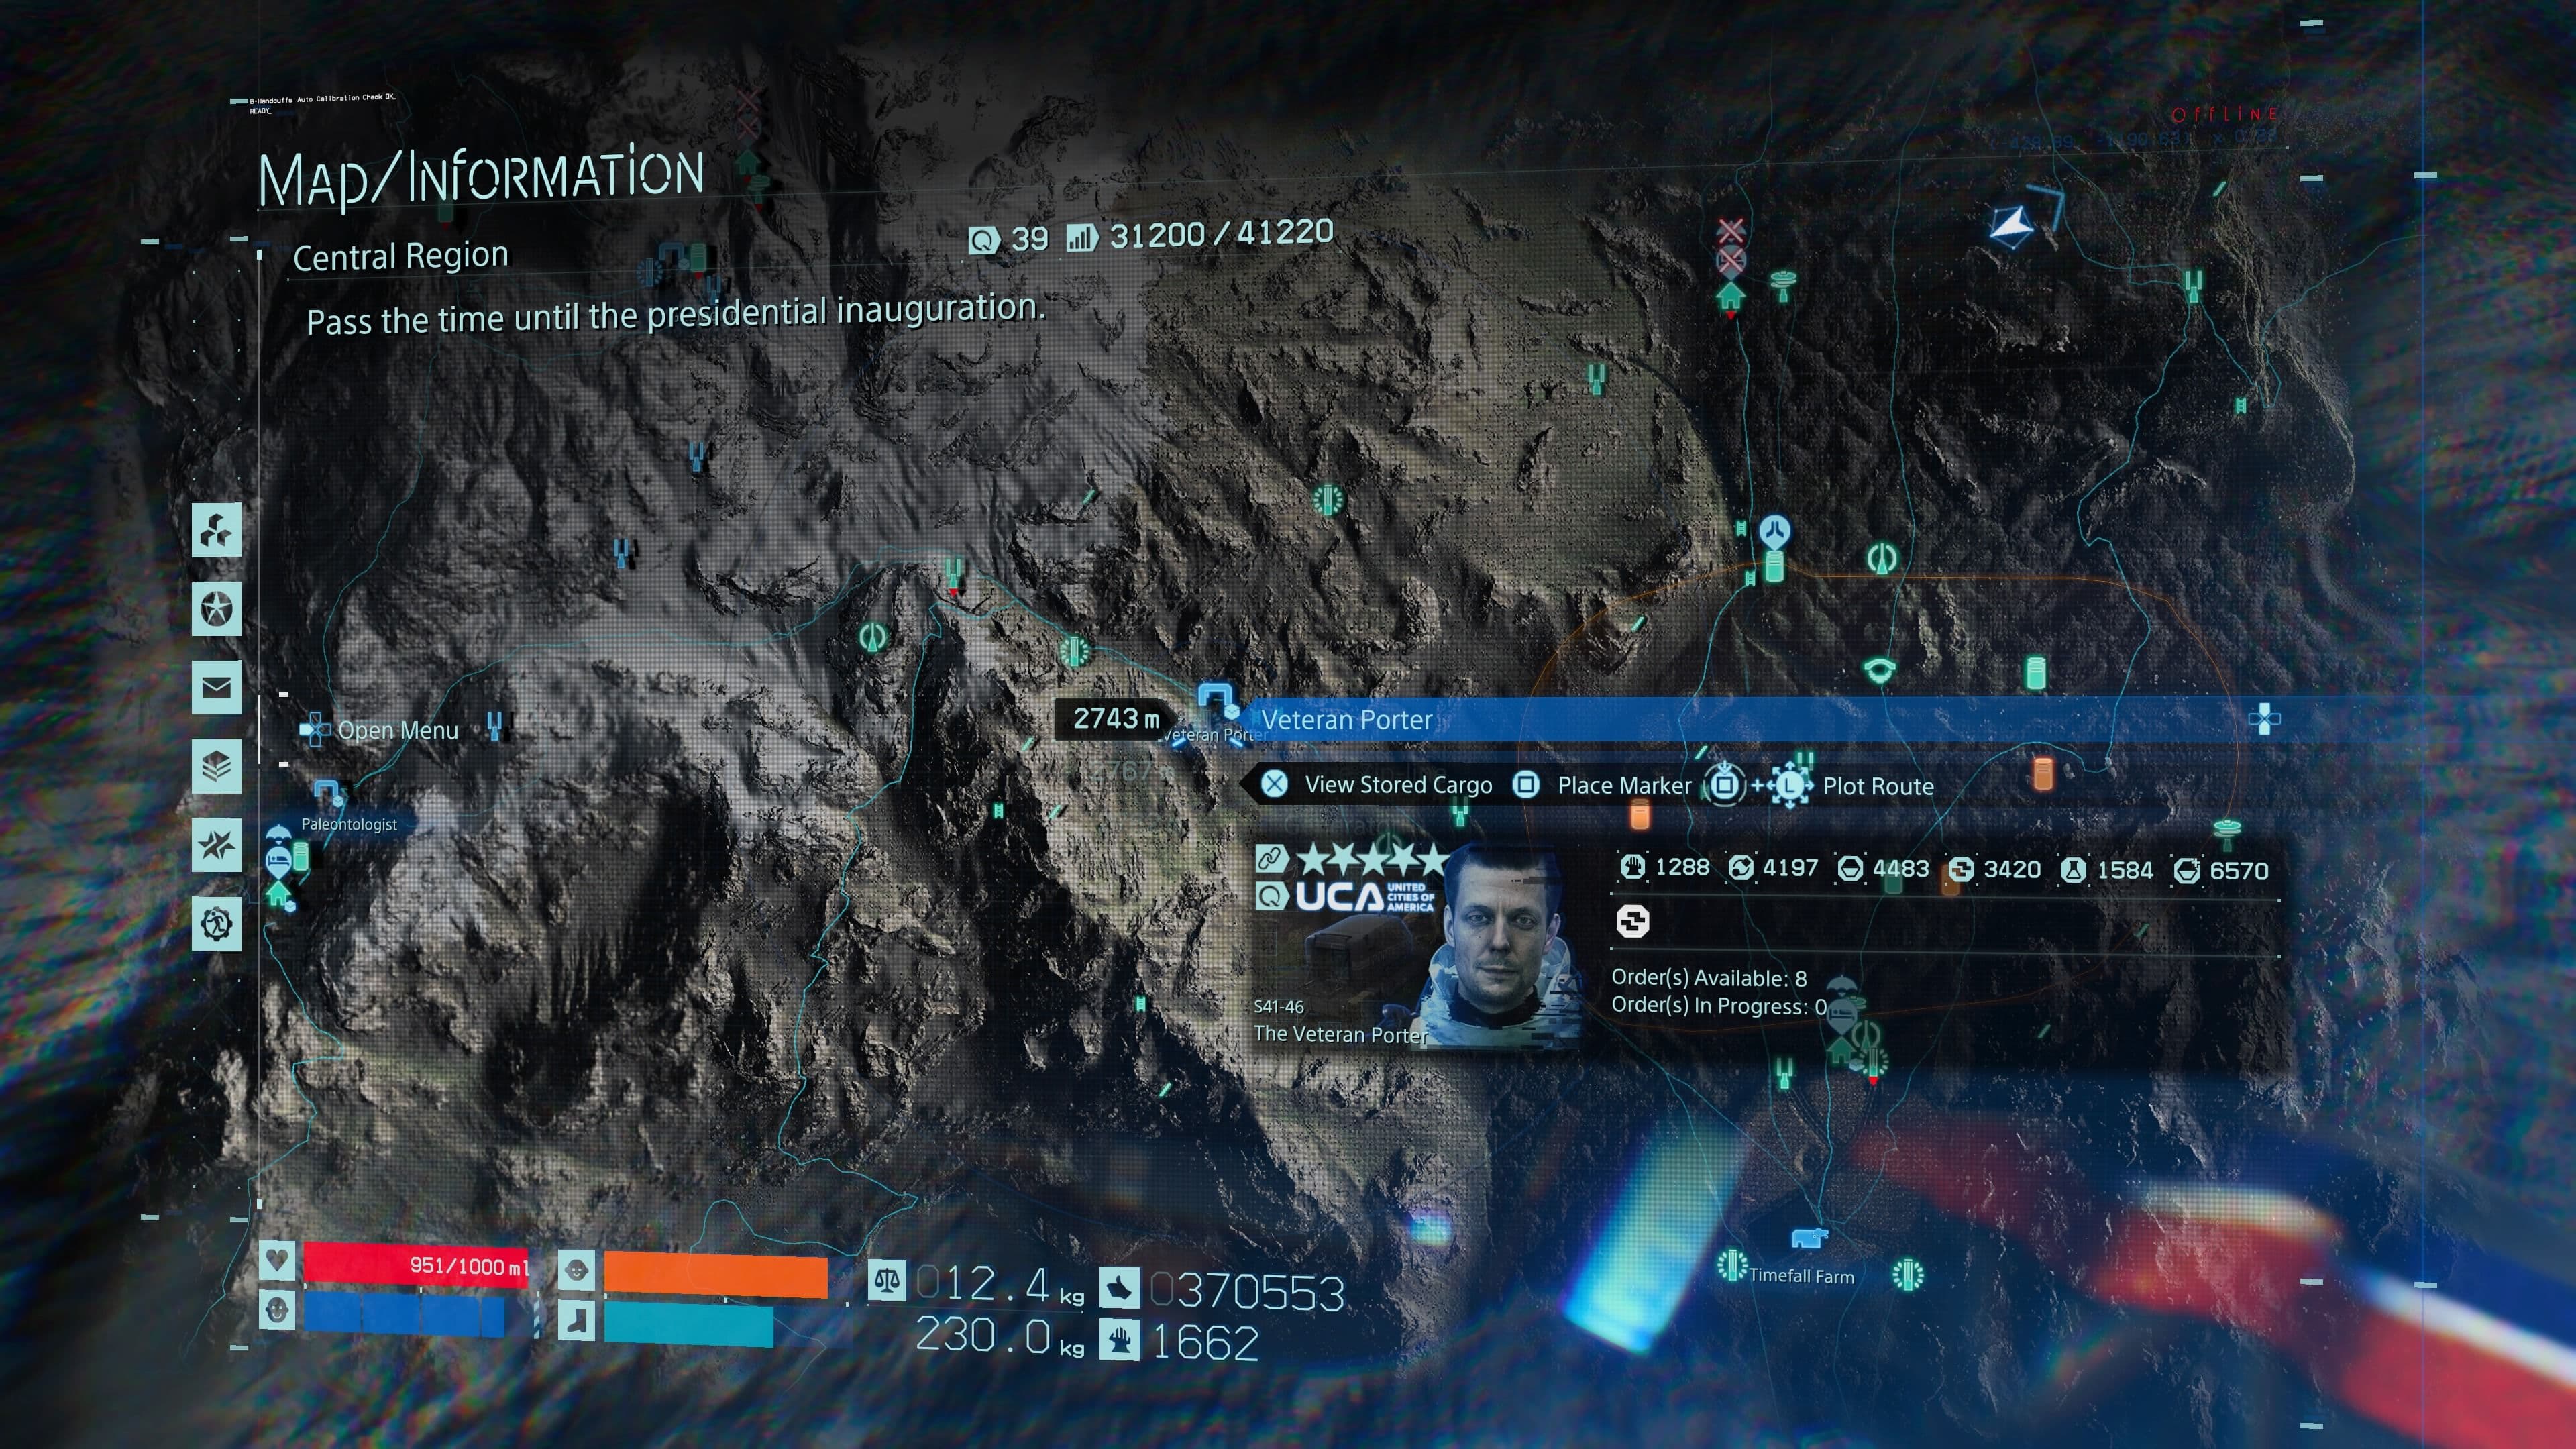
The Veteran Porter is a vital destination for efficient mountain networks.
Your Network’s Core Rewards
A functional network isn't just about convenience; it fundamentally changes the game's economy. The most significant reward is the passive growth of your Bridge Link Level. Every time another player uses one of your useful anchors, you earn Likes. This isn't just a vanity metric—a higher Bridge Link Level directly increases the quantity and quality of shared structures that appear in your world, creating a positive feedback loop where your helpful builds attract even more helpful community support.
The efficiency gains are staggering. Routes that once took 30 minutes of treacherous hiking become 90-second commutes. You bypass entire BT territories and MULE camps, delivering cargo in pristine condition for maximum Likes. This speed lets you complete Premium Deliveries and five-star facility connections with ease, which in turn grants you the Chiral Bandwidth to expand your network even further.
To fuel your upgrades, farm Chemicals efficiently by delivering S-rank orders to the Spiritualist. She rewards 600 Chemicals per high-quality run, making those costly Level 3 upgrades much more attainable.
Long-Term Maintenance and Management
Your structures are not permanent. They suffer from Timefall Degradation, slowly losing durability when exposed to the rain. You can repair any structure, including ziplines, by using your PCC on it or donating repair materials directly. However, the shared nature of Death Stranding means that if other players use and like your routes, the network's auto-repair system will often maintain them for you, making durable, popular routes surprisingly low-maintenance.
Bandwidth management is an ongoing task. Even with a maxed-out network, be strategic. A smart final practice is to always maintain a Bandwidth Buffer—reserve about 20% of your total capacity for emergency builds. You never know when you'll need to quickly drop a Generator on a remote peak or a Postbox to stage cargo for a tricky delivery. If you do hit your cap, remember you can dismantle any of your own obsolete structures directly from the Map screen to free up space instantly.
With a completed network, you’ve woven yourself into the very fabric of the Chiral Network. You’re not just making deliveries; you’re sustaining the infrastructure that makes every Porter’s journey possible. Keep on keeping on.