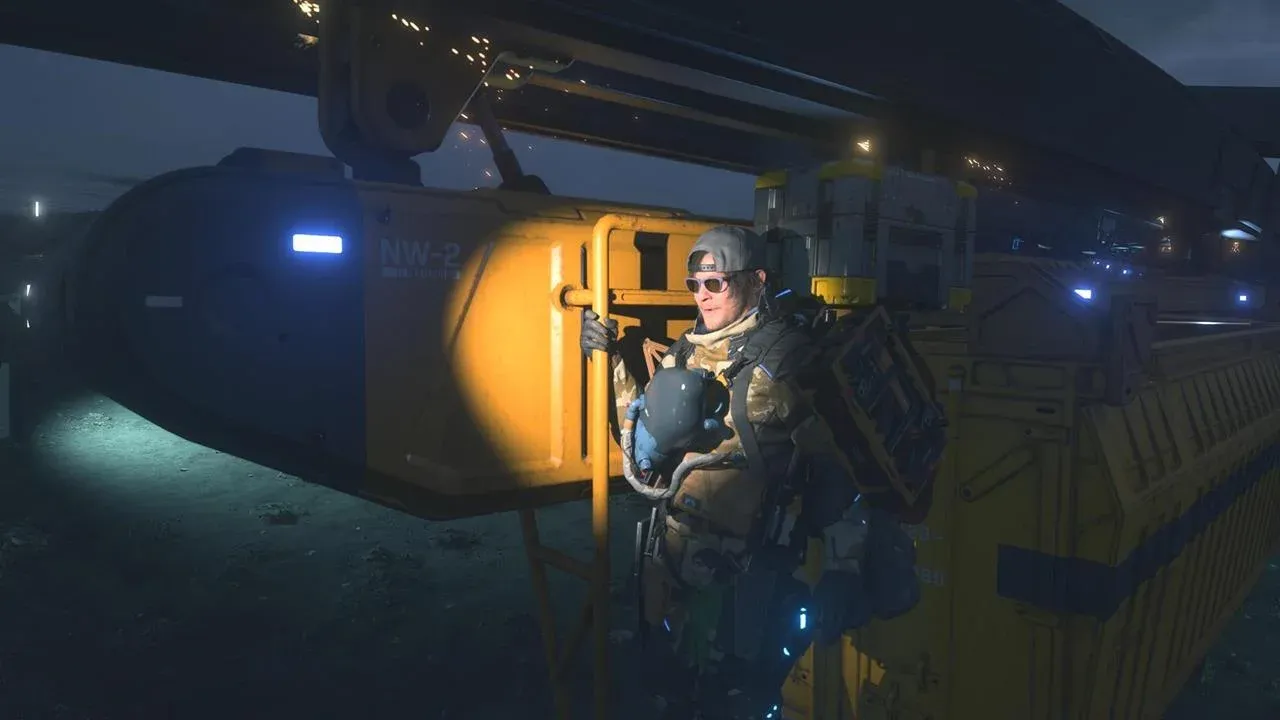
How to Unlock the Monorail in Death Stranding 2
The monorail in Death Stranding 2 is the ultimate game-changer, transforming your lonely treks into a streamlined logistics network. But this powerful system isn't just handed to you—you'll need to fight for it. Here’s how to trigger the unlock sequence.
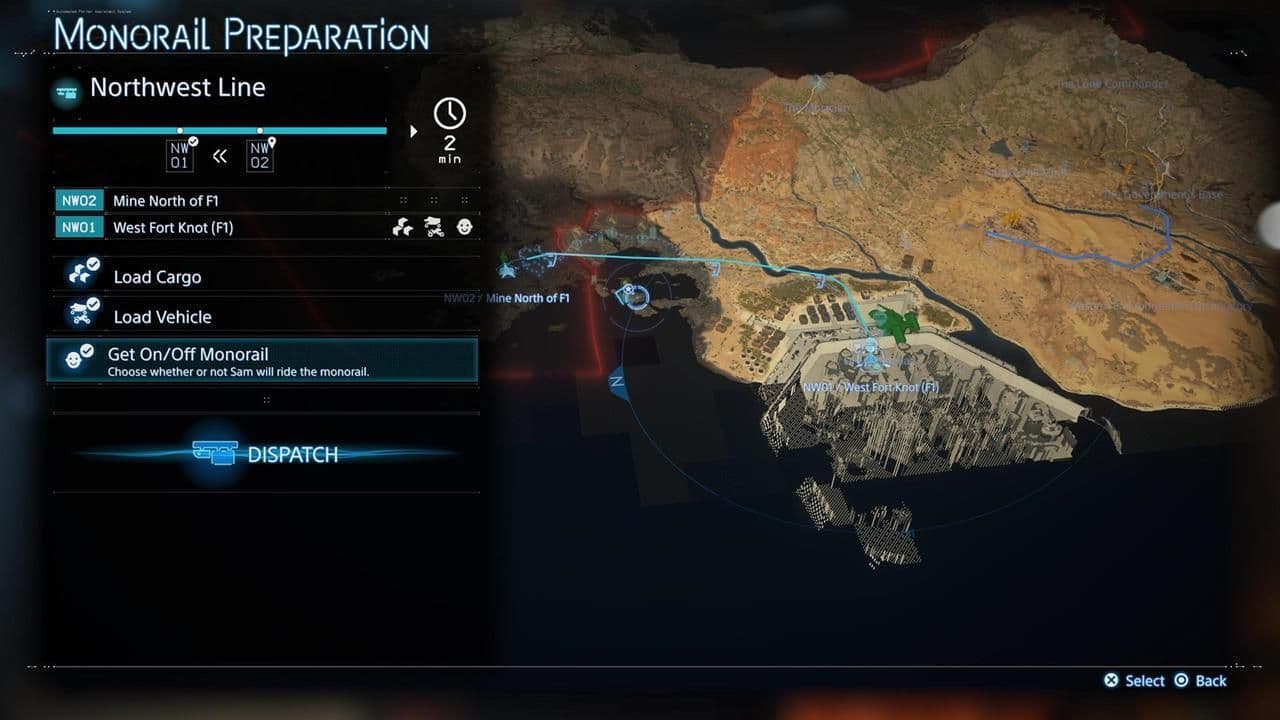
The monorail network map showing key routes and resource requirements.
Your journey to the rails begins with Order 12: Investigate Unusual Tar Currents Near F1. This is the critical story mission that kicks everything off. Head to Sector F1 in the central region and prepare for a significant encounter. Trust me, this isn't a standard delivery run.
Upon reaching the tar pits in Sector F1, you'll face the formidable Mecha BT boss. This fight is the gatekeeper to your monorail dreams. The strategy is to keep your distance, use [R2] to fire your anti-BT weapons, and be ready to dodge its lunges with [L]. Defeating this boss is non-negotiable—it's the key that advances the narrative and sets your next objective in motion.
After the dust settles, you'll have conversations with the settlement leader and Fragile, the leader of Drawbridge in Sector F1. She provides the crucial narrative context for what comes next. The following day, you'll receive your new directive: restore power to the northern mine. This is your ticket to the monorail.
Before you rush to the mine, take some time to farm Chiral Crystals. You’ll need a hefty amount later, and gathering them now from BT zones near Sector F1 will save you a major headache.
With the boss defeated and your orders clear, you've completed the essential prerequisites. The path to the monorail is now open, leading you north to the mine facility. Let's get those rails running.
How to Restore Power to the Northern Mine in Death Stranding 2
Alright, you’ve beaten the Mecha BT and survived the tar. Now, in Death Stranding, the real logistical marathon begins: restoring power to the Northern Mine Facility. This is your next critical step toward unlocking the monorail, and it’s all about gathering and moving a mountain of resources.
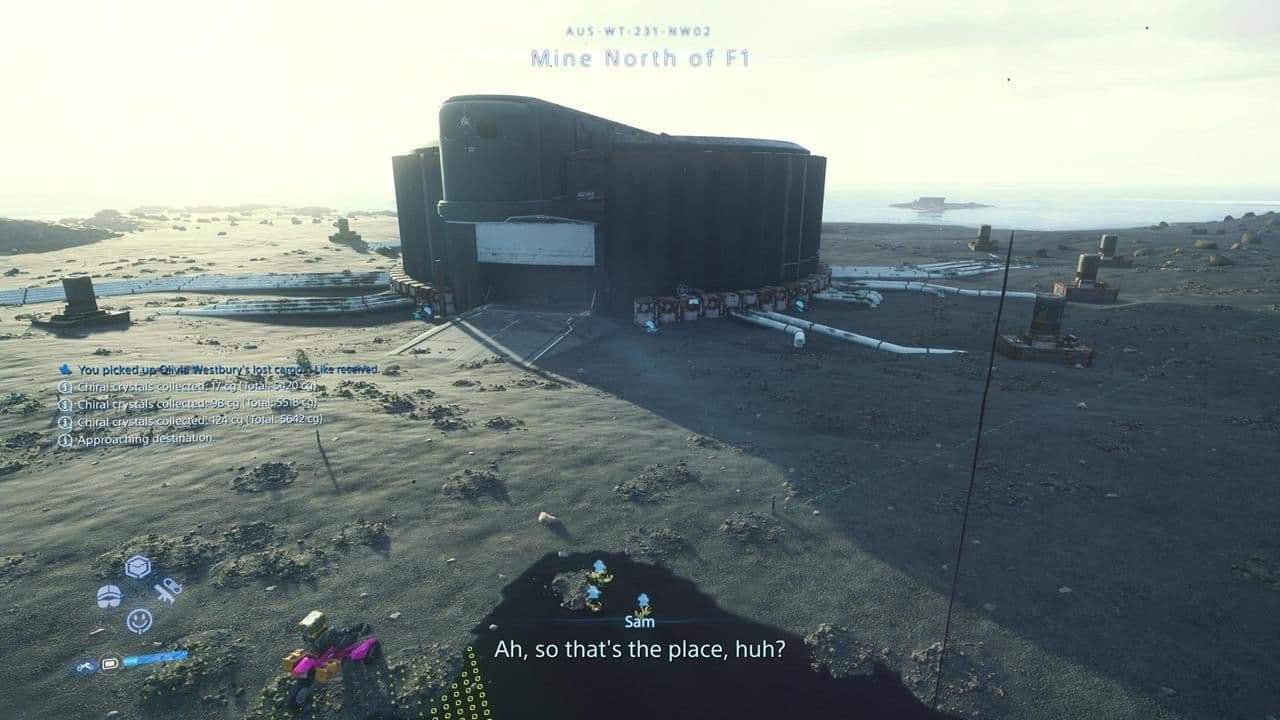
A monorail station node ready for resource activation.
After your debrief at the F1 settlement, you’ll be tasked with heading due north of the facility. Your destination is the Northern Mine Facility in Sector F1, which involves a trek across a couple of river systems. The good news? The path is free of enemy encampments, so you can focus on the journey and the heavy haul.
Before you set out, you need to load up your vehicle at the F1 facility. You’ll require two specific cargo types: Resins and Special Alloys. These are the raw materials needed to jump-start the mine’s systems. Load them up onto your Tri-Cruiser or a heavy-duty truck—this isn’t a trip for a floating carrier.
If you’re short on Resins or Special Alloys, check the F1 facility terminal for local delivery orders. Completing a few quick jobs here can stock you up fast without venturing far.
The most crucial resource, however, is one you carry personally. You must have at least 2,000 Chiral Crystals in your own inventory. This is the non-negotiable key to the whole operation. If you’re starting from zero, farming these can take 45-60 minutes. The most efficient method is to revisit BT zones you’ve already cleared; you can often harvest a few hundred crystals from the lingering chiralium without triggering another boss fight. You can also find clusters outside the mine itself once you arrive.
Once you navigate the rivers and arrive at the Northern Mine Facility, head inside to find the Mine Terminal Interface. Here’s where you cash in. First, you’ll donate the Resins and Special Alloys you transported. Interact with the terminal, use [Square] to select the items from your vehicle’s cargo, and press [X] to donate them. This initial donation primes the system.
Next, the “Mine” option will light up. Select it, and you’ll be prompted to donate your 2,000 Chiral Crystals. This hefty donation is the final spark that restores power to the facility. In return, the terminal will reward you with a whopping 4,800 Special Alloys—the essential building material for the monorail segments you’ll construct later.
With the mine now humming with power, you’ve successfully completed the restoration. You’re holding the motherlode of Special Alloys and are perfectly positioned for the next phase: building your first monorail link and automating your logistics. Let’s get that network running.
Best Strategies for Monorail Resource Exchange and Construction
With your Monorail unlocked and the Northern Mine Facility powered up, the real work begins. In Death Stranding, this is where logistics become an art form. You've got the keys to the kingdom—now you need to build the kingdom itself.
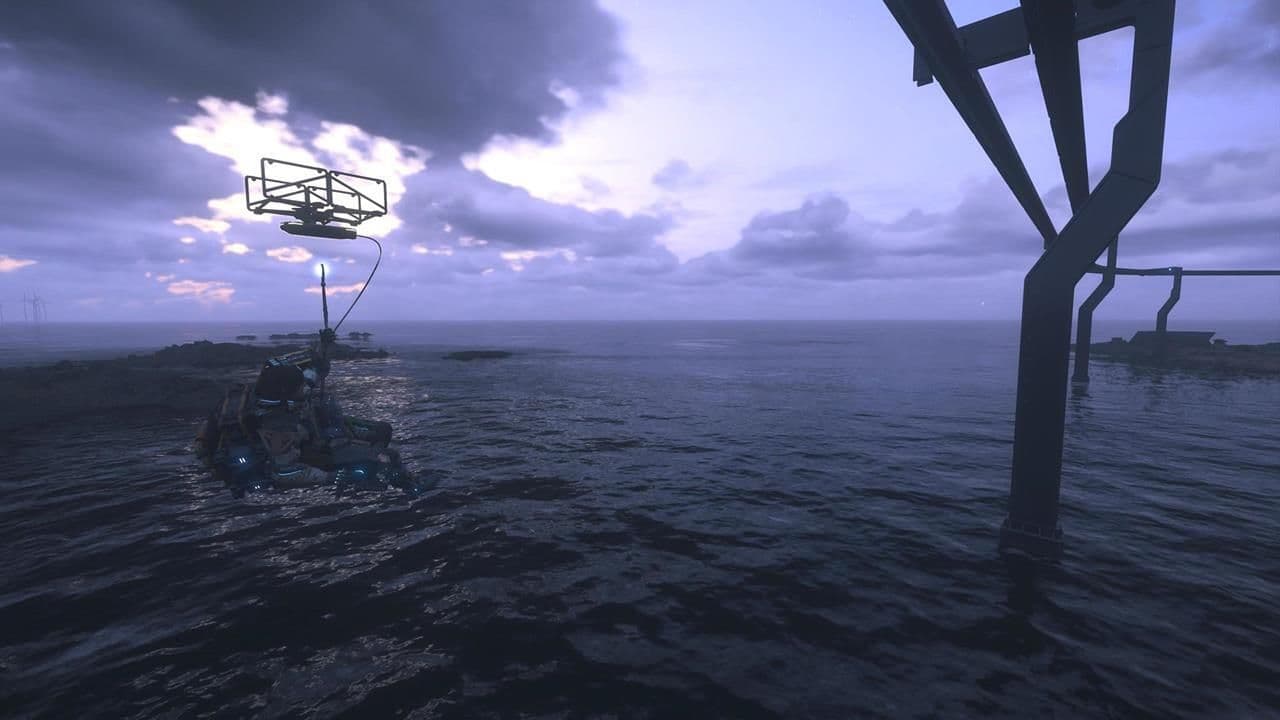
Operational monorail transport cart crossing coastal terrain.
The core of your construction effort hinges on a critical resource exchange at the mine. Inside, interact with the terminal and select the ‘Mine’ option. This is where you trade your hard-earned 2,000 Chiral Crystals for the building blocks of the future. Press [X] to donate your crystals, and in return, you’ll receive a massive payout of 4,800 Special Alloys.
Don't leave those 4,800 Special Alloys sitting at the mine. Your first construction project is getting them to a hub. This initial haul is non-negotiable for building your first rail segments.
This is your first major logistics puzzle. You need to transport thousands of kilos of materials, and the Monorail is your only solution. Here’s the exact sequence to dispatch your first shipment from the Mine Station:
- At the terminal, select ‘Load Cargo’ and place all the Special Alloys into a container.
- Select ‘Load Vehicle’ and load your Tri-Cruiser (or any transport vehicle) into another container.
- Finally, choose ‘Get On/Off Monorail’ and select ‘Dispatch’.
This sends the Monorail, with Sam clinging to its side, on its maiden voyage to the West Fort Knot Facility, your primary hub for the early network. Trust me, watching that first automated run succeed is a uniquely satisfying Death Stranding moment. You’ve just turned a pile of crystals into a supply line.
Now, about those 4,800 Special Alloys: they are the essential material for building rail segments. Think of them as the steel girders of your network. While other resources like Metals and Ceramics are vital for maintaining roads, Special Alloys are the currency for Monorail construction. You’ll use them at damaged rail junctions and new construction sites to physically expand your reach across the wasteland.
This phase can feel overwhelming—don’t panic. Your goal isn't to build the entire continent-spanning network in one go. Focus on that first successful run to West Fort Knot. Once you’ve mastered the dispatch mechanic and secured your initial alloy stockpile, you’ve laid the literal groundwork. From here, every new rail segment you build makes the next delivery easier, creating a loop of efficiency that will redefine how you traverse the game. Let's get building.
How to Optimize Chiral Bandwidth in Death Stranding 2
Think of Chiral Bandwidth in Death Stranding 2 as the foundation of your entire infrastructure network—it’s the invisible resource cap that determines how much you can build in any connected region. Hitting this limit can feel like hitting a wall, stopping your zip-line network or safehouse construction dead in its tracks. But mastering it transforms you from a struggling porter into a logistics architect, weaving the landscape together with your own designs.
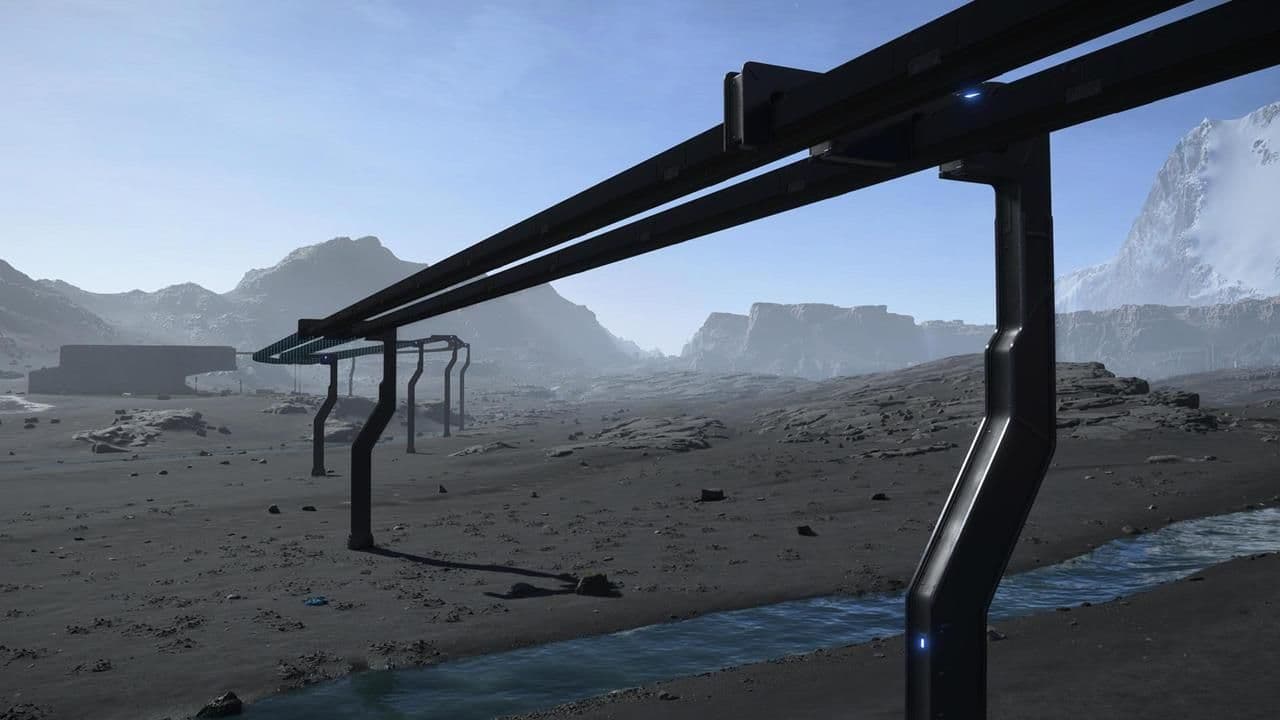
Long-distance tracks require careful planning of Chiral Bandwidth allocation.
The core mechanic is straightforward: every structure you build consumes a slice of your personal Chiral Bandwidth. Smaller items like a Postbox cost around 200 bandwidth, while a Watchtower is about 250. The real budget-eaters are essential tools like Timefall Shelters and Zip-lines, each costing roughly 500 bandwidth, and massive projects like a fully-upgraded Safehouse can soar over 2,500. This isn't just about placing a single ladder; it's about strategically funding an entire regional network.
Before you place any structure, the game shows its bandwidth cost. Get in the habit of checking this every single time—it prevents that frustrating moment when you’re one zip-line short of connecting a crucial route.
So, how do you raise this crucial cap? Your primary method is leveling up facility star ratings. Each facility, from a major distribution center to a remote prepper, has a connection level that maxes out at five stars. By completing deliveries for them—especially Premium Orders—you earn Likes. These Likes fill the facility’s star meter, and every time you increase a star level, you receive a permanent boost to your available Chiral Bandwidth for that region. Deliver cargo quickly and in perfect condition to maximize your Likes and speed up this process.
Some facilities offer more than just bandwidth; they unlock the tools that make managing it all possible. A key stop is The Engineer, located in the game's central region. This NPC provides critical backpack frames and bot upgrades that revolutionize your logistics, allowing Companion Bots to handle material transport and parallel deliveries. This frees you up to focus on the high-value missions that boost facility connections the fastest.
Even with careful planning, you will eventually hit your bandwidth limit. When that happens, it’s time for some spring cleaning. Open your map, highlight a structure you no longer need, and hold the [Options] button to delete it. This structure deconstruction immediately frees up the bandwidth it was using. A word of caution: this action does not refund any of the materials you used to build it, so be sure a structure is truly obsolete before you dismantle it.
The ultimate strategy is a cycle of expansion and optimization: deliver to raise stars and increase your bandwidth, then spend that new capacity on smarter, more efficient builds. Upgrade a zip-line to reach farther instead of building two. Rely on community-built structures whenever possible, as they don't touch your personal bandwidth. Delete old watchtowers once an area is mapped. With this mindful approach, your Chiral Bandwidth stops being a restrictive limit and becomes the blueprint for your own seamless, interconnected America.
Best Monorail Routes and Automated Transport Tactics
Now that you’ve built your Monorail network in Death Stranding, the real magic begins. This is where you transition from a solitary porter into a logistics master, setting up automated supply lines that work for you, even while you’re off exploring. Let’s map out the most efficient routes and integrate every tool at your disposal.

Atmospheric environments in Death Stranding.
Setting Up Your First Automated Lines
Your primary goal is to automate the movement of bulk resources. Head to any active Monorail Station—like the one at the northern mine or West Fort Knot. Here, you can initiate Automated Cargo Transport. Load thousands of kilograms of materials like Special Alloys into a container, then select ‘Load Vehicle’ to place your Tri-Cruiser into another. Finally, choose ‘Get On/Off Monorail’ and press [X] Dispatch. The train will depart on its own, ferrying that massive load to your chosen destination without you needing to ride along.
Use these automated runs to stockpile construction materials at key outposts. Having a cache of metals and ceramics waiting for you at a distant facility turns a daunting building project into a quick task.
Integrating Zip-lines for Personal Speed
The Monorail network isn’t just for cargo—it’s also your personal express lane. Once you’ve repaired at least two connected Monorail Junctions, a new option opens up. Interact with a junction’s terminal and you’ll see the prompt for the Monorail Zip-line. Press [X] to zip instantly to the other connected junction. It’s the fastest way to traverse vast distances yourself, but remember: you can’t take a vehicle this way. The only cargo item allowed during Monorail zip-line transit is one Floating Carrier, which you can attach to Sam before you launch.
This is where smart Zipline Integration truly shines. Don’t just rely on the fixed network junctions. Use your PCC Lv. 2 to build your own independent zip-lines across tricky terrain, and deliberately connect the end of your line to a Monorail junction. This creates a seamless hybrid travel system: zip-line to the junction, then launch yourself across the region on the monorail line, or vice-versa.
Designing an Efficient Network
Think of your Monorail as the backbone and zip-lines as the circulatory system. Your most efficient routes often follow a hub-and-spoke model. Establish Monorail connections between major resource hubs and story-critical facilities—these handle the heavy lifting. Then, use zip-lines to create shortcuts from those stations to nearby preppers, shelters, or difficult-to-reach points of interest.
If you’ve ever felt overwhelmed charting a path through mountains or canyons, this combo is your solution. A well-placed zip-line from a remote prepper back to a Monorail junction effectively brings them into your fast-travel network, saving you hours of backtracking.
⚠️ Watch out: While other players' structures don’t cost you bandwidth, their zip-line placements might not align with your optimal routes. It’s often worth spending your own bandwidth to build a custom line that connects perfectly to your Monorail hub.
With your automated cargo trains running and a web of zip-lines linked to your rail junctions, you’ve fundamentally changed the game. You’re no longer just delivering packages—you’re conducting a symphony of logistics across the entire map.
Death Stranding 2 Monorail Network Rewards and Upgrades
You’ve built the tracks, optimized the routes, and mastered the bandwidth—now it’s time to reap the incredible rewards of a fully connected Monorail network in Death Stranding 2: On the Beach. This is where your logistical investment pays off, transforming the wasteland from a treacherous slog into a streamlined, humming circuit of supply and movement. Let’s break down the final benefits and the one constant threat you’ll need to manage: decay.
The ultimate payoff for linking multiple stations is the creation of a true Interregional Supply Chain. This isn’t just about moving a few boxes; it’s about enabling remote supply retrieval and the automated movement of thousands of kilograms of resources between distant facilities without your direct involvement. Once connected, the network functions independently, allowing you to schedule deliveries from a terminal and focus on exploration or other missions while your materials travel cross-country. This system is the backbone of efficient settlement development in the late game.
However, this high-tech network exists in a hostile world. The primary threat to all infrastructure, including your precious rails, is Timefall Degradation. This corrosive rain relentlessly lowers the durability of every structure over time. If left unchecked, a Monorail junction or a supporting road segment can become unusable, severing your hard-won connections. This is where community effort and smart maintenance come into play.
Your maintenance hubs are the Autopavers scattered along the road and rail network. These are your interaction points for repairs. When you approach one, you can press [X] to donate Metals and Ceramics directly. Your contributions here don’t just fix your world—they trigger community repairs and appear in other players’ games, collectively fighting back against the Timefall. It’s a constant, shared responsibility, but repairing a structure is always significantly cheaper than building it from scratch.
⚠️ Watch out: It’s easy to get excited about new areas and forget your old routes. Set a reminder to loop back and check on key junctions and Autopavers periodically. A little preventative maintenance saves a huge repair bill later.
To build the most advanced support structures for your network, you’ll need the PCC Level 2. This upgraded tool is unlocked by reaching a Level 1 Connection with the Weather Station. Once you have it, you can construct Cargo Catapults for launching cargo over impassable terrain and Chiral Bridges for creating stable pathways. These are bandwidth-intensive but transformative, allowing you to design incredibly efficient routes that feed directly into your Monorail stations.
So, what’s the final takeaway? Your Monorail network is a living system. It rewards your effort with unparalleled logistical freedom but demands vigilance against the environment. By connecting stations, maintaining Autopavers, and utilizing advanced tools like the PCC Level 2, you turn the daunting landscape of Death Stranding 2 into a web of possibilities you control. Now get out there and keep those supply lines flowing.