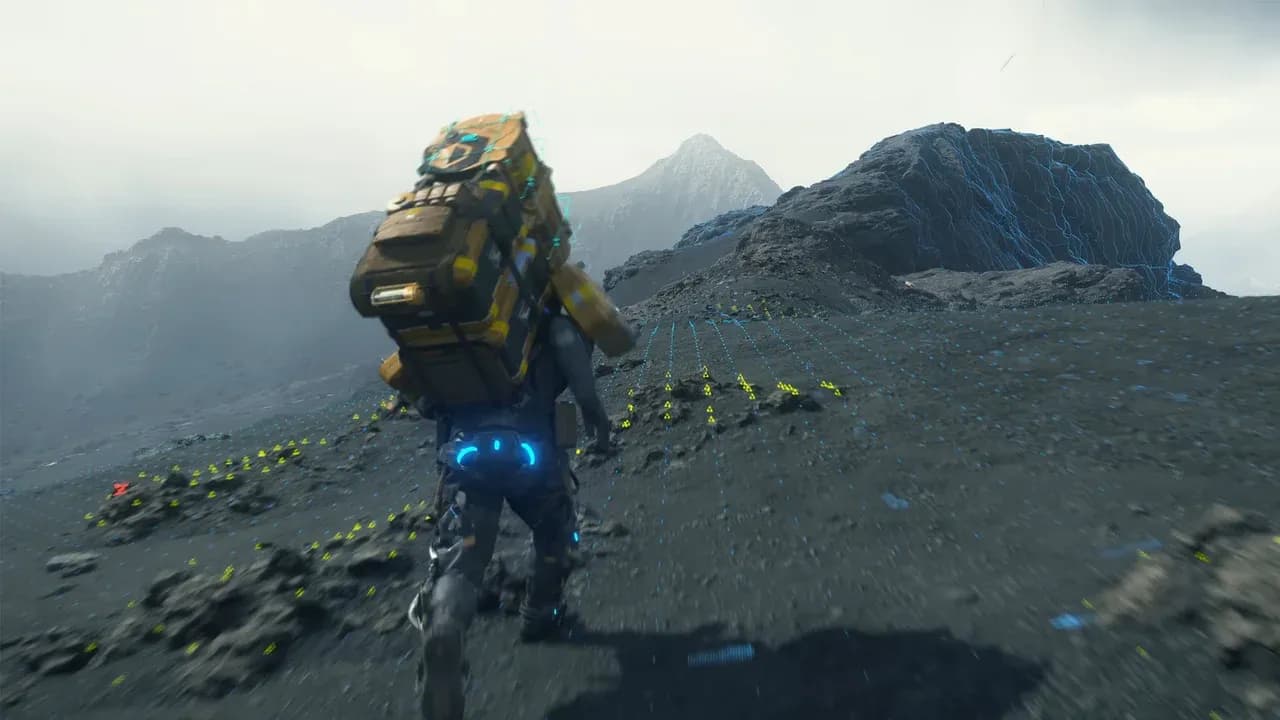
How to Farm Resin and Chemicals in Death Stranding 2
Welcome to Death Stranding 2: On the Beach—rebuilding a fractured world starts with you, and your backpack is about to get very, very heavy. The core loop of this adventure isn't just about deliveries; it's about gathering the raw materials to forge connections, one bridge, safe house, and zip-line at a time.
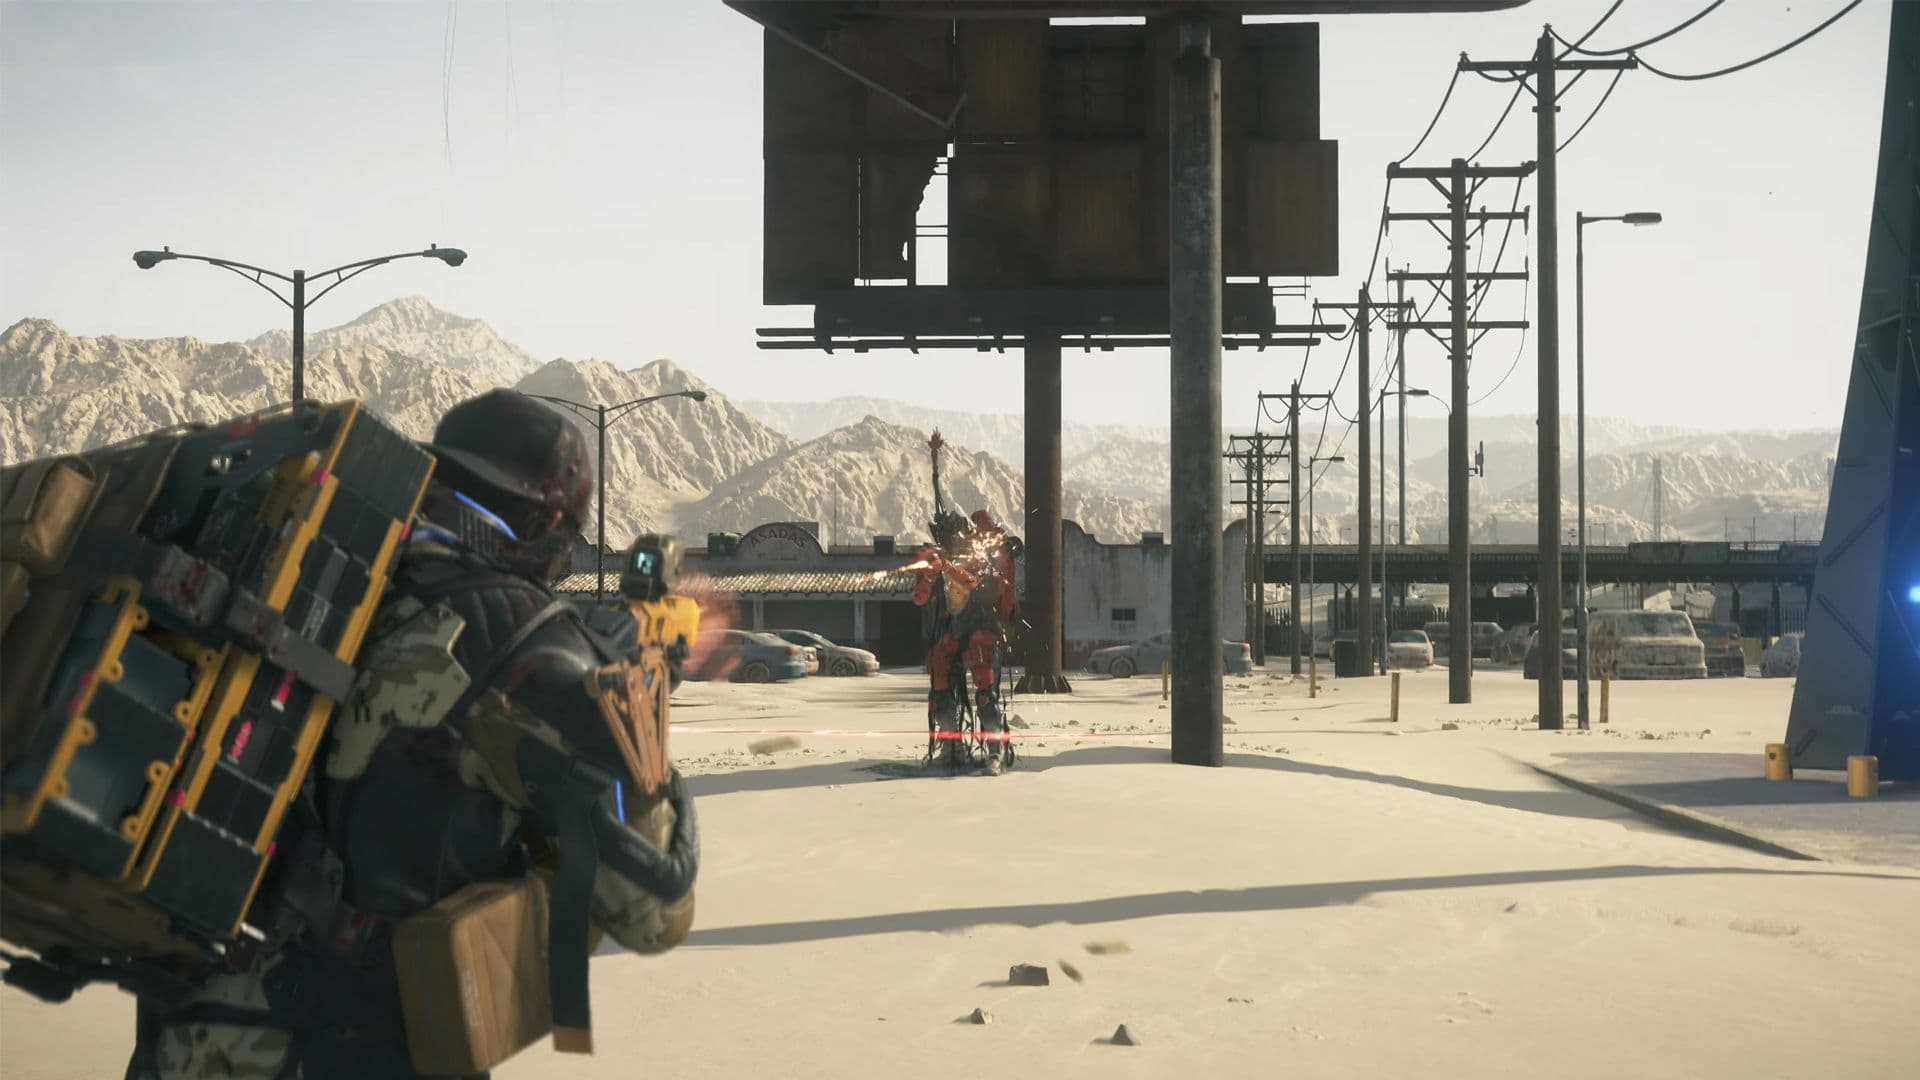
Resins are a primary material used for weapon maintenance.
Your entire infrastructure project revolves around five primary resource types: Metals, Resins, Ceramics, Chemicals, and Special Alloys. You'll need them for everything from crafting a simple ladder to constructing massive highways. While you can stumble upon these materials in the wild, the most reliable way to stockpile them is through strategic management of the world's facilities.
Here’s how the system works: as you connect shelters and complete orders, you'll build Reputation with each facility. A higher reputation level directly translates to better resource allocation from that location. You can check a facility's stockpile right from your map. To collect your share, head to the delivery Terminal at any connected facility. Press [Options] to interact, navigate to the 'Claim Materials' section, and you'll see a list of available resources with varying stack sizes—some might offer 320 units, others just 30. Select the amounts you want, and they're added directly to your inventory.
Make it a habit to Claim Materials at every terminal you visit. The stacks refresh over time, and as your reputation grows, so do the payouts, creating a near-infinite supply line for your biggest projects.
Think of it as the game rewarding your hard work as a porter. By actively engaging with facilities and completing their requests, you're not just moving cargo—you're investing in a personal supply chain that will fuel the reconstruction of Australia. With this fundamental loop understood, you're ready to start farming efficiently. Let's get to work.
Best Locations for Resin Farming in Death Stranding 2
Resins are the lifeblood of your crafting bench in Death Stranding 2. From essential gear like boots and vehicles to advanced weaponry, you’ll burn through them constantly. While you can find them scattered across Australia, two specific mines are your ticket to a massive, reliable supply that will keep your fabrication lines humming.
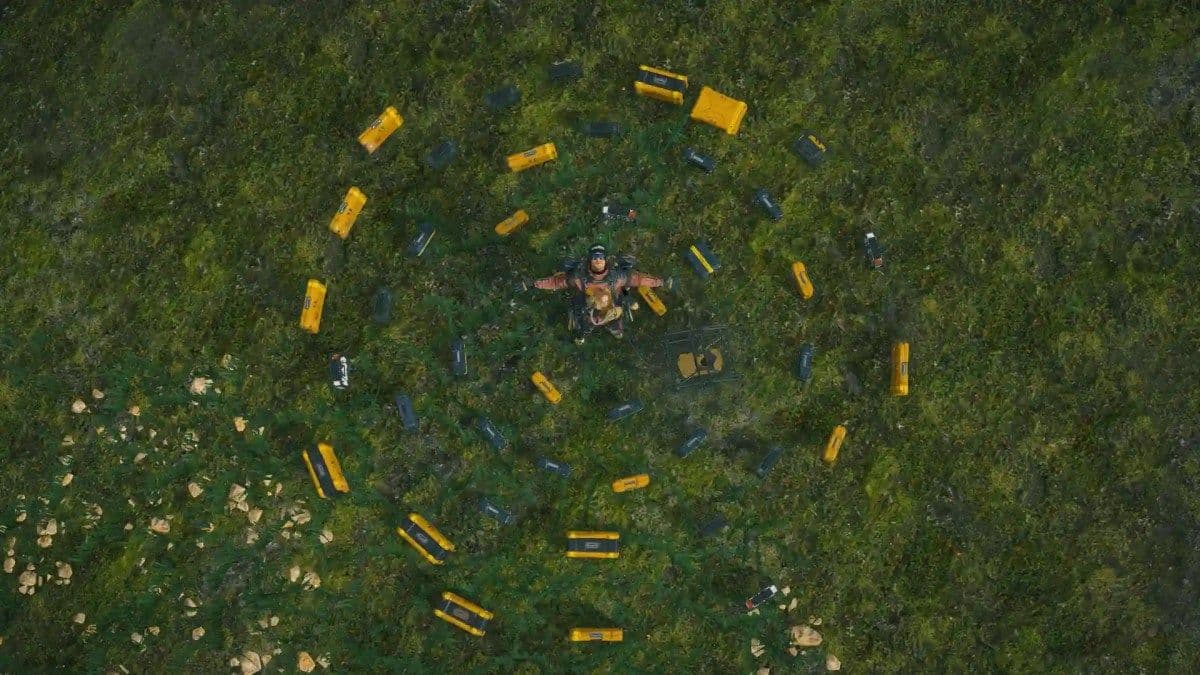
Maximizing resin and chemical farming through the Request Resources feature.
The F3 Crater Mine: Your Primary Resin Hub
Your most efficient long-term source is the Mine near F3 Crater on Australia’s map, located directly northeast of the Dowser. It’s not ready to use right away—you’ll need to repair it first. The upfront cost is steep: 900 Special Alloys and 480 Resins. Trust me, this investment pays for itself many times over. Once operational, you simply contribute 1000 Chiral Crystals to the mine, and it will produce a whopping 3200 Resins for you to collect. This 1:3.2 exchange rate is the best you’ll find, making this mine your top priority for establishing a Resin stockpile.
The Late-Game F6 Mine
For players pushing deeper into Australia, the Mine North of F6 serves as another excellent, consistent source for Resins. While the exact yield isn’t specified in our sources, it’s highlighted as a key late-game location. Once you’ve progressed far enough to unlock and repair it, this mine provides a valuable secondary (or primary) pipeline, ensuring you never run dry no matter how ambitious your construction projects become.
Quick Hit: Recycling Ghost Blades
Need a quicker, more immediate Resin fix between mine runs? Here’s a handy trick many players miss. From Order No. 022 onwards, you’ll encounter blade-wielding mech enemies. Defeat them and pick up their damaged Ghost Blades. Don’t just leave them—recycle these components. You’ll get a good amount of Resin (along with some Chemicals and Metals) for very little inventory weight, making it a perfect way to top off your supplies while on a delivery.
Before you head out on a long trek, swing by a terminal and use the ‘Claim Materials’ option. Facilities with high reputation often have Resins in their allocated stocks, giving you a nice bonus haul without any Chiral Crystal cost.
With the F3 Crater Mine secured and the F6 mine on your horizon, you’ve built a foundation that will support all your crafting needs in Death Stranding 2. Let’s go build something.
Best Locations for Chemical Farming in Death Stranding 2
In Death Stranding, ziplines, advanced gear, and reinforced structures can't function without a steady supply of Chemicals. If you're staring down an upgrade menu, you need to know exactly where the best hauls are hidden across Australia.
MULE camps are high-yield locations for gathering large quantities of chemicals.
Here’s the trick most guides miss: your strategy depends on your timeline. For a massive, one-time investment that pays dividends, target the Twin Valley Mine. If you need Chemicals right now for a critical upgrade, a quick raid on a Brigand camp will get you what you need.
Twin Valley Mine: Your Chemical Power Plant
For the single most reliable source of Chemicals in Death Stranding 2: On the Beach, head to the Twin Valley Mine. You'll find it east of the Northern Environmental Observatory in Australia.
Before you can use it, you’ll need to clear the area. A group of Brigands controls the territory, so neutralize them using stealth or non-lethal takedowns to ensure the camp restocks later. Once the coast is clear, repair the mine. The initial investment is worth it: after it's operational, contributing 1200 Chiral Crystals will yield 720 Chemicals directly into the mine's output. This is your go-to for bulk, passive income that will fuel your most ambitious construction projects.
🚛 Pro tip: Bring a heavy-duty vehicle like the Pickup Off-Roader for this run. A full yield from the Twin Valley Mine weighs approximately 72.0 kg, and driving it back to a distribution center is far smarter than trying to carry it yourself.
Quick Strikes: Raiding MULE and Brigand Camps
When you need Chemicals immediately—say, to fabricate a Tranq Sniper Rifle or upgrade a key zipline—raiding enemy camps is your best bet. Scout camps using your Odradek scanner or a Watchtower to locate XL Chemical Containers. Each one of these crates holds a hefty 240 units (24 kg) of pure Chemicals.
These containers are often found in Postboxes or simply sitting on the ground within camp boundaries. The haul is immediate, but remember: if you kill the enemies permanently, the camp won't restock. Use your Bola Gun or Strand for non-lethal takedowns to keep this valuable resource farm active.
Recycling for Bonus Supplies
Don’t overlook the smaller, consistent source. From Order No. 022 onwards, you’ll encounter mech enemies wielding Ghost Blades. Damaged blades dropped by these foes can be collected and recycled at any facility terminal. While you'll get a mix of Resin and Metals, you’ll also net a decent amount of Chemicals. The best part? Salvaged components are lightweight, making this a perfect way to top off your stocks during other deliveries.
With the Twin Valley Mine secured for bulk production and enemy camp routes mapped for emergency raids, your Chemical supply in Death Stranding 2 is solved. Now you can focus on building the network that will connect a broken world.
How to Use the Request Resources Feature in Death Stranding 2
One of the defining, magical features of Death Stranding is the invisible hand of the online community. While mining and raiding are active pursuits, there’s a powerful passive system that lets you request materials from fellow porters around the world. Think of it as putting out a call for aid on the Chiral Network—and the response can be staggering if you know how to send it.
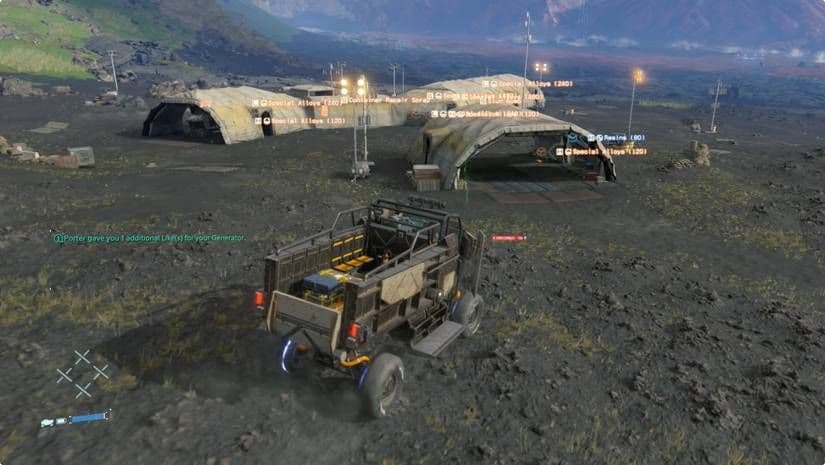
Transporting requested resources requires careful planning across the terrain.
The most direct way to ask for help is via Supply Request Signs. Hold [L1] to open your construction menu and navigate to the 'Request Building Materials' sign. Place it by pressing [Square] in a location you think other players will see. Here’s the trick most guides miss: your sign’s visibility is key. Place these signs at Facility entrances or along major roads to dramatically increase donation chances. A well-placed sign on a busy highway is a beacon for generosity.
Claiming What Others Leave Behind
Beyond requests, players are constantly donating and leaving surplus materials organically. This is where Postboxes become treasure chests. As other porters exceed their carry weight, they often deposit excess raw materials into shared Postboxes for anyone to claim. Make it a habit to check every Postbox you pass, especially those near distribution centers or tough terrain. You’ll frequently find massive hauls of Metals or Ceramics that someone else couldn’t carry—a true win-win for the network.
For a more targeted approach, use the Facility Terminals. While the primary function is to 'Claim Materials' from the facility’s own stock, the online system is always humming in the background. The game uses your material needs (calculated for ongoing construction projects like roads or safehouses) to subtly prioritize you in other players’ worlds. When you visit a terminal, you’re not just checking the local inventory; you’re syncing with the network to receive aid.
After a big delivery, swing by the terminal before you leave. The game often updates available donations based on the work you just completed, meaning your reward for a job well done can be even more resources from other Sams.
By combining strategic sign placement with diligent checks of Postboxes and Terminals, you create a virtuous cycle of giving and receiving. You’re not just a lone courier; you’re a node in a vast, supportive web. With these social mechanics working for you, stockpiling materials becomes less of a grind and more a testament to the connected world you’re helping to rebuild.
Best MULE and Brigand Camps for Resource Raiding
If you're looking to swap the careful tending of mines for something more direct—and adrenaline-fueled—the Australia Brigand Camps are your answer. In Death Stranding, these are your go-to zones for aggressive resource gathering, offering the quickest haul of raw materials in exchange for clearing a bit of opposition. This is hands-on resource raiding at its finest.
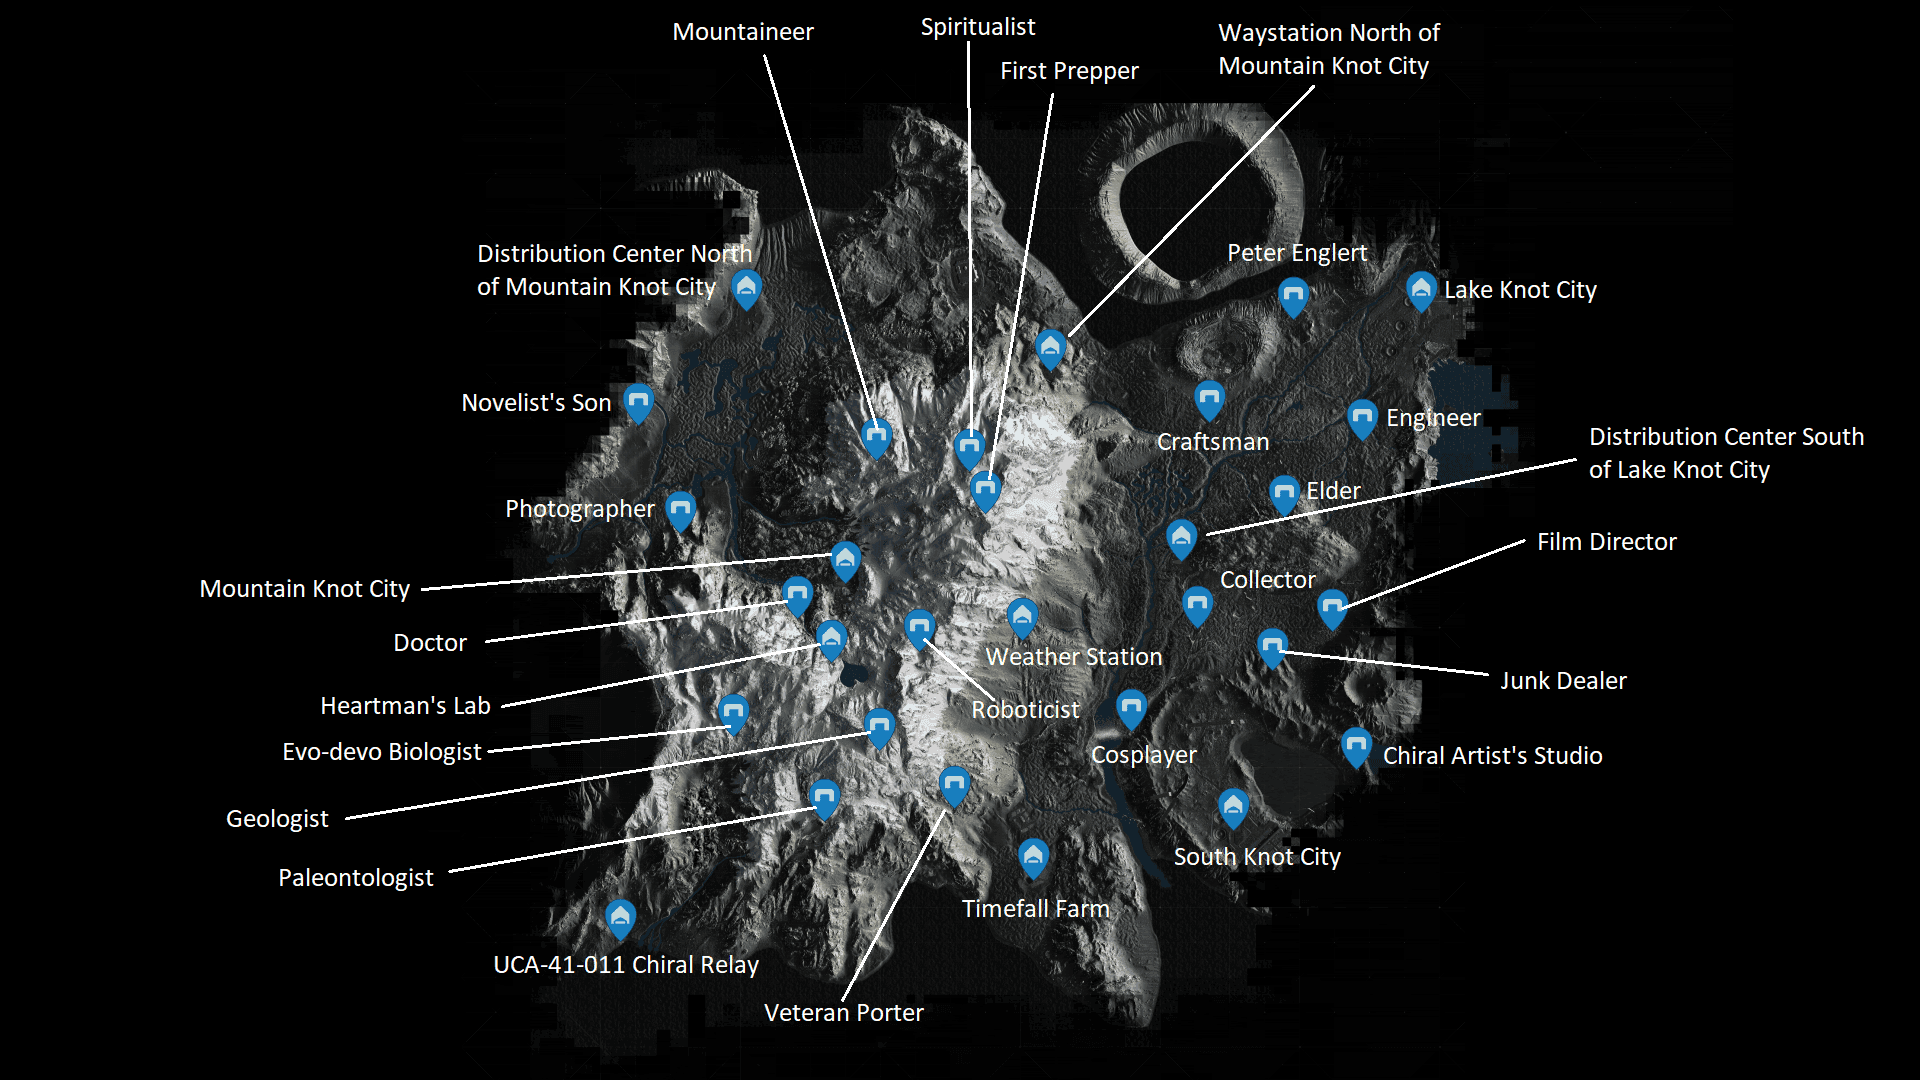
Map of key MULE and Brigand camp locations for raiding.
Your first task is intelligence. While a quick press of [R1] for an Odradek Scan will ping and highlight nearby resource containers, this forces you into the thick of enemy territory to see them. For a safer, more tactical approach, build or commandeer a Watchtower. From its elevated vantage point, you can tag those lucrative XL resource containers from a safe distance, plan your route, and spot enemies before they spot you.
Set up a Watchtower on a hill overlooking a camp before you engage. Tag every container you see—this lets you loot efficiently under pressure instead of searching blindly.
Now for the raid itself. Stealth is your friend, and non-lethal force is the key to a sustainable farming loop. Approach quietly and use [R2] with a Bola Gun to ensnare enemies, or get up close for a [R2] with the Strand to choke them out. This crucial choice ensures the camps will eventually restock over time with fresh enemies and, more importantly, fresh materials. Going lethal might be faster in the moment, but it kills your best resource spots permanently. Remember to check the camp's Postboxes—Brigands stash raw materials here, and they're yours for the taking once the area is secure.
The payoff is immense. Each cleared camp nets you multiple XL containers, often holding hundreds of units of Metals, Resins, Ceramics, or Chemicals. Load your spoils into a sturdy vehicle like a truck and make for the nearest Distribution Centre. Just know that after a successful clear, the camp will lie dormant for a few in-game days before repopulating, giving you a perfect window to hit another location.
With this strategy, you’re not just a porter—you’re a raider, turning enemy stockpiles into the building blocks for a connected world. Let’s go claim what’s ours.
Maximizing Chiral Crystals for Mine Operations
This is where your hard work pays off—those precious Chiral Crystals you've been collecting are the premium fuel for Death Stranding's most efficient resource engine: the mines. Think of them as your personal, automated factories scattered across Australia. But to keep the assembly lines humming, you need a steady, substantial income of crystals. Let's break down the best ways to stockpile them.

Detailed environments contain hidden resource caches for mining.
The most direct method is also one of the most thrilling: BT Hunting. Venture into Timefall areas and seek out the larger, more formidable BTs. Taking down these giants rewards you with massive, glittering clusters of Chiral Crystals, far more than you'd find scattered on the ground. It's high-risk, high-reward farming at its finest.
Use your Odradek scanner constantly in BT zones. It will highlight not only the BTs themselves but also any crystal clusters on the terrain, ensuring you don't miss a single shard.
Don't overlook the environment itself. As you travel between mines, keep an eye out for Tar Pits, which are often found in the vicinity of these mining operations. These bubbling pools are rich with harvestable Chiral Crystals. A quick scan and a cautious approach can net you a nice supplemental haul without a fight.
Here’s a game-changer for logistics: every 1000 Chiral Crystals you carry reduces Sam's total weight burden by 1kg, with the effect capping at a massive 50kg reduction. This means a hefty crystal stockpile doesn't just fund your mines—it turns you into a veritable freight train, able to haul unprecedented loads of mined materials back to distribution centers. It transforms Chiral Crystals from a simple currency into a critical piece of transport gear.
Finally, never underestimate the simple comforts. After a long delivery run, make a habit of using the shower in any private room at a safe house or facility. Alongside restoring your stamina, you'll collect a small but consistent amount of Chiral Crystals. It's not enough to fund a mine alone, but these routine pick-ups add up over time and require zero extra effort.
By mastering these methods—braving BT territories, scavenging Tar Pits, leveraging the weight reduction, and taking those well-earned showers—you'll build a crystal stockpile that lets your mines produce resources around the clock. Keep that fuel flowing, and you'll never want for materials again.
Best Transport Gear for Heavy Resource Hauling
You’ve farmed the mines and raided the camps. Now comes the real challenge in Death Stranding: moving mountains of materials across the harsh landscape without losing your mind. This final phase—the haul—is where the right gear makes the difference between a smooth delivery and a frustrating slog.
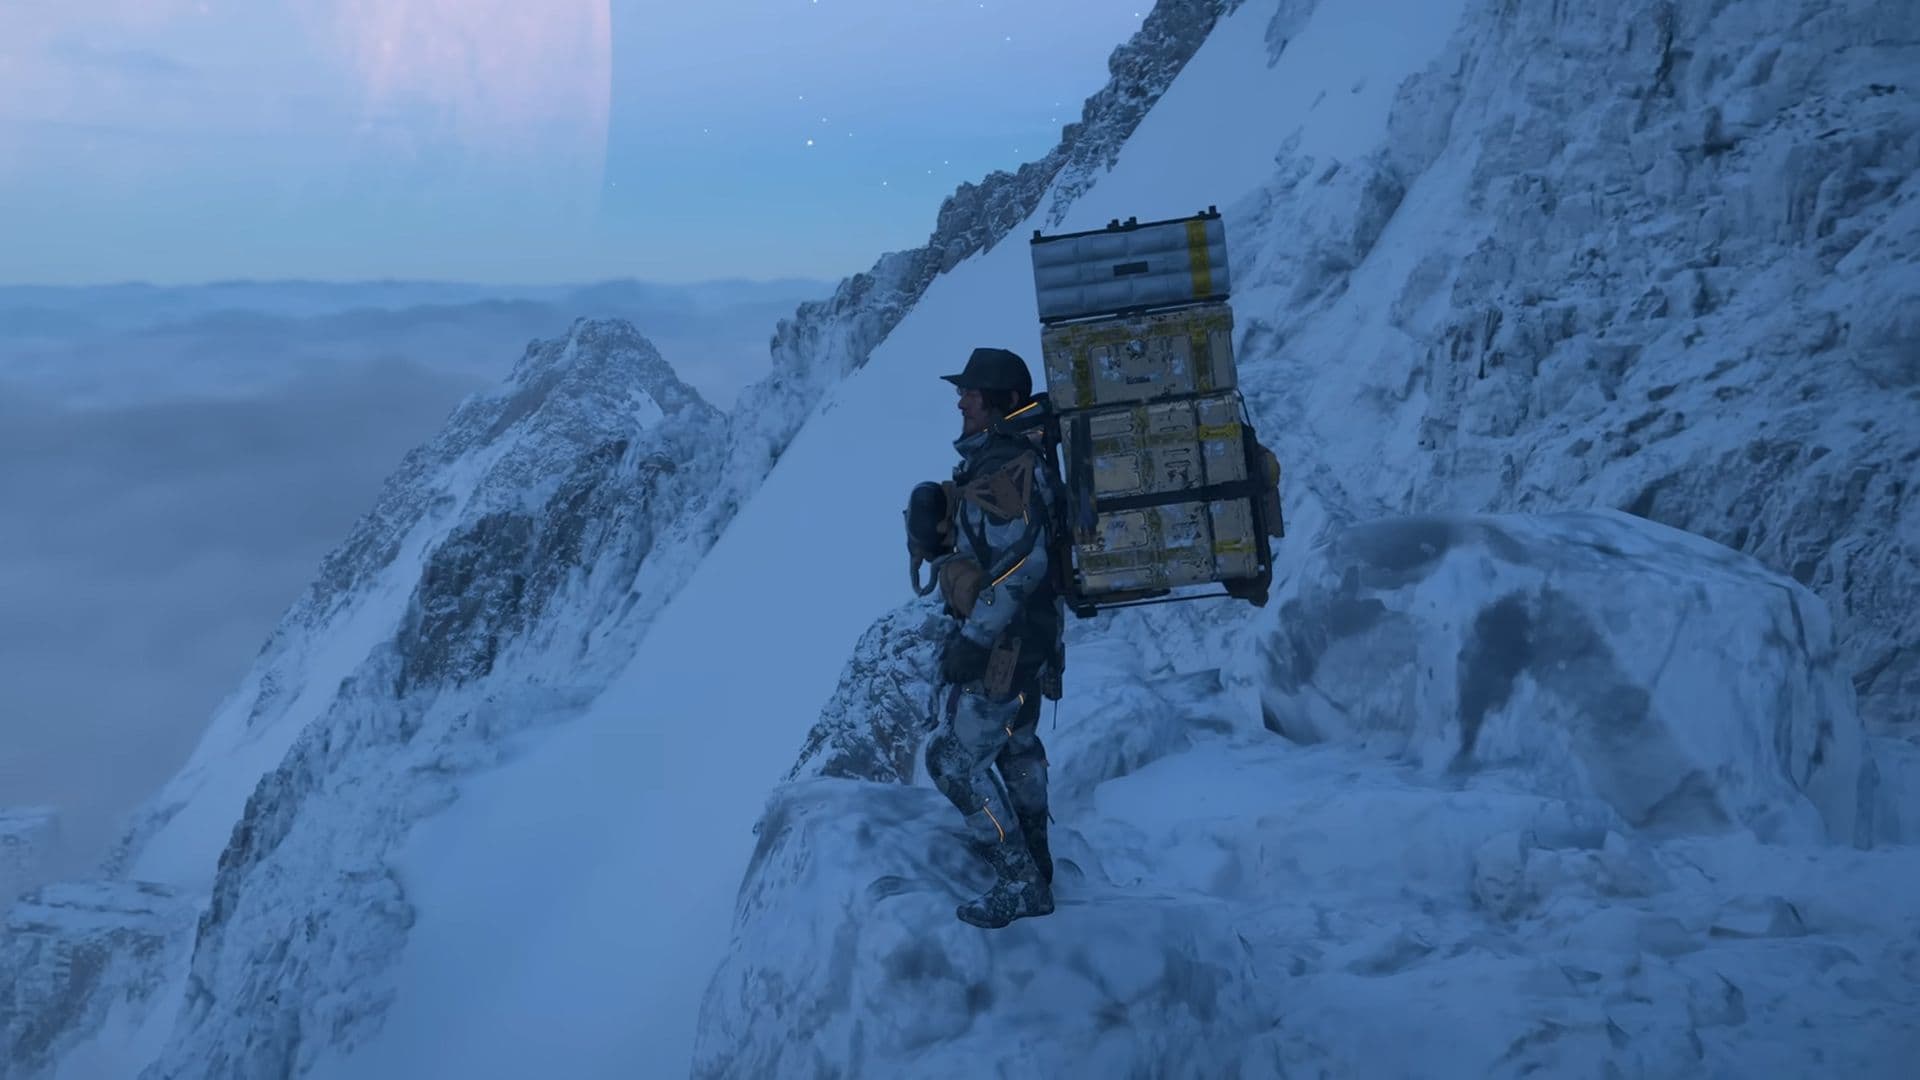
All-terrain gear is necessary when hauling resources through mountainous regions.
The Heavy-Duty Workhorse: Vehicles
For the biggest hauls, especially from major mines like the Twin Valley Mine in Australia, you’ll need a proper truck. The Pickup Off-Roader is your best friend here, with a robust 72.0kg capacity that can handle multiple XL resource containers in one trip. Trust me, trying to haul 720 Chemicals or 4000 Metals on foot is a recipe for disaster.
Here’s the efficient routine: after claiming a massive stack of materials from a Terminal, use the ‘Load to Vehicle’ function. Simply highlight all the claimed items in your cargo menu and select the option to bulk transfer them directly into your parked truck’s garage. This saves you from manually carrying dozens of crates one by one.
Always park your vehicle as close as possible to the mine output or camp Postboxes before you start looting. A few extra seconds of positioning saves minutes of awkward cargo shuffling later.
Navigating the Impossible Terrain
Sometimes, even the best off-roader can’t climb that sheer cliff or navigate a dense forest. That’s where the Floating Carrier shines. Fabricate this handy tool to haul extra crates over rough terrain where your vehicle cannot pass. It’s perfect for those moments when you need to transport a few key containers from a remote BT area to the nearest road where your truck is waiting.
The Endgame Transport Network
Once you’ve established multiple mines, manually driving between them becomes a huge time sink. This is where you unlock the true power of logistics: Monorail Lines. Invest Chiral Bandwidth to connect your active mines directly to major Facilities and Distribution Centres. This network facilitates rapid material transport across Australia, automatically shuffling resources where they’re needed most for construction projects. It’s a game-changer for supplying distant Auto-Pavers.
With the Pickup Off-Roader for bulk hauls, the Floating Carrier for tricky paths, and Monorail Lines automating your supply chain, you’re no longer just a porter—you’re a master of logistics. Now go connect that world.