How to Start Your First Day in Minecraft Survival Mode
Welcome to Minecraft—your first day in Survival Mode is a race against time. The sun is high, but the clock is ticking, and you need to move fast. Your goal is simple: gather the absolute essentials before the 10-minute daylight window ends and hostile mobs emerge from the darkness. Trust me, a little preparation now makes all the difference.
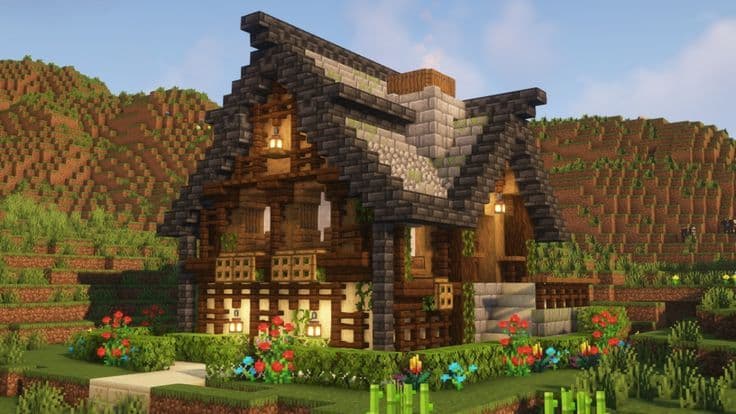
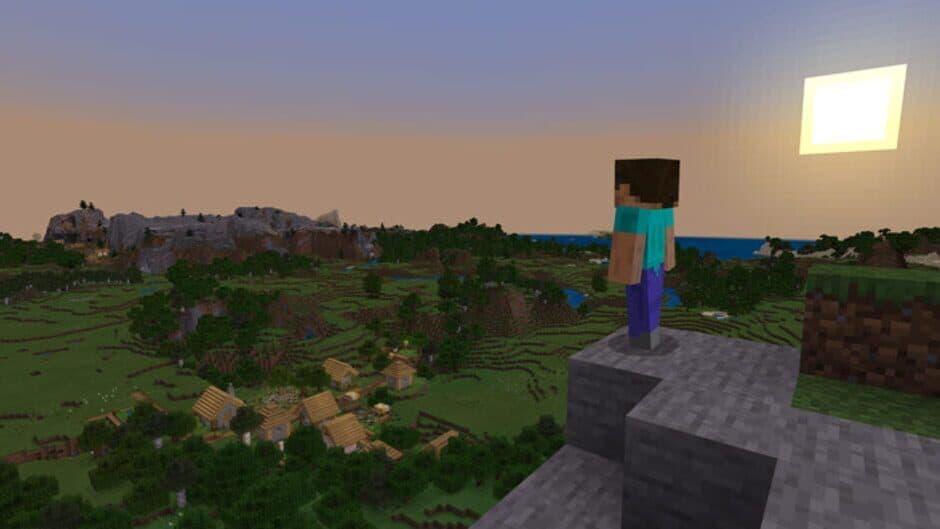
A simple shelter protects you from mobs during the first night.
Your first and most critical task is Initial Wood Gathering. As soon as you spawn, look for the nearest trees. Approach one and hold down [Left-Click] to punch it until a Wood Log block breaks. You’ll want to collect 10-15 logs of any variety to get started. This wood is the foundation for everything you’ll build.
Don’t wander far looking for the perfect tree. Just punch the closest one—speed is more important than type on day one.
With your inventory full of logs, press [E] to open your Inventory Management screen. Here, you’ll see your personal 2x2 crafting grid in the top right. Place a single wood log in any square to convert it into four wooden planks. This is your gateway to crafting. Keep converting logs until you have a good stack of planks.
Now, understand the rhythm of the world you’re in. Minecraft operates on a Day-Night Cycle in the Overworld that lasts 20 real-time minutes total, split evenly into 10 mins of daylight and 10 mins of darkness. Your entire first-day strategy revolves around using that first 10-minute window of safety to its fullest. The sun moves across the sky—when it starts to dip toward the horizon, you’re running out of time.
With your wood stockpiled and the sun’s position in mind, you’ve laid the groundwork. You know the most important resource, the basic interface for using it, and the relentless timer you’re up against. Let’s turn those planks into survival tools.
Best Crafting Progression for Your First 10 Minutes
Your first ten minutes in Minecraft are a race against time. You’ve punched your first trees, but now you’re staring at a pile of logs. What’s next? This is where your real adventure begins—transforming those raw logs into the tools that will define your survival. Let’s move fast and get you upgraded from fragile wood to sturdy stone.
The starting world where players begin their crafting journey.
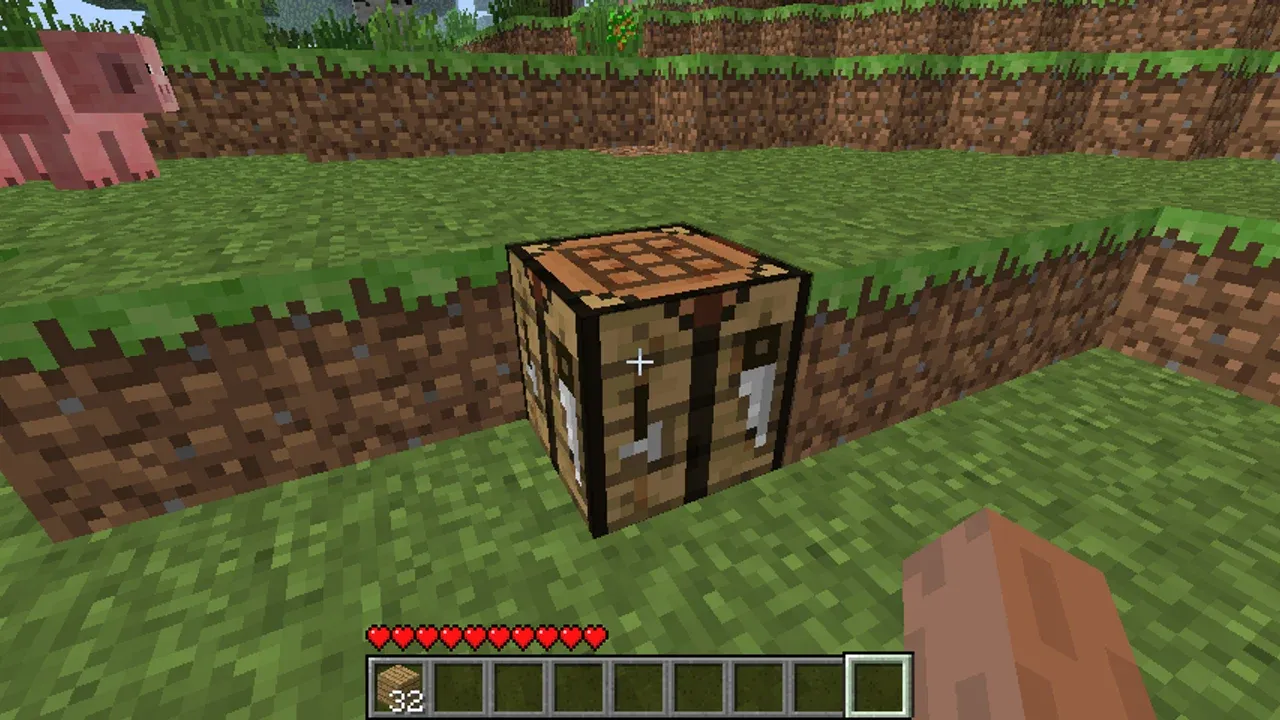
First, turn those logs into usable parts. Open your inventory ([E]) and place one Wood Log into the 2x2 crafting grid. This instantly creates Wooden Planks—four planks from every single log. This is your most basic building block. Next, arrange four of these Wooden Planks in a square in your inventory grid to craft your Crafting Table. Place it on the ground and right-click it. This unlocks the essential 3x3 crafting grid, opening up the world of recipes.
Now, let’s build your first tools. Inside the Crafting Table, craft Sticks by placing two Wooden Planks vertically, one above the other. You’ll need these for handles. Your immediate goal is a Wooden Pickaxe. Place three Wooden Planks across the top row and two Sticks in the center column. This tool has one job: to mine stone. Don’t bother with a full wooden set—this pickaxe is a stepping stone.
Craft two or three Wooden Pickaxes right away. They break quickly, and you don’t want to be caught without one when you find stone.
Find a stone surface—a hillside or a shallow dip in the ground will do. Use your Wooden Pickaxe to mine at least 20 Cobblestone. Trust me, gathering extra now saves a trip later. With your inventory full of rough gray blocks, return to your Crafting Table.
This is the upgrade that changes everything. To craft a Stone Pickaxe, place three Cobblestone across the top row and two Sticks in the center column—the same pattern as the wooden version, but stronger. This tool mines faster and lasts much longer, and it’s your ticket to coal and iron. Next, make a Stone Axe for efficient woodcutting: arrange three Cobblestone in an “L” shape in the top-left corner, with two Sticks beneath them. Finally, craft your primary weapon: a Stone Sword. Place two Cobblestone vertically and one Stick below them.
⚠️ Watch out: Never use your Stone Sword to break blocks—it loses durability fast. Save it for mobs and keep your pickaxe and axe for gathering.
With a Stone Pickaxe, Stone Axe, and Stone Sword now in your hotbar, you’ve successfully navigated the most critical crafting progression in Minecraft. You’re no longer a vulnerable newcomer; you’re equipped to gather resources efficiently and defend yourself. This foundation sets you up perfectly to build your first shelter before the sun dips below the horizon. Let’s go.
How to Build a 3x3x3 Shelter in Minecraft
Alright, the sun's starting to dip—it's time to stop gathering and start building. Your survival in Minecraft hinges on getting a roof over your head before the first wave of mobs appears. Let’s get your first base up.
Finding a suitable location for your shelter.
Choosing Your Spot and Strategy
First, pick a location. The Plains Biome is ideal for a starter base because of its flat, open terrain, making building easier and giving you clear sightlines. Aim to start construction before mid-afternoon in-game to avoid a panicked scramble as darkness falls.
You have two excellent, fast strategies for your first-night shelter, both requiring minimal materials.
The Dugout is the ultimate quick-fix. Find a hillside and simply [Left-Click] to mine out a 3x3x3 space into the terrain. You’re using the earth itself as your armor, which is incredibly secure. Just carve out your room, pop in a Crafting Table and Furnace, and seal the entrance with dirt blocks. It’s ugly but bulletproof.
The Surface Hut is for when you’re on open ground. On Flat Ground, build a 4x4 or 5x5 exterior wall using dirt or planks, making it a minimum of 3 blocks high. Add a roof, and you’ve got a classic starter shack. It uses more blocks but feels more like a proper home.
Whichever method you choose, place your Crafting Table and Furnace inside immediately. That way, if night catches you, you can still cook food and craft safely.
Securing the Entrance and Your Stuff
A shelter isn’t safe if things can walk in. Craft a Wooden Door by arranging 6 planks in a 2x3 vertical rectangle on your Crafting Table. Place it in your doorway—this lets you see outside while keeping zombies and skeletons at bay. If you’re in a pinch, just block the entrance with spare dirt or cobblestone; a door is a convenience, but solid walls are the real defense.
Next, craft a Chest. Use 8 planks in a ring on the Crafting Table, leaving the center slot empty. This single chest holds 27 item stacks and is your best friend for preventing loss on death. Dump your extra wood, stone, and food in here before you do anything risky. If you’ve wiped before because you lost everything, you’re not alone—this simple step changes everything.
With a sealed shelter, a door, and a chest for your valuables, you’ve officially beaten the first-night panic. You’re safe, organized, and ready to wait out the darkness or even get a head start on mining from within. Let’s make it permanent.
Essential Light and Heat: Crafting Torches and Furnaces
Your shelter is built, your stone tools are ready, and the sun is sinking low. But in Minecraft, darkness is more than just an inconvenience—it’s an active threat. This is where you take control of your environment, banishing the monsters by mastering the two pillars of early safety: light and heat.

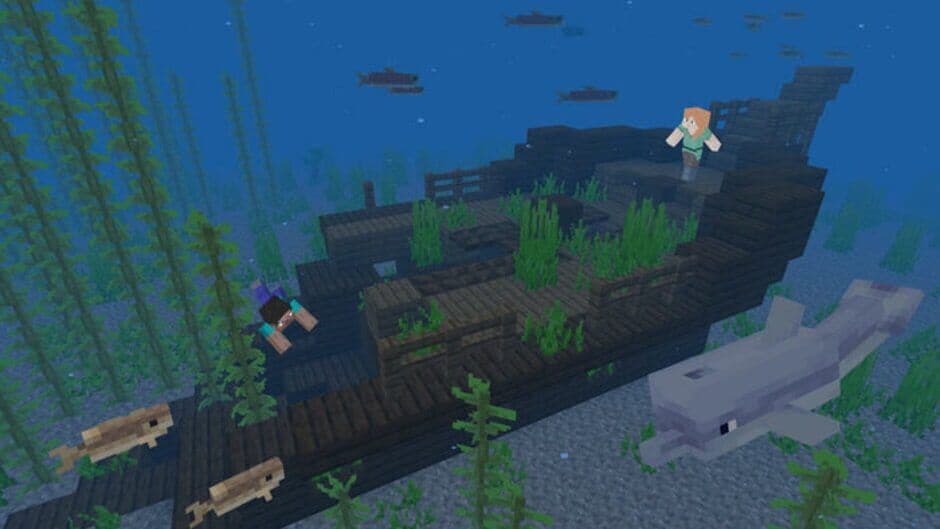
Survival gameplay in Minecraft.
The Heart of Your Base: The Furnace
Before you can truly push back the night, you need a way to process the world around you. This is where the Furnace comes in. Craft it at your Crafting Table by placing 8 cobblestone in a ring, leaving the center square empty. This humble block is your gateway to cooked food, stronger materials, and, crucially, a reliable light source.
Place your Furnace in your shelter—it’s the beating heart of your early operations. Its top slot is for smelting: raw meat, iron ore, or sand into glass. The bottom slot is for fuel. This is where you’ll learn your first major survival conversion.
Securing Your Light Source: Coal vs. Charcoal
Torches are your primary defense against mob spawns. To craft them, you need a stick and either Coal or Charcoal.
Your first priority is finding Coal Ore. Look for it as stone with black specks on cliff faces or in the shallow openings of caves. Mine it with your stone pickaxe. If you’re unlucky and can’t find any coal before sunset, don’t panic—this is where your furnace saves the day.
You can create Charcoal as a perfect substitute. Here’s the trick: place one wood log (not planks) in the top slot of your Furnace. Place any wooden item—another log or some planks—in the bottom fuel slot. After a short burn, you’ll get Charcoal. It works identically to coal for crafting and fuel. Smelt a few logs this way; you’ll thank yourself later.
Crafting and Placing Torches
With your coal or charcoal in hand, head back to your Crafting Table. Place 1 coal or charcoal above 1 stick to create 4 Torches. These are your lifeline.
Now, for the strategy that separates the prepared from the panicked: Base Lighting. It’s not enough to have a single torch. You must actively prevent mobs from spawning near you. Place torches on the walls and floor inside your shelter until every shadow is gone. Then, think about your perimeter. As you expand, place torches every 10 blocks or so around the outside of your base. This creates a safe zone, pushing the spawning darkness far back into the wilderness.
If coal is scarce early on, dedicate your first furnace cycle to making charcoal. One log as fuel can smelt another log into charcoal, essentially turning two logs into a light source. It’s the most efficient early-game conversion you can make.
With a Furnace humming in the corner and Torches casting a warm, safe glow on your walls, your shelter transforms from a hiding hole into a secure homestead. You’ve not only survived the encroaching dark—you’ve pushed it back. Now you’re ready to cook, smelt, and thrive.
How to Manage Hunger and Find Food Early
In Minecraft, the constant need to eat can feel like a second boss fight—but it doesn't have to be. Mastering your Hunger Bar early is the key to staying alive long enough to build your world. Let's break down how it works and where to find the best food before your stomach starts growling.
Navigating the terrain to locate early-game sustenance.
Understanding the Hunger Bar
Look at your HUD for the row of drumstick icons—that's your Hunger Bar. It depletes whenever you sprint, jump, fight, or mine. This isn't just an inconvenience; if your hunger drops too low, your health will stop regenerating entirely, leaving you one skeleton arrow away from a respawn screen. This is why managing your hunger is a survival pillar, not an afterthought.
Avoid sprinting when your hunger is below half. Walking conserves energy and keeps you in the healing zone longer.
Top Early-Game Food Sources
Your first day is a race to stockpile enough sustenance. Here are your best bets, ranked by effectiveness and ease of acquisition.
- Cooked Beef: Your #1 priority. Hunt cows in plains or forests for raw beef, then smelt it in a Furnace. This gives you steak, the best early-game hunger restoration food. It’s filling and keeps you going longer.
- Cooked Porkchop: Almost as good as steak. Pigs drop raw porkchop, which also needs smelting. It offers high saturation, meaning you’ll feel full for a good while after eating it.
- Bread: The king of renewable food. Once you have a hoe, till soil near water and plant seeds (from breaking tall grass) to grow wheat. At the Crafting Table, arrange 3 wheat horizontally to craft bread. It’s not as potent as meat, but a small farm guarantees you’ll never starve.
- Cooked Chicken: Chickens are common and easy to kill, but beware—eating raw chicken can give you the Hunger status effect, making you even more hungry. Always cook it first.
- Emergency Rations: Keep an eye out for apples (a rare drop from oak leaves) and sweet berries (found in taiga biomes). They’re not meals, but they’ll keep you from hitting zero in a pinch.
Building Your First Food Supply
Your goal before the first night is to have at least 10 pieces of cooked food. Here’s a quick action plan:
- Hunt on Sight: As you gather wood and stone, kill any cows, pigs, or chickens you see. Don’t wait for a dedicated hunting trip.
- Cook in Batches: Build your Furnace early. Toss your raw meat in the top slot and use planks or leftover logs as fuel in the bottom. Cook everything at once.
- Start a Wheat Farm: Even a 3x3 plot of farmland with a water source block in the center will yield enough wheat for several loaves of bread in a few Minecraft days. It’s your long-term security.
With a pocket full of steak and a field of wheat growing, you’ve conquered one of Minecraft’s core survival loops. No more panicking as your health refuses to tick back up—you’re ready to thrive.
How to Survive Hostile Mobs and Skip the Night
The sun dips low—your first day in Minecraft is almost over. This is when the world transforms. Shadows stretch, strange noises echo, and the real test begins: surviving the night. Your goal isn't just to hide; it's to understand the threats and use the most powerful tool in the game to render them harmless.
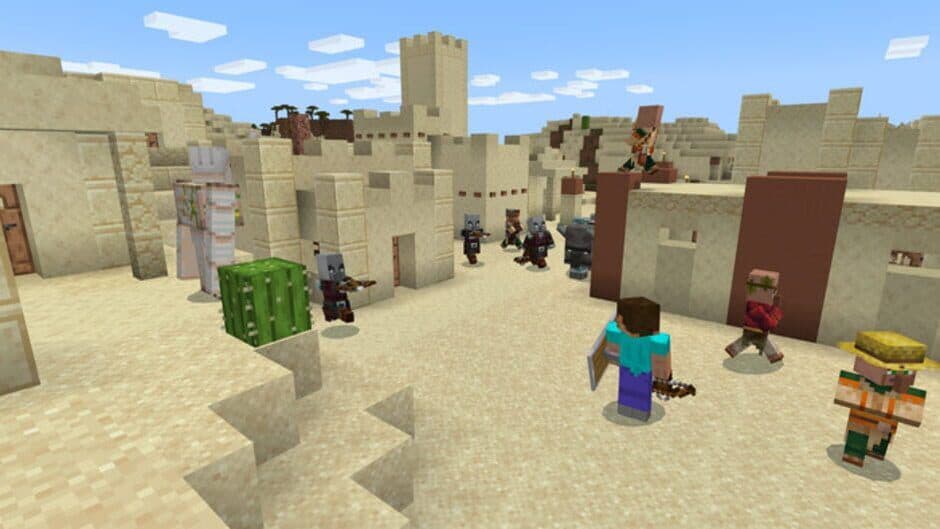
Managing your inventory is crucial when facing hostile mobs.
Understanding the Night and Its Dangers
When darkness falls, hostile mobs spawn in any unlit area. Each one has a distinct behavior that can end your run if you're caught unprepared.
- Creepers are the silent, green-striped nightmares. They approach without a sound, hiss, and then explode within 3 blocks, destroying terrain and you. The counter is simple but critical: hit them once, then immediately sprint away to break their detonation.
- Skeletons are the archers of the dark, peppering you with arrows from a distance. The best counter is to use a shield (crafted from iron and wood) to block their shots, or use zig-zag movement to close the gap for melee.
- Zombies are slow but relentless in groups. They deal melee damage and, crucially, burn in sunlight, making sunrise a welcome relief. Keep your distance and pick them off one at a time.
- Spiders are fast, can climb walls, and are neutral during the day but hostile at night. Fight them in an open space where you can avoid their leaps.
- Endermen are the tall, black creatures that teleport. They are neutral unless looked at directly in the eyes. If you accidentally provoke one, the classic counter is to hide under a 2-block high roof where they can't reach you.
⚠️ Listen up: Your ears are your best defense. Learn the sounds—the zombie groan, the skeleton rattle, and, most importantly, the creeper's telltale hiss. That sound means run.
Your Ultimate Night-Skip: The Bed
Fighting is an option, but the smartest strategy for your first night is to avoid it altogether. Enter the Bed.
To craft a Bed, you need 3 wool of the same color placed across the middle row of your Crafting Table's 3x3 grid, with 3 wooden planks across the bottom row. Finding Sheep is key; they commonly roam Plains and Forest biomes. You can kill them for 1 wool each or, if you have Shears (2 iron ingots), shear them for 1-3 wool without harming them.
Once crafted, place your bed inside your secure, torch-lit shelter. As night falls, simply [Right-Click] on it. This instantly skips to sunrise, bypassing all the nocturnal dangers. Even better, it sets your new spawn point right there. If you die later, you'll reappear at your bed, not miles away at the world's original spawn.
If you can't find enough sheep before sunset, don't panic. A sealed shelter with torches will keep you safe. Use the night to smelt charcoal, cook food, or expand your base. Finding those three wool becomes your top priority for day two.
Putting It All Together
Your first night survival checklist is simple: before the sky turns orange, ensure you have a sealed shelter, light inside, a Stone Sword for emergencies, some cooked food, and a plan to either sleep or wait it out. If you've struggled here before, you're not alone—this phase trips up everyone.
With the bed mechanic mastered, you've turned the most dangerous part of Minecraft into a simple button press. You're no longer just surviving the night; you're commanding it. Now, let's build on that safety and start thriving.
Minecraft Survival Tips for Long-Term Progression
You’ve made it through the first night and built your starter base—now what? In Minecraft, the real adventure begins after sunrise. This section is your bridge from surviving to thriving, turning that dirt hut into a fortress and those stone tools into a full iron arsenal. Let's set you up for long-term success.
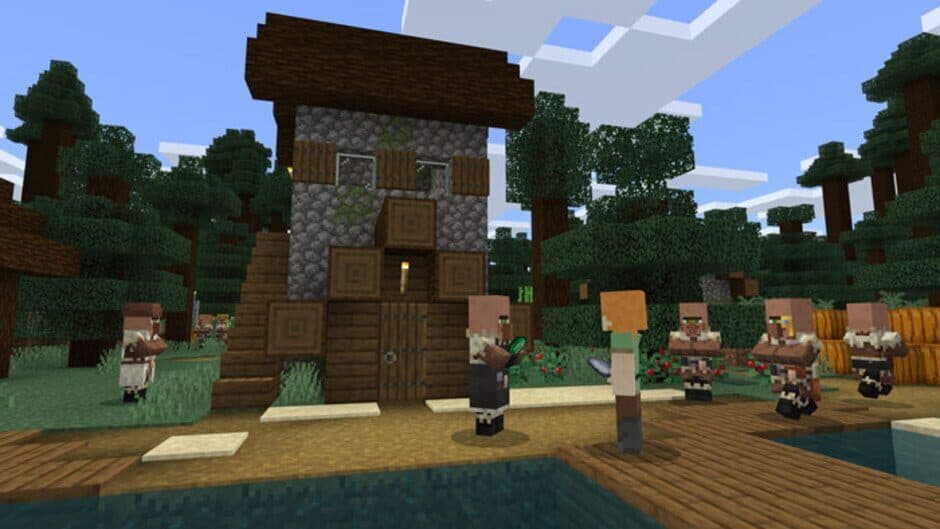
Expanding your horizons beyond the first night.
Securing Your Mid-Game Foundation
Your immediate goal is to transition from reactive survival to proactive progression. This means mining for essential resources, upgrading your gear, and securing your base for the long haul. The first major milestone is obtaining iron.
Head underground to find Iron Ore. Look for stone blocks with beige specks in caves or cliff faces. Smelt it in a Furnace to get Iron Ingots, your ticket to the first major gear upgrade. With iron, you can craft a full set of Iron Armor and, most importantly, a Shield. To make a Shield, place 6 wooden planks in a Y-shape on the Crafting Table 3x3 grid, with 1 iron ingot in the top-center slot. [Right-Click] to hold it up—it will block arrows from skeletons and even significantly reduce damage from creeper explosions. Trust me, this is the single best defensive item you can craft early on.
When mining for iron, always use the Staircase Mining technique. Dig into a wall at a 45-degree angle, creating a safe, spiraling descent. This lets you explore deeper while giving you a clear path back up. Never dig straight down—you risk falling into lava or a monster-filled cavern.
Mastering Navigation and Combat
As you venture farther from home, two skills become non-negotiable: not getting lost and fighting smarter.
First, learn to use Coordinates. In Java Edition, press [F3] to bring up the debug screen. In Bedrock Edition, go to Settings and toggle "Show Coordinates" on. Write down the coordinates (X, Y, Z) of your base. This simple habit means you’ll never be truly lost, no matter how far you roam.
Second, upgrade your combat. While a Stone Sword works, an Iron Sword is better. More importantly, master Critical Hits. Jump and press [Left-Click] to attack just as you're falling. You’ll see a burst of particles and deal extra damage—a game-changer against tougher mobs or when you’re overwhelmed.
Building a Sustainable Operation
A secure base is more than four walls and a door. Light up a wide perimeter around your home with Torches to stop mobs from spawning nearby. Build a Chest room to organize your growing hoard of resources. Start a small farm—even a 5x5 plot of Wheat near water will give you a steady food supply. This turns your shelter from a panic room into a true homestead.
Here’s the trick most guides miss: treat your first few days as a setup phase. Don’t rush into massive builds or deep cave raids. Instead, focus on these pillars:
- Gear: Full iron armor and tools, plus a shield.
- Food: A renewable source like a wheat or animal farm.
- Safety: A well-lit, expandable base with secure storage.
- Navigation: Your base coordinates logged and understood.
⚠️ Watch out: It’s easy to get ambitious and wander too far with all your best gear. Always store your valuables in a Chest before a big mining trip or exploration run. Losing your iron pickaxe to a lava mishap is a major setback you can easily avoid.
With a shield on your arm, iron on your back, and the coordinates to your home safely noted, you’ve officially graduated from beginner to competent survivor. You’re now ready to delve deeper, build bigger, and take on the greater challenges Minecraft has to offer. Let’s go build something amazing.