How to Prepare for Building a Trading Hall in Minecraft
Before you lay a single block for your trading hall, you need to gather your materials and secure your workforce. In Minecraft, a proper trading hall is a game-changing investment, turning renewable resources into powerful enchanted gear and rare items. But rushing in without the right prep is a recipe for frustration. Let’s get you set up for success.
Official game artwork
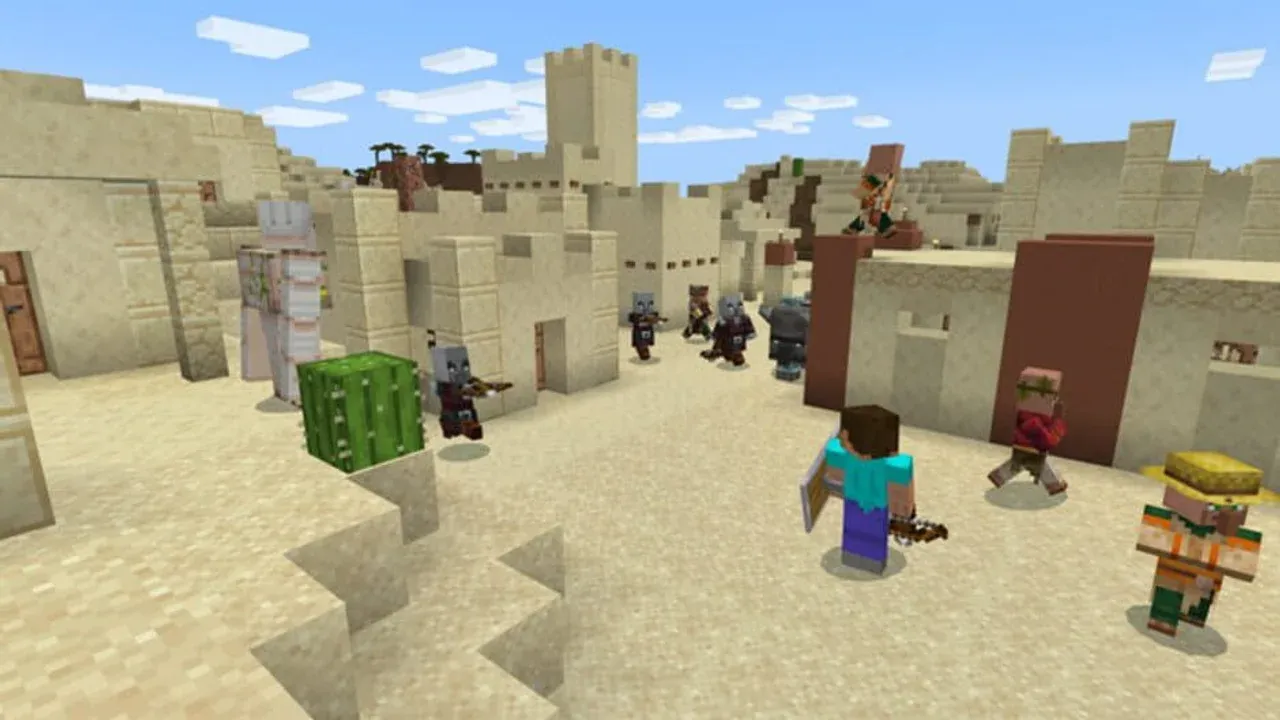
Your first step is gathering the villagers themselves. You’ll find them in any generated village in the common areas between houses. The two types you’ll encounter are the Unemployed Villager and the Nitwit. The Unemployed Villager, identifiable by their plain brown clothing, is your target—they can claim a job block and become a trader. The Nitwit, who wears distinctive green robes, cannot take professions or trade at all, so avoid wasting time trying to assign them a job.
Next, you need to gather the core building blocks for your operation. The most critical is the Lectern, the workstation for the all-important Librarian. You can craft one at a Crafting Table using 1 Bookshelf and 4 Wooden Slabs. You’ll also need to craft at least one Bed from 3 Wool and 3 Planks; while Java Edition villagers only need job blocks to restock, Bedrock Edition villagers require a linked bed to properly refresh their trades, so it’s good practice to include one.
Stock up on extra wood and wool. You’ll need to craft many lecterns to reroll Librarian trades, and having extra beds on hand simplifies villager breeding and Bedrock mechanics.
Finally, scout a location for your Safe Enclosure. Your future trading hall needs to be in a well-lit area to prevent hostile mob spawns. This isn't just about convenience—a single zombie can infect your entire workforce, turning your investment into a nightmare. Whether you build near a village or far away, securing the perimeter with walls, fences, and plenty of torches is non-negotiable.
With a stack of lecterns, a safe build site, and a plan to convert unemployed villagers, you’ve laid the perfect foundation. Let’s move on to constructing the hall itself.
How to Build a Professional Villager Trading Hall in Minecraft
Now for the fun part—transforming your materials into a sleek, efficient trading hall. This is where your Minecraft world gets a serious productivity boost, turning chaotic village huts into a streamlined emerald economy.
The core of any professional setup is the Trading Cell. You'll build a series of these to house each villager. A standard cell is a 1x1 or 1x2 space with solid walls and a roof to keep mobs out. Place your chosen job-site block—like a Lectern for a Librarian—directly in front of the villager. Then, place a trapdoor on the block above the villager's head and open it horizontally; this creates a barrier they can't jump over, but you can still reach them to trade. This simple design keeps them secure and accessible.
Designing for Function and Flow
Your villagers aren't just decorations; they need to work. The Mechanic: Workstation Access is critical. Each villager must be able to physically reach their job-site block during Minecraft's work hours (roughly midday) to restock their trades. They can do this up to 2x per day. If a villager is constantly "out of stock," double-check that nothing is blocking their path to the workstation—even a single carpet or a misplaced slab can break their pathfinding.
To combat rising prices from the game's supply and demand system, employ a Strategy: Redundancy Setup. For every essential enchanted book you rely on—like Mending or Sharpness V—don't settle for just one Librarian. Build multiple cells and assign at least two Librarians to offer the same book. This way, you can rotate your trading between them, preventing any single villager's prices from skyrocketing due to overuse.
Organize your hall with a Strategy: Signage and Labeling. Place an Item Frame holding the enchanted book or a Sign on the front of each cell naming the trade (e.g., "Mending - 10 Emeralds"). After rerolling dozens of villagers, you'll thank yourself for this simple organization.
A Critical Note for Bedrock Players
If you're playing Minecraft: Bedrock Edition, there's one extra, non-negotiable rule: Mechanic: Bedrock Edition Bed Linking. Unlike Java Edition, Bedrock villagers require a bed to be linked to them within their proximity to properly level up and restock their trades. When building your hall in Bedrock, include a bed within a few blocks of each villager's cell and ensure no other villager can claim it. Without a linked bed, your villagers will remain stuck at Novice level and never refresh their stocks.
With your cells built, workstations placed, and villagers safely assigned, your trading hall is operational. You've moved from a scattered village to a controlled, efficient hub. Next, we'll dive into the art of manipulating those trades to get exactly what you want.
How to Reset and Lock Librarian Trades in Minecraft
Alright, you've built your trading hall and placed your villagers. Now comes the most rewarding (and sometimes tedious) part of the process in Minecraft: hunting for those perfect enchanted books. This is where your patience pays off, as you learn to control the game’s RNG to get exactly what you need.
How to Reset and Lock Librarian Trades in Minecraft
The hunt for the perfect librarian trade begins the moment you place a Lectern. In Minecraft, the first two offers a librarian makes are randomly generated, and this includes their first enchanted book. The key is to never accept a trade until you see the book you want. Here’s the reliable method to control your luck.
The Lectern Reroll Technique is your primary tool. Inside a trading cell, simply break the Lectern by left-clicking it. The villager will instantly lose their profession and become unemployed. Then, place the Lectern back down in front of them. They’ll claim it again, and their initial trade offers will be completely rerolled. You can repeat this cycle—break, replace, check—until the desired enchanted book, like Mending or Efficiency V, appears in their first trade slot.
Speed up the process by having a stack of lecterns ready. Breaking and replacing becomes much faster than crafting a new one each time.
This technique hinges on one critical rule: you must not make any trade with the villager first. The moment you complete that first transaction, you trigger the Trade Locking mechanic. This permanently fixes the villager’s profession and locks in their current set of offers for that level. If you trade for a bookshelf before getting Mending, you’ve locked in a useless novice trade and that villager can never offer Mending as their first book. Always check, reroll if needed, and only trade for the enchanted book you want to lock it in.
Once you’ve locked in that perfect first trade, you can begin the Leveling System. Each librarian has five tiers: Novice, Apprentice, Journeyman, Expert, and Master. By trading with them (starting with your desired book), you give them XP. Each time they level up, they unlock up to two new trade slots. You’ll see better offers, like cheaper paper trades or utility items like clocks and name tags at higher levels. Leveling them to Master is how you access their full trade pool.
Funding this book-hunting operation is easy with a simple Emerald Farming Loop. At the Novice level, every librarian will buy 24 Paper for 1 Emerald. Set up a basic sugarcane farm, craft the cane into paper, and you have a renewable, villager-funded emerald source to pay for all those enchanted books you’re about to collect.
With this method mastered, you can systematically fill your trading hall with librarians offering every enchantment you’ll ever need. It might take a few cycles of breaking and placing, but the payoff—a reliable source for Mending, Sharpness V, or any other top-tier book—makes it one of the most powerful investments you can make in your Minecraft world. Let's go find those books.
How to Cure Zombie Villagers for Permanent Discounts
Here's the ultimate power move in Minecraft's trading meta—the zombie-curing mechanic. This isn't just a discount; it's a permanent, personal price slash that can turn a 64-emerald Mending book into a 1-emerald steal. Once you master this, your trading hall becomes a powerhouse of efficiency.
How to Cure a Zombie Villager
First, you need a villager to cure. Any villager you’ve locked with a desired trade is a perfect candidate, but you can also start with a fresh, unemployed one. The process has two critical parts: the Splash Potion of Weakness and the Golden Apple.
Step 1: Create a Curing Chamber
Build a small, secure, and well-lit room near your trading hall—this is your Curing Room. You’ll need to trap a zombie villager here. On Hard difficulty, a regular zombie has a 100% chance of converting a villager it attacks into a zombie villager. Lure a zombie in, let it infect your target villager, then eliminate the zombie.
Step 2: Apply the Potion and Apple
Once you have your Zombie Villager, you’ll need two items:
- Splash Potion of Weakness: Brew this at a Brewing Stand using a Fermented Spider Eye and Gunpowder. Throw it at the zombie villager by [Right-Clicking] (or [LT] on controller).
- Golden Apple: Craft this on a Crafting Table with 8 Gold Ingots surrounding 1 Apple. After the potion effect is applied, [Right-Click] the weakened zombie villager to feed it the apple.
The villager will begin shaking and emitting red particles. Protect them for 3-5 minutes while the conversion completes. When they’re cured, they’ll return to their original profession with all trades intact—but now with a massive, permanent discount just for you.
Understanding Discount Mechanics
Curing a zombie villager grants a specific, powerful benefit: the Zombie Discount. This is a permanent price reduction applied only to that specific cured villager. The discount is substantial, often slashing prices by 20 or more emeralds, potentially bringing even the most expensive books down to a single emerald.
The discount from curing stacks with other temporary discounts, but you can only get the permanent zombie cure bonus once per villager. For the best results, cure them before you start mass-buying their top-tier books.
It’s important to distinguish this from other discount systems:
- Hero of the Village: This is a temporary, village-wide discount you get for successfully defending against a raid. Prices will be low for everyone in the village for a short time, but they’ll creep back up.
- Supply and Demand: This is a core mechanic in your Trading Hall UI. If you buy the same trade from a villager repeatedly, the price will rise. To lower costs, rotate between different trades or let the villager restock at their workstation, which resets prices.
The zombie cure is the only way to lock in rock-bottom prices forever. With your cured villagers in place, you’ve transformed your trading hall from a shop into a sovereign treasury. You’re now ready to acquire any enchantment or gear at a fraction of the cost, setting the stage for truly endgame power.
Top 5 Must-Have Enchanted Books from Librarians
Once you’ve built your trading hall and mastered the art of rerolling librarians in Minecraft, the real fun begins: securing the game-changing enchantments that transform good gear into god-tier gear. This is the payoff for all that setup—the five enchanted books that will define your endgame and make you nearly unstoppable.
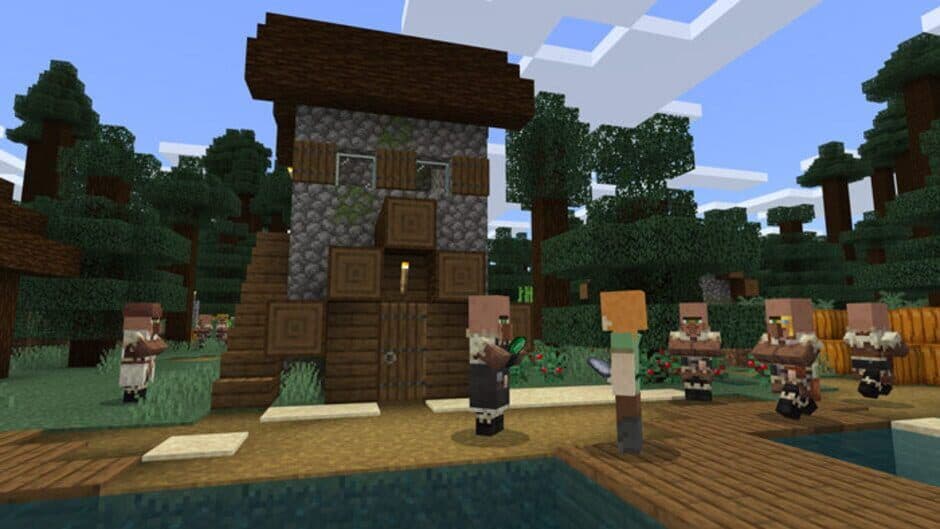
Locating a village is the first step in securing a librarian for your gear.
Here’s the definitive list of must-haves to hunt down first.
Mending I
This is the holy grail. The Mending I enchantment is your single most important find, as it repairs your tools, weapons, and armor by absorbing experience orbs. Trust me, you’ll never worry about durability again. The only reliable, renewable source for this treasure enchantment is a Librarian villager. You can find it as a Novice-level trade through rerolling, but be aware: if you have the Villager Trade Rebalance experimental feature enabled in your world, you’ll need to seek out a Master-level Librarian from a Swamp biome, as it becomes exclusive to them.
Never trade for a bookshelf or paper before locking in your Mending book. That first trade is permanent—make it count.
Unbreaking III
Durability is everything, and Unbreaking III is its champion. This enchantment dramatically increases the lifespan of your tools, weapons, and armor by giving each use a chance not to consume durability. It’s available from a Librarian at any level, so you can often snag it while rerolling for other top-tier books. Combining Unbreaking III with Mending creates gear that effectively lasts forever.
Protection IV
For armor, nothing beats blanket damage reduction. Protection IV provides significant resistance to all damage types (except void damage) and can be applied to every armor piece. While you can get lower levels from an enchanting table, the Librarian is your ticket to the max level without the anvil gamble. Having a full set makes you incredibly tanky against almost any threat the Overworld or Nether can throw at you.
Efficiency V
Time is your most valuable resource. Efficiency V on your pickaxe, axe, and shovel turns mining and chopping from a chore into a breeze. If your librarian only offers a lower tier like Efficiency III, don’t sweat it—you can combine two Efficiency IV books on an Anvil to create Efficiency V. This enchantment is a non-negotiable for any serious builder or miner.
Sharpness V
When it comes to raw offensive power for your sword or axe, Sharpness V is the undisputed king. It provides the highest flat damage increase against most enemies. Securing this from a Librarian saves you a massive amount of levels and lapis you’d otherwise spend hoping for a lucky enchantment table roll. With this on your blade, even the toughest mobs will fall quickly.
Lock in these five enchantments, and you’ve built the foundation for a truly powerful Minecraft survival experience. Your gear will be repaired, durable, protective, fast, and deadly—you’re ready for anything.
Minecraft 1.21.6 Biome-Locked Librarian Trades
Welcome to the biggest shake-up in villager trading since the Village & Pillage update. In Minecraft 1.21.6, the way you get those game-changing enchanted books has been completely overhauled. Gone are the days of finding one perfect librarian in your local village—now, the world itself holds the key to your ultimate gear. This new system, known as the Villager Trade Rebalance, ties a librarian's most powerful enchantments directly to the biome they call home.

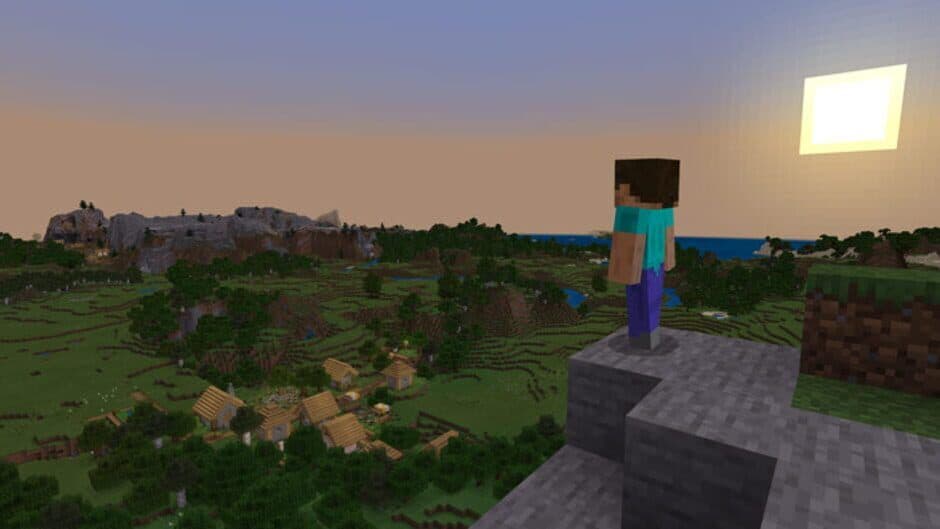
The 1.21 updates emphasize biome-specific villager identities.
If you've been wondering why your old strategies aren't working, or why you can't find a Mending book anywhere, this guide is for you. The rebalance makes enchanting a strategic journey across biomes, turning your map into a treasure hunt for the best enchantments in the game.
How Biome-Locked Trades Work
At its core, the rebalance splits librarian trades into two categories: Common Books and Special Books.
Common books are the lower-tier enchantments you can find at any librarian level (Novice through Master) by using the familiar lectern rerolling technique. You break and replace the lectern before any trade to shuffle these offers. The catch? The pool of possible common books is now determined by the librarian's biome. For example, only a Desert librarian will have Infinity in their common pool.
The real game-changer is the Special Book. This is a single, powerful, fixed-level enchantment that a librarian will only offer once they reach the Master level. You cannot reroll for this book; you must level the villager up by trading. Most importantly, which special book they offer is 100% determined by their biome of origin.
Here’s a breakdown of the seven village biomes and their unique offerings:
| Biome | Special (Master Only) | Common Enchantments |
|---|---|---|
| Plains | Protection III | Smite V, Punch II, Bane of Arthropods V |
| Desert | Efficiency III | Fire Protection IV, Infinity, Thorns III |
| Savanna | Sharpness III | Knockback II, Curse of Binding, Sweeping Edge III (Java only) |
| Taiga | Fortune II | Blast Protection IV, Fire Aspect II, Flame I |
| Snowy | Silk Touch | Looting III, Aqua Affinity, Frost Walker II |
| Swamp | Mending | Depth Strider III, Respiration III, Curse of Vanishing |
| Jungle | Unbreaking II | Power V, Feather Falling IV, Projectile Protection IV |
⚠️ Critical Note: Swamp and Jungle biomes do not generate with natural villages. This means you cannot simply find a swamp librarian; you have to create one.
Acquiring Swamp and Jungle Librarians
Since you can't find these villagers naturally, you need to get creative. Your goal is to have a villager be born or converted within the target biome, as this permanently locks their biome type. Here are the two most reliable methods:
1. Villager Breeding in the Biome
This is the most straightforward approach. Build a simple breeder—two beds, some food (like 3 bread or 12 carrots per villager), and secure walls—in the heart of a Swamp or Jungle biome. Transport two villagers there by boat or minecart. Any baby they produce will inherit the biome it's born in. Once grown, place a lectern nearby to make it a librarian.
2. Curing a Zombie Villager in the Biome
Find a zombie villager (they spawn naturally in all biomes) and lure it into a safe curing chamber within your target Swamp or Jungle. Hit it with a Splash Potion of Weakness and feed it a Golden Apple. When it converts, it will become a villager of that biome's type. Then, assign it the librarian profession.
For the ultimate discount combo, combine these methods. Breed your swamp villagers, then zombify and cure the one you want as your librarian. This grants the permanent zombie discount and secures your source of Mending.
Strategic Implications and Missing Enchantments
This system fundamentally changes your endgame goals. To have access to every enchantment via trading, you now need to establish a trading hall with at least one librarian from all seven biomes. It encourages exploration and setting up outposts in diverse locations.
Be aware that some enchantments have been removed entirely from the librarian trade pool. You can no longer get books for Trident (Loyalty, Riptide), Crossbow (Multishot, Piercing), or Fishing Rod (Luck of the Sea, Lure) enchantments from villagers. These must be found through enchanting, fishing, or chest loot.
Furthermore, "treasure" enchantments like Soul Speed, Swift Sneak, and Wind Burst were never tradable and remain exclusive to loot chests.
Putting It All Together
The 1.21.6 rebalance might feel overwhelming at first, but it creates a more engaging and exploration-driven late game. Instead of grinding one lectern, you're charting a course across your world.
Your new checklist looks like this:
- Find or build villages in Plains, Desert, Savanna, Taiga, and Snowy biomes for their librarians.
- Establish a breeding/curing outpost in a Swamp biome for Mending.
- Establish a breeding/curing outpost in a Jungle biome for Unbreaking II and other key books like Power V.
- Level a librarian in each biome to Master to unlock their unique special book.
- Use lectern rerolling in each biome to collect their common books.
Yes, it's more work. But the reward is a truly self-sufficient empire, with a dedicated librarian for every enchantment you'll ever need, spread across the biomes of your world. Embrace the journey—your perfect gear awaits.
How to Use the Anvil for Efficient Enchanting
You’ve gathered a treasure trove of enchanted books from your librarians—now comes the real test. In Minecraft, the anvil is your final workstation for creating perfect gear, but a single mistake can lock your masterpiece behind a “Too Expensive” wall. Here’s how to master the system.
Survival mode gameplay in Minecraft.
The core mechanic to understand is the Prior-Work Penalty. Every time you modify an item on an anvil—whether combining books, repairing, or renaming—a hidden penalty is applied, making the next operation cost more experience levels. The penalty increases dramatically: the first added cost is 1 level, then 3, then 7, then 15, then 31, and so on. This exponential climb leads directly to the Too Expensive Limit: once the total cost for an operation exceeds 39 levels, the anvil will block the action in Survival mode. Your perfect sword is suddenly out of reach.
The solution is the Book Bracket Method. Instead of applying each enchanted book one-by-one to your diamond pickaxe—which racks up the penalty on the tool itself—you combine the books together first. Merge your Efficiency V book with Unbreaking III, then combine that result with Mending, and finally with Fortune III. You’re creating one ultimate “God Book.” This process builds up the penalty on the book, which is cheap to sacrifice. Then, in a single, final anvil operation, you apply this master book to your clean tool. This minimizes the prior-work penalty on your gear, keeping you far from the 39-level limit.
If you want to rename your gear, do it before you apply the final master book, or rename the book itself during the combining stage. Renaming adds to the work penalty, and doing it last is a common way to accidentally hit “Too Expensive.”
Don’t forget about utility! Once your librarians reach Master level, they offer Name Tags for 20 Emeralds. These are invaluable for your trading hall, allowing you to name your villagers so they never despawn, securing your investment.
With this strategy, you can confidently combine any enchantment. Remember: bracket your books, apply them in one go, and rename early. Your ultimate gear is now just an anvil tap away.