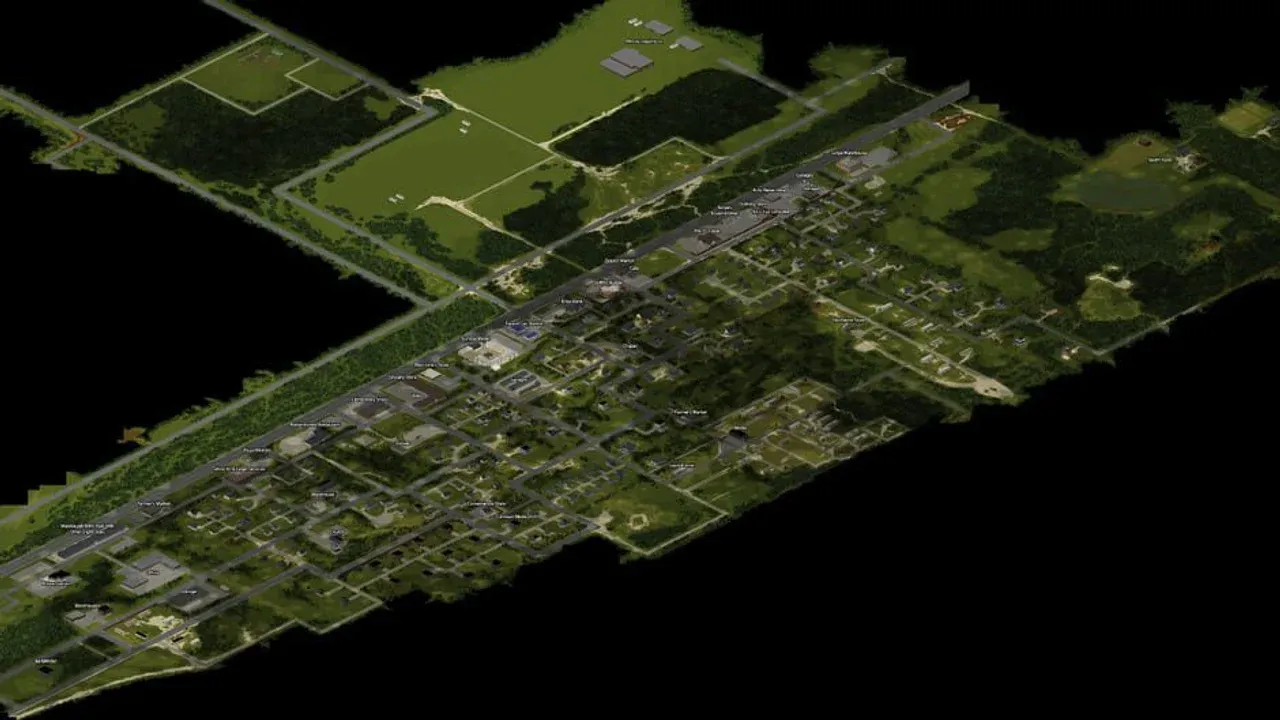
Build 42.20 gives Project Zomboid more ways to waste your first month: the stable release expands Knox Country with 400 procedural basements and 75 unique ones, while its new crafting and animal systems invite long projects before you have a reliable food route. Resist that pull. Your first 30 days should buy three things in order—mobility, a repeatable supply loop, and a fallback when the neighborhood turns loud. A permanent fortress comes after those, not before.
Choose the occupation that solves your first bottleneck
Pick the occupation that fixes the problem you will face before day seven:
- Choose Carpenter if your plan is to settle near town and improve an existing house. The early Carpentry start pays off in storage, barricades, and escape structures.
- Choose Burglar if you want a car before you have time to build Mechanics and Electrical. The occupation grants the Burglar trait, which lets you hotwire vehicles without the normal skill requirements.
- Choose Fire Officer if you expect your first week to involve more melee fighting and carrying than construction.
- Choose Lumberjack if axes are the weapon you understand best and you want the occupation’s axe-focused advantages.
- Choose Park Ranger for a remote start built around foraging, trapping, and moving through woodland; choose Unemployed only when you already know which traits you want to fund.
For a first run, prioritize traits that protect the same four margins: strength and fitness for fighting and carrying, awareness for noticing danger, movement for escaping, and faster learning for reaching useful skills sooner. Do not take a negative trait just because it refunds points if it worsens the situation you are still learning to control—fatigue, panic, hearing, or carry weight.
Use one rule to settle close calls: if your occupation makes the first vehicle, first base upgrade, or first escape easier, it is doing more work than a late-game bonus you may never reach.
Leave day one with six non-negotiables
The opening sweep is successful when you can leave the house, survive one mistake, and return. Take these before you start collecting luxuries:
- One full water bottle. Keep it in your main inventory; the bottle is a one-litre fluid container and can satisfy thirst while you move.
- One dependable melee weapon and a backup. A frying pan or hammer is a bridge, not a reason to fight a crowd.
- A bag, can opener, bandages, and medicine. Canned food is only useful if you can open it, and a wound is a route-ending problem.
- A hammer, saw, and screwdriver. These are the first tools that turn a found house into a workable base and let you dismantle or build instead of scavenging forever.
- Curtains, sheets, spare clothing, and a watch. Close sight lines, make an emergency rope when needed, and track whether a trip will end in darkness.
- A marked return route. Check every room before storing supplies, note the second exit, and do not let a locked room become part of your escape plan until you have opened it.
Do not clear the whole block on day one. Pull a small group away from the house, kill it while rested, and stop when your character becomes tired, panicked, hurt, or overloaded. If you break a window, remove the glass before climbing through; the noise has already created risk, so do not add a preventable wound.
Reject any base that fails the two-exit test
Your first safehouse only needs to win one night and support the next run. Keep it if it passes these checks:
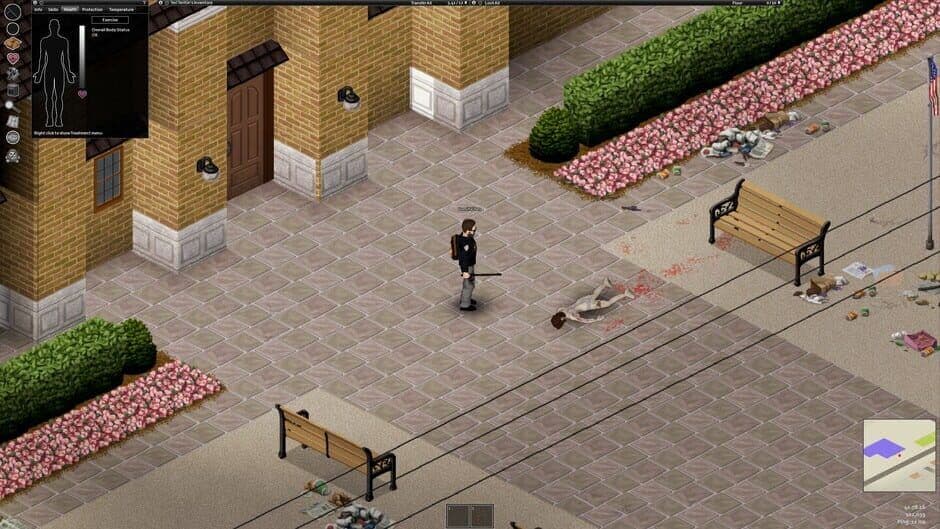
A temporary safehouse is useful only when its exits remain usable.
- Two usable exits: count a door and a second door or ground-level window. An upstairs window is useful only when you can reach it safely and have a planned descent.
- Blocked sight lines: close curtains or cover windows so sleeping, sorting, and reading do not keep drawing attention.
- Manageable surroundings: nearby houses supply tools and food, but a dense street turns every alarm, broken window, and engine start into a visit from more zombies.
- A short resupply loop: you should be able to reach kitchens, a tool source, and a vehicle area without crossing the largest crowd in town.
Do not spend day one building a compound. Place supplies where you can grab them, keep one emergency bag packed with a bottle, food, bandages, and a weapon, and learn the local routes first. Barricades become valuable after you know which side of the building you will abandon.
Use week one to make three safe trips in a row
A reliable first week has milestones, not a giant loot pile:
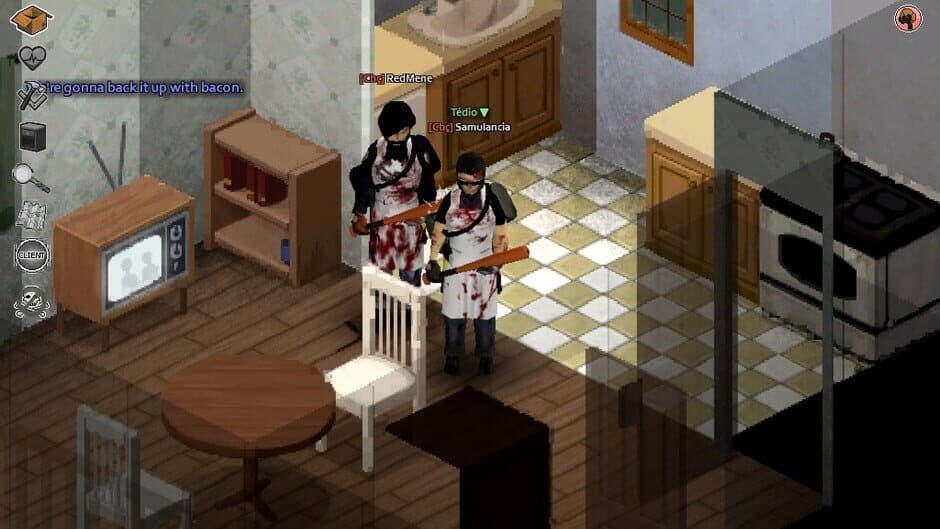
A quiet interior is where a supply route becomes a routine.
- By the end of day one: sleep in one chosen house, close its curtains, identify both exits, and store only the supplies you can carry out quickly.
- By day three: complete three short supply trips that end at the same house. Bring one destination per trip, return before dark, and keep the emergency bag untouched.
- By day seven: have a second route home, a usable melee backup, spare bags, basic medical supplies, skill books for the work you plan to do, and either a vehicle with keys or a clear vehicle plan.
Fight only for a route, a required tool, a vehicle, or a room you will use. Panic reduces combat accuracy and spatial awareness, while fatigue and heavy loads make the retreat slower. Read the relevant skill book before grinding, and use early television or radio opportunities when you can do so without missing sleep or a safer trip.
Treat noise as a route-planning problem. Sprinting, smashing windows, firing guns, shouting, and starting a car can move zombies toward the exact house you wanted to protect. Make noise away from your sleeping place, decide where the crowd should go, and never start an engine beside a base you still need.
Let Build 42 projects wait until your route works
Build 42.20’s expanded map and physical crafting systems reward long-term planning, but they also create attractive detours. Do not chase basements, animals, or a full workshop while your food, water, and retreat plan still depend on one kitchen.
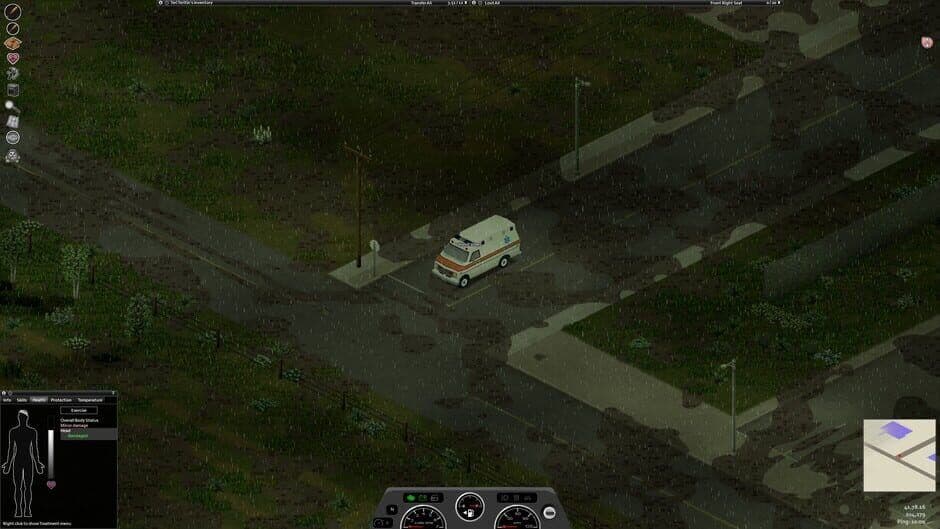
A vehicle expands a survivor’s options, but its engine also creates noise.
Use days 8–30 to add one option at a time:
- Mobility: Find a usable vehicle and a gas can. Test the car away from your front door; the engine is a noise event, and a car without fuel is storage with a steering wheel.
- Utilities: Keep bottles and cooking containers, reserve a safe place for future water storage, and find the generator manual before you rely on a generator.
- Food: Eat perishables first, protect canned food for bad trips, then add a second source through farming, fishing, trapping, foraging, or Build 42’s animal systems. You need two ways to eat, not every system at once.
- Map knowledge: Explore the new basements and expanded areas only after you have a return route and enough daylight to use it. The new content is a reason to widen your map later, not a reason to abandon a safe loop now.
The day-30 test is practical: you can leave with water, food, a weapon, and a route home; you know where the vehicle and backup shelter are; and losing one house would not end the run.
Leave before one warning becomes three
Most early deaths happen when a player keeps the same plan after the conditions have changed. Use these stop rules:
- Tired or panicked: stop looting and return; do not “finish one more room.”
- Overloaded: put the item down or make a second trip; fighting at a heavy load is not efficient.
- Wounded: treat the injury before the next door, even if the building looks empty.
- No route home: turn around immediately. The loot is not progress if you cannot name the way back.
- Helicopter event: move to your fallback before the crowd reaches your base. Do not defend a favorite room from a neighborhood-sized problem while exhausted.
- Engine noise near home: drive away from the base before stopping, parking, or sorting. A vehicle can move the threat as quickly as it moves you.
When the first plan fails, the survivor who still has a bottle, a bag, a backup weapon, and a second route is the one who gets to day 31.