How to Find Every Safe in The Last of Us Part II
Scattered throughout the grim, post-apocalyptic world of The Last of Us Part II are over a dozen locked safes, each a promise of precious supplies, powerful weapons, and even crucial trophies. This guide is your master key, breaking down everything you need to become a true Safecracker.
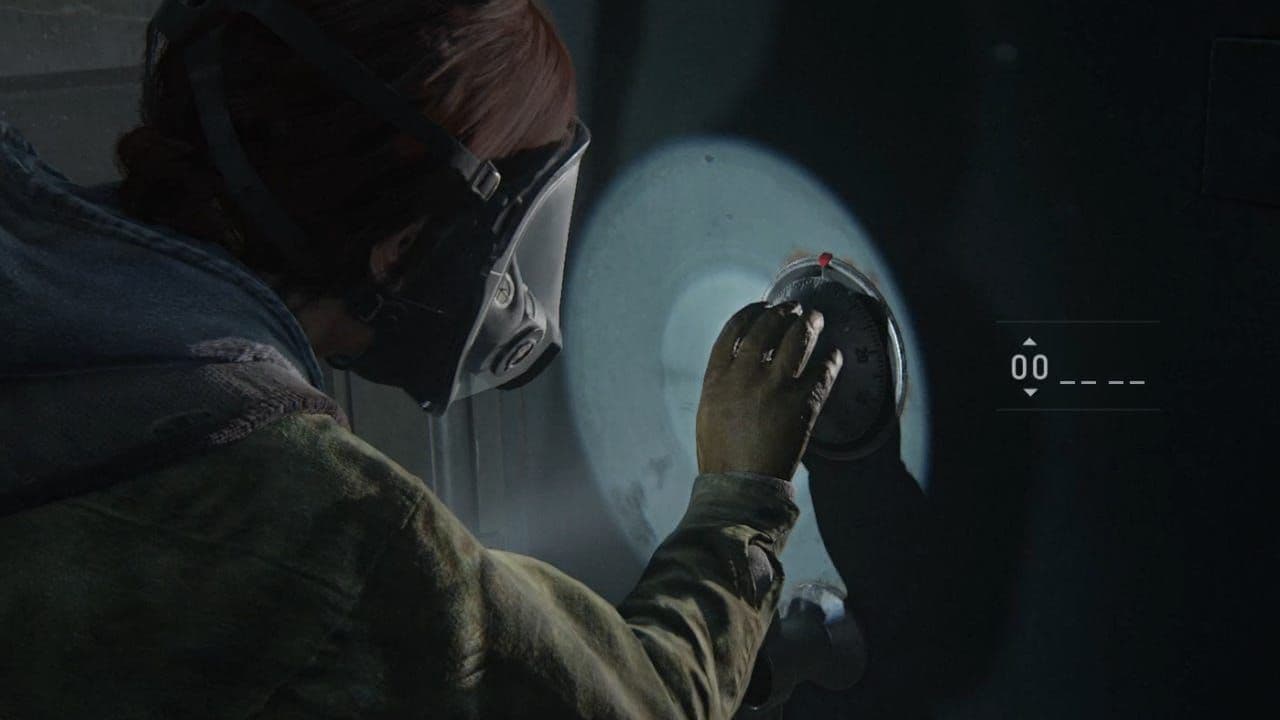
The manual cracking mechanic requires listening for distinct clicks.
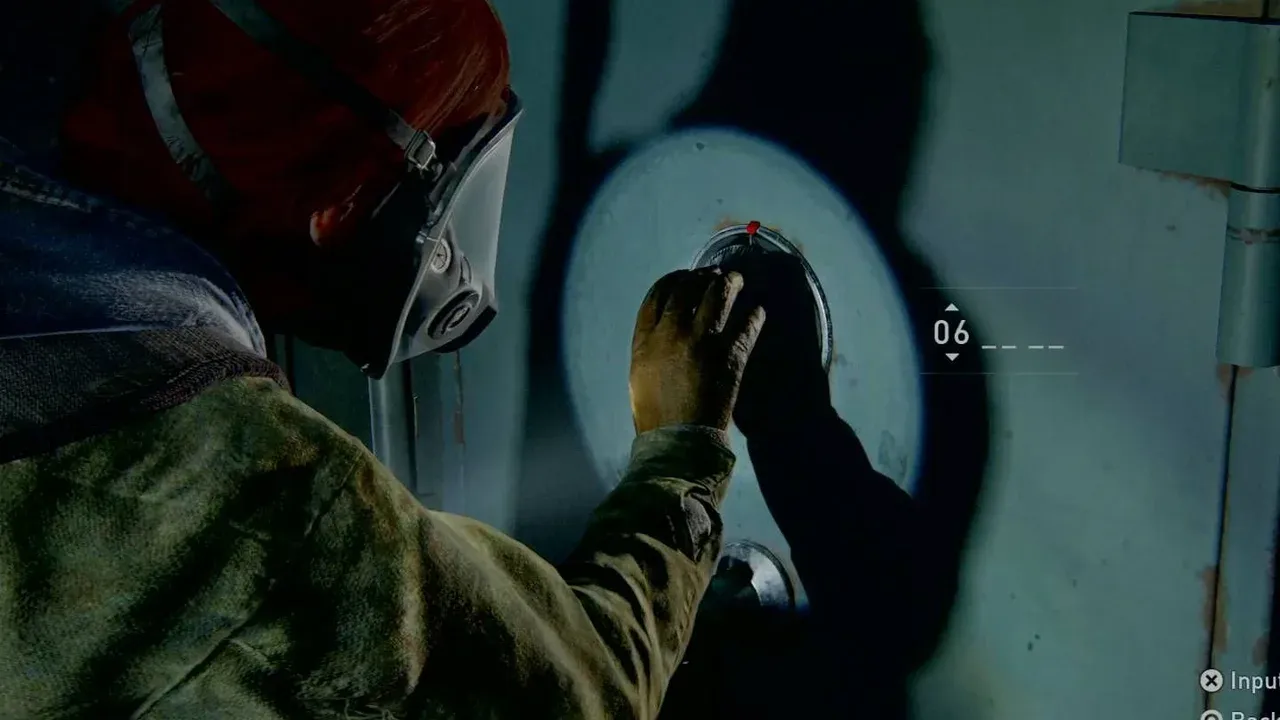
In The Last of Us Part II, safes are a new type of environmental puzzle. To open one, you’ll need a three-digit code (each digit ranging from 00-99). The most reliable method is to search the immediate area for clues. You’ll find these hints in Artifacts—notes, letters, and posters you pick up. To read them, open your inventory and press the [Touchpad] to examine them for environmental clues like dates, phone numbers, or gate codes.
If you’re stuck, you can bypass the clue hunt entirely. Interact with the safe and use the [L-Stick] to manually rotate each dial. Listen carefully for a distinct, soft click when you land on the correct number. It’s time-consuming, but it works.
Your ultimate goal is the Safecracker Trophy, awarded for unlocking all 14 unique safes across both Ellie and Abby’s campaigns. These are scattered from the snowy streets of Jackson to the flooded ruins of Seattle. One safe, the Westlake Bank Vault in Downtown Seattle, holds more than just supplies. Inside, you’ll find a safety deposit box in the corner containing an Antique Ring, which unlocks the separate So Great and Small Trophy.
Trust me, the rewards inside these safes—from weapon upgrades like the Short Gun Holster to critical crafting materials—are worth the detour. With the basics covered, you’re ready to start hunting. Let’s find every last one.
Jackson and Seattle Day 1 Safe Locations in The Last of Us Part II
The quiet streets of Jackson and the rain-soaked ruins of Seattle hold more than just danger—they hide valuable caches of supplies behind locked safes. In The Last of Us Part II, your first major exploration opportunities in these areas are perfect for learning the art of safe cracking. This guide covers every safe you can find in Jackson and during Ellie’s first day exploring Seattle.
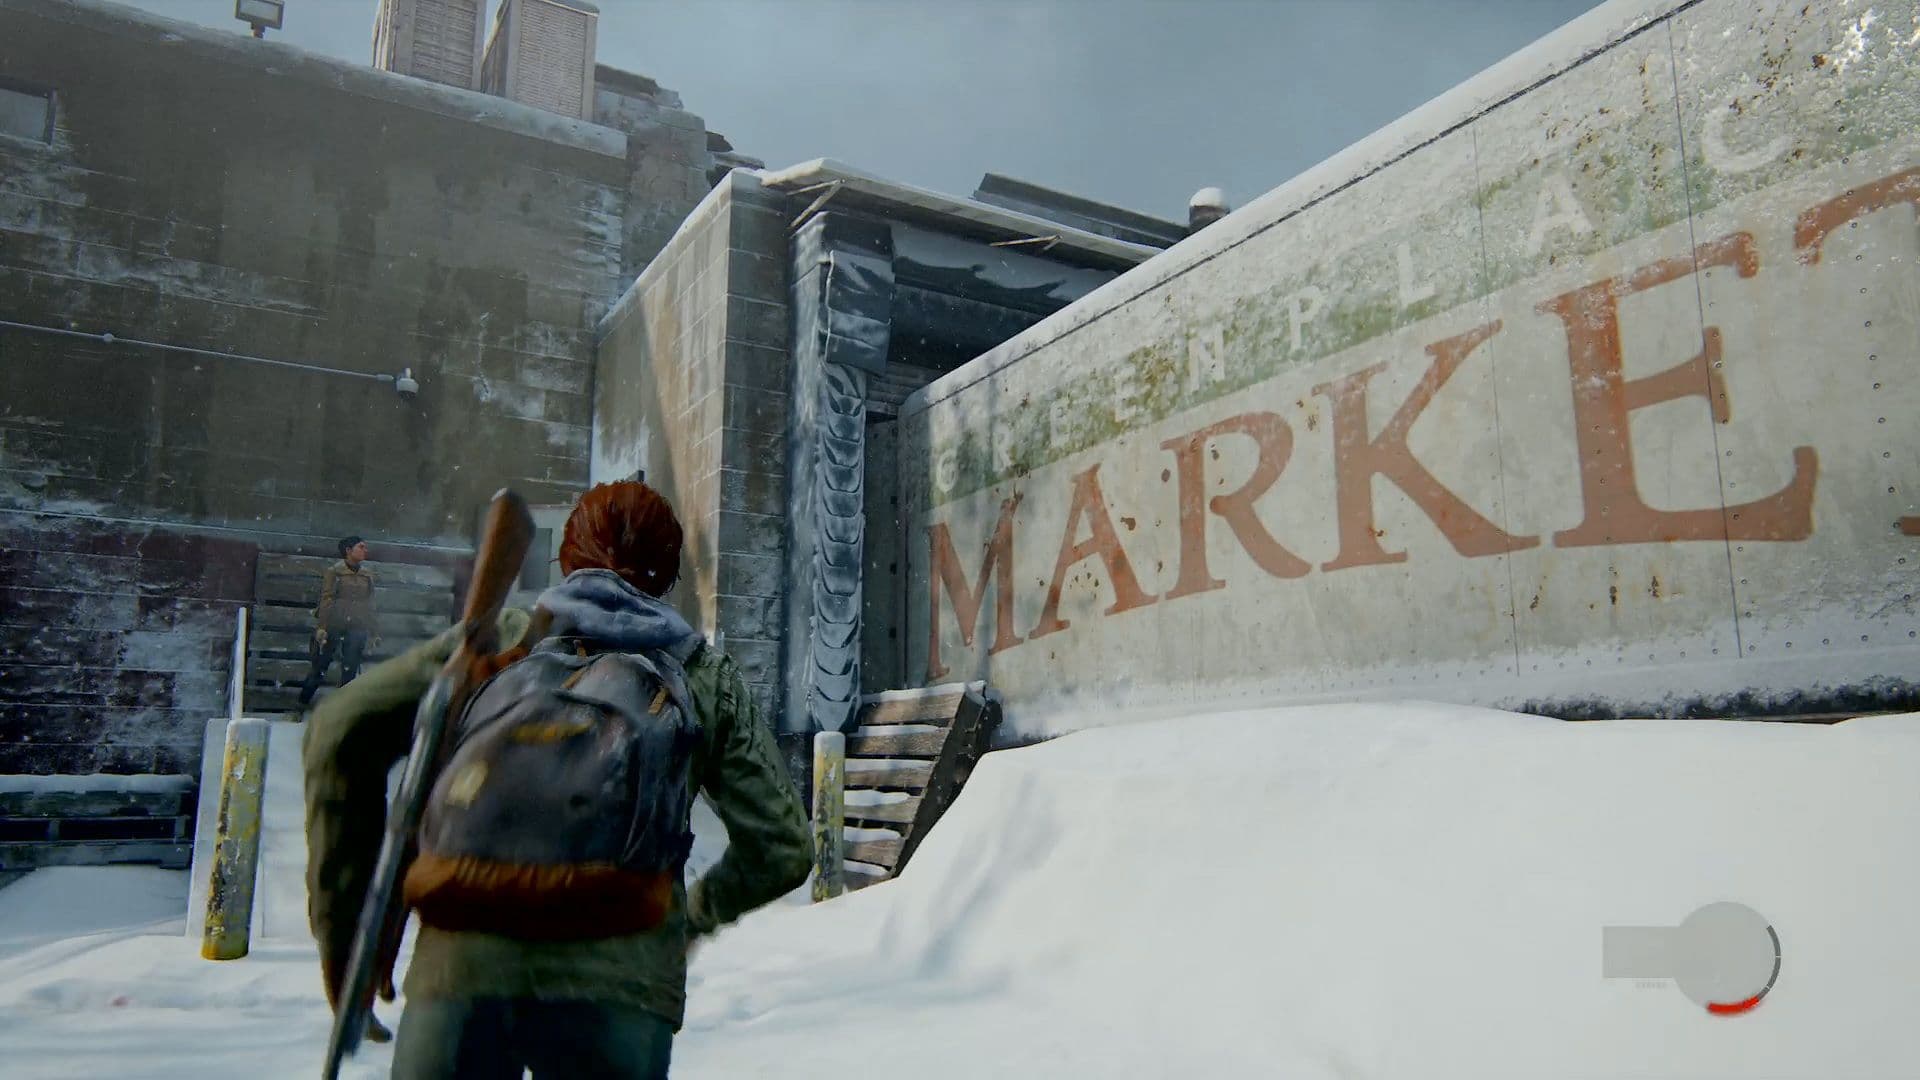
The first safe located inside the Market in Jackson.
Here’s the trick most guides miss: explore thoroughly before triggering major story events. Some areas become inaccessible later, so grab these resources while you can.
Jackson: Patrol
Your first safe is a tutorial hidden in plain sight. During the winter patrol with Dina, you’ll enter a spore-filled Supermarket. After squeezing through a crack in a wall, go through the first door on your right into a back office.
- Safe: Supermarket Back Room
The clue is on the ‘Good Boy Combo’ artifact—a dog’s photo on the Employee of the Month wall dated July 2013. The code is 07-20-13. Inside, you’ll find supplements and scrap to kickstart your upgrades.
This safe teaches you the core loop: find an artifact note, decipher the clue (often a date or number), then locate the nearby safe. Get used to checking desks, walls, and notes.
Seattle Day 1: Downtown
Once you reach downtown Seattle with Ellie, the city opens up. Three safes are hidden in this dense, optional exploration zone. Trust me, the rewards here are worth the detour.
- Safe: Westlake Bank Vault
Find the bank at 5th and James. Inside, go behind the counters into the vault area. The code is on the ‘Bank Heist Plans’ note in a bag near a corpse. Enter 60-23-06 into the vault’s dial. This is a major find—the safe contains the Pump Shotgun, a game-changer for combat. - Safe: Gate West 2
Head to Madison St, north of the main checkpoint. Squeeze through a gate to find a safe in a cabin. The code is on the ‘Checkpoint Gate Codes’ artifact in a satchel on the ground nearby. Use 04-51. You’ll get ammo, a med kit, and a trading card. - Safe: Courthouse Office
Inside the courthouse, before taking the elevator down to the garage, look for a locked office. Smash the window to get in. The code 86-07-22 is written on a whiteboard in this office, near Lt. Torres’ corpse. The safe itself is under a desk.
Seattle Day 1: Capitol Hill & The Tunnels
As you progress the story into Capitol Hill and the infected subway tunnels, keep an eye out for these two locked containers.
- Safe: Wellwishes Thrift Store
In the Capitol Hill chapter, you’ll pass through a thrift store rigged with tripwires. In the back room, a note on a corkboard mentions Staci’s number. Find the full number 55-01-33 scrawled on the bathroom wall to open the safe in the adjacent room. Be careful—a Clicker guards this area. - Locked Door: Subway Break Room
Later, in The Tunnels chapter after your first Shambler fight, you’ll find a breakroom with vending machines. Smash a vending machine to get a soda can with a partial code. The lock on the door only has buttons 1-5, and the can gives you the first three digits: 152. The full, logical code for the door is 15243. Inside, you’ll find ammo and crafting supplies.
With these six safes and doors unlocked, you’ll have a serious stockpile of ammo, a powerful new weapon, and a head start on upgrades for the challenges ahead in The Last of Us Part II. Let’s move on to Seattle Day 2.
Seattle Day 2 and Day 3 Safe Locations for Ellie
This is it—the dense, dangerous heart of Seattle. As Ellie pushes deeper into enemy territory on Seattle Day 2 and Day 3 in The Last of Us Part II, the optional safes become more tucked away and their clues more cryptic. The loot, however, is absolutely worth the detour, offering crucial upgrades and supplies for the brutal fights ahead. Trust me, you’ll want to take these side paths.
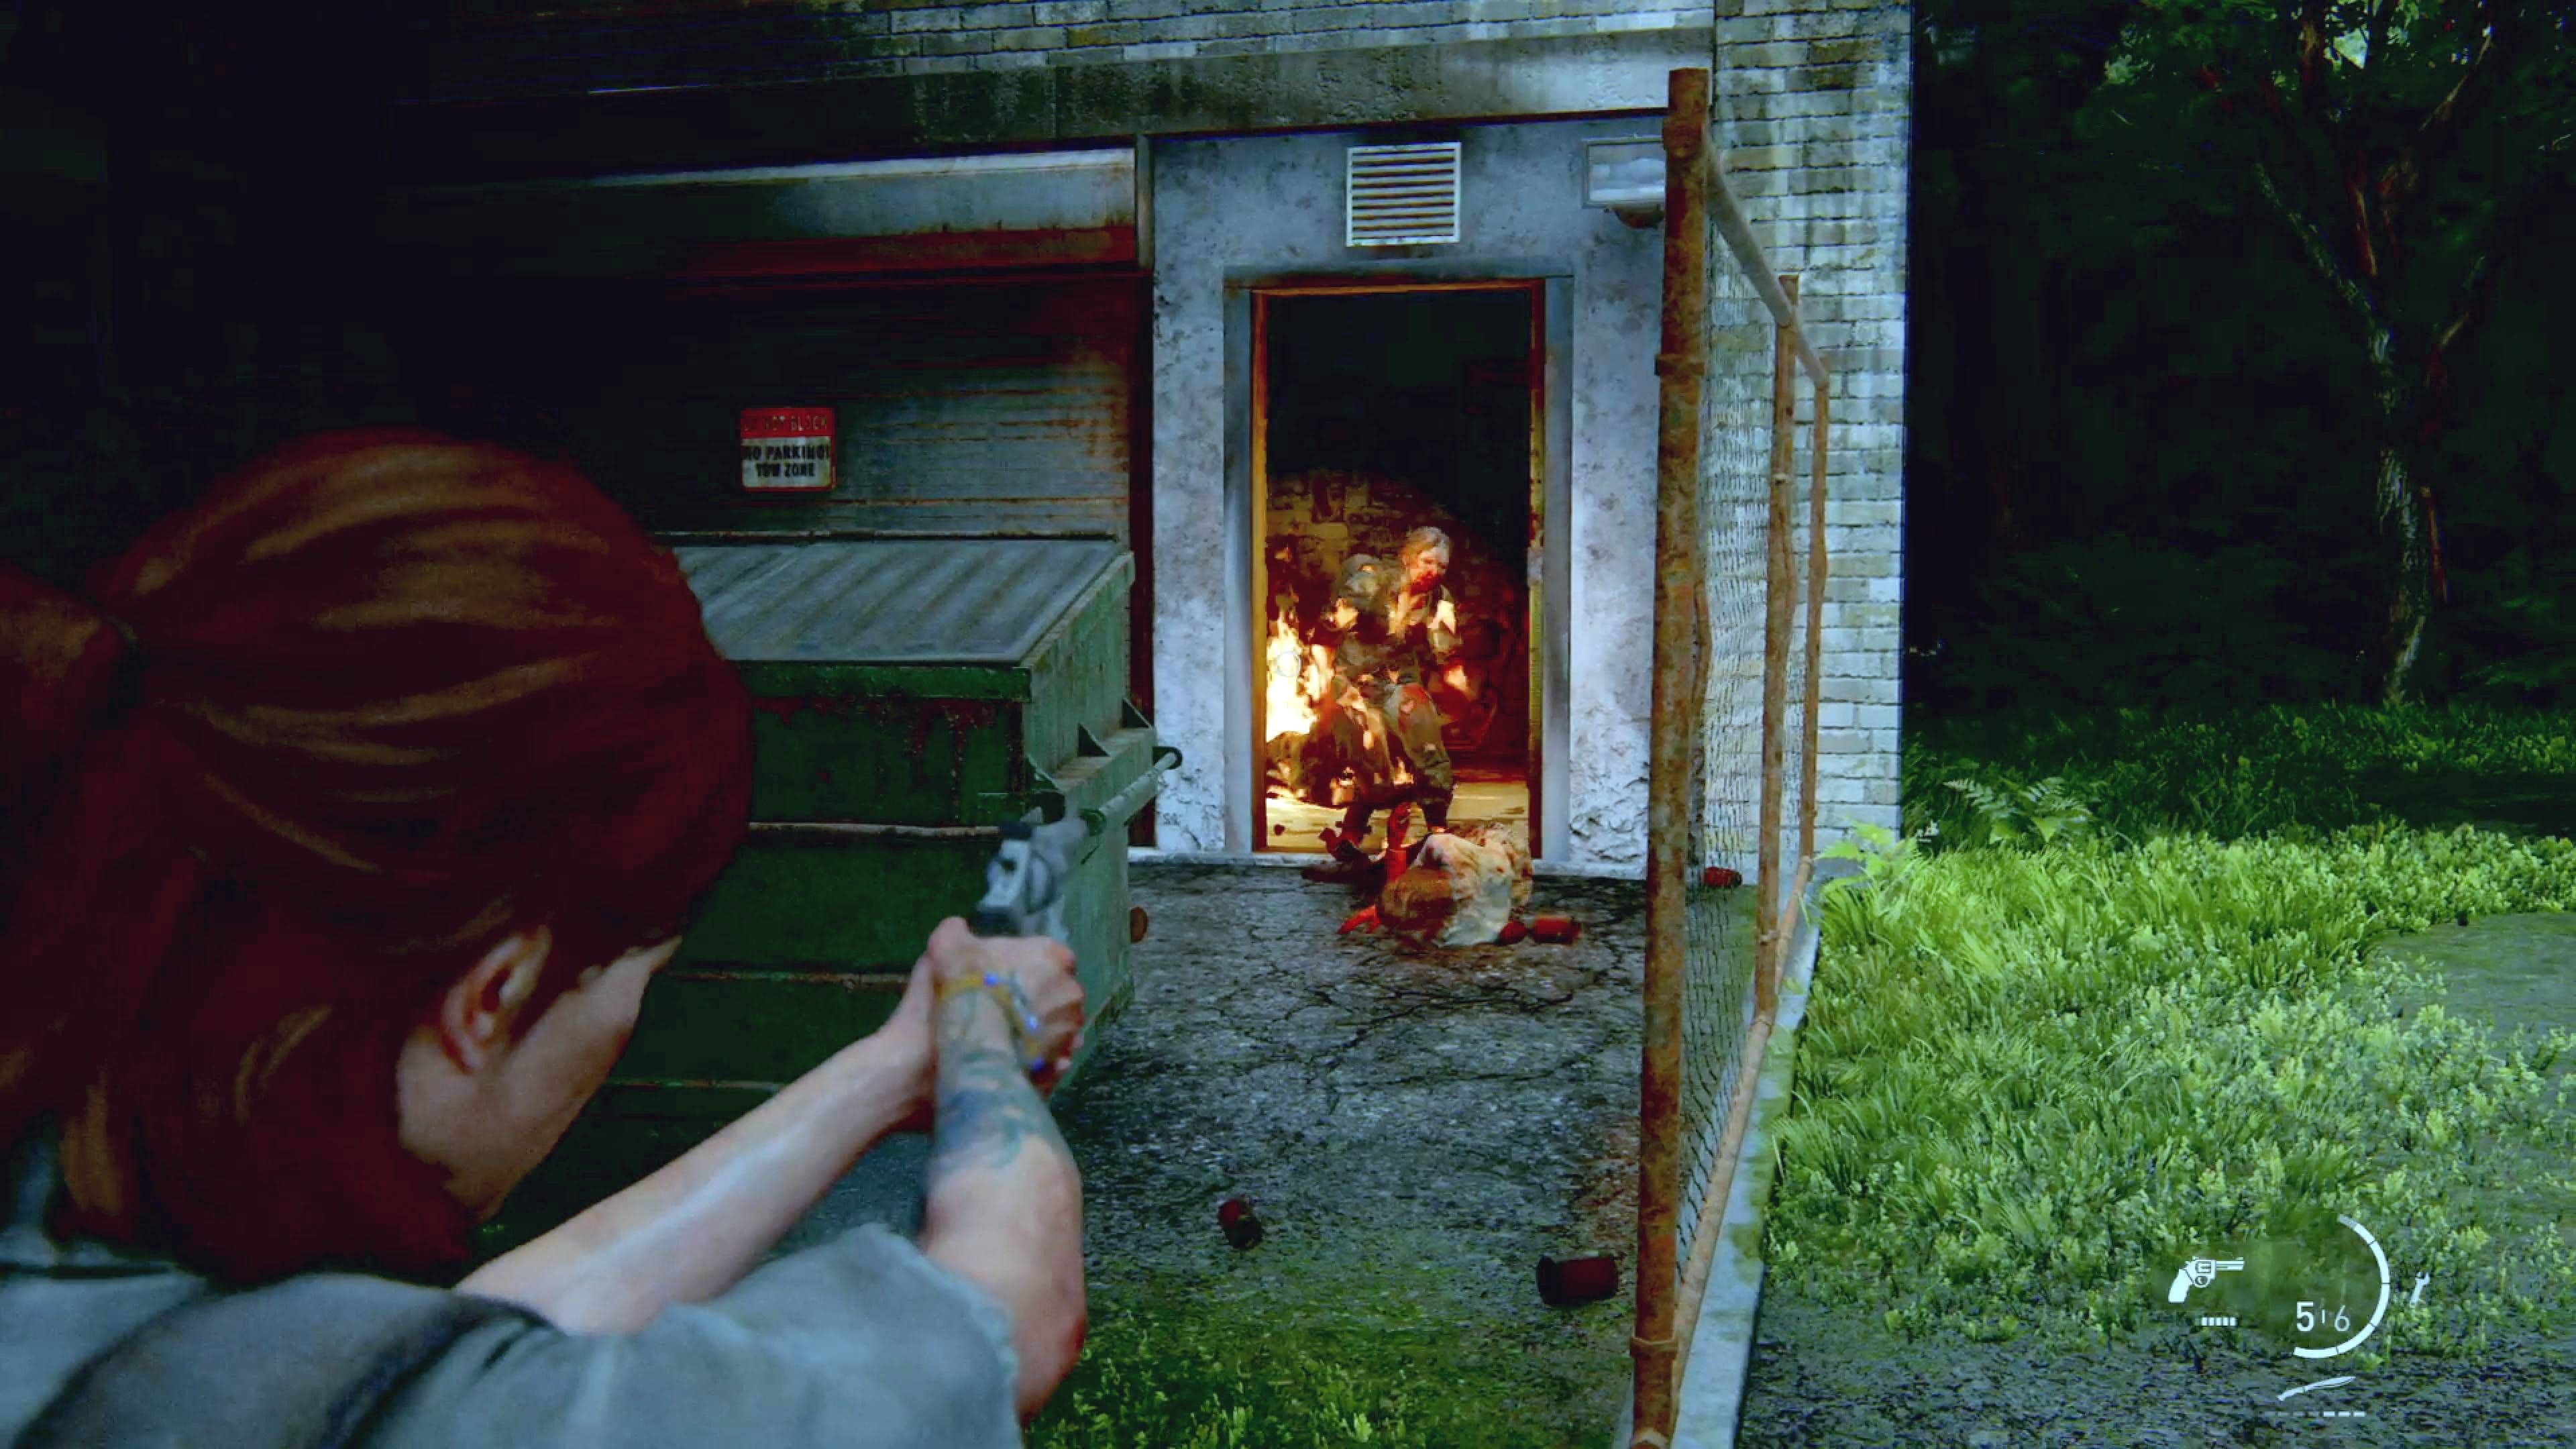
The Hillcrest Garage safe location
Seattle Day 2 – Hillcrest
After the chaos of the bookstore, you’ll emerge into the residential streets of Hillcrest. Keep an eye out for the back alley behind the row of shops, including Shear Lux Hair Salon and Velvet Tattoo.
Safe: Auto Repair Garage
A green dumpster blocks the entrance to a garage marked “AUTO” on its bricks. Move it aside to enter—be ready for infected inside. The safe is near the entrance. To find the code, head across the street to a bar. Inside its kitchen, you’ll find the ‘Dale’s Combo’ artifact taped to the wall.
Safe Code: 30-82 65.
Clear the infected in the garage first. Trying to solve the puzzle while dodging runners is a recipe for a quick death.
Seattle Day 2 – The Seraphites
The mood shifts as you enter the overgrown, hostile territory of the Seraphites. Exploration here is tense but rewarding, with two key safes hidden in the ruins.
Safe: Apartment Bedroom
Early in the chapter, before the dumpster ramp puzzle, you’ll see an apartment building on your left. You can enter via a basement window or by climbing a truck to a second-floor balcony and breaking in. Inside, find the ‘Evacuation Letter’ on a kitchen table and a calendar in the bedroom marked for a couple’s 30th anniversary on 10/08/13. The safe code is that date, minus 30 years.
Safe Code: 10-08-83. The safe itself is in the bedroom closet.
Safe: Weston’s Pharmacy
Later, after a swimming section, you’ll come across a large concrete building with Weston’s Pharmacy inside. Head behind the counter to find the ‘Pharmacy Note’ artifact with the code written on it. To reach the safe, crawl through a small hole in the wall between shelving units.
Safe Code: 38-55-23.
Seattle Day 3 – The Flooded City
The rain-soaked, submerged streets of The Flooded City hold one final, well-hidden safe for Ellie’s journey. This area can feel overwhelming, but the payoff is significant.
Safe: Flooded Garage
You’ll need to manually open a large garage door here to proceed with your boat. Before you leave, go upstairs in the same building. In a room overlooking the water, you’ll find a body with the ‘Stash Note’ artifact. The code is on the note. To physically reach the safe, which is in a caged area downstairs, move a pallet-on-wheels in this upper room to reveal a crawl space. Drop down to find the safe waiting.
Safe Code: 70-12-64.
With these four safes cracked open, you’ve secured every piece of optional loot on Ellie’s grueling trek through Seattle. The supplies and upgrades within will be invaluable as her story reaches its climax. Let’s go.
Abby Seattle Day 1 and Day 2 Safe Locations
As Abby’s journey through Seattle unfolds, you’ll find that her path is just as filled with hidden supplies as Ellie’s—if you know where to look. In The Last of Us Part II, the safes in her chapters hold some of the best gear, including a powerful new weapon and a crucial training manual. Here’s exactly where to find them all.
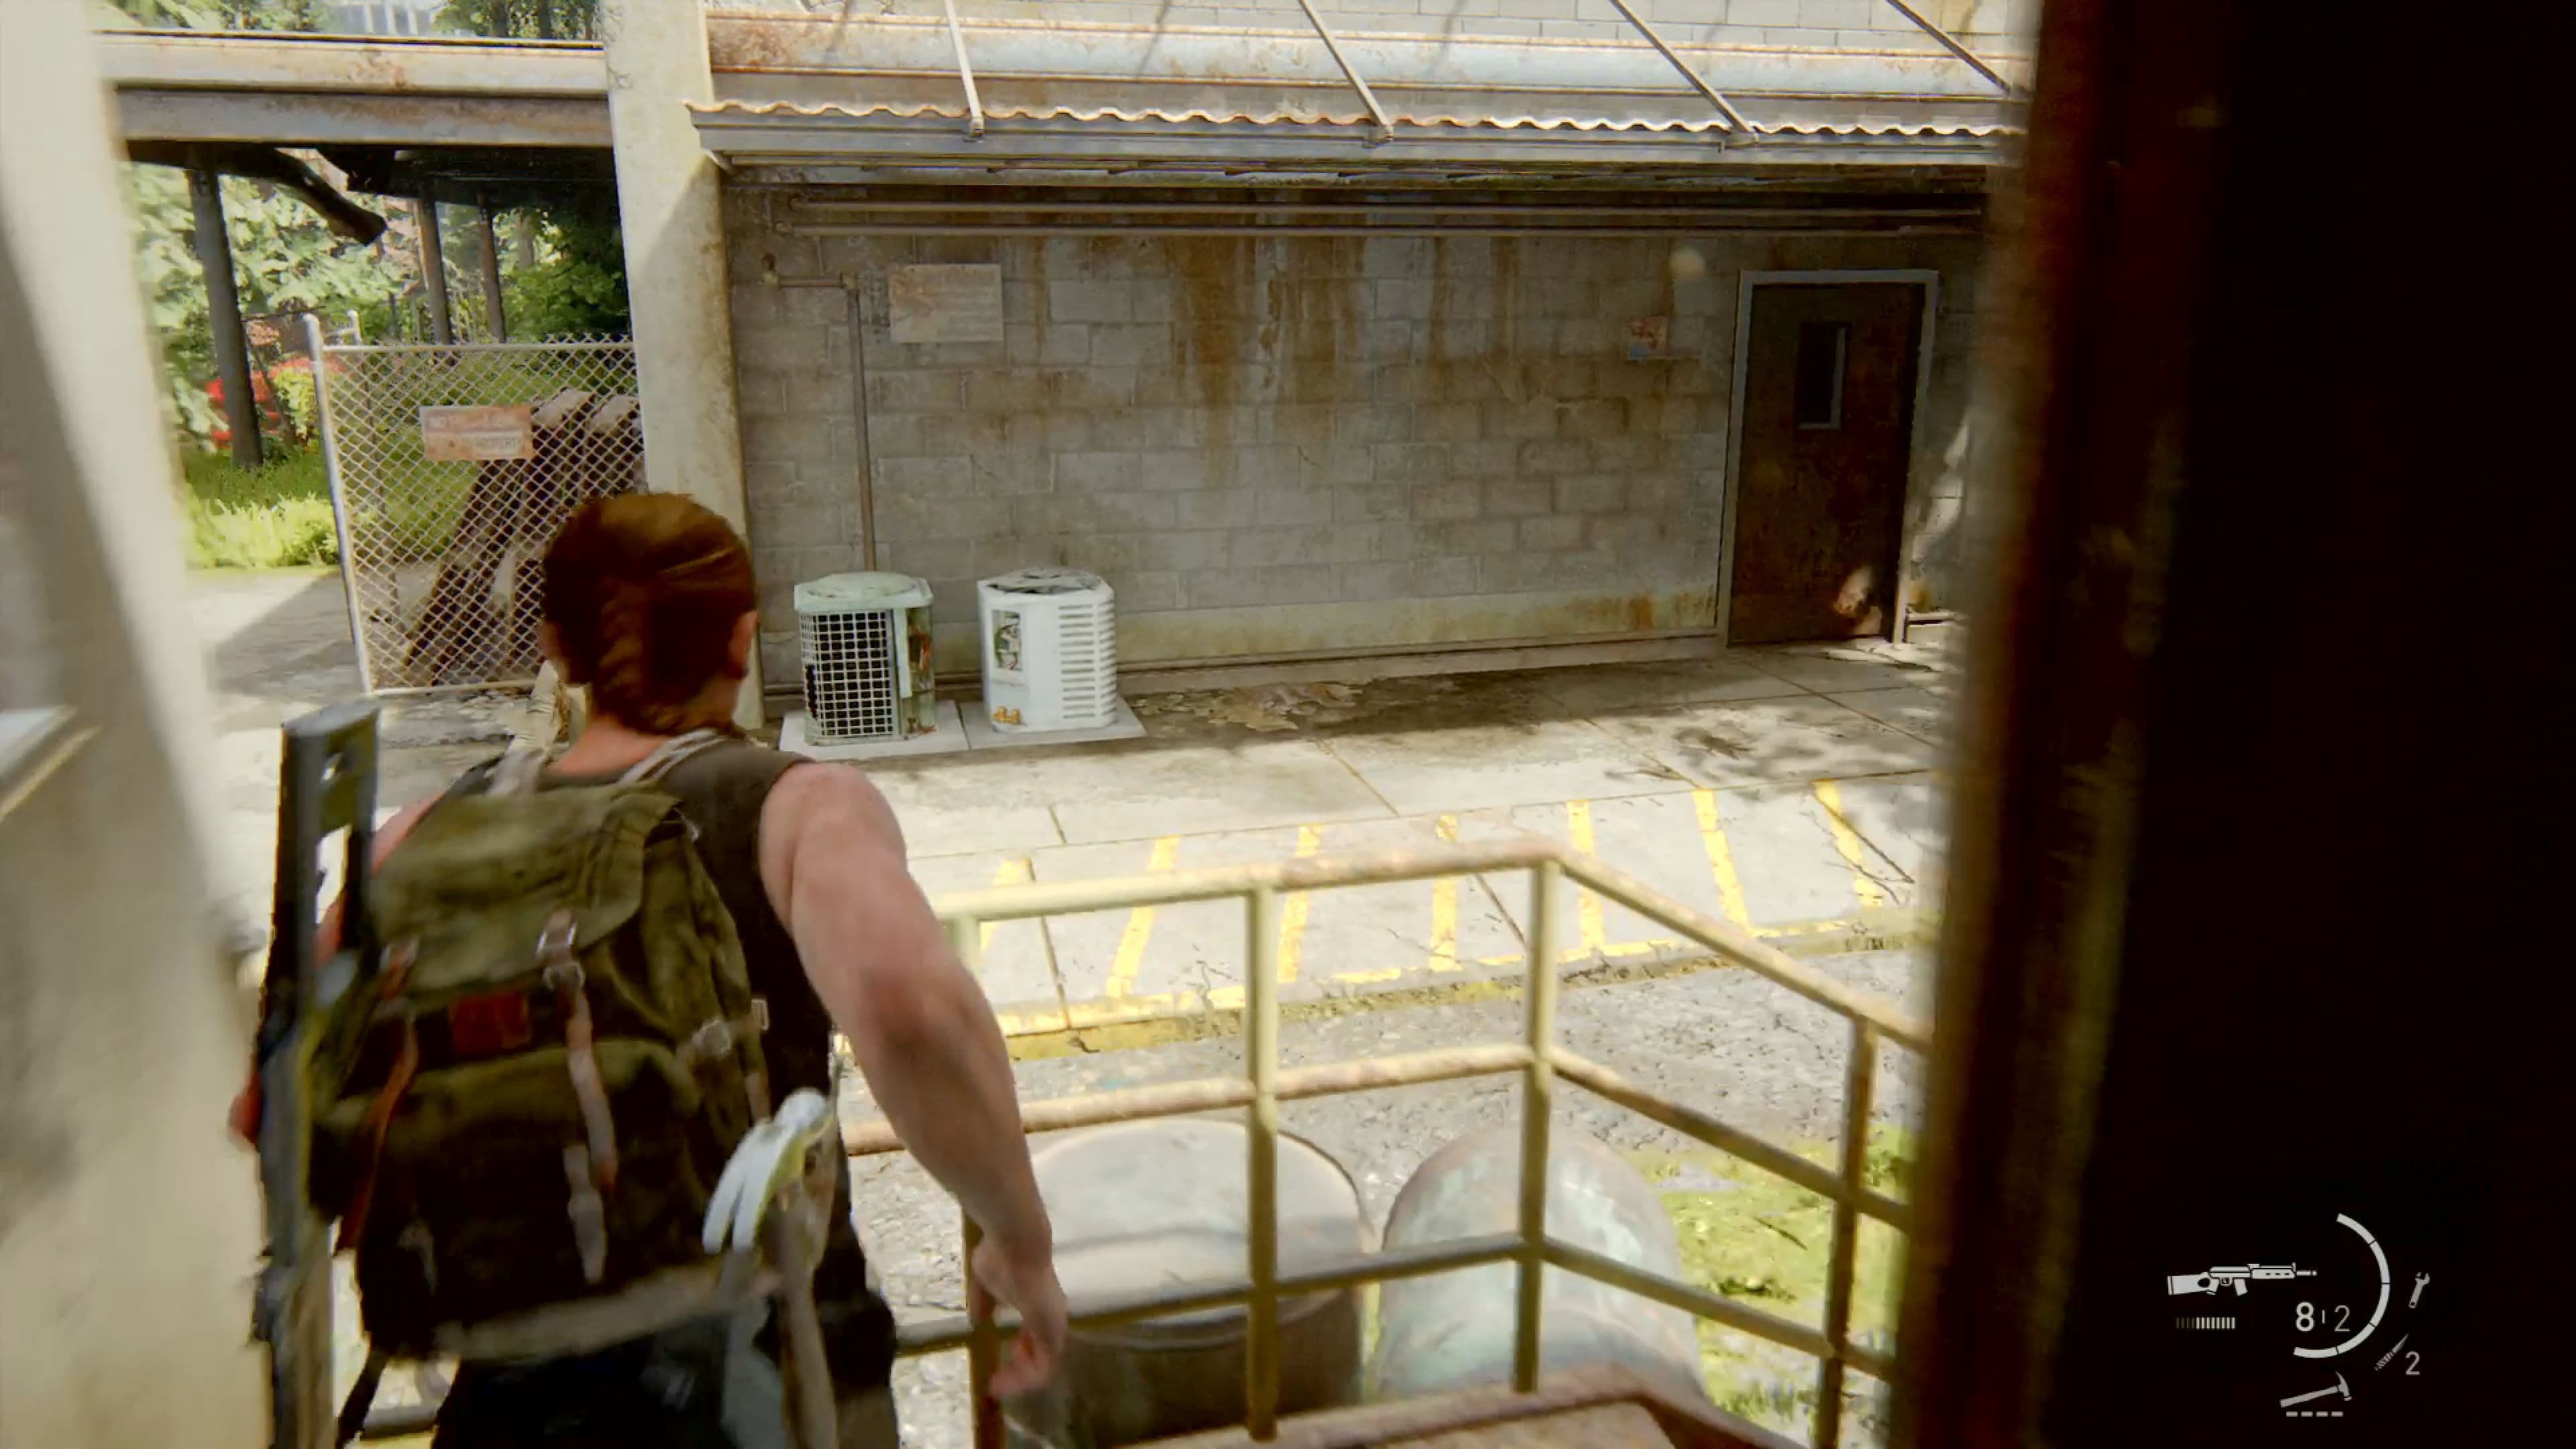
The MS Corporation gun safe location.
WLF Gun Cache Safe
Your first major find as Abby is the WLF Gun Cache safe in the Seattle Day 1 > On Foot chapter. After navigating the boat repair shop and following the train tracks with Manny and Mel, you’ll come across a small trailer. Inside, check the filing cabinet for the ‘WLF Gun Cache Note’ artifact, which mentions “the big win.” The clue is the lotto ticket pinned to the corkboard next to a computer desk; the circled numbers give you the combination. The safe itself is in the MS Corporation Soft Drink Distribution Center building directly across from the trailer. Look for a narrow crevice in the wall facing the tracks to get inside.
Safe Code: 17-38-07
This safe contains the Hunting Pistol, a high-powered sidearm perfect for taking down armored enemies. Don’t miss it.
Jasmine Bakery Safe
Later in Seattle Day 1, you’ll reach the Hostile Territory chapter, moving through a Chinatown-like street. The Jasmine Bakery is the first shop on the left with a purple sign, but its front is boarded up. To get the code, head two buildings down to the Ruby Dragon restaurant. Go upstairs, clear out the Clickers, and crawl into a side room. From there, hop across the gap in the street to a balcony where you’ll find a letter from Mei to Bo on a cardboard box. That note has the combination. Return to the bakery, break the boarded window to get behind the counter, and open the safe.
Safe Code: 68-96-89
Ferry Aft Deck Safe
Your trek continues into the Seattle Day 1 > The Coast chapter, where you’ll explore a beached ferry. The safe is on the upper-most deck, but the code is found earlier. After acquiring the crossbow, check a small camp bed in a narrow corridor for the ‘Mutiny Note’ artifact. This gives you the numbers. To reach the Ferry Aft Deck safe, head to the top deck of the ship, find a large hole in the wall, and climb through into a cabin.
Safe Code: 90-77-01
⚠️ Watch out: This safe is vital—it contains the Terrorist Tactics Training Manual, which unlocks Abby’s Ordnance skill branch. Make sure you grab it.
D&D Apartment Safe
On Seattle Day 2, you’ll navigate the ruined skyscrapers in The Shortcut chapter. After leaping from a freeway sign onto a balcony, smash the glass to enter an apartment where a D&D game is set up on the table. Look for the ‘Neighbor Exchange’ note on a side table in the hallway. It hints that the safe code is a combination of apartment numbers. Check the door of the apartment you’re in (302) and the one to its left (304) to piece it together. The safe is in the bedroom.
Safe Code: 30-23-04
Hotel Gym Storage Safe
Your final safe is in the Seattle Day 2 > The Descent chapter, right after the tense sky bridge sequence. After falling into the pool and fighting through the gym, look for the exit door marked "21st floor." Just to the left of this door is a janitorial closet—that’s the Hotel Gym Storage room with the safe. The clue is in the nearby Orchards Juice Bar kitchen; a note pinned to a bulletin board states the safe code is the same as the public Wi-Fi password. Find that password on a sign posted on the gymnasium wall.
Safe Code: 12-18-79
With all five of Abby’s safes unlocked, you’ll have secured game-changing weapons and upgrades for the challenges ahead. If you’ve opened every safe in The Last of Us Part II so far, only the Safecracker trophy stands between you and completion.
The Last of Us Part II Safe Rewards and Loot Optimization
Cracking open a safe in The Last of Us Part II is always a thrill, but not all loot is created equal. While you’ll find a steady supply of Supplements and Scrap/Parts inside most safes, a handful of them hide truly game-changing rewards—unique weapons, critical equipment upgrades, and even trophies. Knowing which ones to prioritize can make your journey through Seattle feel far more powerful.
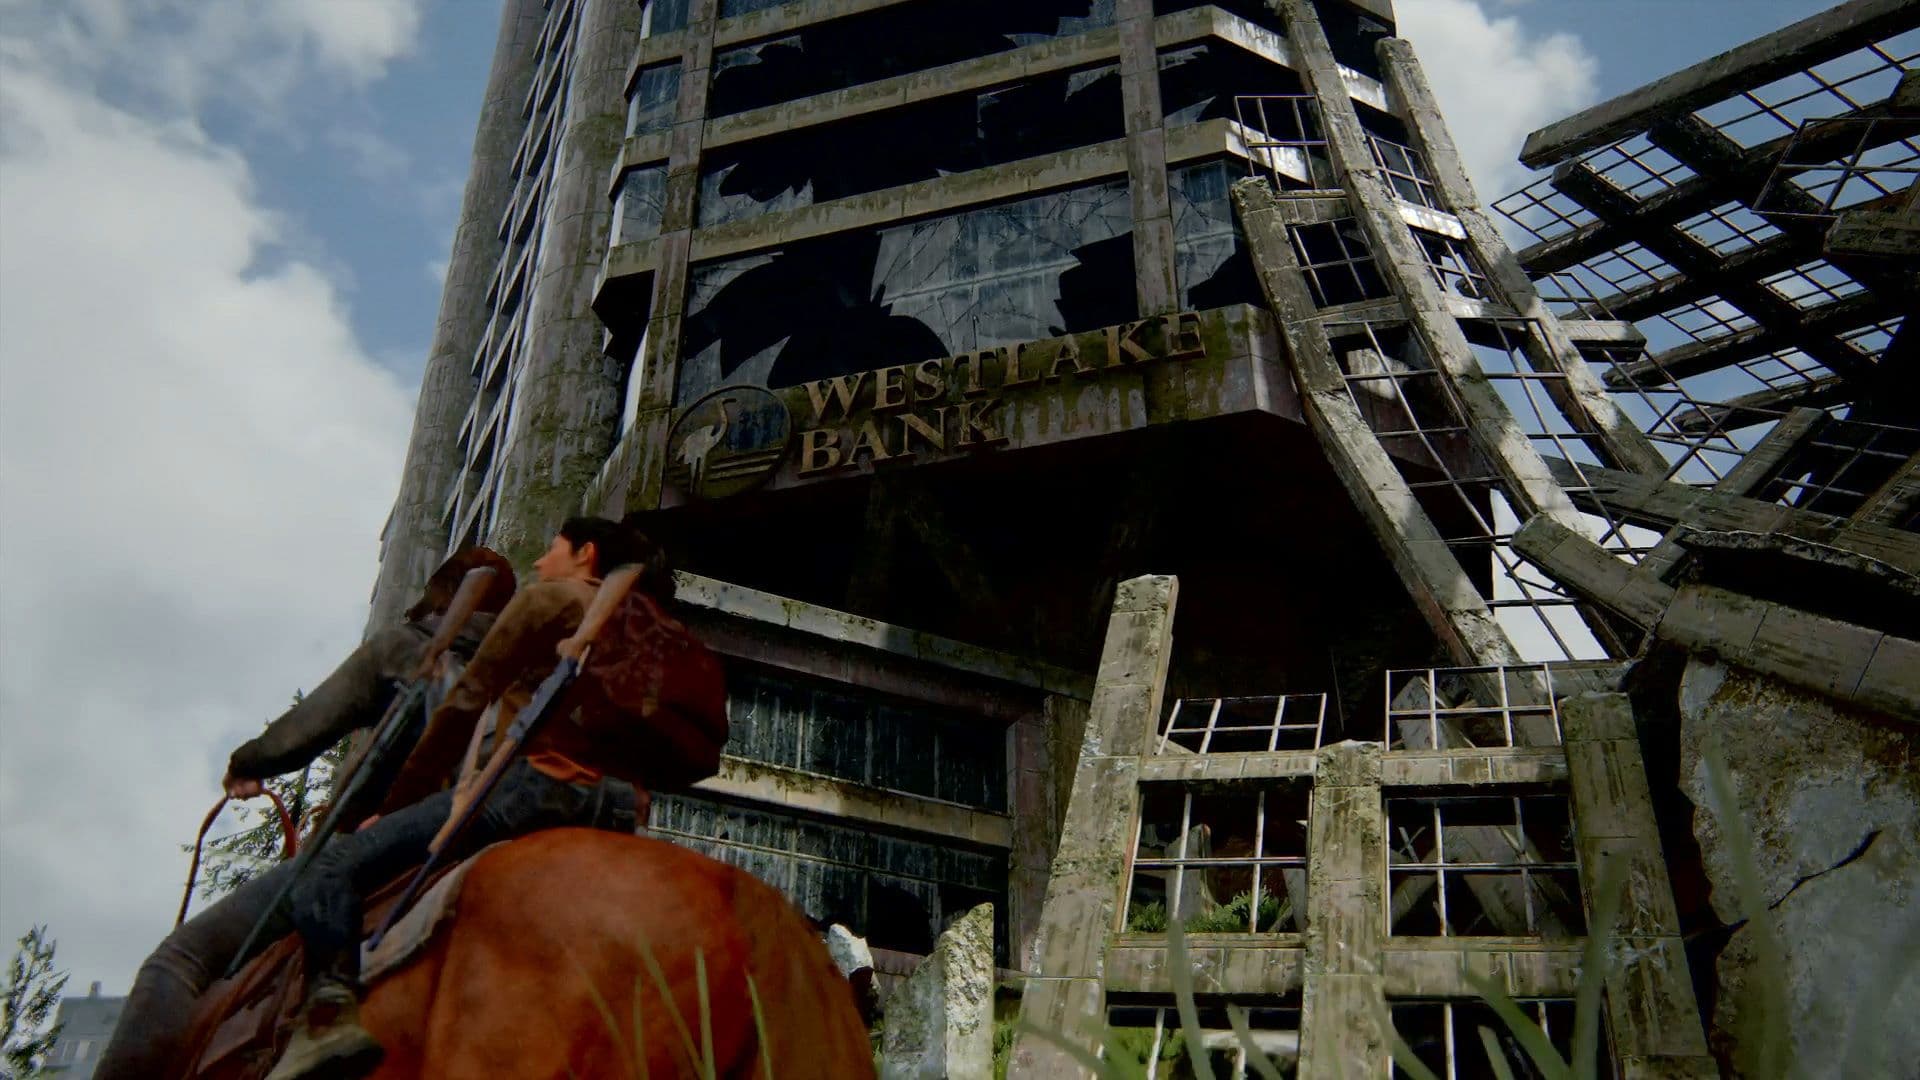
The Westlake Bank safe is a high-priority target for the Pump Shotgun.
Here’s a breakdown of the must-have rewards and how to optimize your looting strategy.
Unmissable Weapon & Gear Rewards
These safes contain unique items you cannot find anywhere else in The Last of Us Part II. Missing them means missing out on core tools for your arsenal.
- The Pump Shotgun: This powerhouse is tucked away in the Westlake Bank Vault during Seattle Day 1 > Downtown. The code is 60-23-06. It’s one of Ellie’s most devastating close-range weapons, and securing it early will make the infected and human encounters in the downtown core much more manageable.
- The Hunting Pistol: As Abby, you can find this high-caliber sidearm in the WLF Cache Safe during Seattle Day 1 > On Foot. The code is 17-38-07. It hits like a truck and is invaluable for taking down tougher enemies from a distance, perfectly complementing Abby’s strength-focused combat style.
- The Short Gun Holster: This isn't just an item; it's a permanent equipment upgrade. Found in the Auto Repair Garage Safe during Seattle Day 2 > Hillcrest (code: 30-82-65), it allows Ellie to carry two pistols simultaneously. Trust me, the flexibility of switching between a silenced pistol and a revolver is a massive quality-of-life improvement.
Essential Progression Items
Some safes reward items that unlock new gameplay branches or trophies, making them critical for completionists.
- The Ordnance Upgrades Training Manual: This manual unlocks an entire new branch of skills for Abby. It’s located in the Ferry Safe on the top deck during Seattle Day 1 > The Coast (code: 90-77-01). The Ordnance branch focuses on crafting enhanced explosive devices, so grab this if you want to maximize your destructive potential.
- The Antique Ring: While not in a safe itself, this key collectible is in the same location as a major safe. Inside the Westlake Bank Vault (Seattle Day 1 > Downtown), don’t forget to open the small safety deposit box in the corner after you crack the main vault. The Antique Ring inside is needed for the ‘So Great and Small’ Trophy.
Always combine safe hunts with thorough artifact collection. The clue for the safe code is often on a note in the same room, and other notes might point to nearby collectibles like the Antique Ring or trading cards.
Loot Optimization Strategy
While every safe offers resources, your approach can maximize their benefit.
- Supplements and Scrap/Parts are the backbone of your progression, found in almost every safe. Supplements are spent on permanent character skills in your skill trees, while Scrap/Parts are currency for upgrading your weapons at workbenches.
- Prioritize Early Game Safes: The rewards from the Westlake Bank Vault (Pump Shotgun) and the Auto Repair Garage (Short Gun Holster) have the longest utility in the game. Getting them as soon as possible gives you the most bang for your buck.
- Don’t Skip Abby’s Safes: It’s easy to be less thorough on a second playthrough, but Abby’s Hunting Pistol and Ordnance Training Manual are fundamental to her toolkit. The Jasmine Bakery and Ferry safes should be high on your list.
With this knowledge, you’re not just opening safes—you’re strategically unlocking power. Focus on these key rewards in The Last of Us Part II, and you’ll transform from a scavenger into a force to be reckoned with on the streets of Seattle.