Understanding AWP Stats and Costs in Counter-Strike 2
The AWP in Counter-Strike 2 is more than just a sniper rifle—it’s a statement. This $4,750 investment can dominate a round with a single shot, but its high-risk, high-reward nature demands respect. Before you can master its psychology or its peeks, you need to understand its raw numbers and what that price tag truly buys you. Let’s break down the stats that make the AWP a legend and the financial commitment required to wield it.
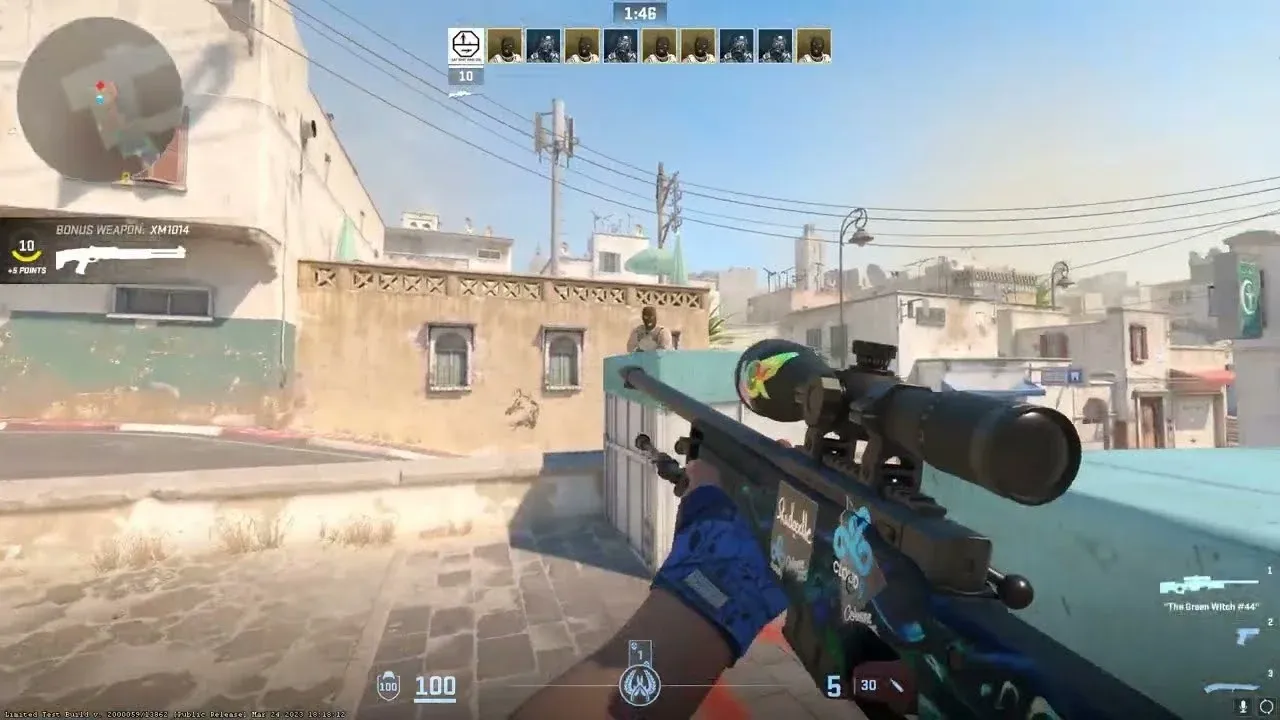
The AWP is the most powerful and expensive sniper rifle in Counter-Strike 2.
At its core, the AWP is a one-shot-kill machine. A clean shot to the body deals 115 damage, while a headshot deals a staggering 448 damage. Thanks to its 97.5% armor penetration, any shot to the chest or head is lethal, regardless of the enemy’s Kevlar. The only exception is a shot to the legs or arms, which deals approximately 85 damage—enough to leave an opponent critically wounded but still alive.
Aiming center-mass is often more consistent than going for headshots, especially under pressure. The AWP’s damage ensures a body shot is almost always a kill.
This immense power comes with significant limitations. The rifle has a 5-round magazine and a painfully slow 3.7-second reload time. Every missed shot is punishing, and you’re extremely vulnerable while racking the bolt. This combination of power and vulnerability defines the AWP’s playstyle: deliberate, patient, and precise.
Buying the AWP is a team decision, not just a personal one. A full AWP buy is a major investment, typically costing around $6,750. This includes the rifle itself ($4,750), Kevlar + Helmet ($1,000), and a standard utility set: 2x Flashbangs, 1x Smoke, and 1x HE Grenade (another $1,000). This full kit is essential for surviving, creating safe peeks, and finishing off enemies you’ve leg-shot.
Conversely, there’s the risky “glass cannon” buy for $4,750, where you buy the AWP and nothing else—no armor, no utility. This strategy requires you to play at extreme distance and hold passive angles, as any close-range spray or piece of utility can easily end your round. It’s a high-stakes gamble usually reserved for desperate economic situations.
Understanding these numbers is your first step toward wielding the AWP effectively in Counter-Strike 2. You’re not just buying a gun; you’re investing in round-winning potential that demands smart play to protect. With this foundation, you’re ready to start thinking like an AWPer.
How to Manage the AWP Economy in Counter-Strike 2
This is where Counter-Strike 2 separates the snipers from the campers—the AWP's $4,750 price tag isn't just a number, it's a commitment. A single bad buy can cripple your team's economy for multiple rounds, but the right purchase at the right time can single-handedly win you the half. Managing this high-stakes economy is about making smart, team-first decisions, not just buying the big green gun whenever you can.
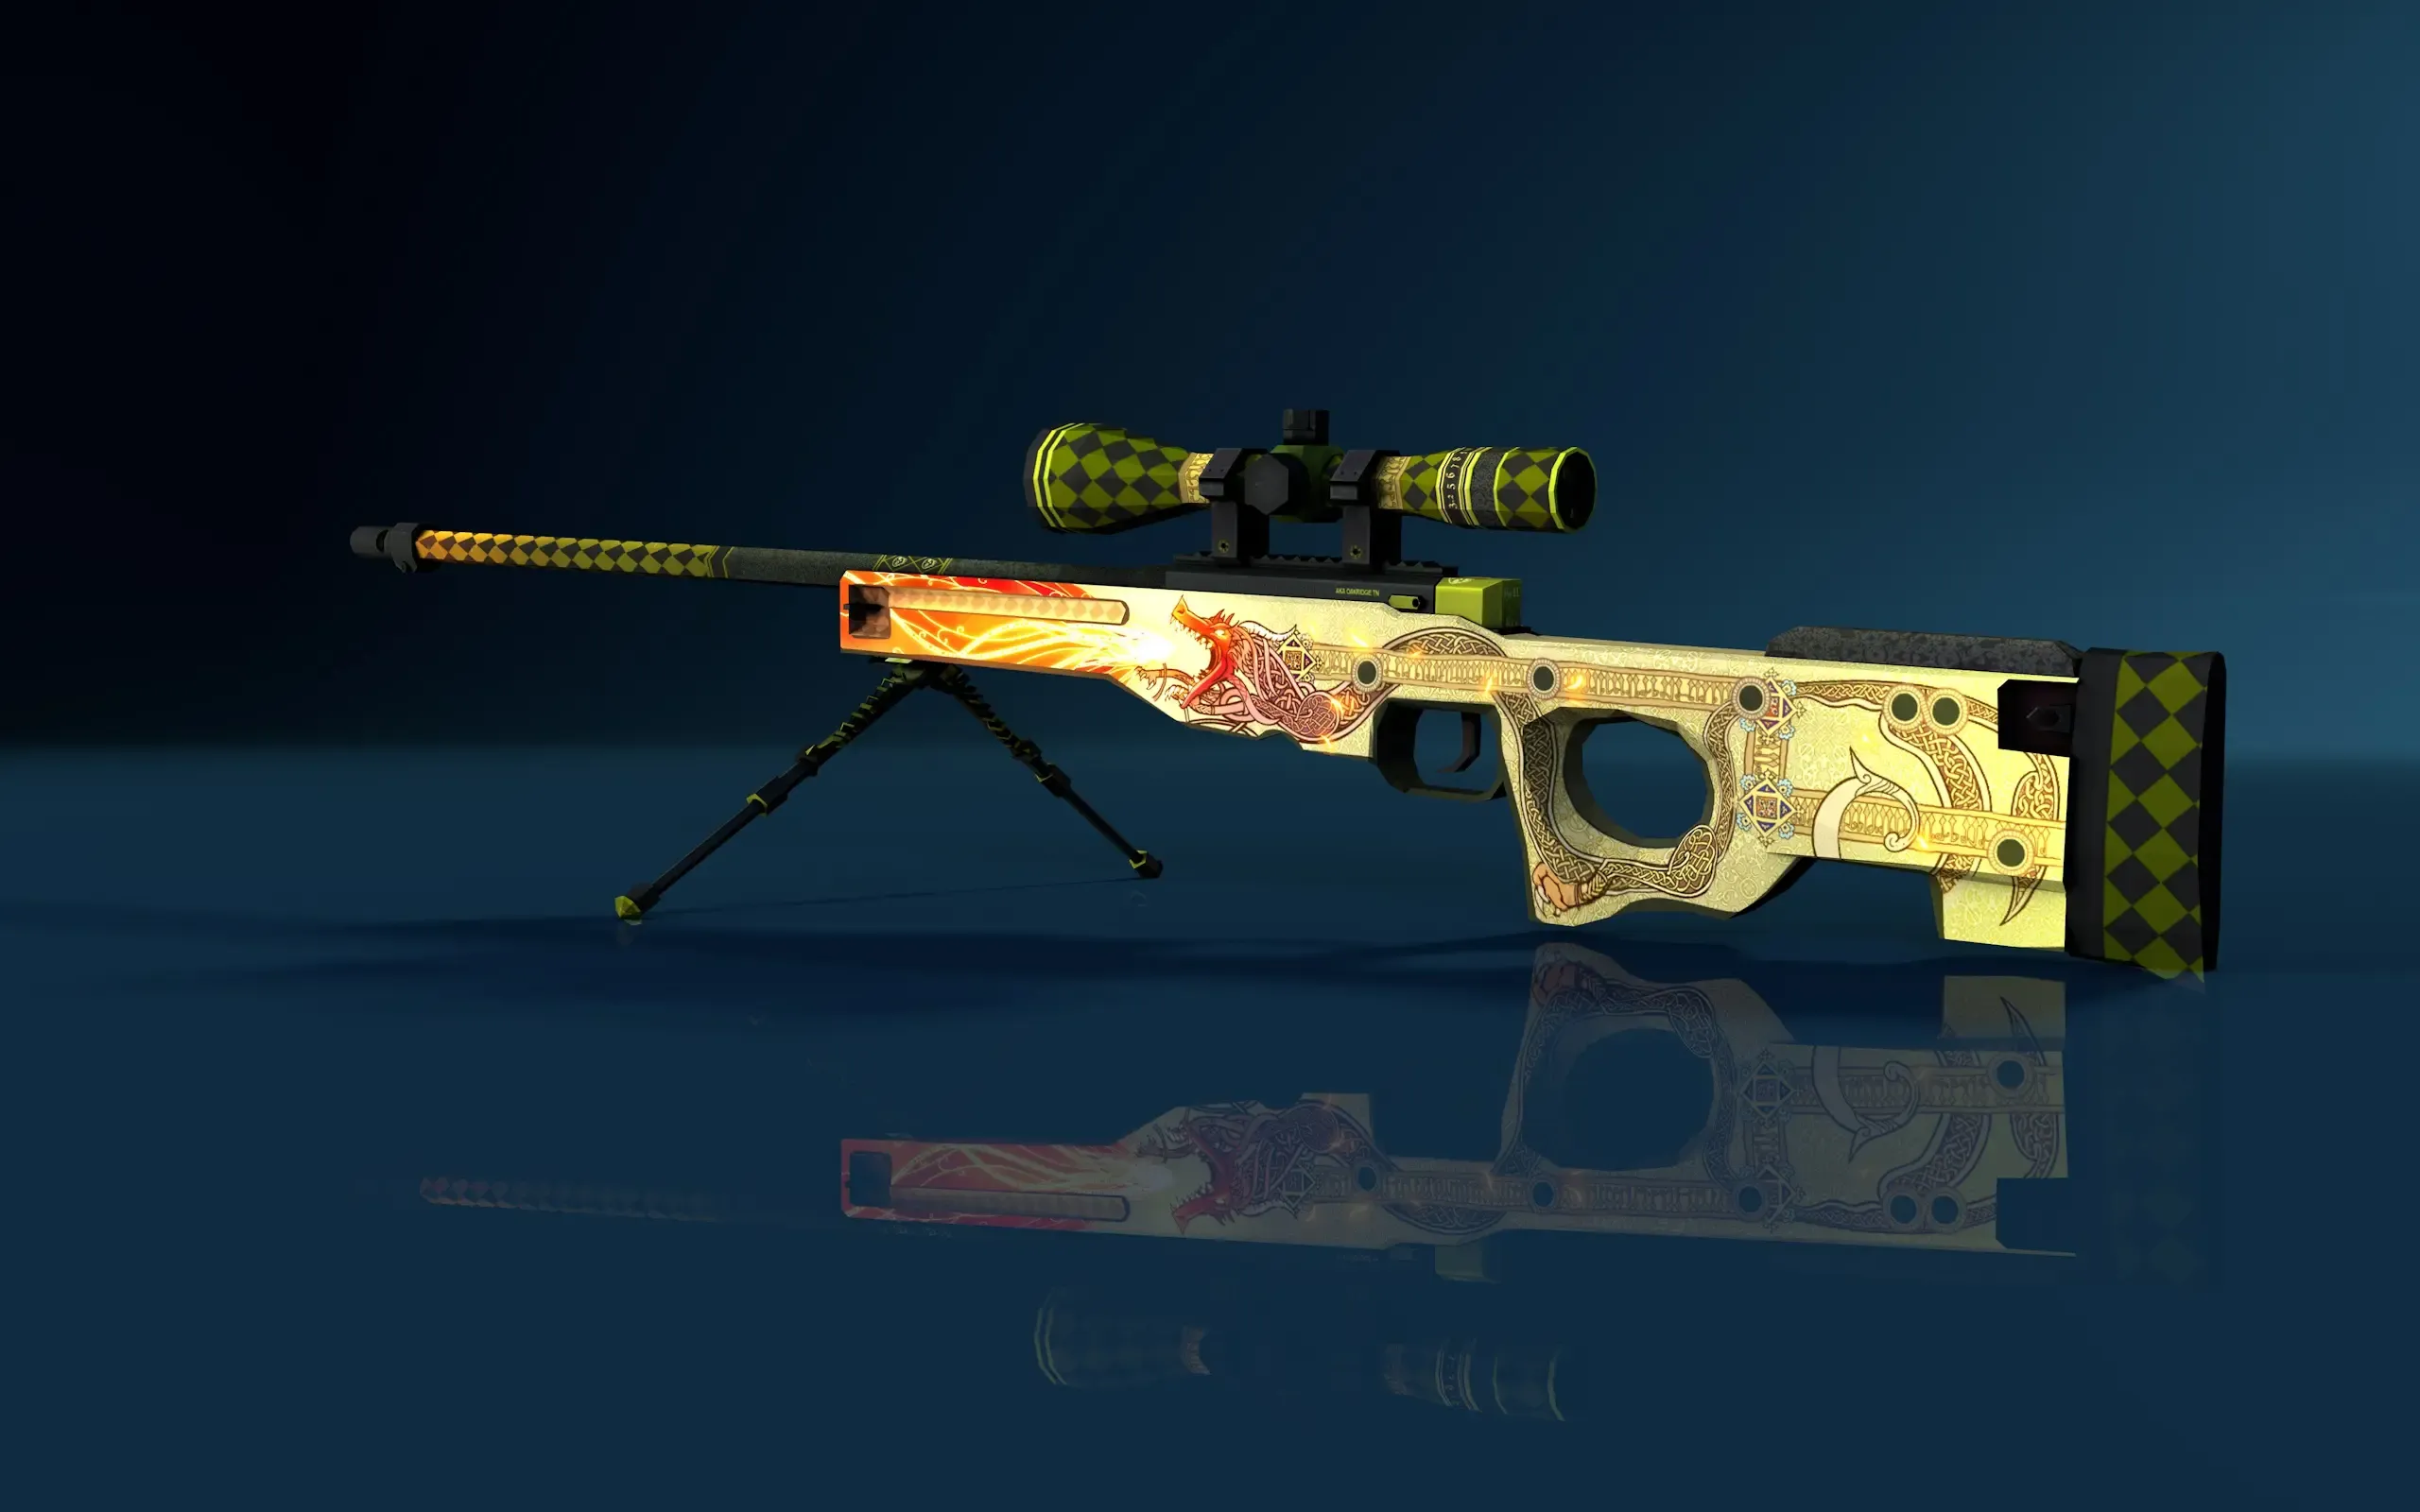
Managing team economy is vital for purchasing high-tier weapons.
Your first major decision tree comes right after the pistol round. If you won the pistol round and survived, you have a clear path to an early AWP. The optimal play is to buy an MP9 or MAC-10 in the second round without upgrading your armor. Win that round, and with around $2,200 leftover, you can afford your AWP in round three, along with some utility. This early power spike can demoralize the enemy and set the tempo for the half.
If you lost the pistol round, the path is narrower but still exists. On the T-Side, planting the bomb is your golden ticket. A successful plant provides enough funds for a full eco in round two, letting you buy the AWP in round three even without a kill. If you didn't plant, the current meta often favors buying a Galil AR and armor in round two for a fighting chance to reset the enemy economy, rather than a hopeless full save.
On the CT-Side after a loss, you need at least one kill in the pistol round. Combined with a full eco in round two, this allows you to scrape together the $4,750 for the AWP in round three, though you'll likely have no armor or grenades. It’s a risky, "glass cannon" play that demands perfect positioning and distance.
That AWP kill reward is only $100—a pittance compared to the $300 for rifles or $600 for SMGs. This means a 3k AWP round nets your team $300, while the same with rifles brings in $900. Keep this in mind if your personal economy is struggling; sometimes playing a rifle for a round or two to rebuild your bank is the smarter long-term play.
Beyond the opening gambits, you need a framework for the mid-round economy. Never buy the AWP if your team is on a full eco or if you can't afford armor against a fully-bought enemy team—you're just donating $4,750. Conversely, mastering The Save Rule is critical. If you're the last alive in a lost round (like a 1v3 scenario) or the site is completely overrun with no retake chance, your new objective is to save the AWP and preserve that massive investment for the next round's full buy. Dying with it here hurts twice as much.
Finally, remember the AWP is a team weapon. This leads to the crucial Team Drops strategy. If you die but a teammate is alive in a better position to use it (e.g., a better spawn for holding, or already set up on site), you should drop the AWP to that teammate. Don't just default to dropping it to the "best" player; drop it to the player in the best position to win the round with it. It’s about maximizing the weapon's impact, not individual stats.
Think of your economy as a shared resource. By buying wisely, saving aggressively, and dropping strategically, you transform the AWP from a personal luxury into your team's most reliable asset.
Mastering AWP Movement and Accuracy Mechanics in CS2
This is where the magic happens—or the whiffs begin. In Counter-Strike 2, landing an AWP shot isn't just about clicking heads; it's a precise ballet of movement, timing, and sound. The new engine and mechanics punish sloppy execution harder than ever. Here’s how to make your movement as deadly as your aim.
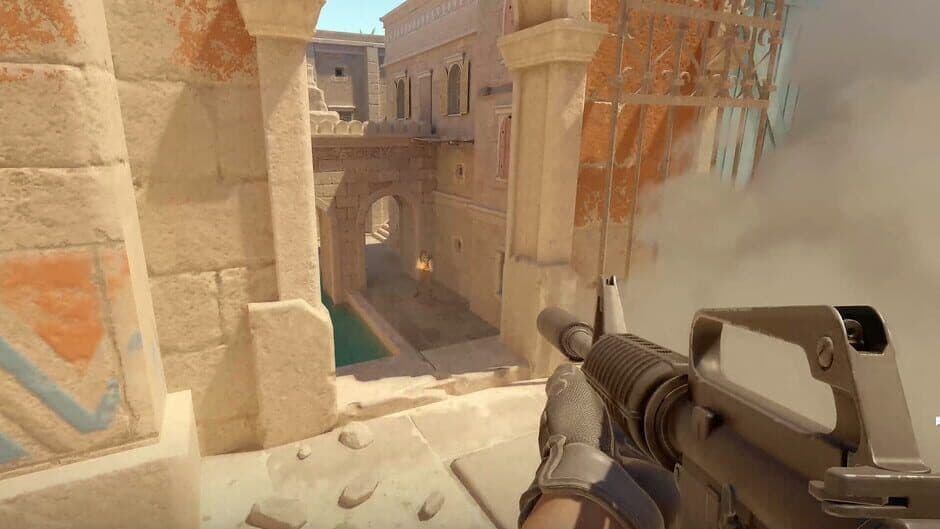
In-game environment and visibility.
The Non-Negotiable: Counter-Strafing and Stillness
The golden rule for any shot, but especially the AWP, is simple: you must be completely still. Even the slightest movement drastically reduces your accuracy. This is where counter-strafing becomes your most important mechanical skill. It’s the technique of tapping the opposite movement key to instantly kill your momentum.
The sequence is: press [A] to strafe left, then immediately tap [D] to counter-strafe and stop, then fire [Mouse 1]. This instant stop gives you 100% accuracy the moment your velocity hits zero. In CS2, the momentum system feels stricter, making clean counter-strafing more critical than in CS:GO. A sloppy stop means your shot flies wide, and with the AWP’s slow fire rate, you rarely get a second chance.
Practice this on an empty server. Strafe, counter-strafe, and shoot at a wall until you can do it without thinking. Your crosshair shouldn’t budge when you stop.
CS2’s New Timing Twists: Quickscoping and the Subtick System
Two major Counter-Strike 2 changes directly impact how you take AWP duels. First, quickscope timing is tighter. When you quick-scope (scope and fire rapidly), you need to hold the scope for about 200ms longer before the shot becomes perfectly accurate. The rhythm is: [Mouse 2] to scope, hold briefly, then [Mouse 1] to fire. If you fire too early, you’ll get that frustrating inaccurate no-scope shot.
Second, the subtick system punishes missed windows more severely. Your shot registers on the exact tick you click, not between ticks. If an enemy jiggle peeks back into cover on the exact moment you fire, you’ll miss even if it looked like a hit on your screen. This demands even sharper timing and reaction on your peeks.
Smart Peeking: Crouch-Peeking and Aiming for Value
When you need to peek an angle while scoped in, crouch-peeking is a vital tool. By holding [Ctrl] as you move into the angle, you maintain accuracy while moving, allowing you to take a shot the moment you see an enemy. This is different from counter-strafing and is best for slow, deliberate peeks where you’re already scoped and committed.
Once you’re lined up, where should you aim? While headshots are flashy, center-mass aiming is the reliable workhorse. Aim for the chest or stomach for a guaranteed one-shot kill. This larger target is easier to hit under pressure, especially against enemies who crouch-peek, turning a potential headshot miss into a solid body shot kill. It’s the consistent choice that wins rounds.
The Sound of Your Downfall
Never forget the most basic, yet most commonly ignored, giveaway: the scope sound. Pressing [Mouse 2] to zoom in creates a loud, distinct click-clack that can be heard by nearby enemies. If you scope in while holding a tight angle close to a corner, you’ve just told the enemy exactly where you are, inviting a pre-fire or a utility dump. Only scope when you’re ready to take the shot, or when you’re positioned far enough back that the sound won’t give away your precise location.
Master these mechanics—clean counter-strafing, adapted quickscope timing, smart crouch-peeks, and disciplined aiming and sound control—and you’ll turn the AWP from a high-variance gamble into a consistent, round-winning anchor for your team.
Best CT-Side AWP Angles and Map Control Strategies
This is where the AWP truly shines in Counter-Strike 2. On defense, your role isn't just to get kills—it's to create a psychological barrier, locking down entire lanes and forcing the T-side to second-guess their entire execute. A well-positioned CT AWPer can single-handedly stall a push and create the man-advantage your team needs to win.
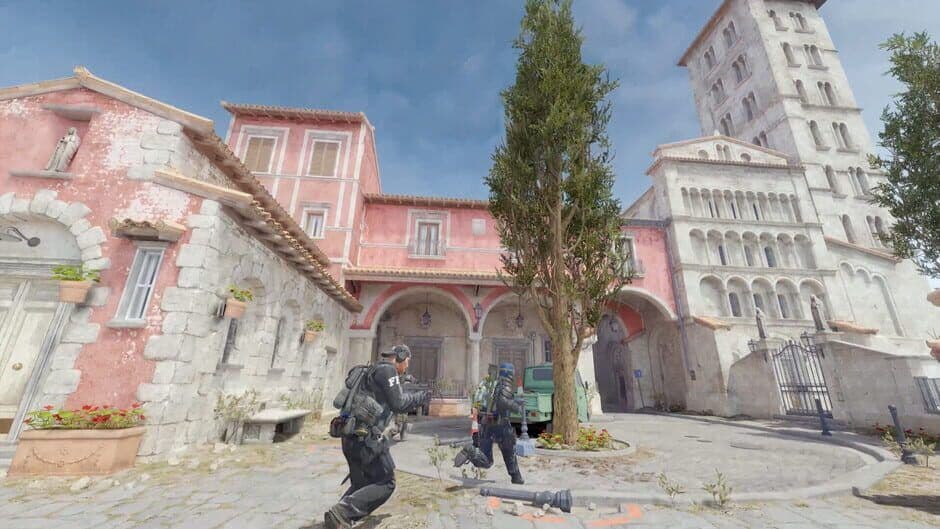
Using environmental cover to hold bomb sites.
Your strategy begins the moment the round starts. Check your spawn and use that timing advantage to reach key chokepoints first. A good spawn lets you set up for an aggressive early peek before the Ts can even get their utility ready. This is especially powerful on force-buy or eco rounds, where catching a rushing enemy off-guard can instantly win you the round.
Power Positions for Map Control
Your choice of angle dictates the lane you control. Here are the classic, powerful CT-side holds that every AWPer should master:
- On Mirage: Control mid from Window, watch A site from Ticket Booth, or catch enemies pushing through Apartments from the Van side.
- On Inferno: Hold the B entrance from Coffins, play aggressively down Banana (with caution), or watch Top Mid from the safety of Arch.
- On Overpass: Dominate Long A or hold down the B site from the elevated Heaven/Sniper position.
These spots offer clear sightlines and, crucially, a clear escape route. Which brings us to the golden rule of CT-side AWPing.
The Shot-and-Swap Discipline
You get your opening pick—congratulations. Now, the most dangerous instinct kicks in: the urge to re-peek for another highlight-reel kill. Resist it. Never re-peek the same angle twice. This is the cardinal sin of AWPing. Good opponents will instantly pre-fire or flash that spot, and you’ll be dead before your second shot is ready.
Instead, your discipline should follow this pattern:
- Take your shot.
- Immediately press [S] or [A/D] to fall back into pre-planned cover while you’re racking the bolt.
- Reposition to a secondary angle that overlooks the same lane or prepare to support teammates as a rotator.
Your sound is a weapon. The loud, distinct crack of your AWP will make enemies hesitant to push your lane. Use that fear to your advantage by occasionally peeking silently (walking) from an unexpected off-angle to catch them as they slowly clear the default spot.
Playing Around Utility
What happens when the Ts do their job and smoke off your favorite power position? Don’t just sit in the cloud hoping they’ll walk through. This is where teamwork shines. Coordinate with a teammate for a pop-flash that lets you swing out of the smoke safely, or use your utility to nudge the smoke and create a temporary one-way gap. If your angle is completely blocked, it’s often smarter to fall back to site and play the retake with your team, using the AWP to hold a tight angle on the plant.
Master this cycle of spawn-based timing, disciplined shot-taking, and adaptive repositioning, and you’ll transform from a passive camper into the oppressive anchor your CT side relies on. Let's lock it down.
T-Side AWPing: Opening Picks and Post-Plant Support
On the T-side in Counter-Strike 2, you’re not just a sniper—you’re a spearhead and a sentinel. Your AWP isn't for taking fair fights; it’s for breaking open sites with a single shot and then locking down the round after the bomb is ticking. This is where your aim meets your game sense, and it’s what separates a good AWPer from a round-winner.

Visual clarity in Counter-Strike 2 environments.
Your primary job is to create space and secure an early man-advantage, but you must do it smartly. Forget dry peeking a CT AWPer at their favorite angle; that’s a quick way to donate $4750 to the enemy team. Instead, leverage your team and play to your strengths: long sightlines and instant lethality.
Securing Opening Picks with Teamplay
Your first objective is to find a safe opening pick. This is where coordination is everything. You are a support player first, not an entry fragger. Let your riflers take point; your role is to cover their advance and punish defenders who peek.
For example, gaining mid control on Mirage is a classic T-side AWP play. Don’t just run out and stare at Window. The trick is to coordinate a teammate flash for Window while you peek from behind the Top Mid boxes. Your teammate throws a pop-flash over the wall to blind the common CT angle, giving you a safe window to clear Connector or Window without facing a prepared opponent.
Always ask for this utility at the round start. A simple "flash me out mid" can turn a dangerous duel into a free pick.
On Dust2, the same principle applies. The safest T-Side Mid position is from the far right of Mid Doors, which minimizes your exposure to CT wallbangs. For an even more aggressive information play, an early jump into Suicide can give you a head-only angle on an AWPer holding from the back of mid. Just be ready to fall back instantly—you’re vulnerable if they pre-aim you.
The Post-Plant Anchor
Once the bomb is down, your role shifts dramatically. You are now the anchor. Your goal is post-plant anchoring: maintain distance from the site and hold long sightlines to stop CT retakes. Do not lurk in the site’s corners where SMGs and rifles dominate. Fall back to a power position where the AWP excels.
Think of positions like holding Mirage A from Palace or Jungle, or watching Inferno B site from Second Mid or Banana. You want to force retaking CTs to cross massive open space where your one-shot kill potential is absolute. Your presence alone can delay a retake or force the CTs to burn all their utility just to push you out.
Mastering Utility Synergy
You cannot do this alone. Utility synergy from your teammates is your lifeline. Before you take any aggressive peek, ask teammates for pop-flashes or smokes to clear counter-AWP angles. A well-timed smoke blocking a CT sniper’s line of sight (like smoking Mirage Window or Dust2 Cross from mid) allows you to move up safely. A pop-flash thrown for you as you swing can blind an enemy holding the angle, turning the fight entirely in your favor.
This is the essence of the support role. You avoid entry-fragging and instead provide trade kills and utility for riflers. You flash for your entry player to swing. You smoke off common defensive angles to let your team cross. If your entry dies, you are the clean-up crew, ready to trade the kill immediately because you’re positioned to follow up, not lead the charge.
Trust me, if you’ve ever felt useless on T-side with an AWP, it’s likely because you were trying to play like a rifler. With this supportive, patient approach, you transform from a liability into the most terrifying player on the server. You create the openings, secure the plant, and then become the final, immovable obstacle to the retake. Let’s go.
Advanced AWP Peeking Techniques and Tactics
Peeking against another AWP in Counter-Strike 2 is a mental chess match—one wrong move and you’re staring at the kill feed. This phase of the duel is where legends are made, separating highlight-reel heroes from consistently impactful players. It’s all about feints, timing, and forcing your opponent to fire first.
Common AWP duel locations.
To win these battles, you need to master the art of information and commitment. Let’s break down the key techniques.
The Three Peeking Styles
Every peek has a purpose, and picking the wrong one for the situation is the fastest way to lose a duel.
- Jiggle Peek: This is your reconnaissance tool. Rapidly tap [A] and [D] to expose only a sliver of your shoulder without scoping in. Your goal isn’t to shoot, but to gather info on enemy positions or bait a shot from a holding AWPer. If you hear or see their shot, you have a small window to punish.
- Shoulder Peek: A more deliberate version of the jiggle. Expose your shoulder briefly to bait that enemy AWP shot, then immediately follow up with a Wide Swing to punish their missed shot while they’re racking the bolt. This is a high-risk, high-reward move that requires confidence.
- Wide Swing: This is the full commitment. You pre-aim your crosshair where you expect the enemy to be and swing out wide to catch passive AWPers holding tight angles. Only use this when you have solid information (a teammate’s call, utility info) or you’re certain the enemy just whiffed a shot.
⚠️ Pro tip: A cardinal sin in Counter-Strike 2 is repeeking the same angle immediately after a missed shot. Good opponents will be holding for your second appearance. Instead, fall back and re-engage from a completely different spot.
Gaining the Angle Advantage
Predictability is your greatest enemy. Holding the same obvious angle round after round makes you an easy target for pre-fires and utility.
The solution is using Off-Angles. This means positioning yourself 200-300ms away from the common pre-aim spots. Instead of holding the direct corner of Long Doors on Dust2, stand in the pit or behind the car. This forces the enemy to readjust their crosshair, granting you a crucial reaction-time advantage and a clearer shot.
💡 Here’s the trick most guides miss: Plan 2-3 different positions for every key angle you hold. Rotate between them each round to stay unpredictable. Your fallback route should be as important as your initial peek.
Leveraging CS2’s Mechanics
Counter-Strike 2 introduced new utility interactions that smart AWPers can abuse. The new smoke mechanics let you use an HE Grenade (select with [4]) to nudge smoke clouds, creating temporary gaps or one-way viewing angles. Throw it at the edge of a smoke blocking your lane (like Mirage’s Connector) to create a small window of visibility your opponent won’t expect.
For a coordinated surprise, consider the Double AWP Setup. The strategy is simple: one AWPer reveals their position, drawing the enemy's focus and utility. Meanwhile, a second, hidden AWPer holds the crossfire or an off-angle for the easy trade kill. This surprise tactic can devastate an opposing team's execute.
Mastering these peeking techniques and strategic tricks turns the AWP from a static cannon into a dynamic force. It’s no longer about who has the faster flick, but who outsmarts the other first. With this mindset, you’ll start winning duels you have no business winning.
How to Practice and Study Professional AWPers
This is where your AWP journey truly begins—the path from being a player who can hit a shot to one who understands the game. In Counter-Strike 2, mechanical skill is your foundation, but the mindset and study habits of a professional AWPer are what build the house. Let’s break down a structured routine that trains both your hands and your brain.
Studying pro positioning helps improve survival rates.
Building Your Daily Practice Regimen
Your aim is only as good as your worst habit. Mindless deathmatch can build bad ones, so you need a focused routine. Here’s a balanced, 20-minute daily drill that targets every skill.
Start with 8 minutes of pure mechanics on an AWP Deathmatch server. The goal here isn’t to win, but to build flick rhythm, target switching, and reaction speed in a chaotic environment. Don’t worry about dying; focus on smooth, controlled shots and resetting after every engagement. This is your raw aim gym session.
Next, spend 8 minutes on Duel Servers (often called AWP/Duels on platforms like xplay.gg). This is where you apply mechanics under realistic pressure. Here, you’ll practice positioning and punishing jiggle peeks. The slower, round-based structure forces you to think about angle selection, peek timing, and the consequence of a missed shot—just like a real match. If you repeek and die, you learn immediately.
After your duel sessions, spend 4 minutes reviewing your deaths. Ask yourself: “Did I die because of a missed flick, or a bad decision?” This awareness is what fixes habits.
For isolated, repetitive drilling, jump into Workshop Maps. Maps like AWP Lego 2, 5e_aimhub, or Aim Botz are perfect for grinding crosshair placement and static flicks. Use these to warm up your micro-adjustments and build muscle memory for common angles without the pressure of an opponent.
Learning from the Masters
Watching professionals isn't about copying their highlight clips—it's about understanding their process. Don’t just watch for the insane flicks; watch their round-by-round decision-making.
Study device for his unparalleled fundamentals and positioning. Watch how he almost always has an escape route and rarely takes a 50/50 duel. Watch broky for his innovative positioning and understanding of off-angles that give him the first-shot advantage. Learn patience and timing from w0nderful, who exemplifies how to control a lane without overcommitting.
To make this study active, conduct a Demo Review of your own gameplay. Record a match and watch it back, specifically looking for patterns like ‘Repeek Syndrome’ or panic-flicking. Are you dying because you held the same angle three rounds in a row? Did you wide-swing when you had no information? This is how you turn losses into lessons.
Final Gear and Mindset Checks
Before you queue, remember the small details that win rounds. Always carry a Deagle or P250 for close-range defense. That moment when you miss a shot and an enemy rushes you is why this is non-negotiable. Your pistol is your lifeline.
Finally, internalize this: the best AWPers in Counter-Strike 2 aren’t defined by their best shots, but by their most consistent decisions. They manage risk, communicate with their team, and understand that sometimes, the most impactful play is to fall back, reposition, and live to fight another angle. Combine your sharpened mechanics with this disciplined mindset, and you’ll stop being just a sniper and start being a cornerstone of your team.